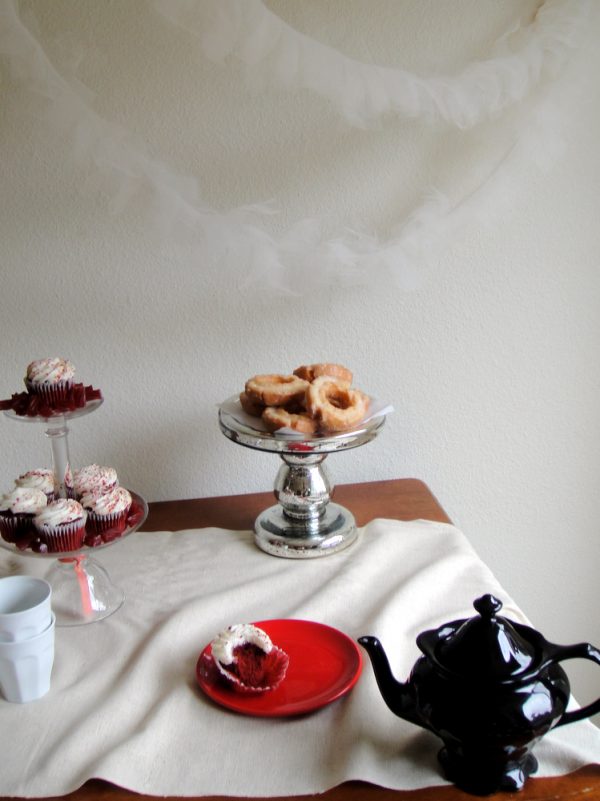
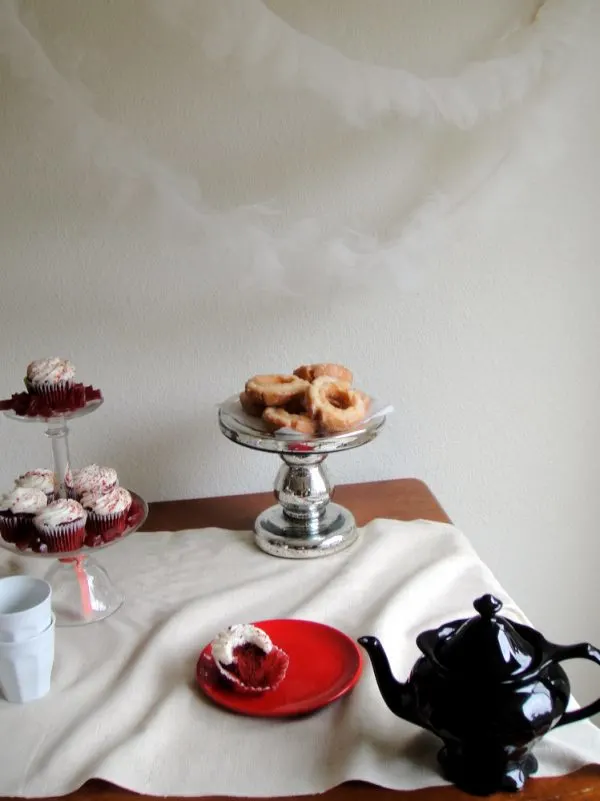
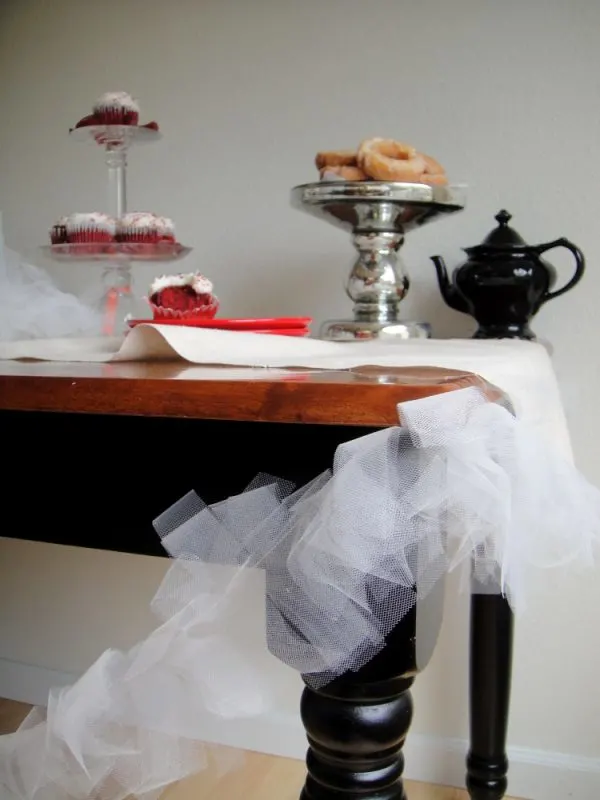
Hello, lovelies! It’s Jenny from Hank + Hunt, back with another garland DIY. A girl can’t have enough in her fete closet! I have long been ANTI-tulle…until now. This garland catches the light in an airy way that it is almost ethereal, perfect for a sip and see or a summer wedding at dusk.

So, for this easy garland you will need a sewing machine. I know that scares some of you…but fear not. It is just a straight stitch. What does it all mean? It means you just center the layers of tulle and sew. No adjustments needed to the machine. When you turn on the machine and it has a default, automatic setting…that is the setting you will use. In a pinch, you could use a running stitch with needle and thread, but your make time will increase dramatically. The sewing machine method is truly easier. Bribe a friend who sews with cupcakes and she will be happy to spend the five minutes it takes to sew in exchange, trust me.
Supplies –
- roll of tulle
- twill tape or ribbon
- scissors
- sewing machine

On a large flat surface, roll the spool of tulle out 12 feet and cut. Reroll and cut the spool 3 more times, layering the tulle carefully on top of previously cut pieces. I did this on my kitchen floor. If you are careful to make the layers nice and flat, and try to get them lined up, it will save you time at the sewing machine. NOTE: for a fuller garland, add more layers here.

Keeping the layers aligned, sew a straight line down the center.
They don’t need to be perfect, just close.


Trim each end of the garland even with the beginning of the stitch. Cut two pieces of twill tape for the ties, I made mine the same length as the width of the garland.
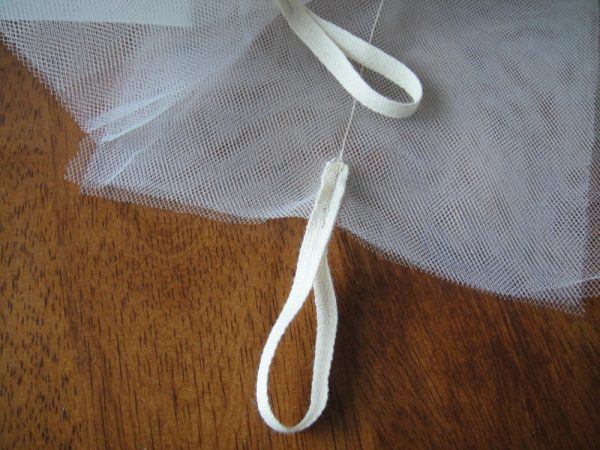

Fold tie in half, making a loop, and insert garland end in between. Sew each tie on the garland, centered on strip.
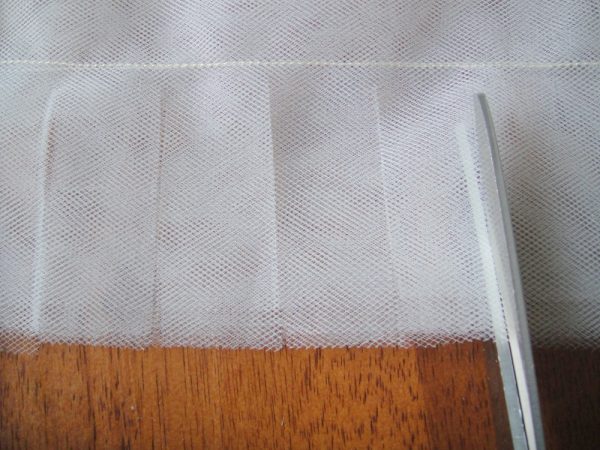

Fold the garland in half (time saver) and cut a straight line, making fringe every 1 inch, down the entire length. Be careful not to cut all the way to the center of the garland. (I stopped about ¼ inch to the stitch line.) And there you have it – hang and enjoy!

Nilde Lima
Thursday 28th of June 2012
Lindo!!!
Lovely: Bridal Fashion Inspiration – The Lovely List – Friday Wrap-Up
Friday 15th of July 2011
[...] Tulle. Fringe. Garland. Three words we can definitely live with. Share: Add to Kirtsy StumbleUpon Facebook Twitter del.icio.us [...]
Marian/pink princess
Wednesday 13th of July 2011
That is cute and indeed very easy to make :) .-= Marian/pink princess's most recent blog post: Shop till we drop :D =-.
Lori Anderson
Tuesday 12th of July 2011
I'd love that all the way around my studio walls! .-= Lori Anderson's most recent blog post: Are You Sick of Giveaways Yet? =-.