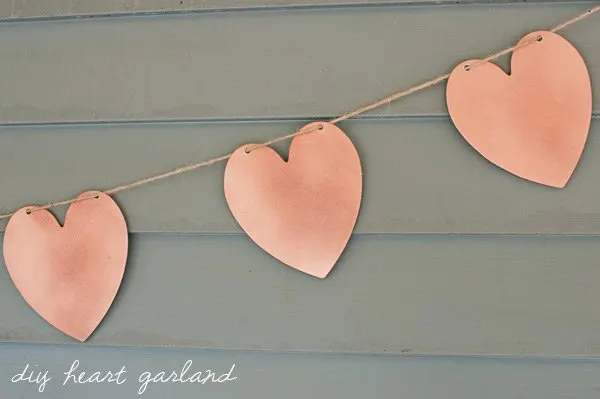
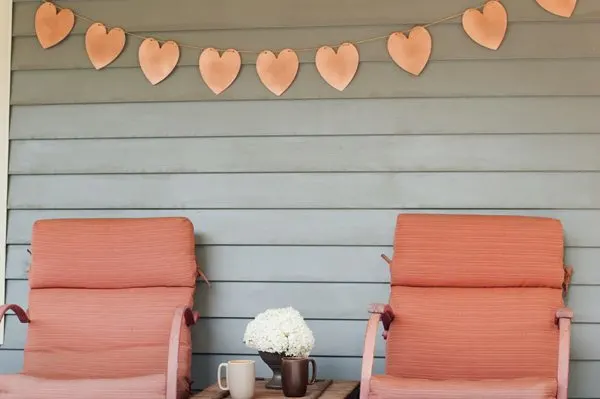
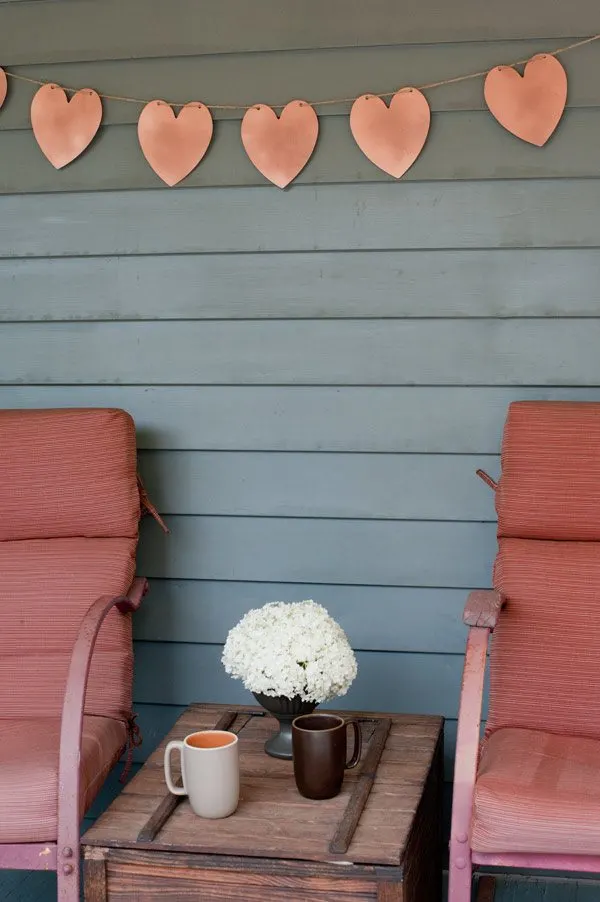
Today we’re making a super simple and really sweet DIY heart garland. This project is really quick and an easy way to add a little fun to a wedding reception, party or even a bedroom or other room in your house. Even if you’re really not very crafty, you can tackle this one in no time flat. I use this technique a lot for photo shoots – it’s perfect as a simple little backdrop behind a cake table and made at a smaller scale it’d also be adorable draped over the back of chairs at a head table. So let’s get to it, shall we? It’s time to get crafty!
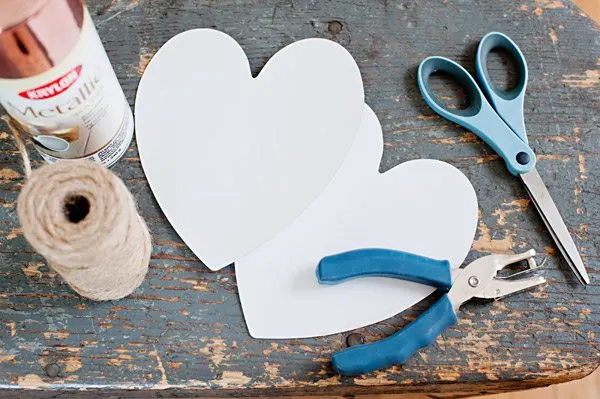
Supplies –
- Cardboard cutout hearts (I got mine at Michaels)
- Hole punch
- Scissors
- Twine or ribbon
- Spray paint (I used a copper metallic from Krylon)
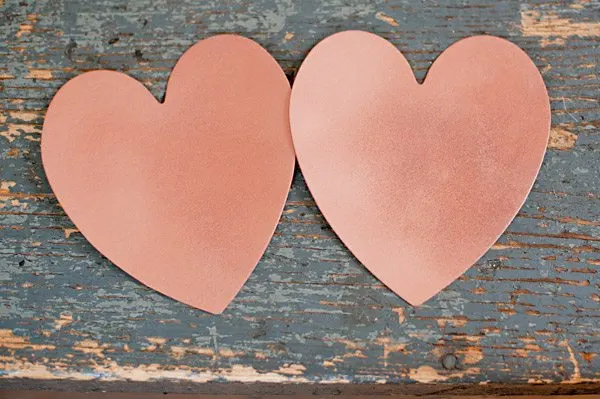
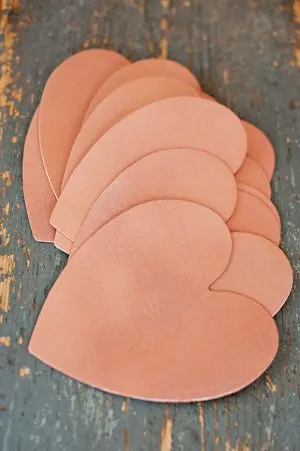
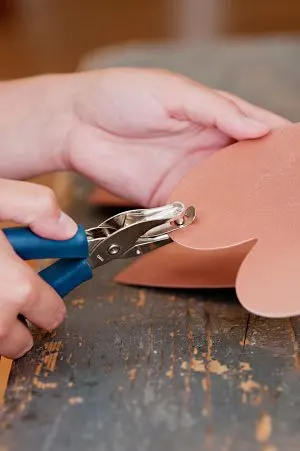
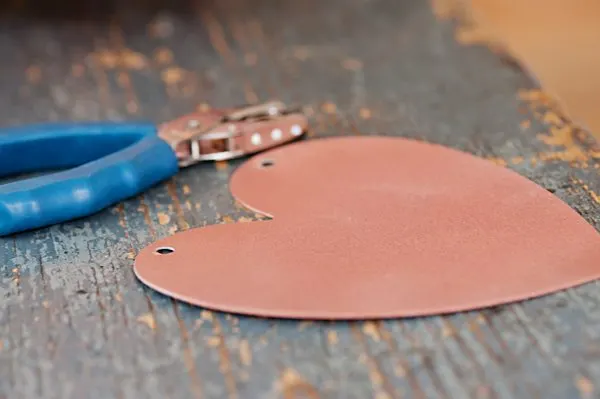
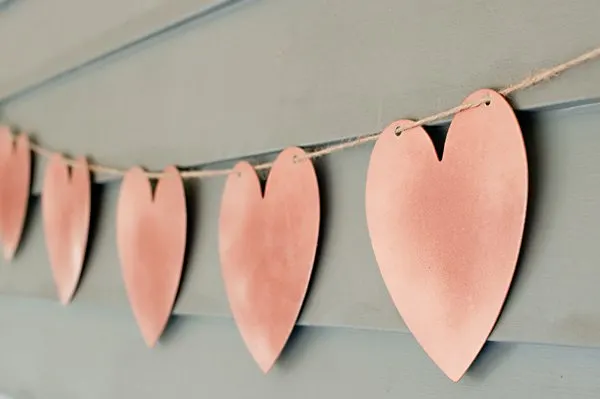
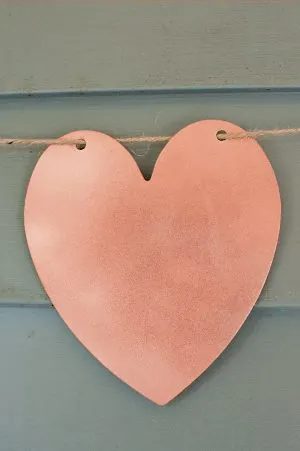
First up, apply several light and even coats of spray paint to your cardboard hearts. I found these hearts at Michaels, but they have a lot of other shapes, too. If you’re feeling ambitious you could create your own shape or even letters using a lightweight chipboard and a template. The spray paint leaves a cool, kind of sandy texture on the coated cardboard which I personally love. Let them dry completely, at least overnight, and then use your hole punch to punch two holes along the top of the heart.
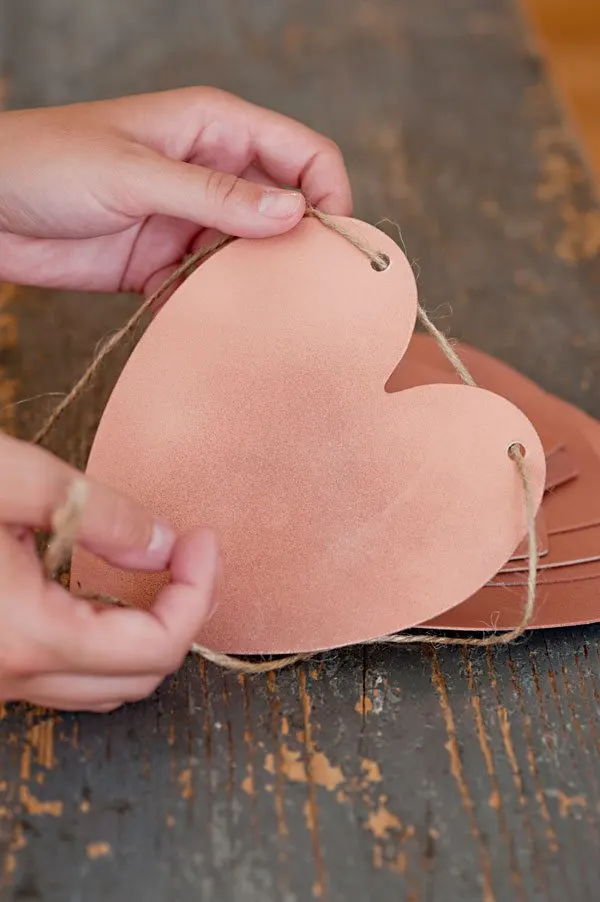
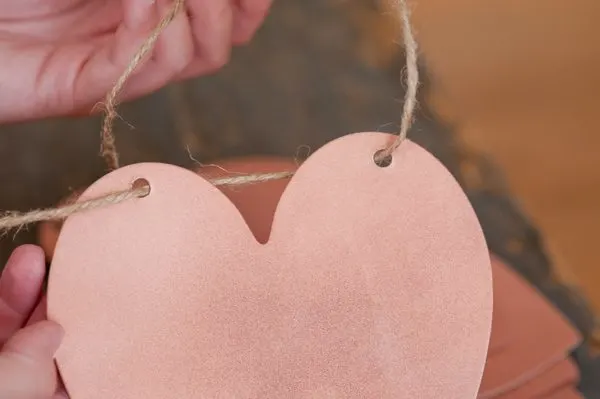
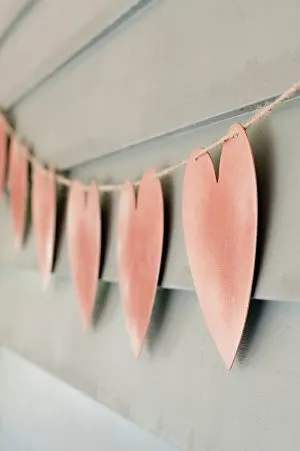
After you have all of the holes punched, start stringing your hearts onto your twine or ribbon. For best results you’ll want to use a thinner width of ribbon if you go that route. I cut a long strand of twine, and threaded the center heart on first, then worked outward toward each end to have nicely spaced hearts without having to move them around too much. (But no worries, you can easily adjust the spacing when you’re all done if need be!)
And that’s it, folks! It really is that super simple. Now you’re ready to hang it up wherever you’d like. The excess twine on either end makes it perfect for tying or attaching it to a wall, bannister, etc. The awesome thing about a simple project like this is that it’s so easy to customize it to the look and feel of your event. Just play with the color (you even alternate the colors of the heart or do a rainbow effect if you’d like), ribbon and twine to dress it up however you like. Heck, you could even splash it with a spray of glitter to really jazz it up for a kid’s party. However you rock it, have fun!
Many thanks to my lovely friend Alice G. Patterson who is going to be rockin’ out all kinds of awesome DIY shoots with me in the coming months. Stayed tuned for lots more!
{Design + styling by Cyd Converse for The Sweetest Occasion. | Photos by Alice G. Patterson.}
The fine print: Please link with love! As with all of our posts, DIY projects featured on The Sweetest Occasion may not be copied, distributed or reproduced without express written permission. Love and links are always appreciated! If you’d like to share this post, please link to this post directly for the DIY tutorial and do not include the instructions in your own post. Thanks so much! xoxo

Big Decorations | DIY Handmade Garland Tutorial
Tuesday 22nd of January 2013
[...] ^ DIY Heart Garland [...]
Inspire. Palette #115: Draped Fabric | Anastasia Marie
Tuesday 18th of September 2012
[...] adoring this heart garland via The Sweetest Occasion; this cake via Southern Weddings, photo by Steve Steinhardt; these escort tags via Once Wed, photo [...]
Dorkys Ramos
Thursday 9th of August 2012
Oh how sweet! I could definitely use this for photo shoots.
Tara
Tuesday 7th of August 2012
I MUST try this. Truly lovely. Thank you!