Last week when chatting about the DIY clay bead necklace I whipped up, I do believe I warned you more clay projects would be forthcoming. So today, in keeping with my new love affair with all things clay and my love for spring garden crafts, we’re making plant markers! This is a relatively simple project and can be customized to suit your taste in so many ways. So let’s get started, shall we?
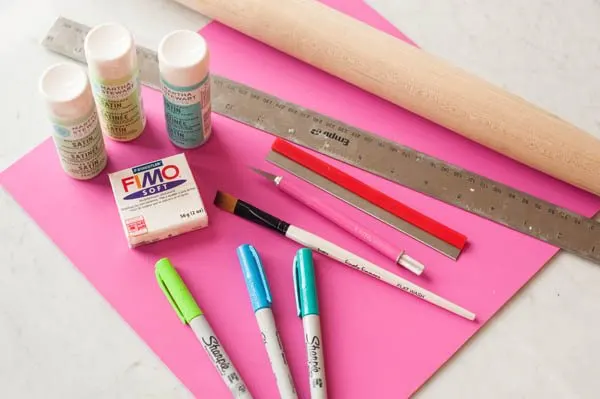
Supplies –
- Oven bake clay (I used Fimo Classic in white)
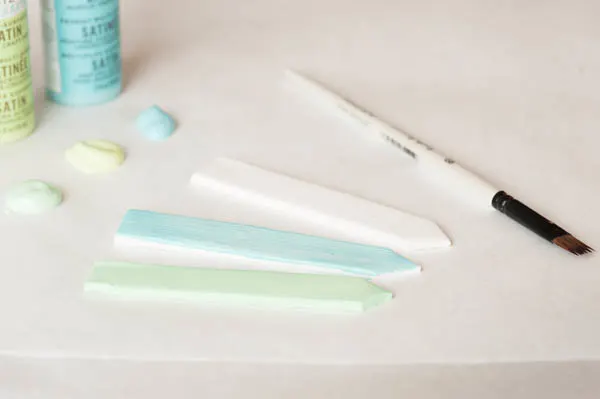
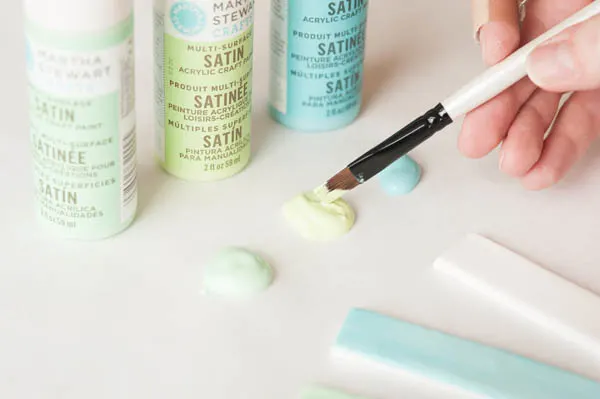
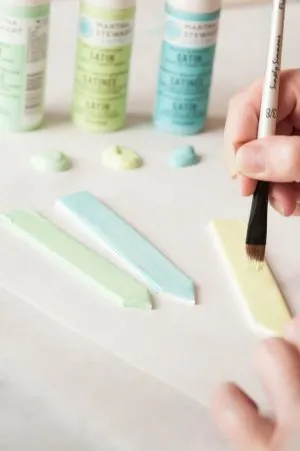
- Craft paints (I chose satin Martha Stewart Crafts paints in Pea Shoot, Scallion and Pool)
- Paint brush
- Kraft knife
- Clay cutter
- Ruler
- Cutting mat
- Fine point Sharpie markers
- Rolling pin
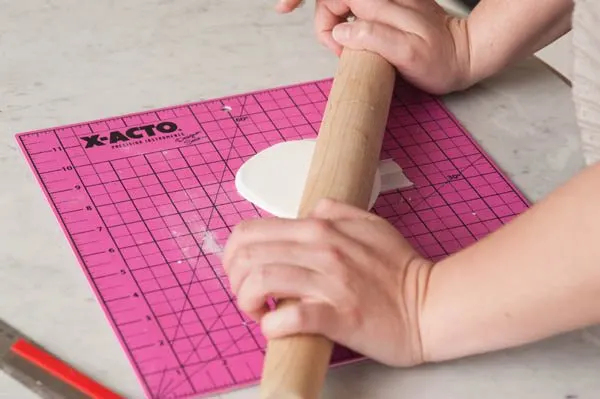
Start by working the clay between your hand to warm it up and make it pliable. Then, using your rolling pin, roll it out on your cutting mat or another protective surface. I rolled my clay out until it was approximately 3/16″ thick, but you can make it thinner or thicker if you’d like.
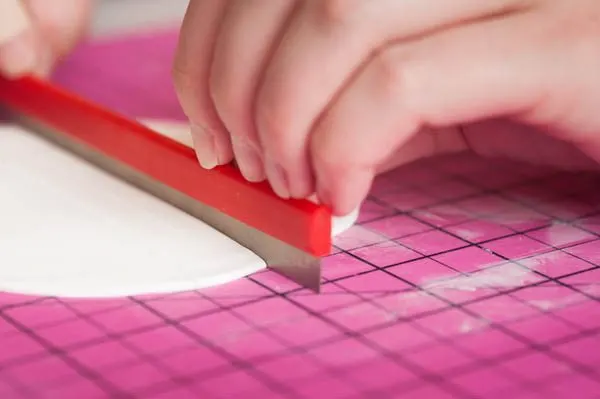
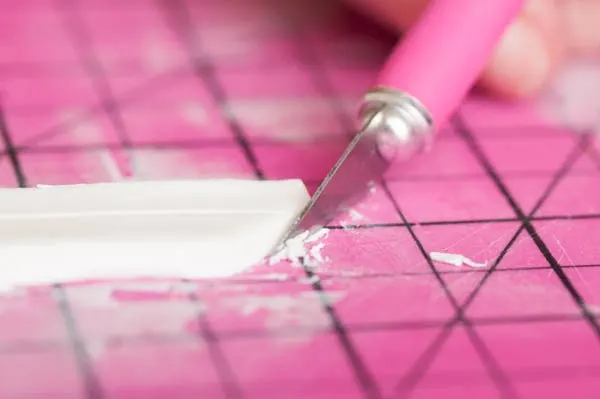
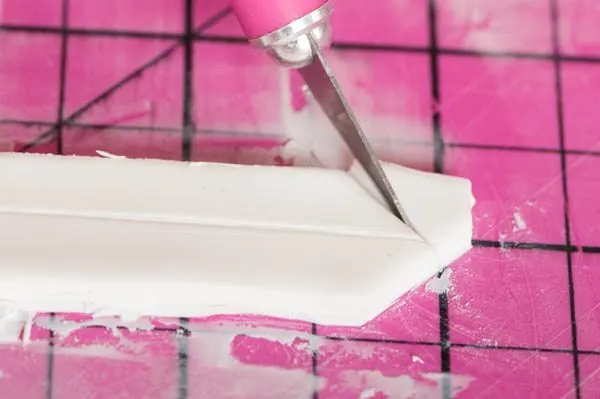
Determine what size you’d like your markers to be and using a ruler and a knife, plot out each marker. My markers are 3/4″ wide and 4″ from the end to the tip. Use a clay cutter blade (which you can find at the craft store alongside the clay and clay craft supplies) to cut the long sides. Then use a craft knife to cut the tip of the marker. Then you’ll need to carefully remove the markers from your cutting surface and bake them according to the clay manufacturer’s instructions. I found using the edge of the metal clay cutting blade to be most effective in removing the markers.
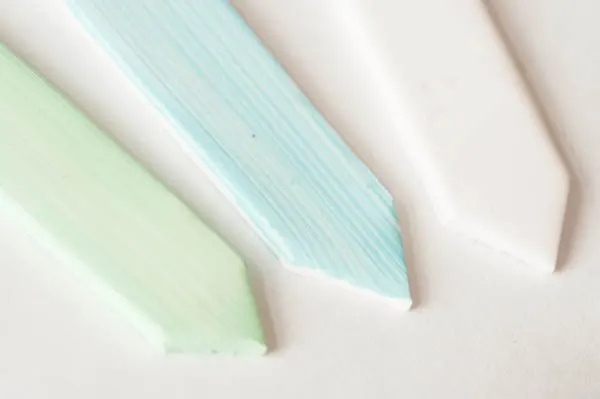
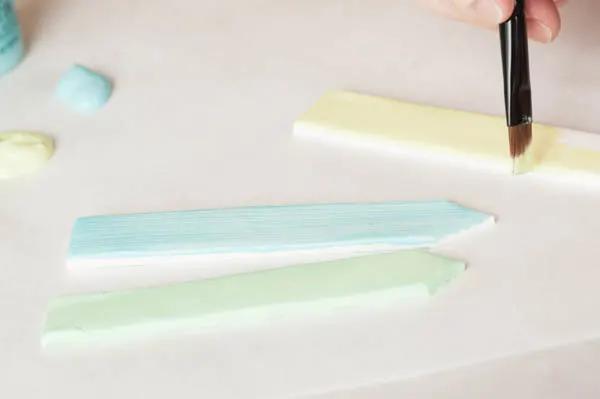
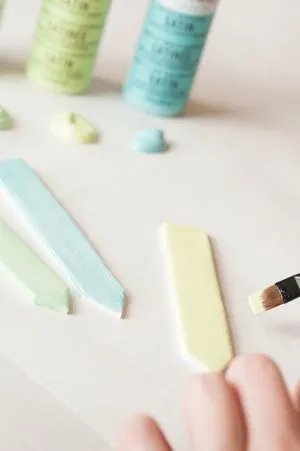
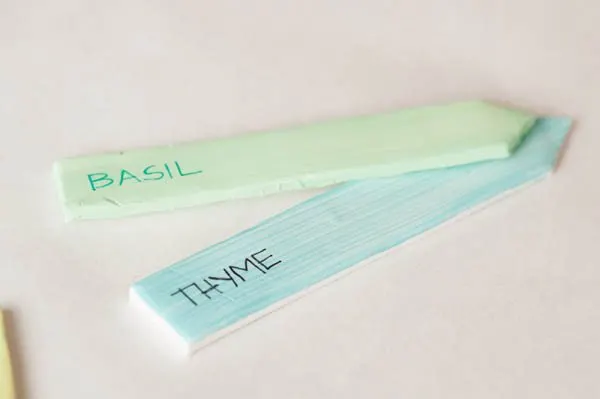
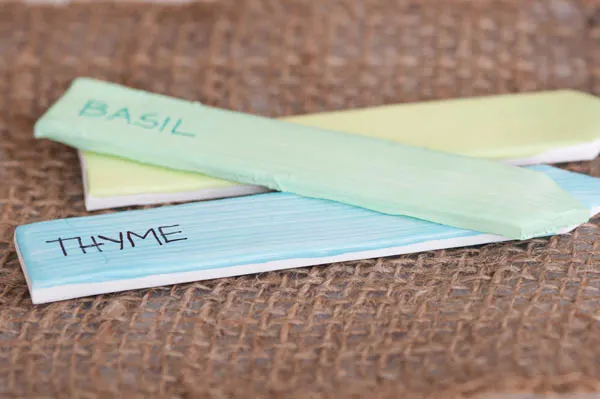
Once your markers have been baked and had time to cool completely, it’s time to paint! I dipped my paint brush in a bit of water so it was damp before dabbing it in my paint, which gave a really pretty slightly streaky look. If you want your color to be more opaque and solid just use the brush dry as you usually would. Apply your paint as thick as you’d like (one coat should do it, but you can use multiple coats if you’d prefer) and then let them dry thoroughly.
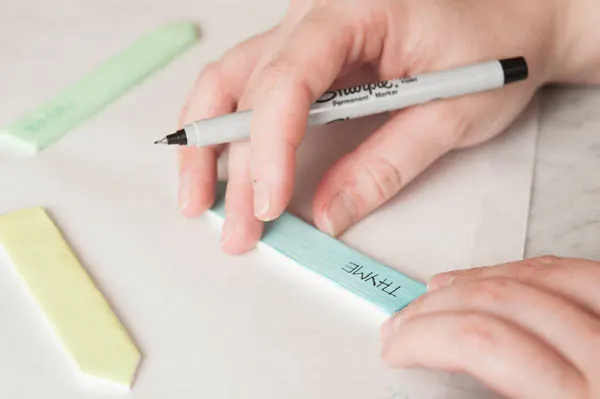
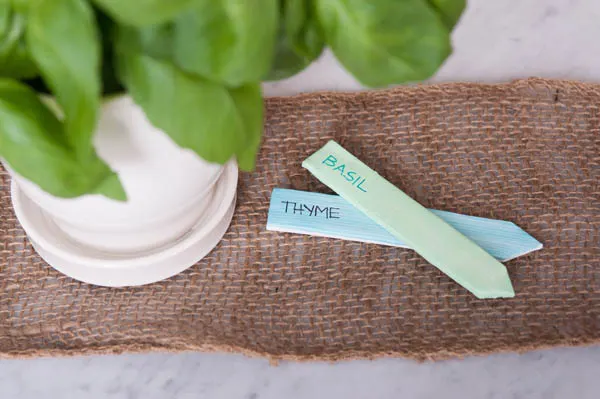
After the paint was dry, I used an extra fine point Sharpie marker to label each with the plant name. I’m using mine for herbs so I labeled them accordingly. When I tested it, the Sharpie marker takes a bit to set up on the painted surface of the plant marker so if you screw up you can just clean it up and start over.
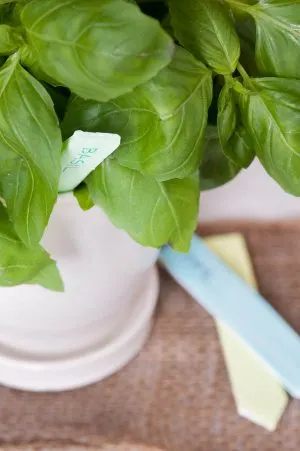
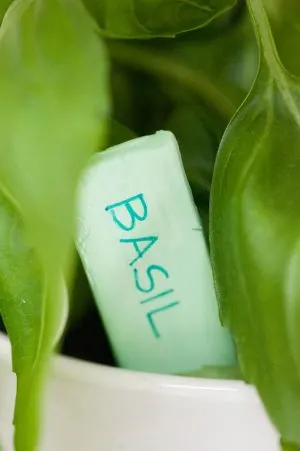
And there you have it! Super simple and easy DIY clay plant markers you can use to gussy up your garden or potted plants this spring. Or make a bundle of them and give them as a gift! They’re a cinch to make and really budget-friendly so hop to it, flex your green thumb and get crafty!
[Design + styling by Cyd Converse for The Sweetest Occasion. | Photos by Alice G. Patterson.]
The fine print: Please link with love! As with all of our posts, DIY projects featured on The Sweetest Occasion may not be copied, distributed or reproduced without express written permission. Love and links are always appreciated! If you’d like to share this post, please link to this post directly for the DIY tutorial and do not include the instructions in your own post. Thanks so much! xoxo


Lory
Wednesday 18th of September 2013
Hi! I didn't know your Blog: is so cute! And I didn't know the craft paint you used in this project: very beautiful! Thank you for your tutorial!
Sara
Tuesday 23rd of April 2013
These are so adorable!
Ivana @ Macarons and Pearls
Tuesday 23rd of April 2013
Now this is truly a genius idea! So simple, and so fabulous! I used to buy plain old wooden markers, but not anymore :) I'm definitely going to give these a try for my herb garden! Thank you so much for the inspiration!