This post was sponsored by Air Wick. Thank you for supporting the sponsors that so
generously help The Sweetest Occasion keep on keepin’ on!
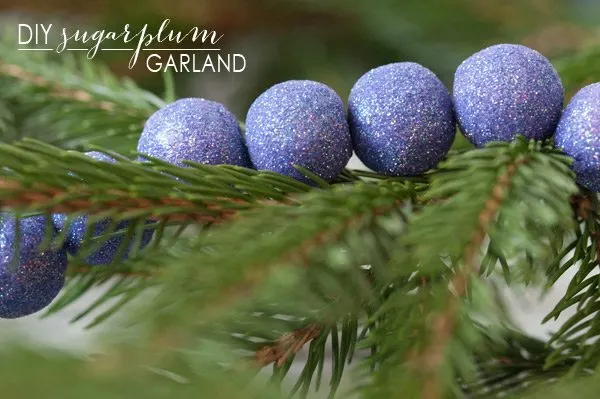
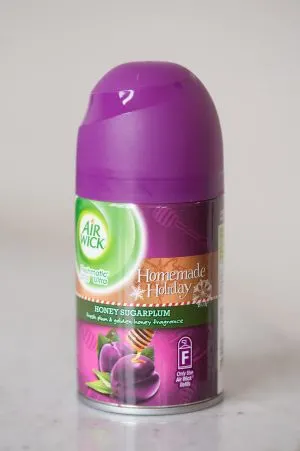
At the risk of sounding like a broken record, can I please tell you how excited I am to share this post with you today? Keeping in mind how early holiday season prep begins for we blogger types, I’ve been wanting to spill the beans on this one for weeks now. My latest DIY collaboration with Air Wick (designed to bring you six inspiring homemade holiday projects), today we’re making a sugarplum garland! Inspired by the sweet, zesty notes of Air Wick’s Honey Sugarplum fragrance, I simply could not keep visions of sugarplums from dancing in my head when sketching out ideas for this project. And then I started hearing the Dance of the Sugarplum Fairy from The Nutcracker and before long it was all purple and glitter and glitz. Which is how we got here today, folks.
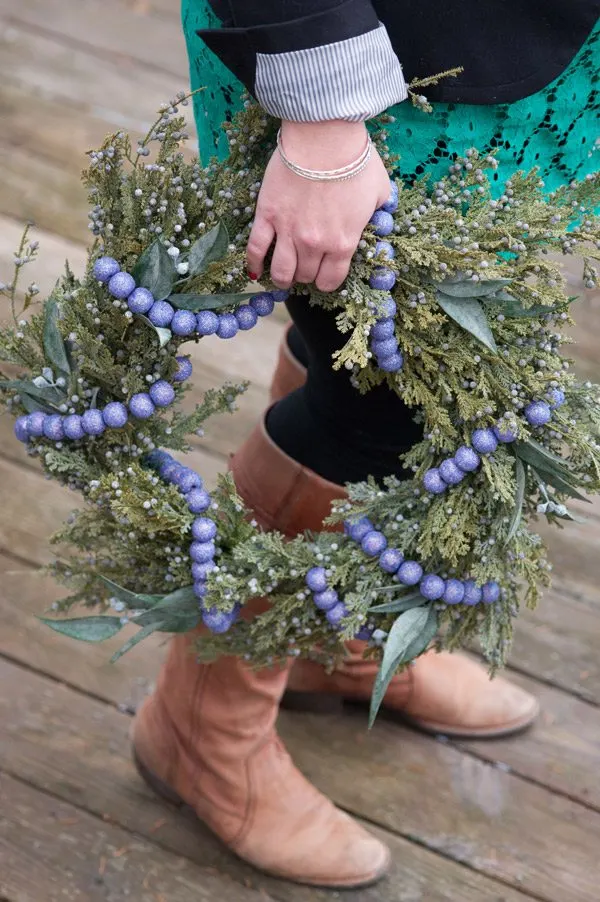
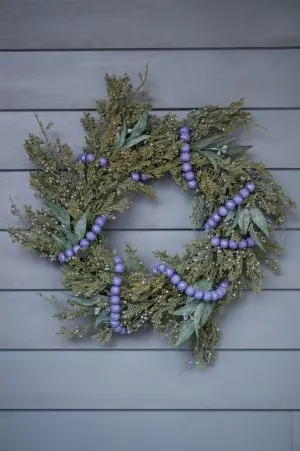
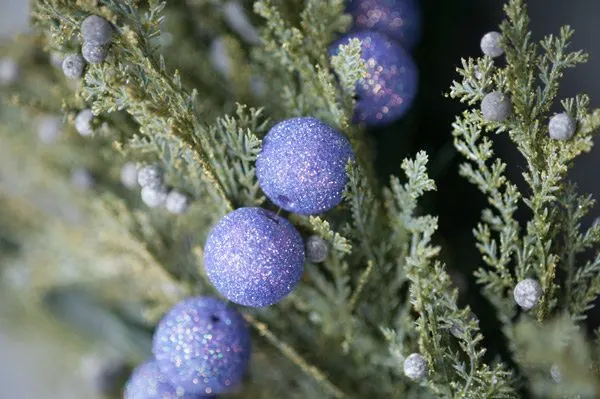
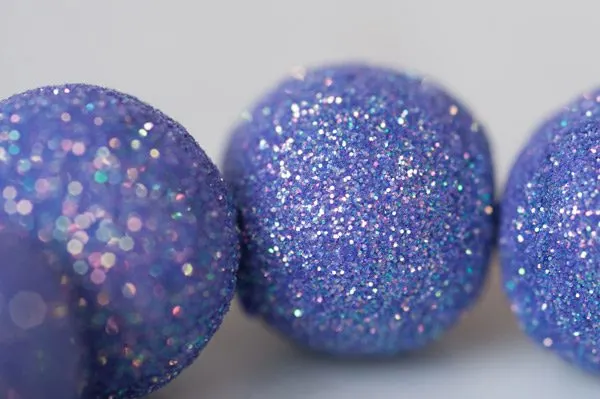
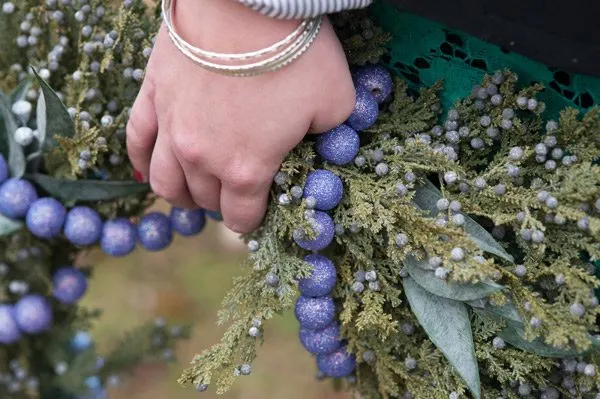
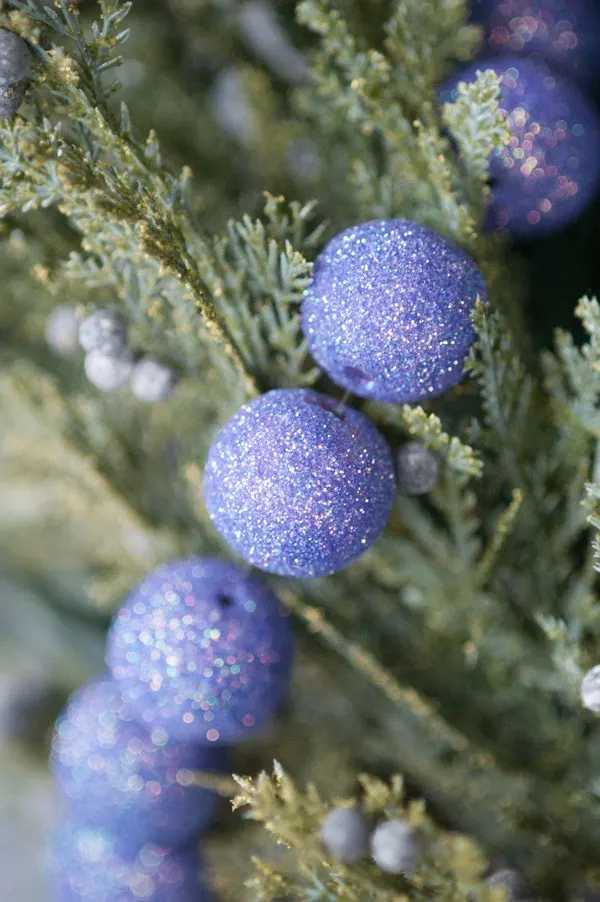
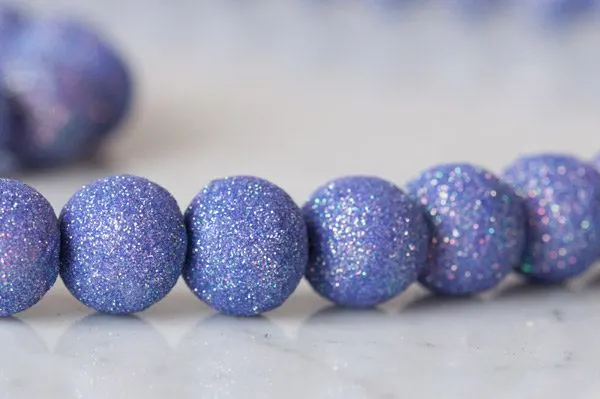
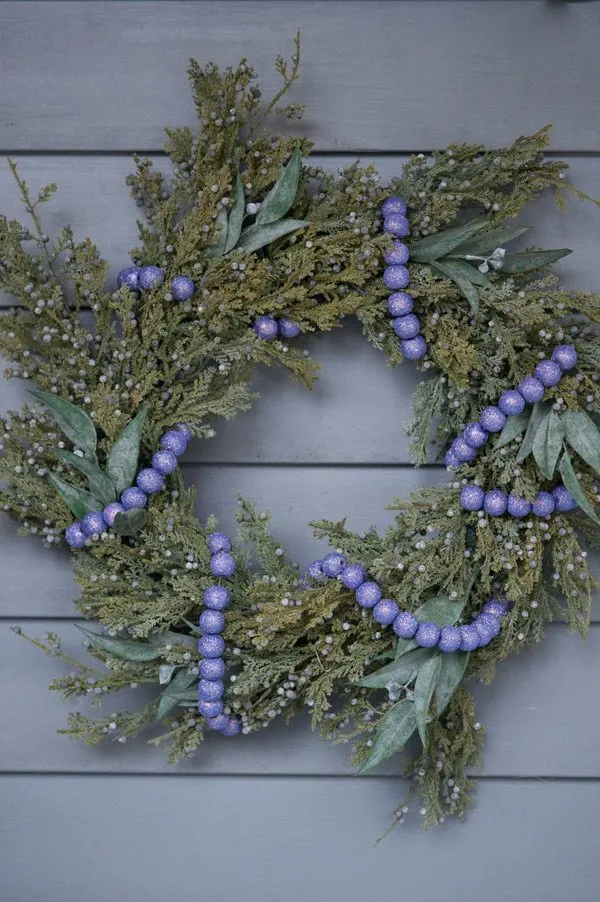
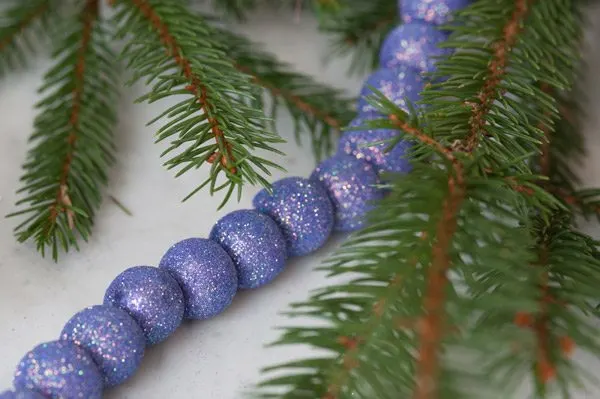
Inspired by the fruity honey-drizzled fragrance of Air Wick’s Honey Sugarplum fragrance and the look of traditional cranberry garlands, this garland is all about bringing that touch of sweetness to your holiday decor. Made from wooden beads that are painted and glittered to resemble sugarplums, the end result is sparkly, glitzy and crazy pretty! Bonus – this is also a super simple project to tackle, albeit one that can take a bit of time depending on the desired length of your garland. I made mine 4′ long which is perfect for a small tree or decking out a holiday wreath with a bit of bling, but I would suggest going much longer or making multiples if you want to use it on a standard size tree. So let’s get on to the sugarplum fun, shall we?

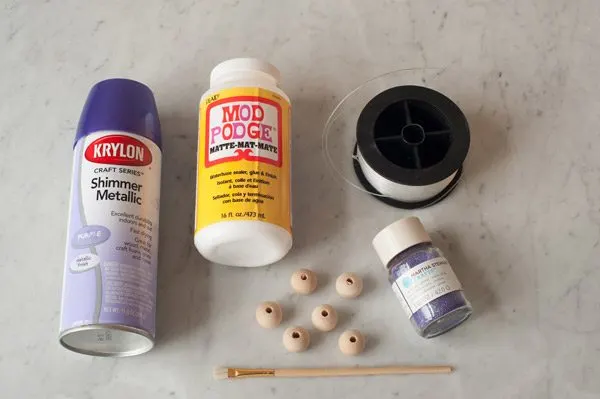
- 1/2″ diameter wooden beads (I used 96 for my 4′ garland)
- Purple spray paint
- Purple glitter (mine is Sugar Plum by Martha Stewart Crafts)
- Small paint brush
- ModPodge
- Fishing line
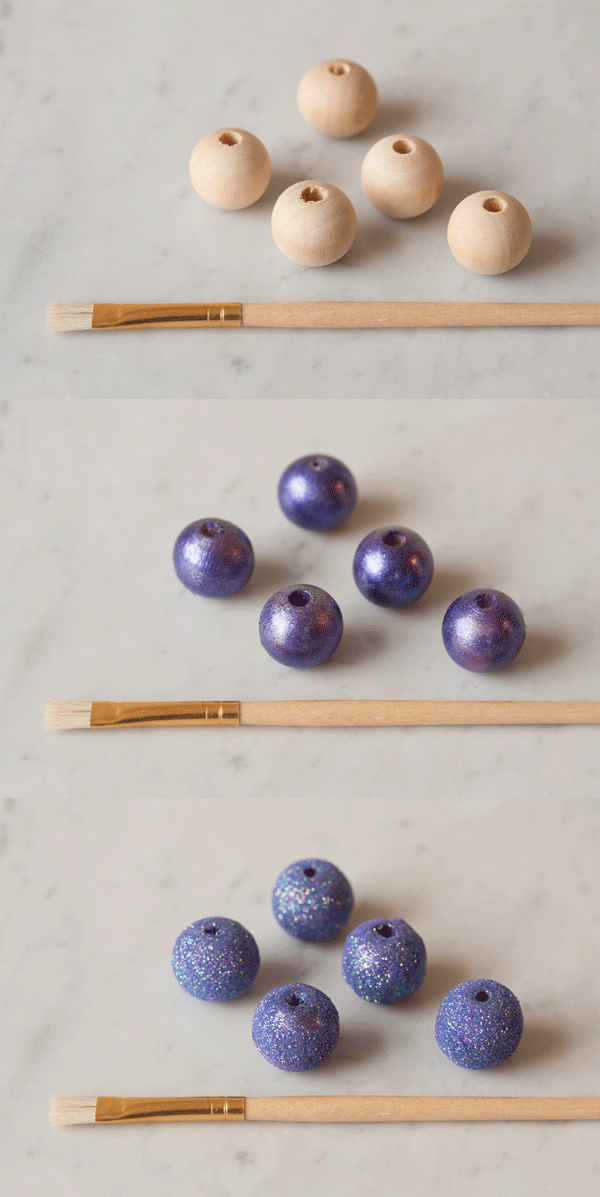
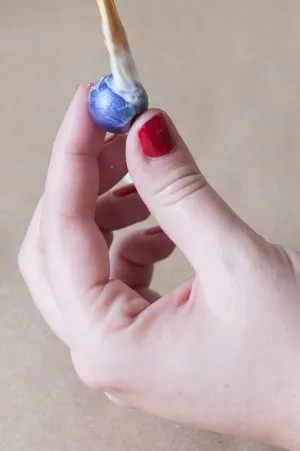
Begin by giving your beads a quick coat of purple spray paint. This coat doesn’t need to be perfect as it will eventually be covered up with glitter, but it will make the glittering process a touch simpler because the wood finish won’t show through if your glitter coat is a little less than perfect. Allow the beads to dry completely before moving forward to the next step.
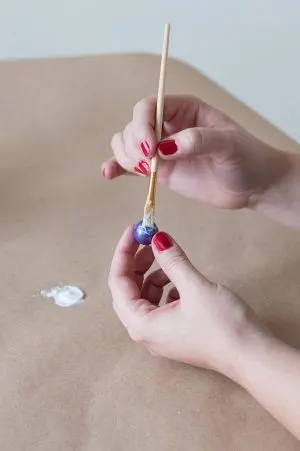
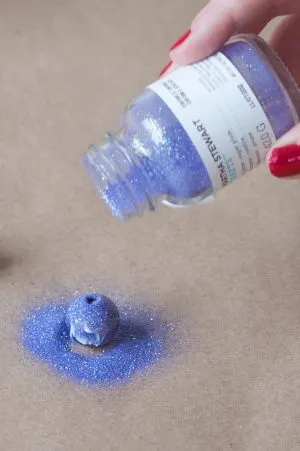
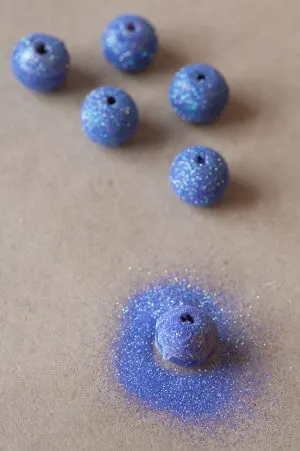
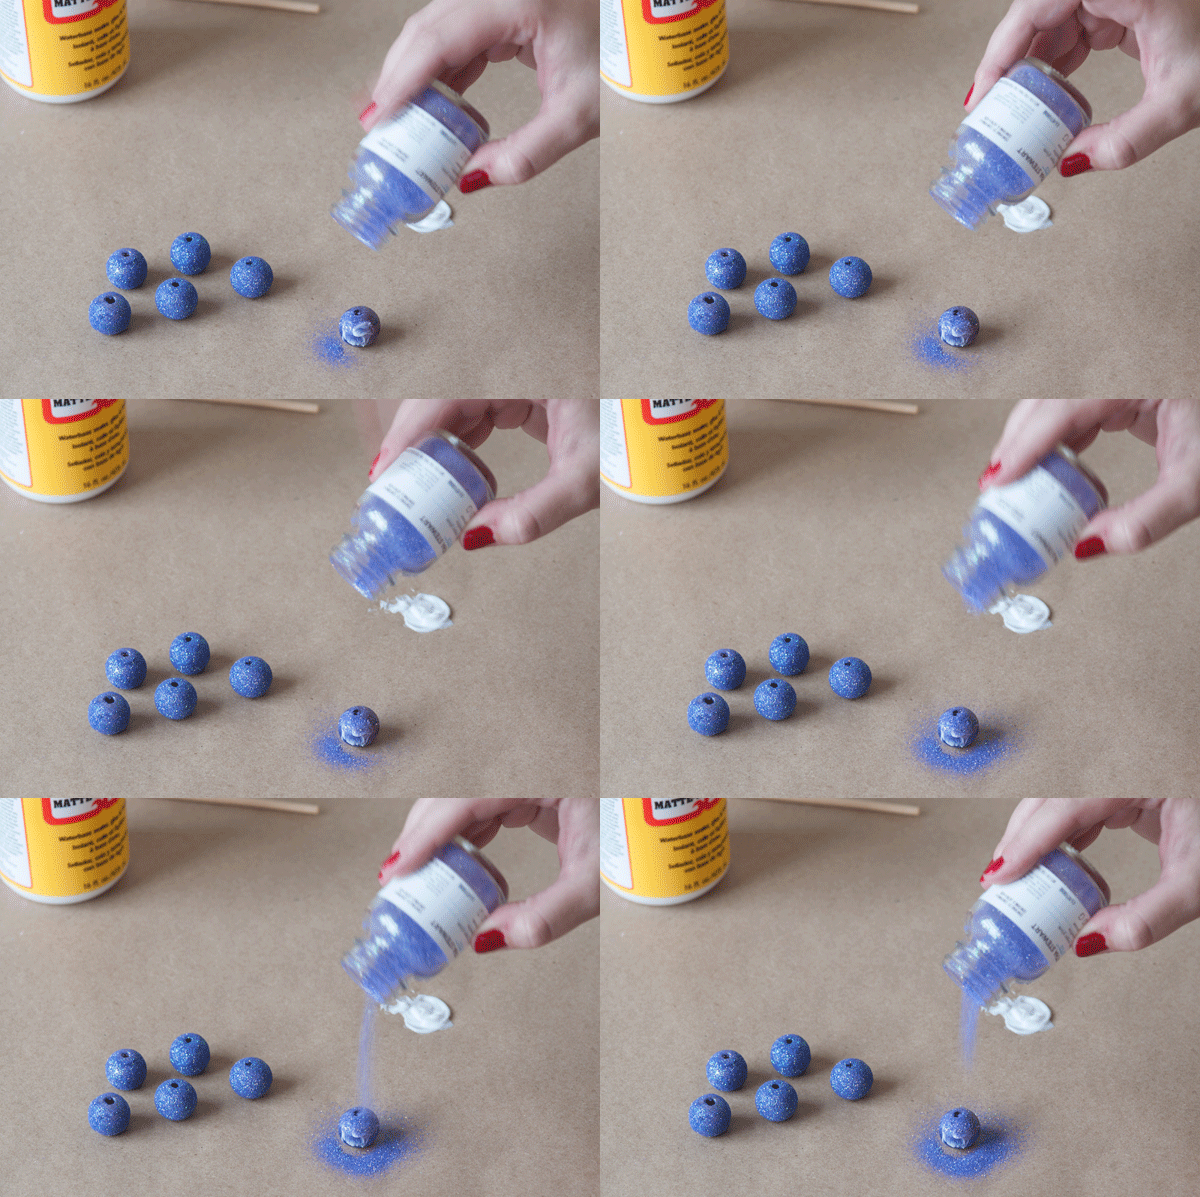
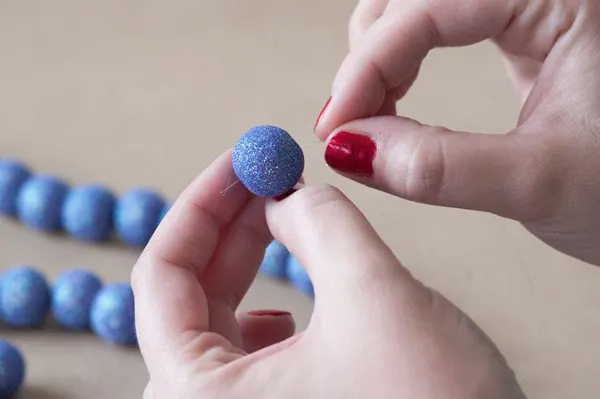
And now we’re onto glitter! This is a bit of a time consuming process, I will be honest, but it’s super simple to do. Just turn on your favorite holiday movie and have it! First up, coat a bead in a layer of ModPodge. Then shake your glitter all over it like crazy, rotating it to be sure every side is covered. Then set it aside to dry and move onto the next bead. I found it easiest to do groups of 25 at a time and then take a little break and then tackle the next bunch. And yes, I was watching The Holiday. Once all of your beads are done let them dry completely. And then let them dry a little longer. Overnight is best! Once dry, give them a quick coat of a spray sealant to lock the glitter in place and allow that to dry, too.
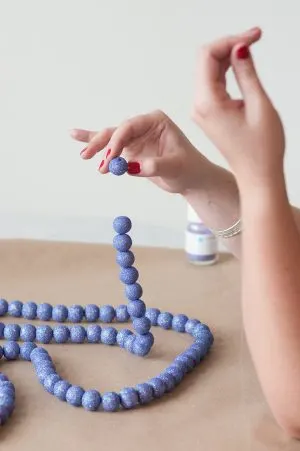
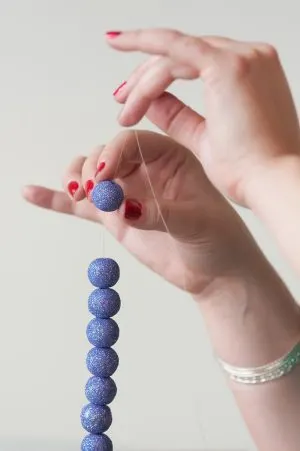
The final step is stringing your sugarplum beads onto fishing line! Pay some attention to the thickness of the fishing line you’re using as the beads can get a little heavy once they’re all strung together. (Tip: I used 8lb test, but I happen to have some 50lb test laying around that would have worked well, too. Use what you’ve got!) Once you have the beads strung onto your fishing line and your garland has reached it’s desired length, tie it off on either end and snip the ends. You can add a bead of hot glue to the knot to keep it extra secure if you’d like.
And there you have it, friends! The prettiest, glitteriest sugarplum garland you ever did see. (Why, yes, glitteriest is actually a word. At least in my world.) I really love how this garland looks. It has all the sparkle and magic that I think of when I think of sugarplums…or the Sugarplum Fairy, as the case may be.
![]()
[Design + styling by Cyd Converse for The Sweetest Occasion. | Photos by Alice G. Patterson.]
Sources –
Wooden beads, spray paint and glitter from Michaels
Dress from Target
Boots by Nicole
Blazer from J.Crew
Bracelets from Forever21
Nail polish is Sunset Kiss by JulieG
Honey Sugarplum fragrance by Air Wick
This post is a collaboration with Air Wick. For more homemade holiday ideas, follow along on Facebook! Read more about our editorial policies.

Holly
Friday 13th of December 2013
How did you make the wreath and what greenery did you use? It looks like juniper and maybe seeded eucalyptus leaves but I'm not sure.
cyd
Friday 13th of December 2013
Hi Holly! You're correct that it's juniper and seeded eucalyptus, but unfortunately I have no tutorial for the wreath itself as it was something pre-made. Sorry I can't be more help! xo
Friday Favorites | Cupcakes and Commentary
Friday 22nd of November 2013
[...] theater apathy weighed out. Instead we are planning on a craft night with our Mom to make this sugarplum garland and wreath. Super [...]
Rachel | 52 Weeks Project
Monday 18th of November 2013
I can't get over how beautiful this is Cyd! You took that wreath to a whole new level of awesomeness :)
Aleah and Nick
Monday 18th of November 2013
What a darling idea!
Kayla
Monday 18th of November 2013
I love this! So pretty! I'm on a wreath kick this year and this is spectacular!
cyd
Monday 18th of November 2013
Thanks, Kayla! Thanks, Karen June! I'm so glad you love this garland...it's one of my favorite projects to date! :-)