by Kelly Lanza
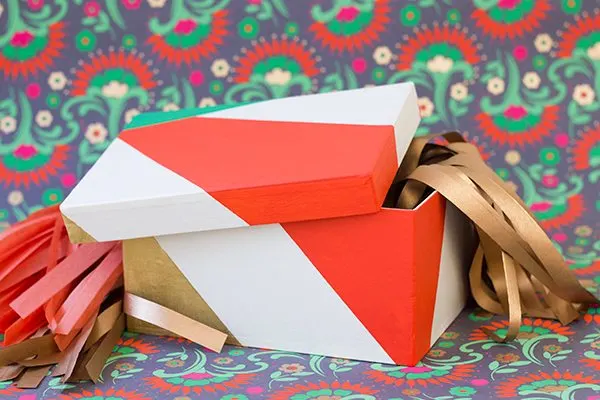
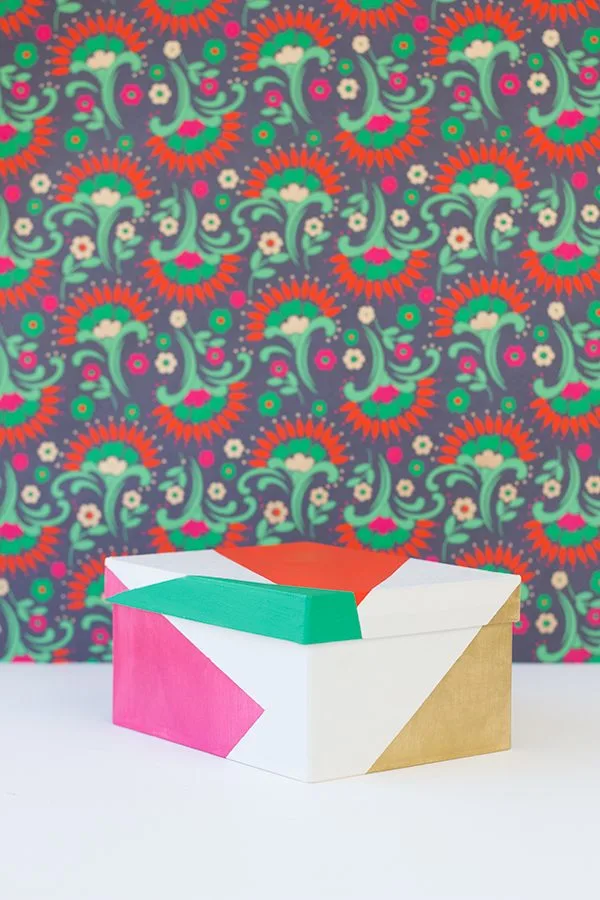
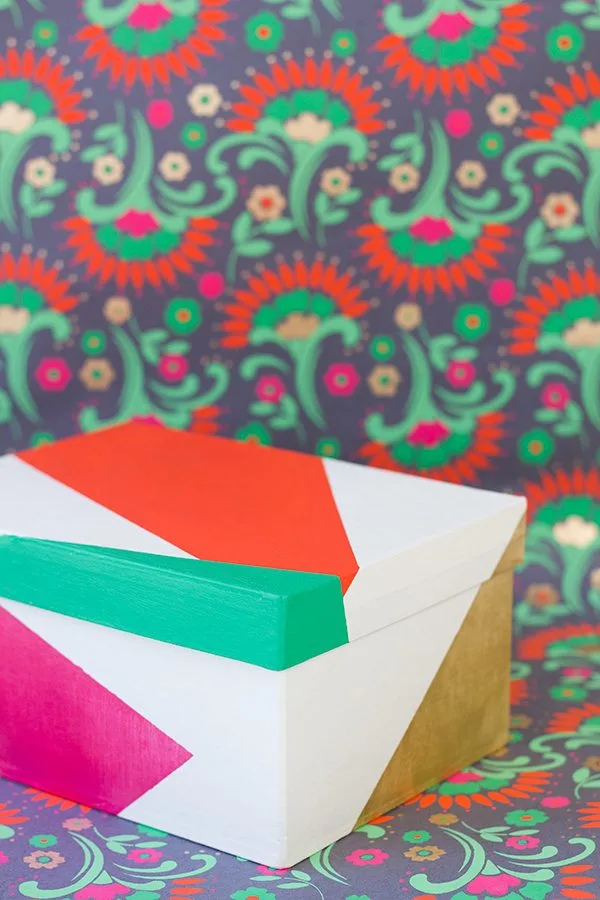
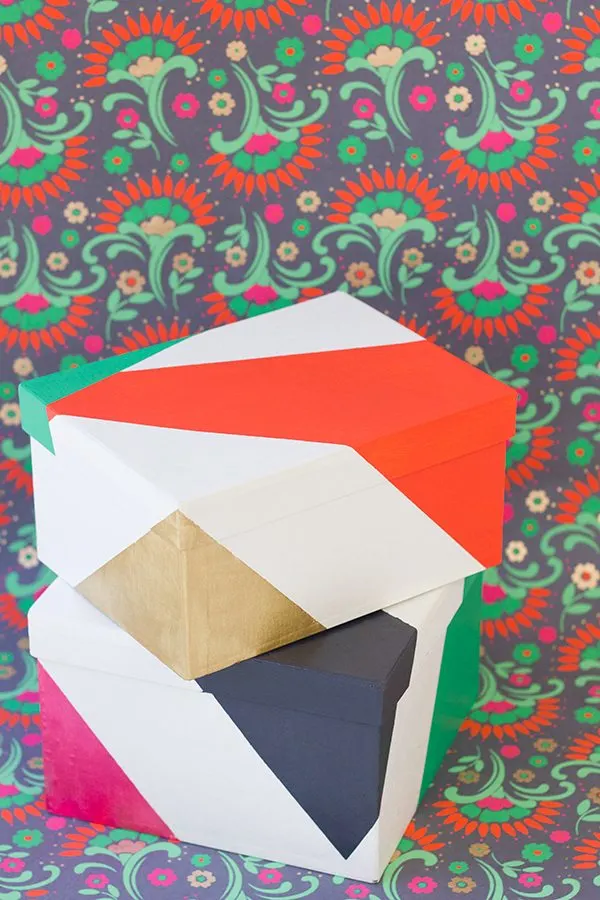
Fall starts next week. What?! That means we’re headed into the height of gift giving season, and we won’t be coming back out until 2014. Or, if you’re like me, it’s always gift giving season! I just love giving a gift. It may be because I love packaging up that gift (Shh, don’t tell!) and that’s where today’s DIY tutorial comes in. I decided to go all sorts of geometric color block style on you and whip up some gift boxes that don’t need wrapping! These graphic boxes are great for all your gift giving needs, from birthdays to hostess gifting and right on through to the holidays. The best part? They’re totally reusable in the recipient’s home, long after the gift is opened!
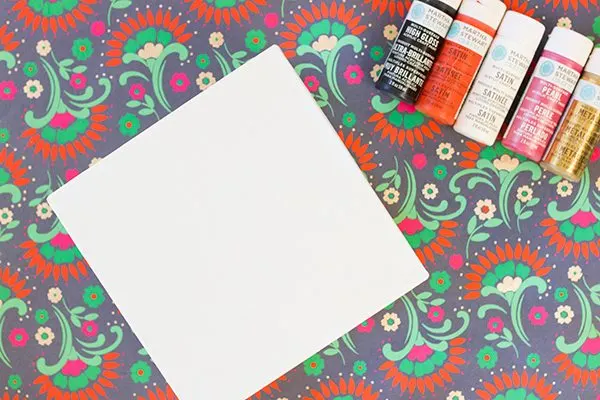
Supplies –
- Sturdy gift boxes (I found mine at Paper Source)
- Craft paint
- Paint brush
- Painter’s tape
- X-Acto knife
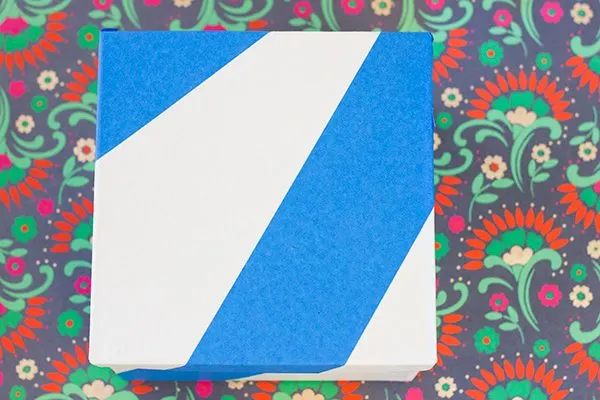
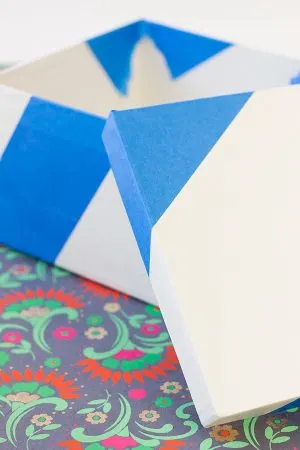
First you’ll need to tape off your pattern. To make sure the pattern on my lid lined up with the base of the box, I taped the pattern while the box was together. I chose to make random, graphic shapes but you could also make stripes if you wanted!
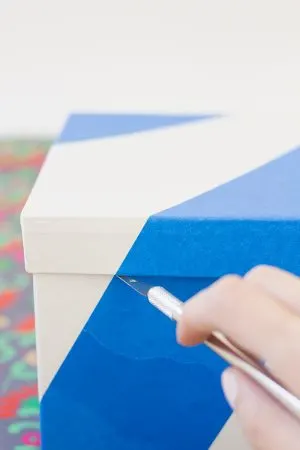
Once you have your pattern taped off, use your x-acto knife to cut along the edge of your lid and separate it from the base of your box. I still wanted my pattern to go all the way to the top of the box’s base, so I added more tape to continue the pattern up to the top edge too.
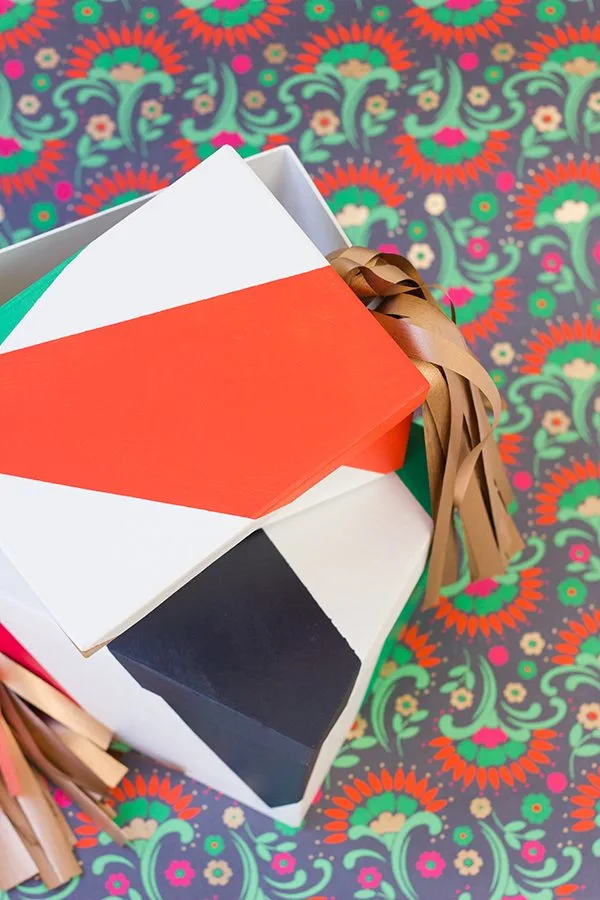
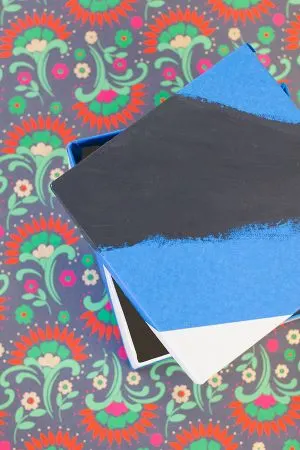
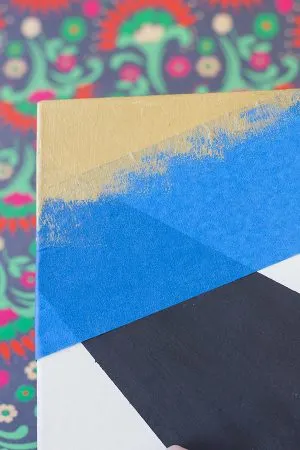
Now paint, paint, paint within the shapes you’ve made and then remove the tape and let dry completely. You can also go back in and add more shapes/lines on top of what you’ve already painted, as I did above. Let that dry again.
Now it’s time to give it away, if you can manage to part with it! Fill it, add a gift tag and you’re good to go. No wrapping required!
Wouldn’t it be fun to make mini versions of these as party favors!? Perfection!
[Photos by Studio DIY for The Sweetest Occasion.]
Sources –
Patterned Paper + Gift Boxes from Paper Source
Craft Paint by Martha Stewart from Michaels
The fine print: Please link with love! As with all of our posts, DIY projects featured on The Sweetest Occasion may not be copied, distributed or reproduced without express written permission. Love and links are always appreciated! If you’d like to share this post, please link to this post directly for the DIY tutorial and do not include the instructions in your own post. Thanks so much! xoxo

Rachel Bell
Friday 20th of December 2013
Wow this is such a cute idea! Helps to get rid of wrapping paper. I love simple boxes and will definitely have to try this out for Christmas.
Weekly Roundup | Simply Peachy Wedding Blog
Thursday 10th of October 2013
[...] I might just package my next gift in one of these DIY colour blocked gift boxes. [...]
Sandra (Simply Peachy)
Tuesday 24th of September 2013
Lovely! I think I've found how I'm going to wrap my next gifts!
Raquel Rausch
Tuesday 17th of September 2013
I love these color-blocking boxes! They're sure to brighten up any party. And yes, mini versions of these would make great party favors.
Abbey
Tuesday 17th of September 2013
Love this idea! May be doing this all december! :)