by Caitlin, Marla and Manda of The Merrythought
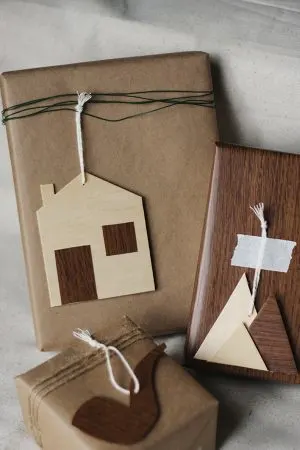
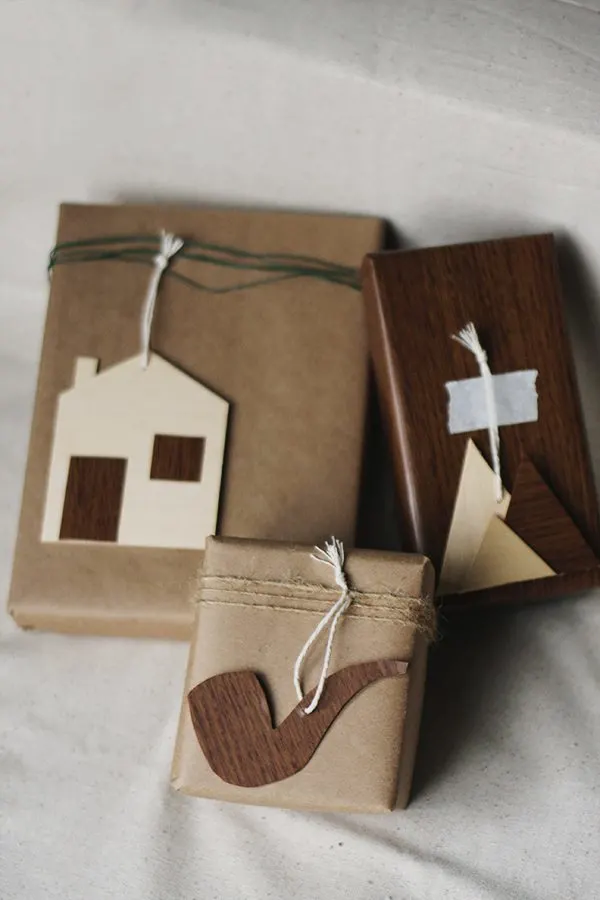
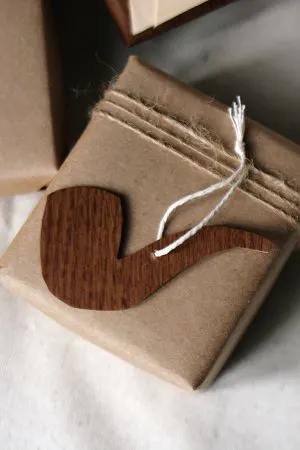
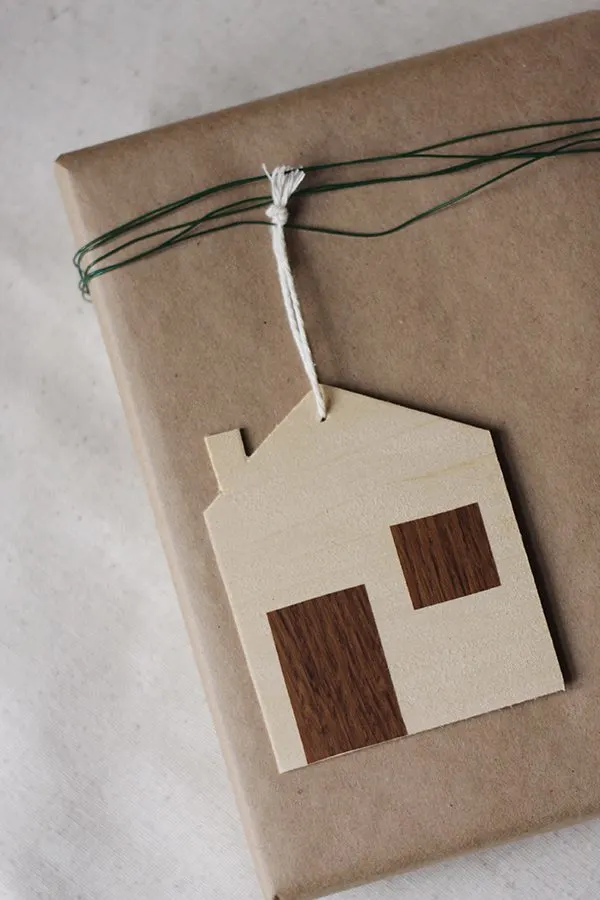
Only a couple more weeks until Christmas, which means it’s time to start thinking about wrapping up those presents that are hoarded away in our closets! It’s always tempting to just grab a marker and scribble a name across those just-wrapped packages but these quick and easy gift tags will add the perfect touch to any present.

- Birch plywood or basswood (I found mine at Michael’s)
- Pencil
- Sharp scissors or utility knife
- Drill
- String or twine
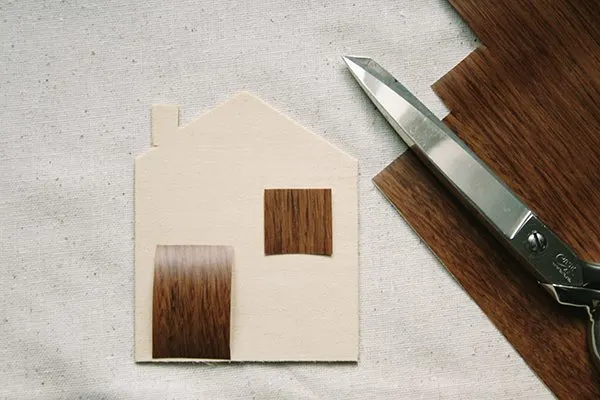
- Wood grain contact paper (optional)
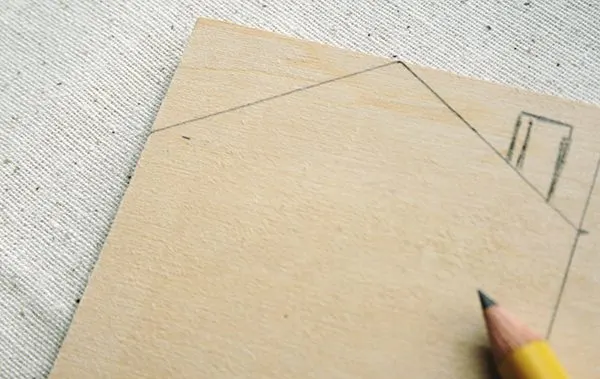
Using your pencil, begin by sketching out the design you want on the back of the wood. Keep in the mind, the simpler your design the easier it will be to cut out later.
With scissors or a sharp utility craft knife, carefully cut along the lines. When selecting your materials, consider that birch plywood is better for smaller or more detailed designs.
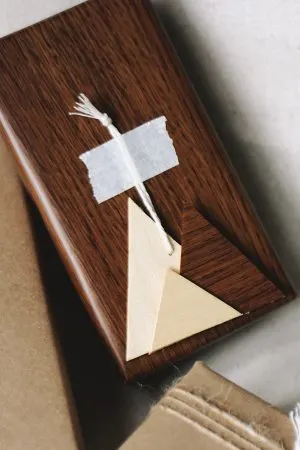
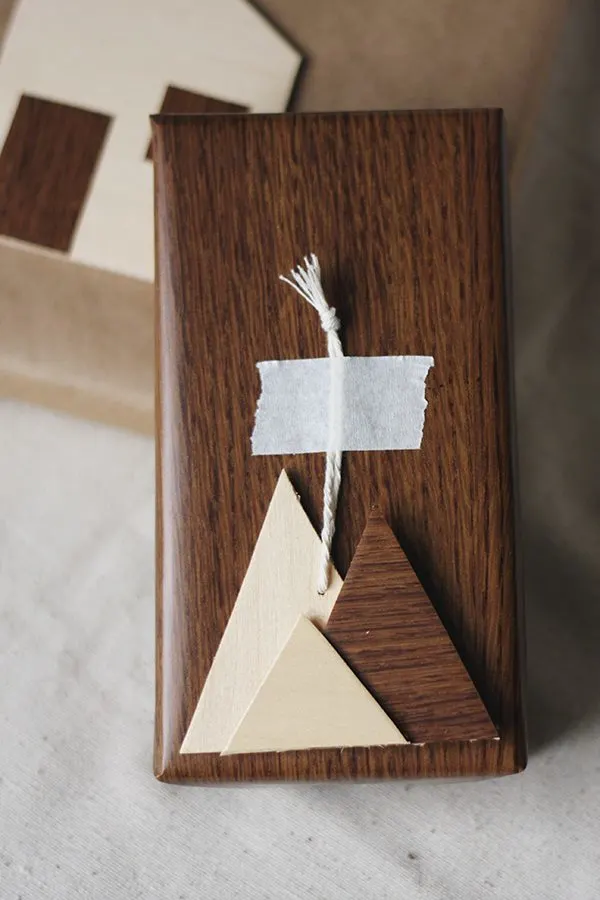
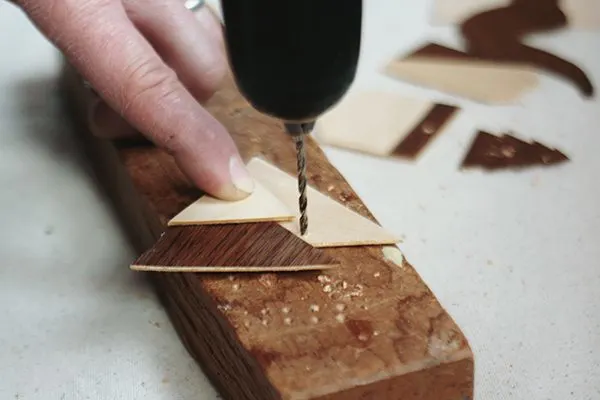
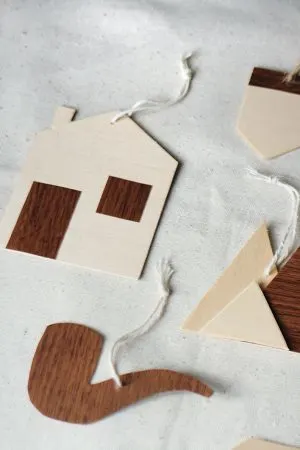
At the top of your cut-out shape, drill a small hole. Thread with string or twin, pull through, and tie the ends together. For an extra touch, you can also add wood grain contact paper to your gift tags or try painting them!
![]()
[Photos by The Merrythought for The Sweetest Occasion.]
The fine print: Please link with love! As with all of our posts, DIY projects featured on The Sweetest Occasion may not be copied, distributed or reproduced without express written permission. Love and links are always appreciated! If you’d like to share this post, please link to this post directly for the DIY tutorial and do not include the instructions in your own post. Thanks so much! xoxo


We’re Over Here… | The Merrythought
Wednesday 11th of December 2013
[...] sharing these DIY Wooden Gift Tags over on The Sweetest Occasion today. Pop over and check them [...]