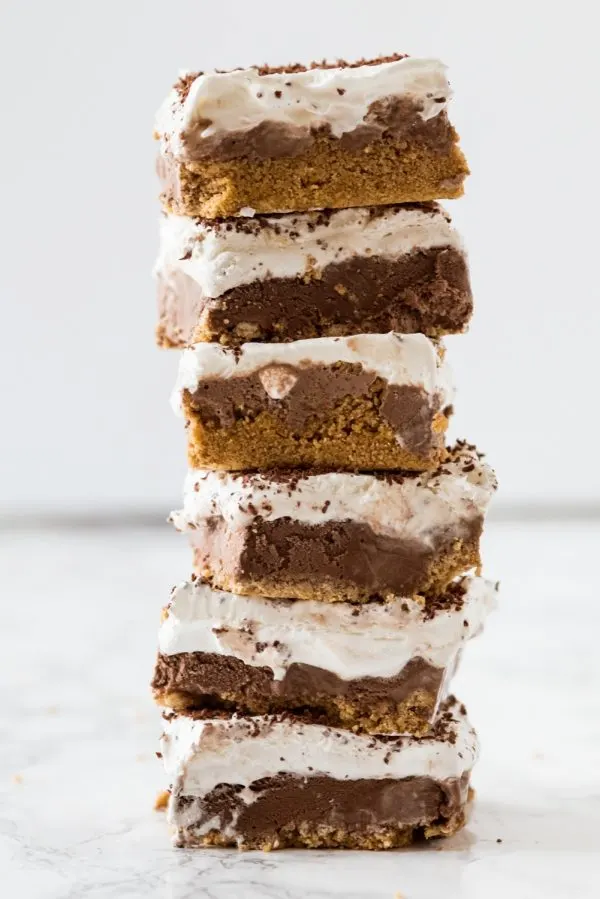
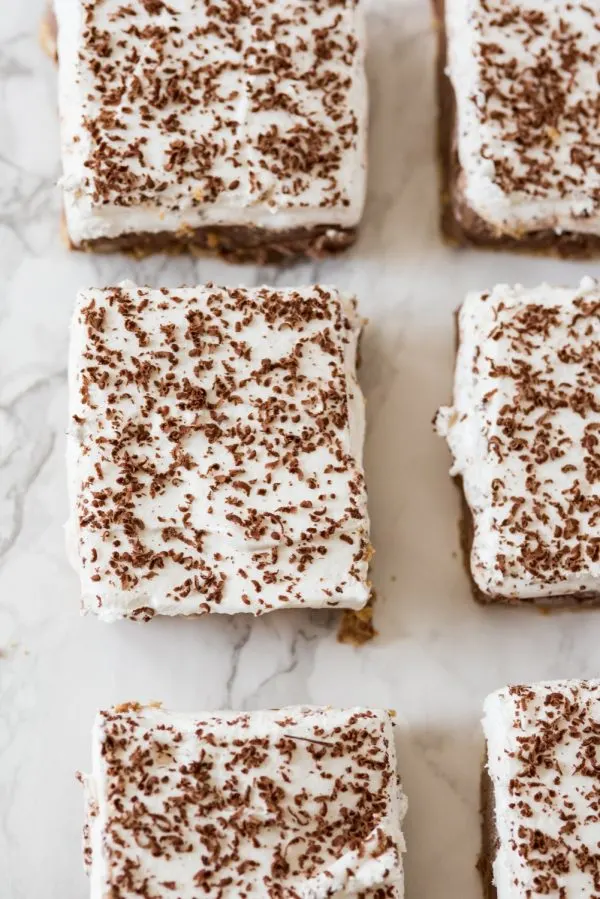
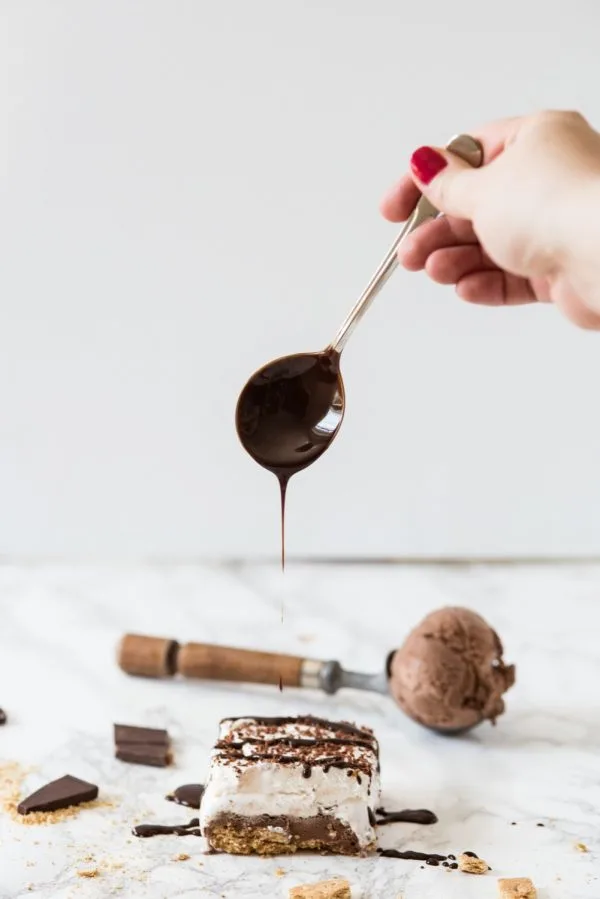
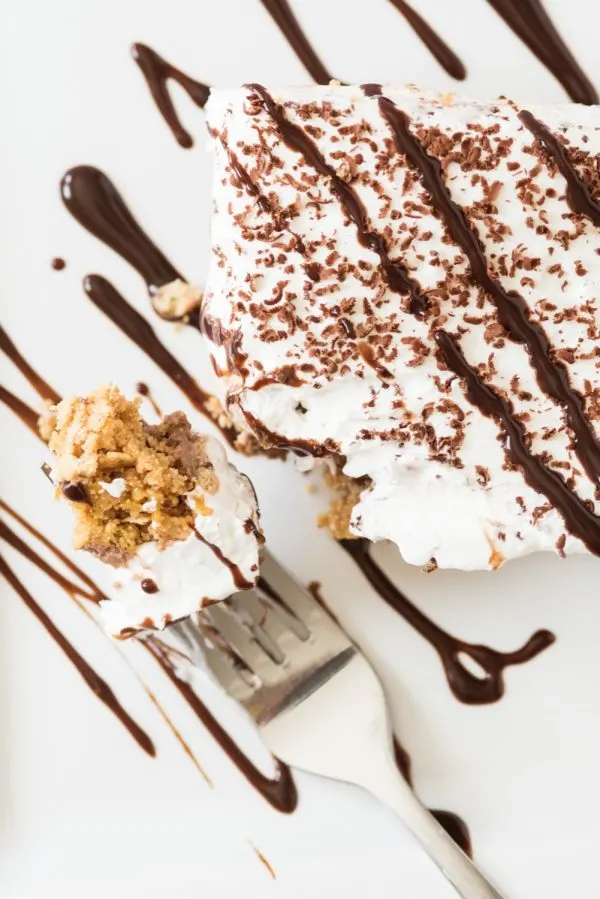
Life is short, friends, so let’s start the week with dessert, shall we? Oh, and, hello! Hi. I’m alive! I’m pretty sure the last two weeks have been a couple for the record books. I could tell you all about how Bob seriously broke and nearly severed the end of his finger the week before last. (And how he’s still in a lot a lot of pain.) Or all about how the sewer line has been backing up into our basement for a couple of days now. (Thanks, long overdue rain!) Or about how we’re pretty sure we may find out later today that fixing said sewer line will cost us lots of money that we very simply do not have. I could tell you about those things, but instead, I’m going to tell you about homemade ice cream cake. Specifically, this s’mores ice cream cake recipe that may just change your life. You don’t need to be handy in a kitchen to make it either! If you can melt a stick of butter and scoop some ice cream, you’re already more than 2/3 of the way there. Ready? Ok! S’mores ice cream cake solves all of the problems. Even the broken-finger-busted-sewer-line type problems. (Even if just for the moment.)
S’mores Ice Cream Cake
Makes (1) 9×13 cake
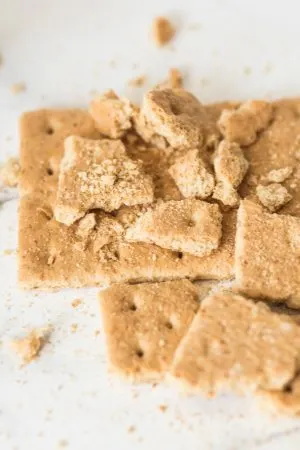
- 2 sleeves of graham crackers
- 1 stick of butter
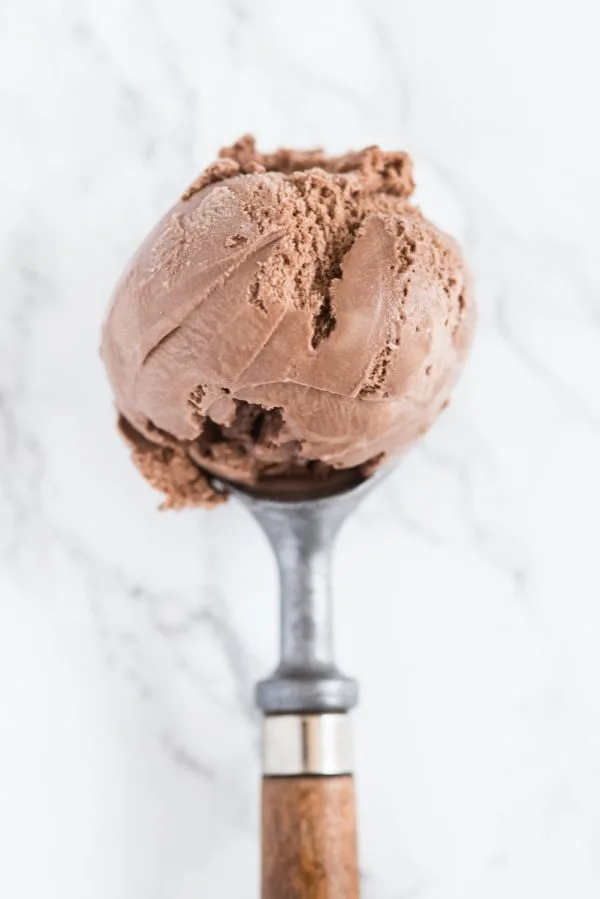
- 4 cups chocolate ice cream
- 1 cup marshmallow fluff
- 1 cup whipped topping
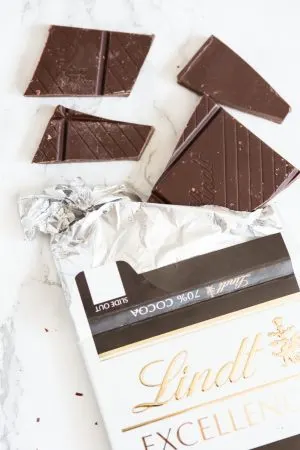
- 2 oz dark chocolate for shaving
- 1/2 cup chocolate syrup for drizzling
- Nonstick cooking spray
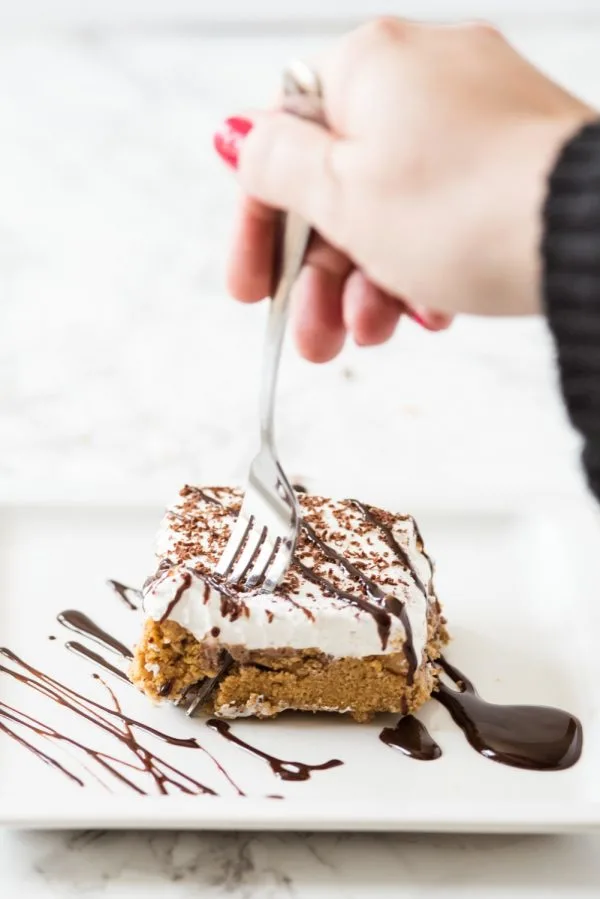
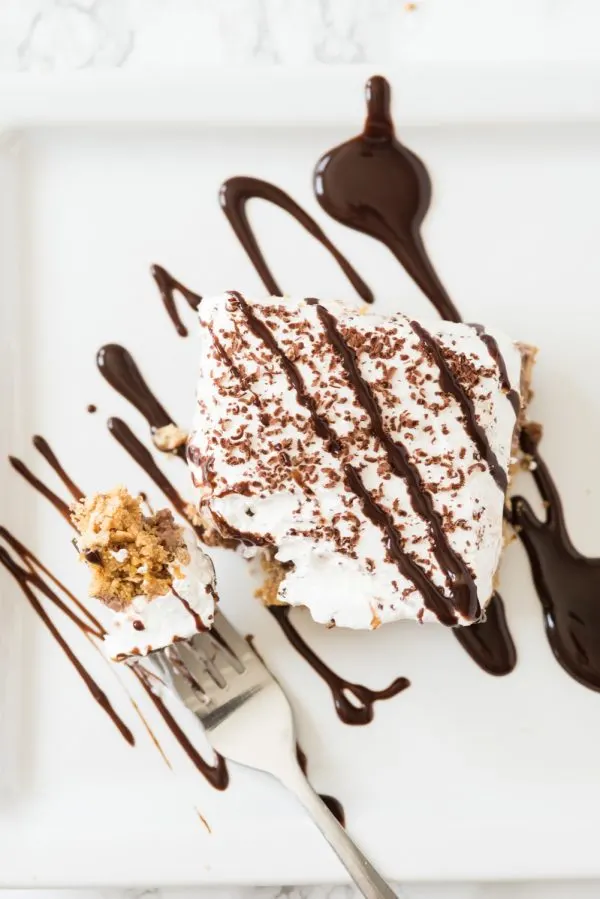
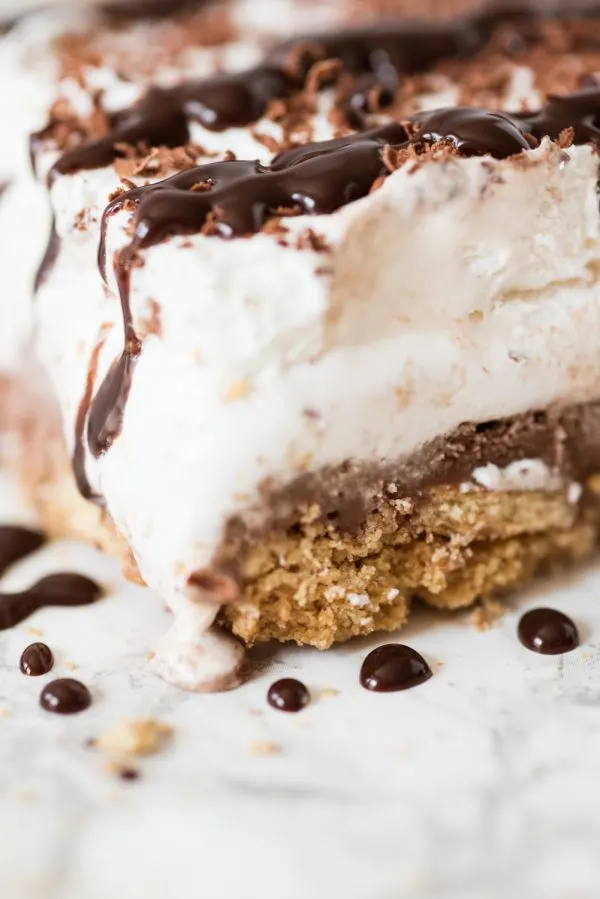
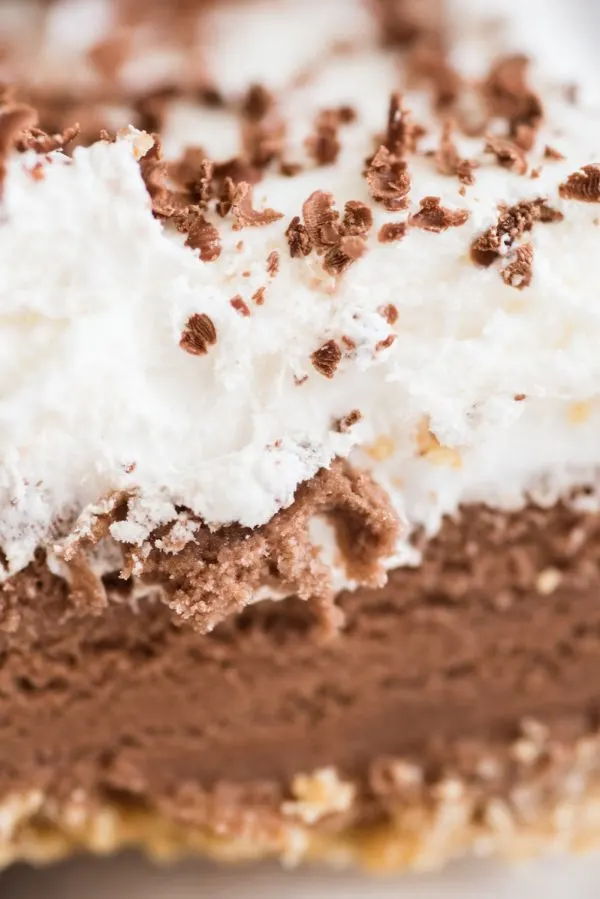
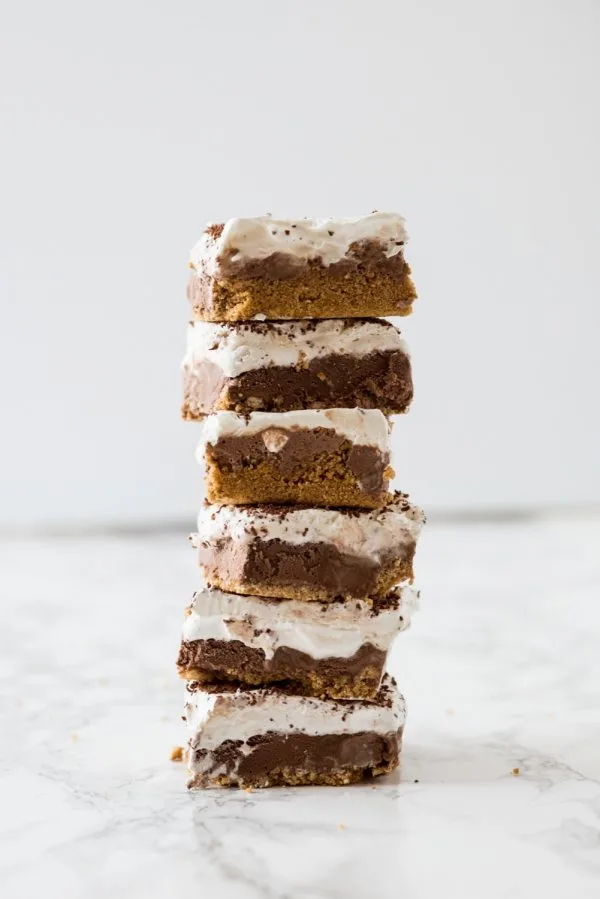
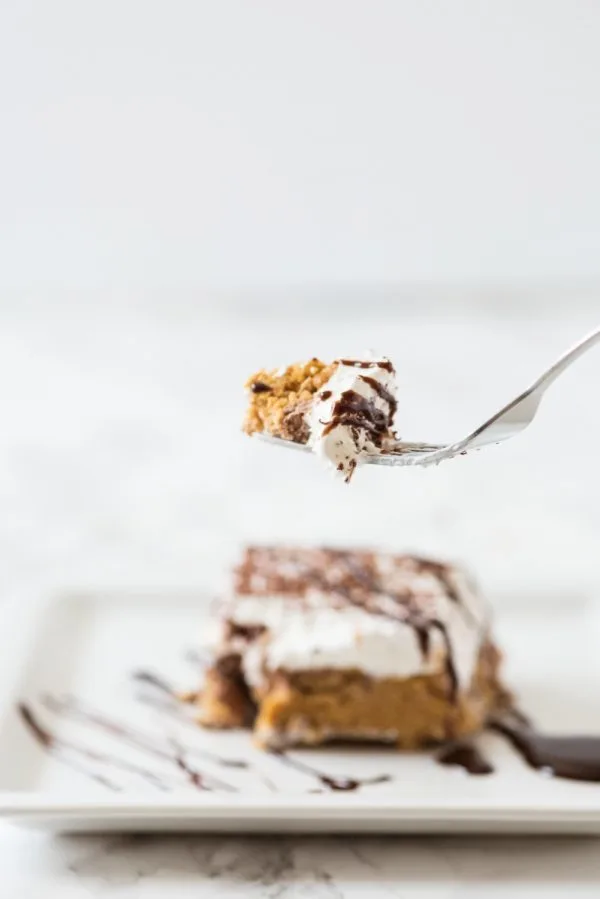
Begin by spraying the entire bottom and sides of a cake pan (I prefer disposable for ice cream cakes) with nonstick cooking spray. Melt the butter and then allow it to cool slightly. While it’s cooling, place graham crackers in a food processor and pulse until ground up. Alternately, you can place them in a large plastic storage bag and smash them up with a rolling pin. Once smashed or processed, transfer graham cracker crumbs to a mixing bowl and add in butter. The mixture should be crumbly, not buttery. Use the backside of a rubber spatula to firmly press the crumb mixture into the bottom of your cake pan. Scoop chocolate ice cream on top and press it down as well. Then follow up with the marshmallow fluff and, finally, the whipped topping. Shave dark chocolate over top and then cover and transfer everything to the freezer for at least 2 hours or overnight ideally. Remove from the freezer 15 minutes or so (more or less depending on heat/humidity) before slicing and serving. Drizzle chocolate syrup over top after plating and before serving. Bon appetite!
I mentioned above that I prefer a disposable pan for making ice cream cake and the reason why is pretty simple. By no means is it necessary, but sometimes the cake has a tendency to stick a little bit and the disposable pan makes it easier to sort of bend it and pop the cake out if you have a piece that’s stubborn. We’ve used glass cake pans plenty of times and they work great, too, but the disposable can be a little easier. When in doubt, make sure not to skip the nonstick cooking spray part!
[Art direction + styling by Cyd Converse | Photos by Alice G. Patterson for The Sweetest Occasion.]

Sarah
Thursday 9th of June 2016
I think this might replace my husband's favorite cake. Think I might try it for his birthday next month!
Cyd Converse
Thursday 9th of June 2016
Perfect for a birthday cake, Sarah! Let me know if you do! (p.s. It would be make my year if you did! lol)
Tan of Squirrelly Minds
Wednesday 8th of June 2016
Oh my gosh YES PLEASE. This looks so stinkin' good!
Nicole
Monday 6th of June 2016
This looks so good! Definitely saving to make later. My favorite pan for ice cream cakes is a springform pan. You can cover the bottom part with foil & pop the edge off easily when serving!
Cyd Converse
Wednesday 8th of June 2016
Ahhh so smart, Nicole! I am going to give that a try. I have a mind to try out a strawberry shortcake ice cream cake soon!
Amy | Delineate Your Dwelling
Monday 6th of June 2016
This looks so perfect for summer!
Cyd Converse
Wednesday 8th of June 2016
It's SO good, Amy! You should give it a try! ;-)