


This post was sponsored by Valspar. Thank you for supporting the sponsors that so
generously help The Sweetest Occasion keep on keepin’ on!
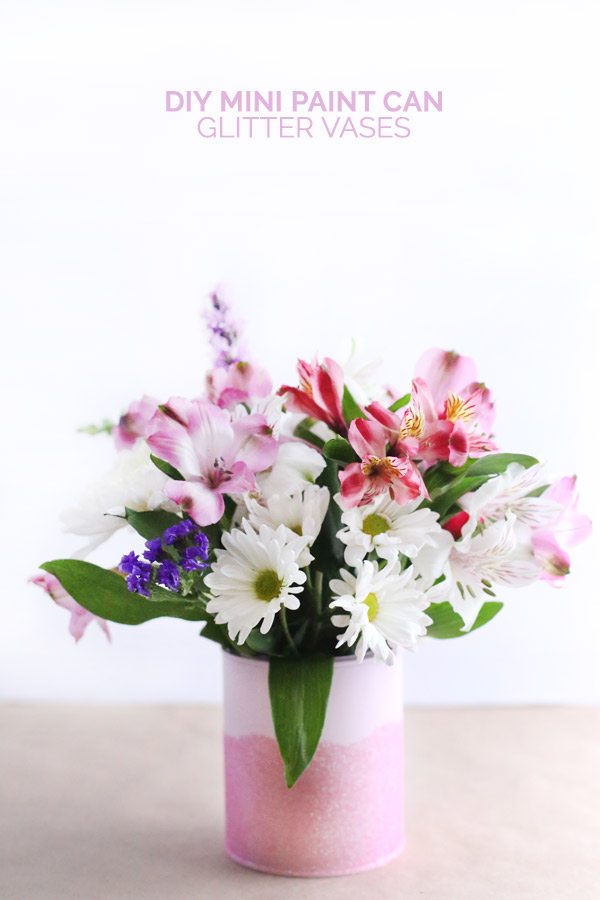
Friends, I am so excited about today, because this post marks the start of an incredibly exciting collaboration with Valspar where I’ll be working with them to bring you loads of color inspiration, ideas and DIY tutorials throughout all of 2015. I am sincerely really ecstatic about working with them because I personally use their paints frequently and it’s partnerships like this that allow me to create really super cool content for you. So without further adieu, today we’re kicking things off with these mini paint can glitter vases! They’re the perfect last minute Valentine’s Day craft and they’re so versatile. You can use them as gifts for your girlfriends, your mom, your sister, or your coworkers and once the flowers have passed their prime, they can do double duty as a pretty pen or makeup brush holder.
![]()
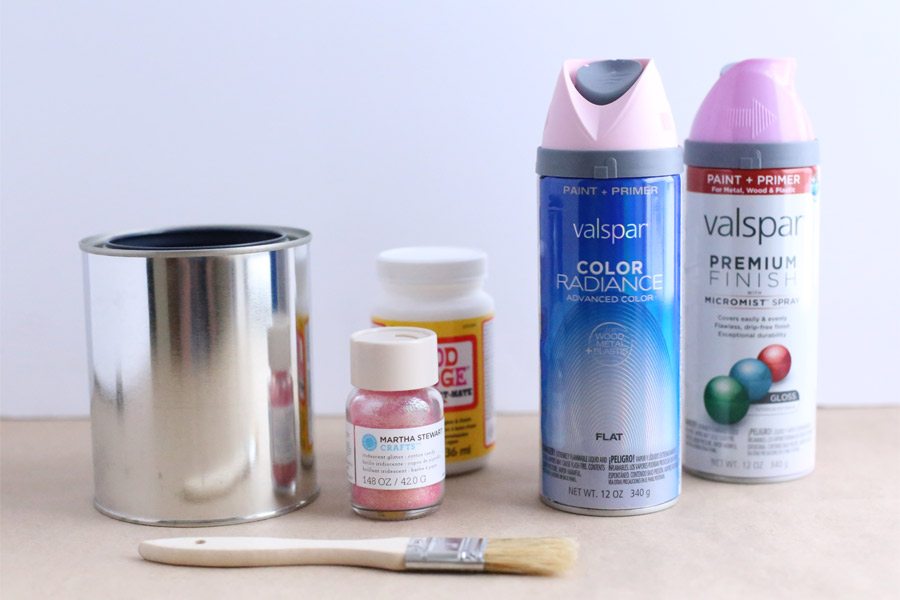
- Mini paint cans (I used these ones)
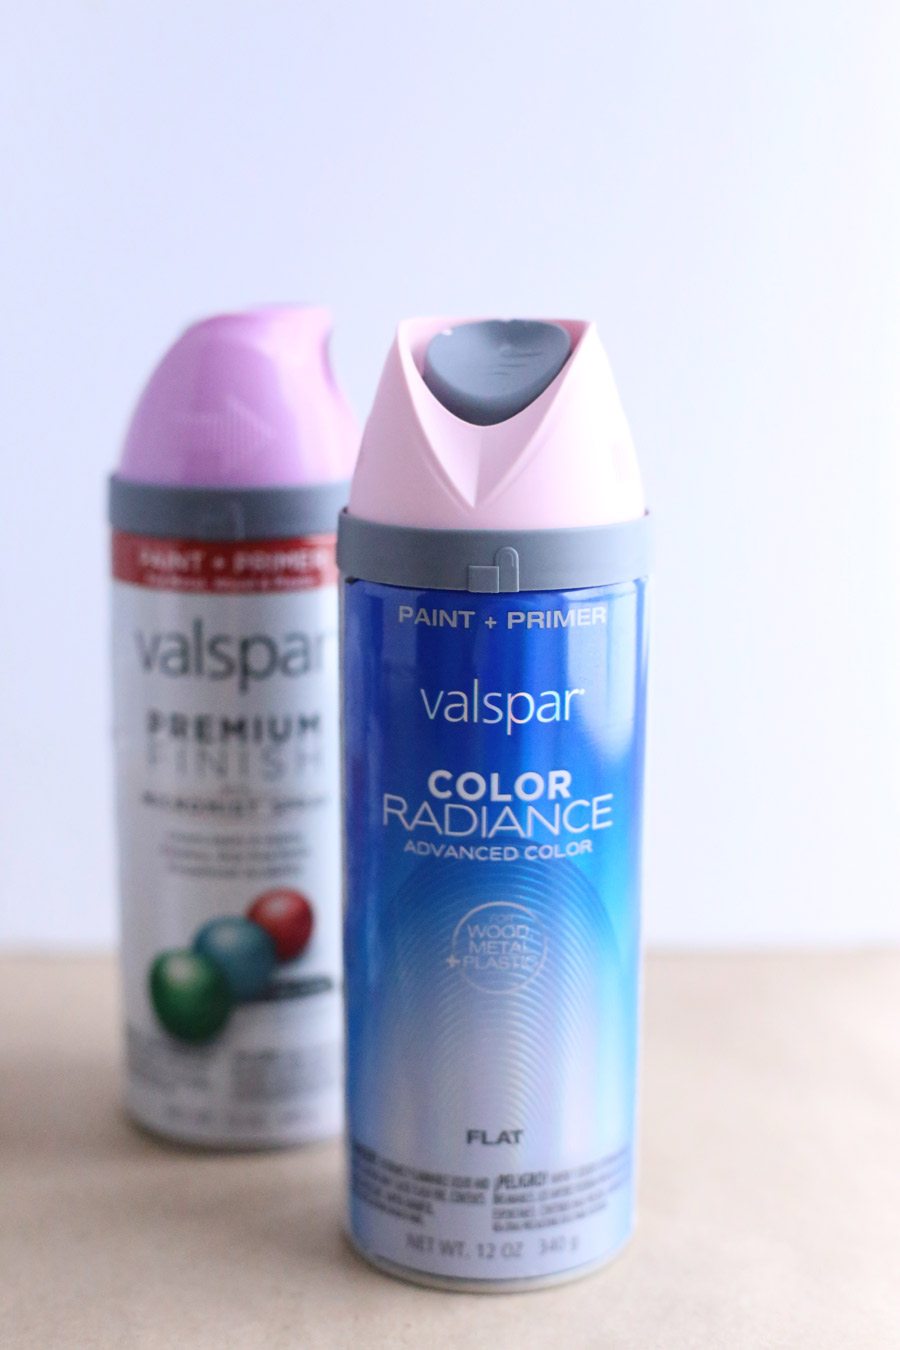
- Valspar spray paint (I used Rosy Cheeks from the Color Radiance line at Lowe’s)
- Small paint brush
- Glitter in your choice of color
- ModPodge or similar glue
- Floral foam
- Knife
- Fresh flowers
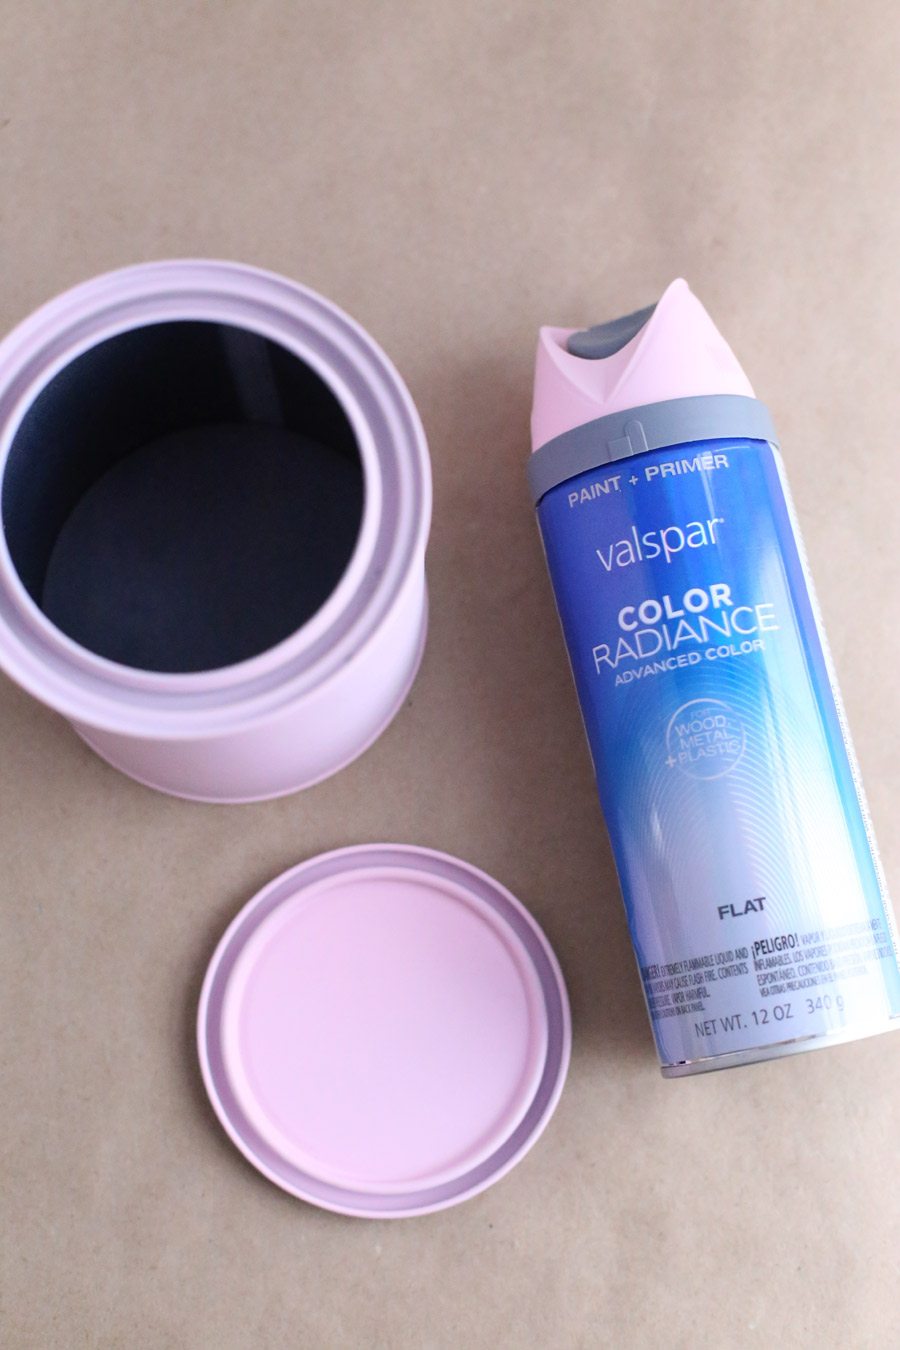
Begin by wiping down your paint cans to remove any residue or fingerprints. (Mine had barcode stickers on the top, which I removed with Goo Gone and then washed thoroughly.) Then it’s time to paint! I am obsessed with the Valspar Color Radiance spray paint available at Lowe’s (you guys know all about me and my spray paint obsession) because it has a primer built in and it is specially formulated to work on wood, plastic and metal so it’s the perfect choice for giving these little cans a wash of color. I picked up a can of Rosy Cheeks in a flat finish, which is the perfect Valentine’s Day pink. Be sure to use several, light coats of spray paint to avoid any drips, allowing 20 minutes or so between coats. Then allow them to dry completely for a couple of hours before moving on.
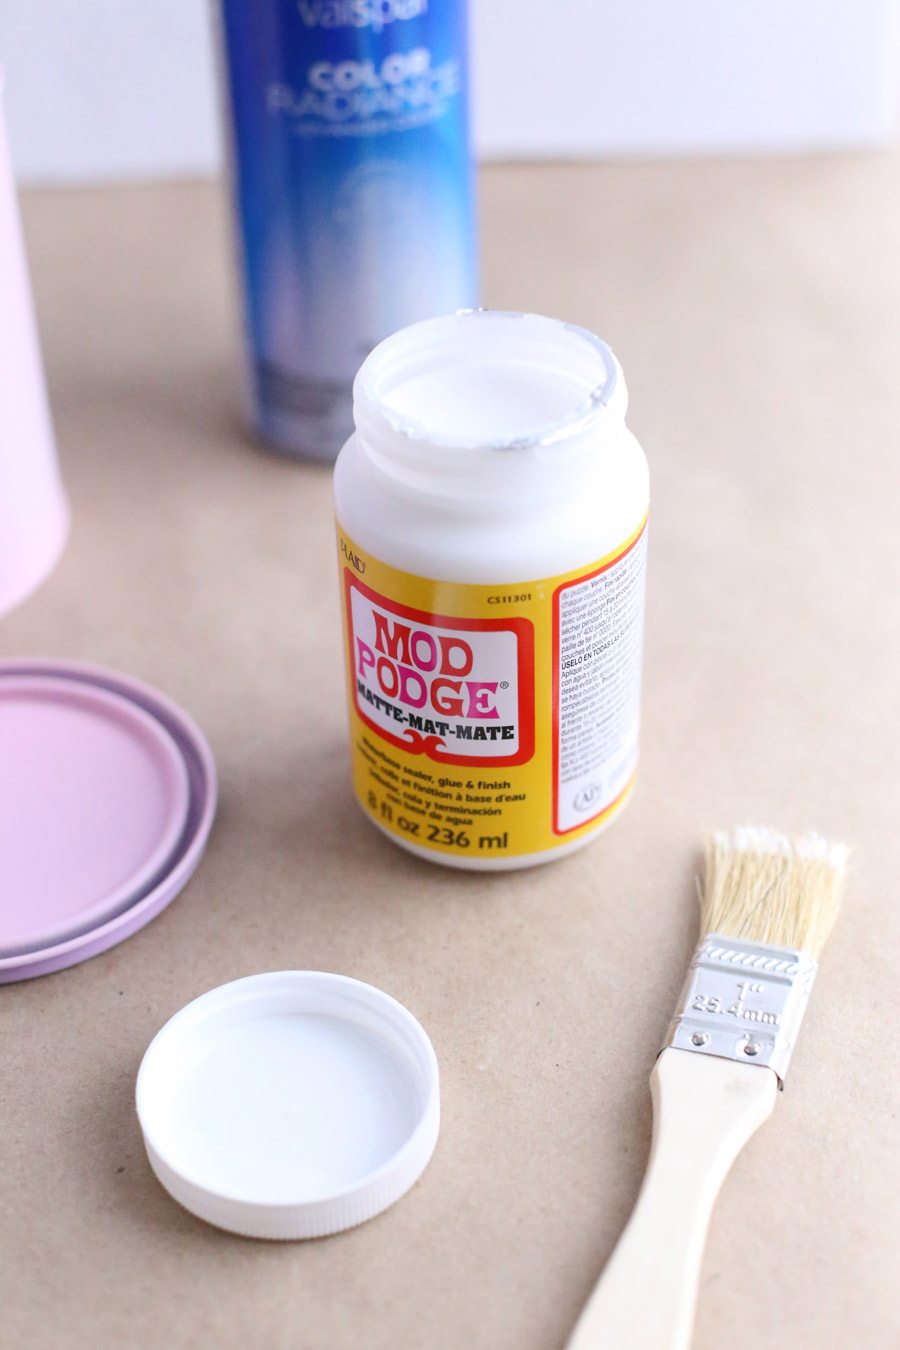
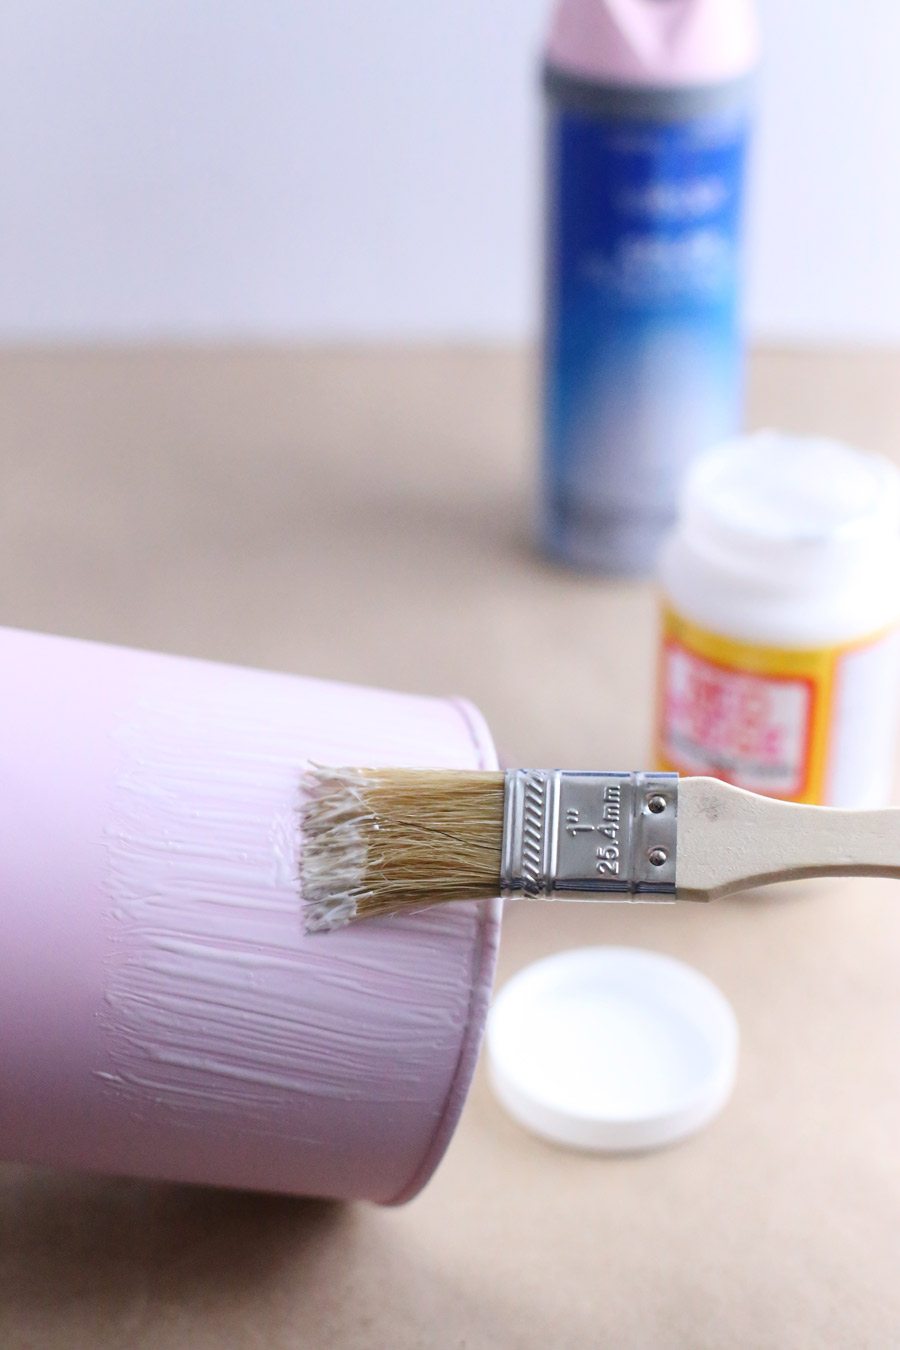
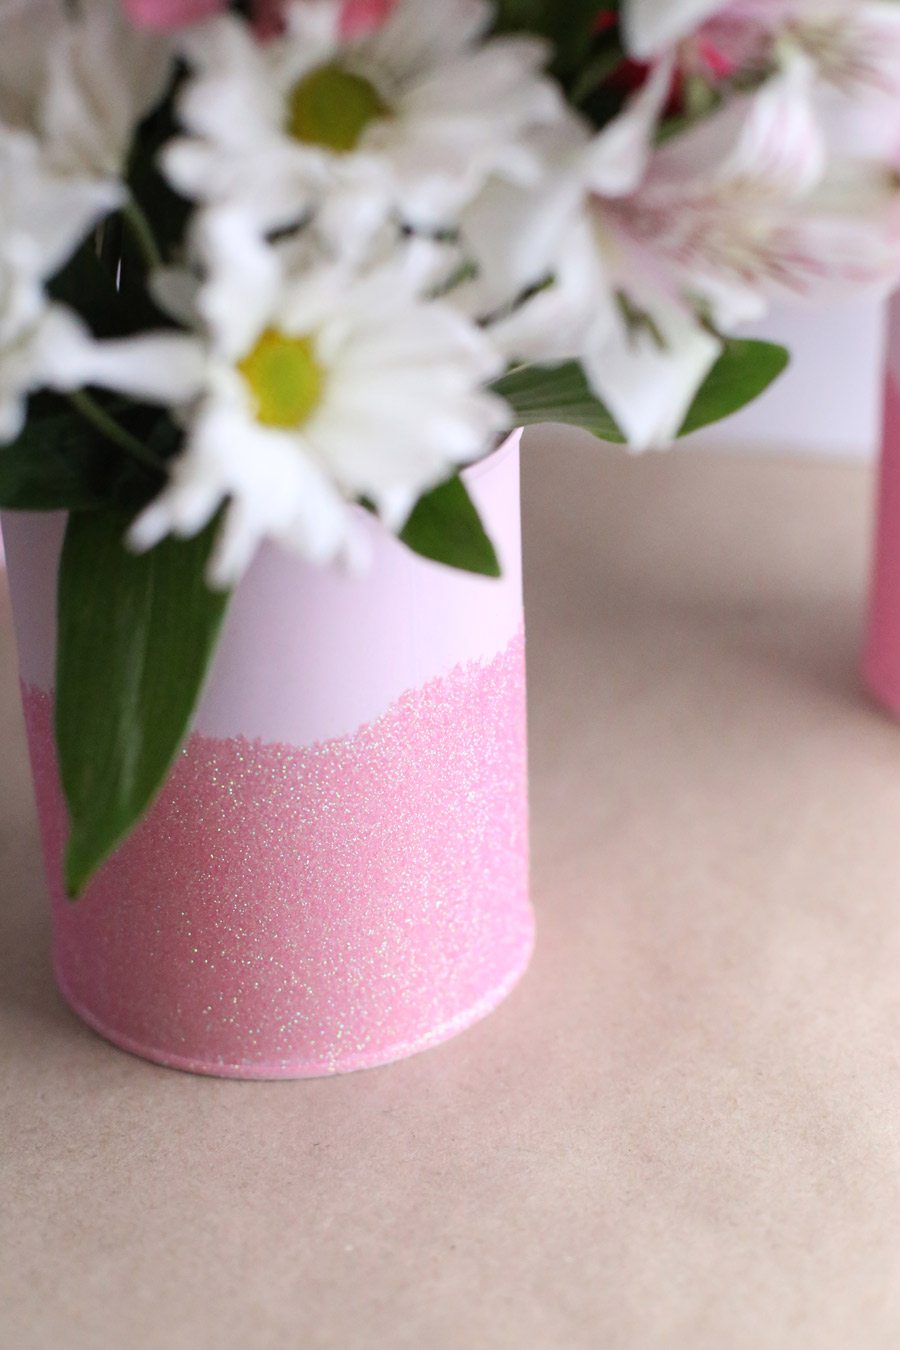
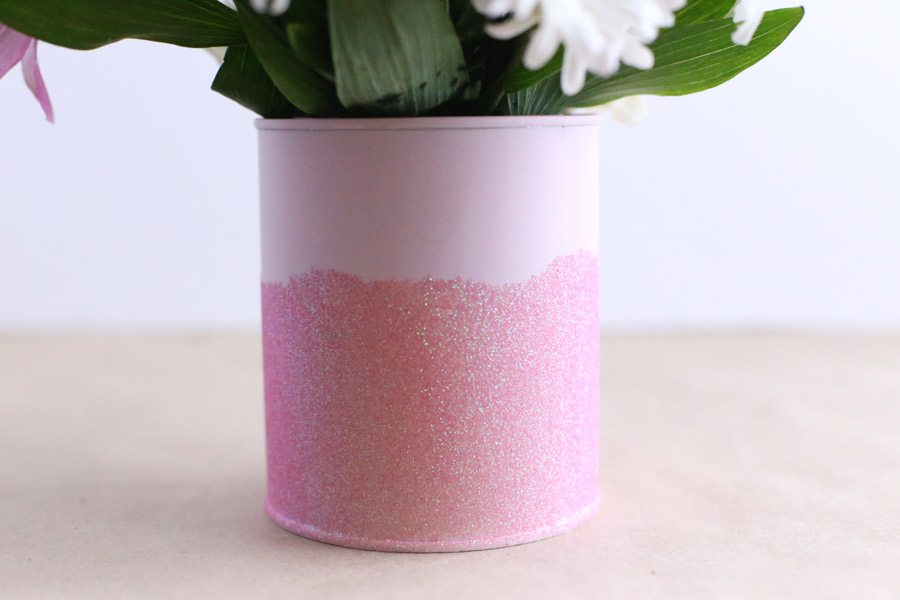
Next up, using the paint brush, apply a coat of ModPodge to the bottom half of the can. If you want a precise line you could use painter’s tape to mark off the can, but I wanted a slightly imperfect glitter-dipped look so I skipped the tape. You’ll want a fairly thick coating of ModPodge, but not so thick that it puddles up or starts dripping.


Now it’s time to glitter! Work over a piece of kraft paper so you later use it as a little funnel to return the rest of the glitter back to the bottle, because pretty much you’re going to just dump loads of glitter over all sides of the paint can where you’ve applied the ModPodge. Tap off the excess and set it aside to dry.
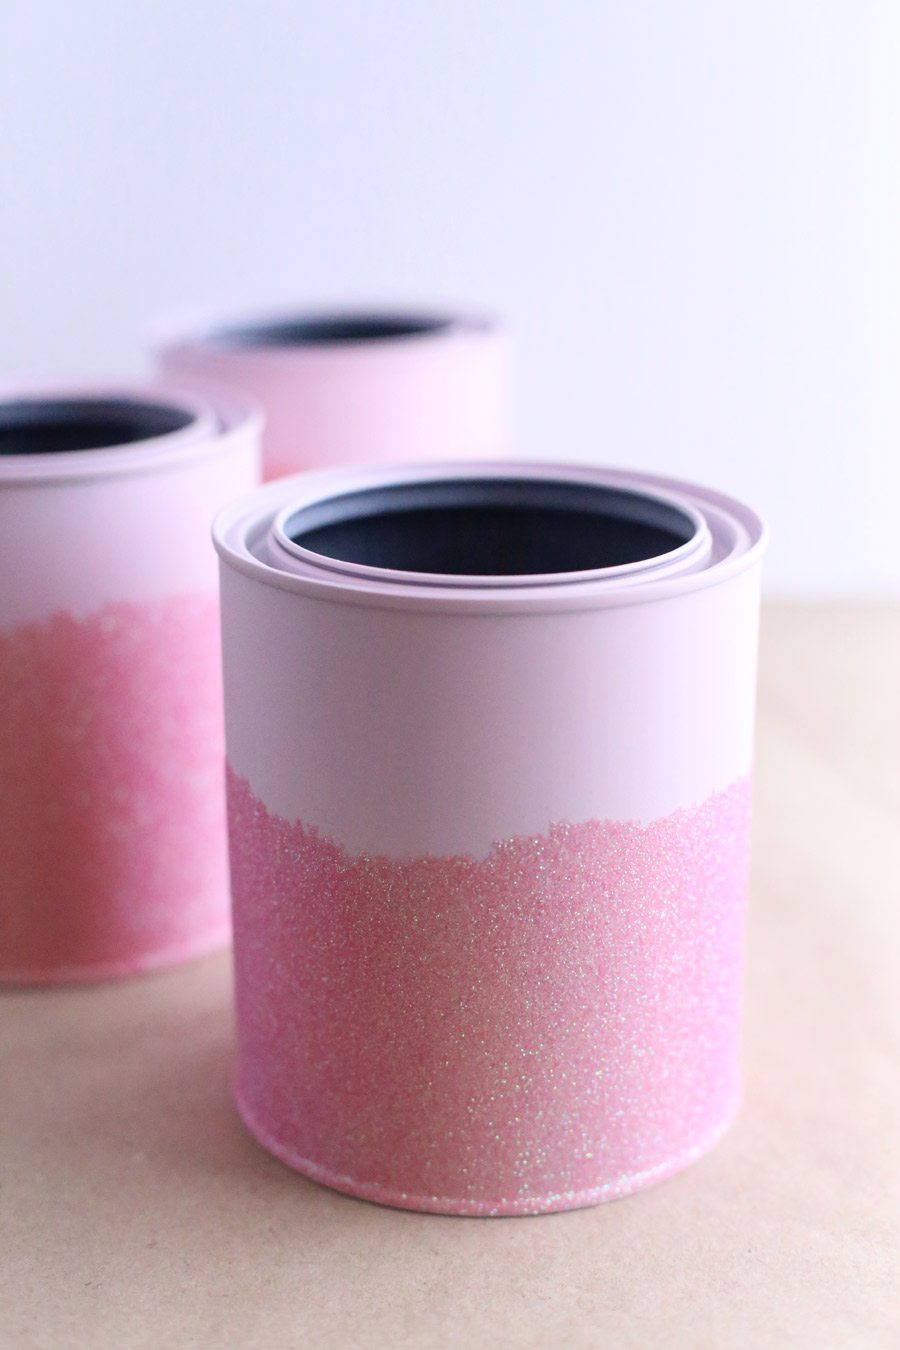

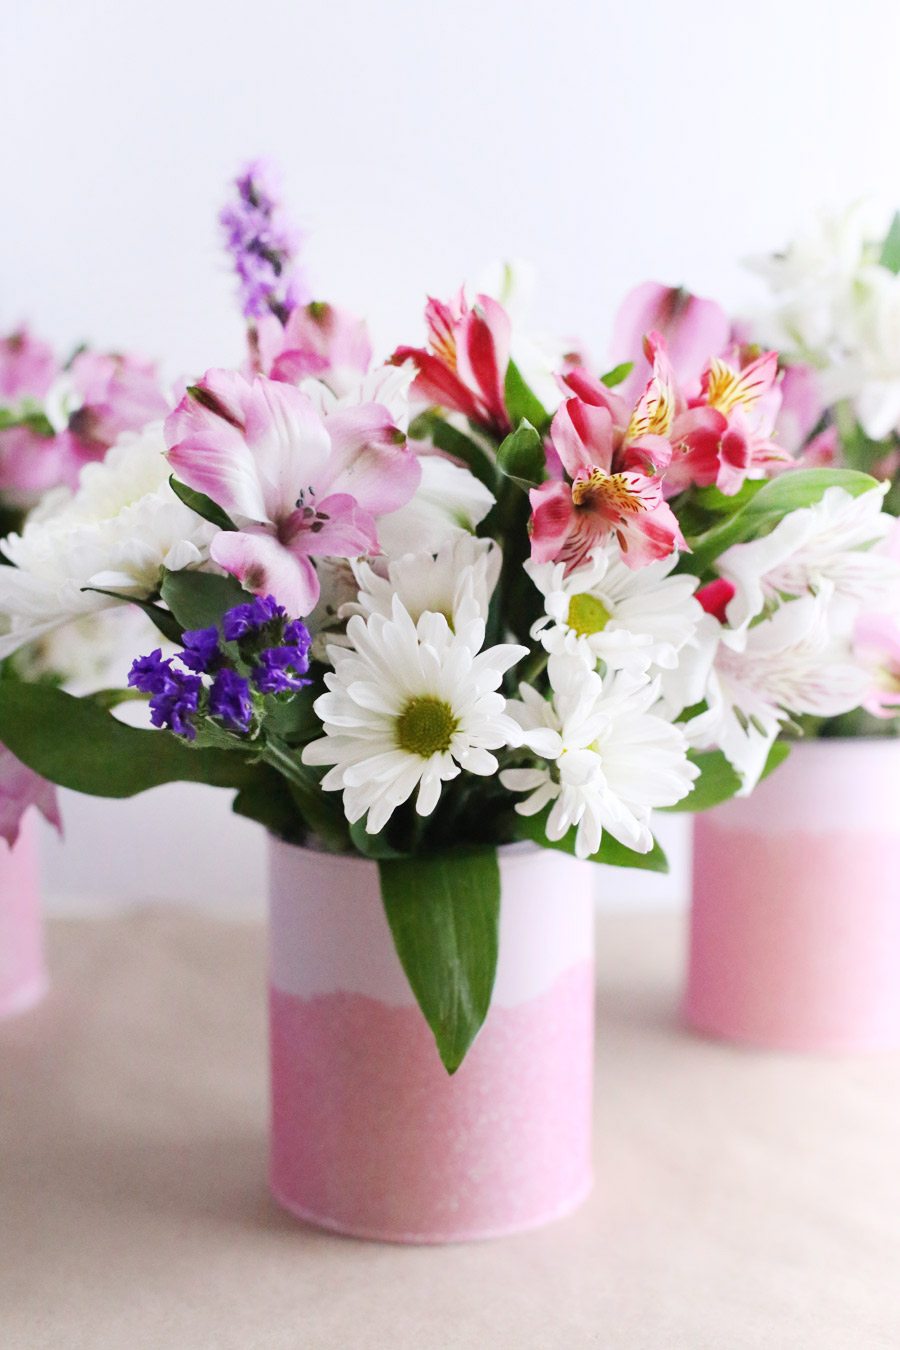
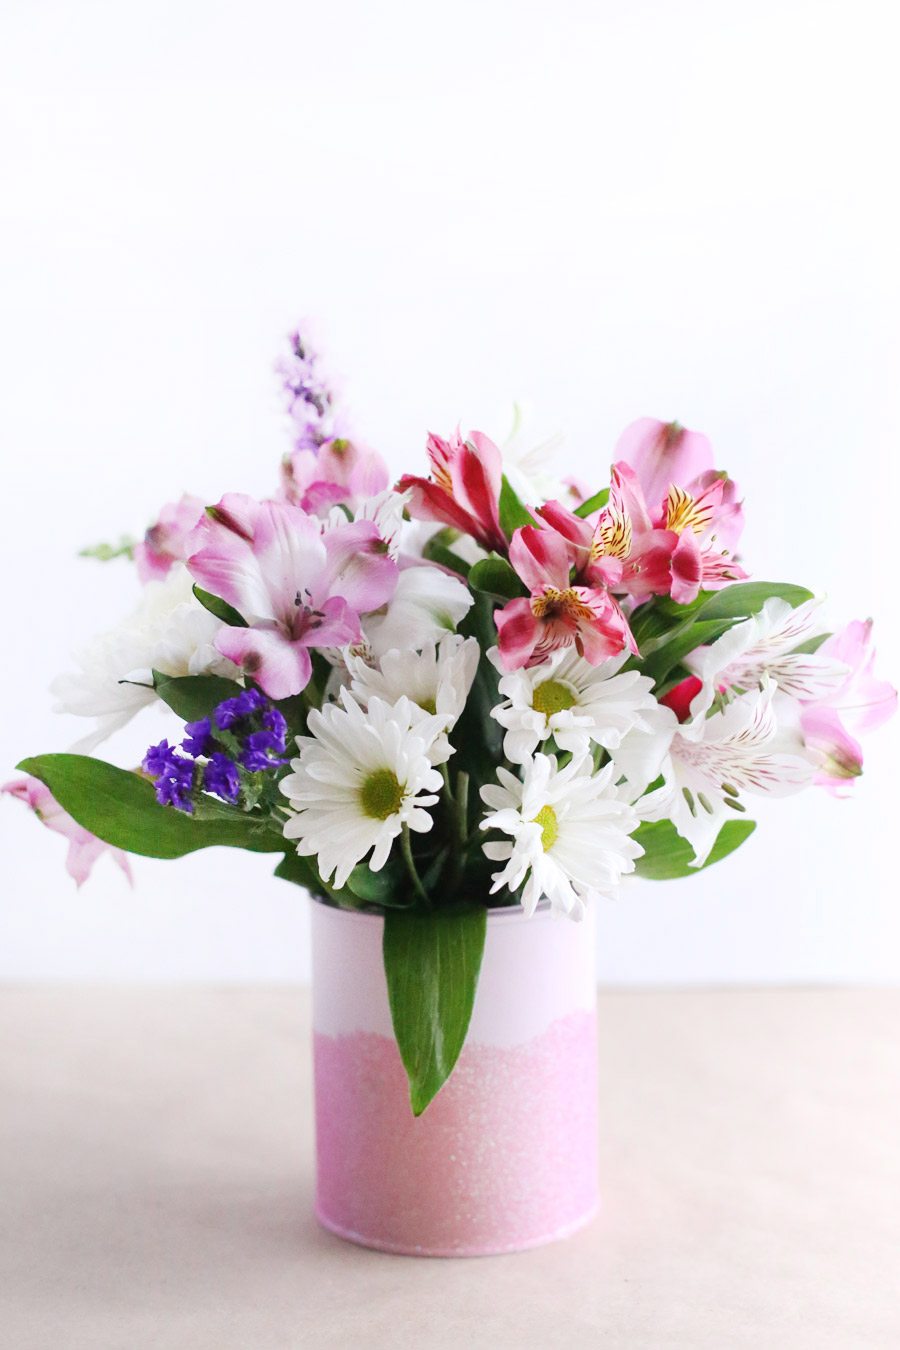
You’ll be left with these super pretty glitter-dipped paint cans that I am totally loving! I also added glitter to the lids of my cans using the same process, so they’ll look really pretty tucked on a shelf or on your desk, too.

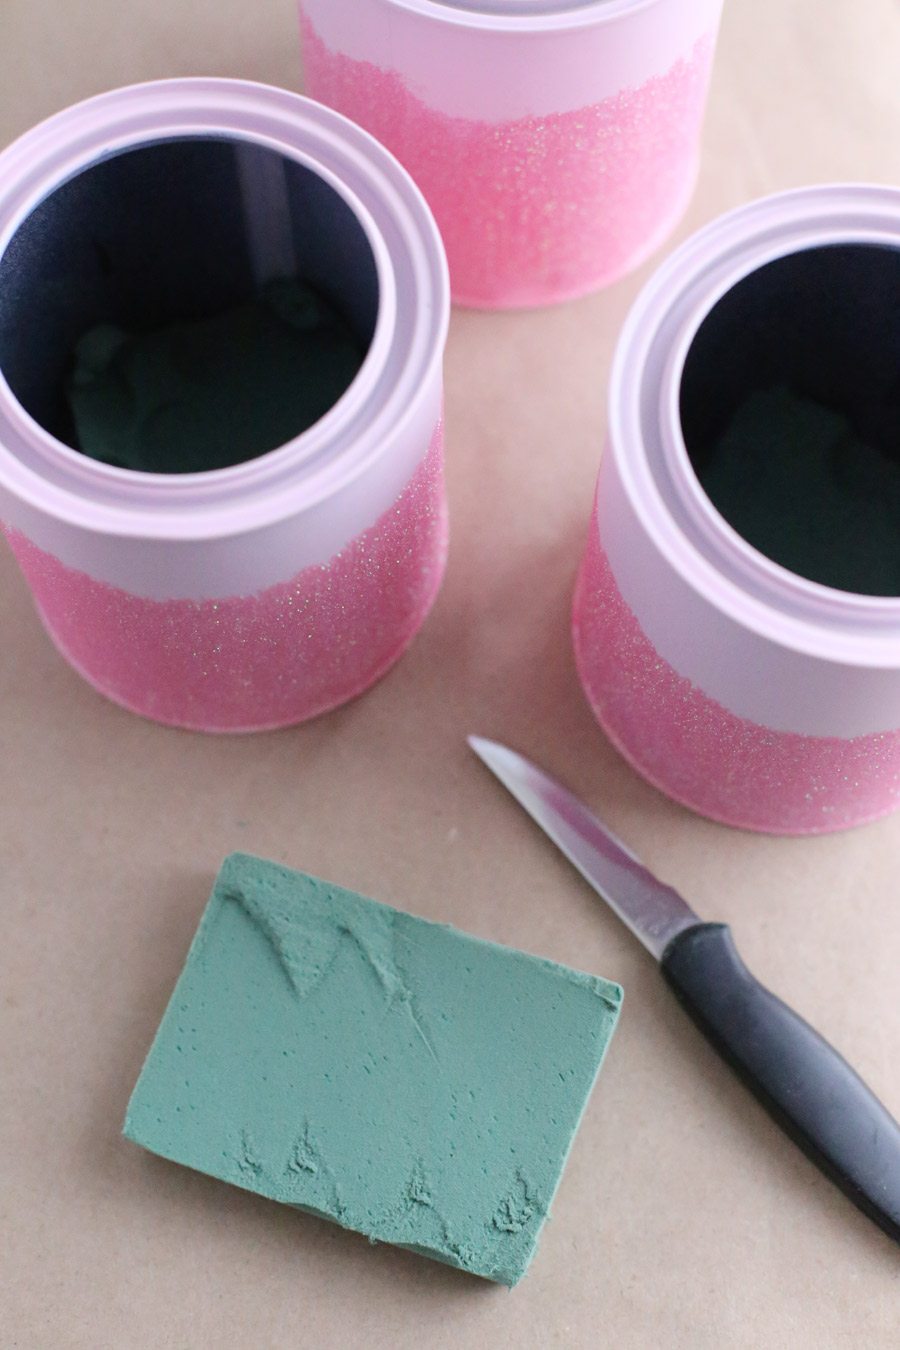
Now it’s time to make these bad boys look like the vases they are! You’ll want to pick up a block of floral foam (the kind you use wet), which you can find at any craft supply store. Use a knife to slice off chunks of the foam, then soak in water and push a piece into the bottom of each paint can. The foam makes it super easy to create really professional looking arrangements without having to be a floral whiz!
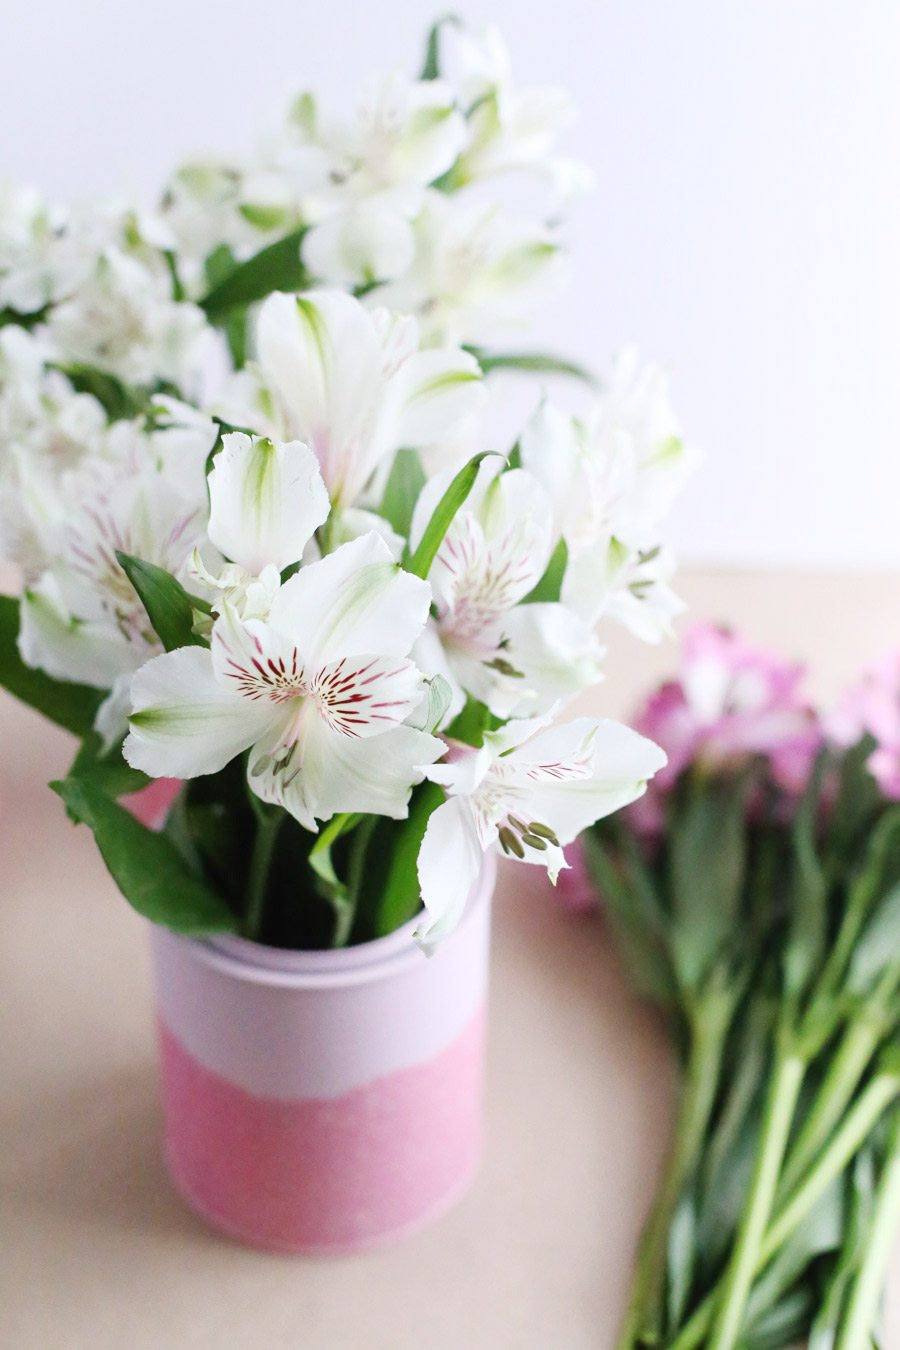
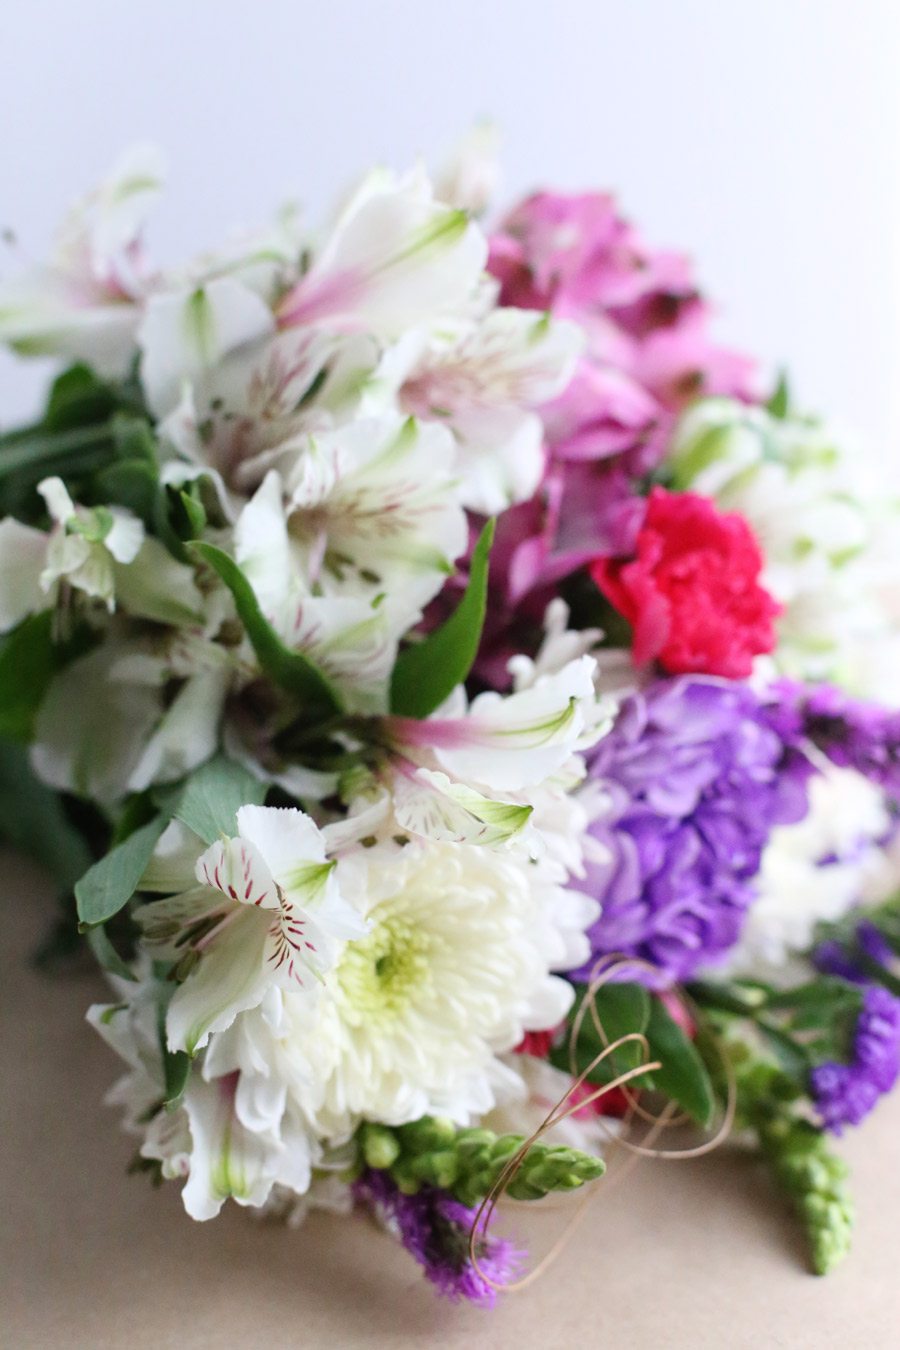
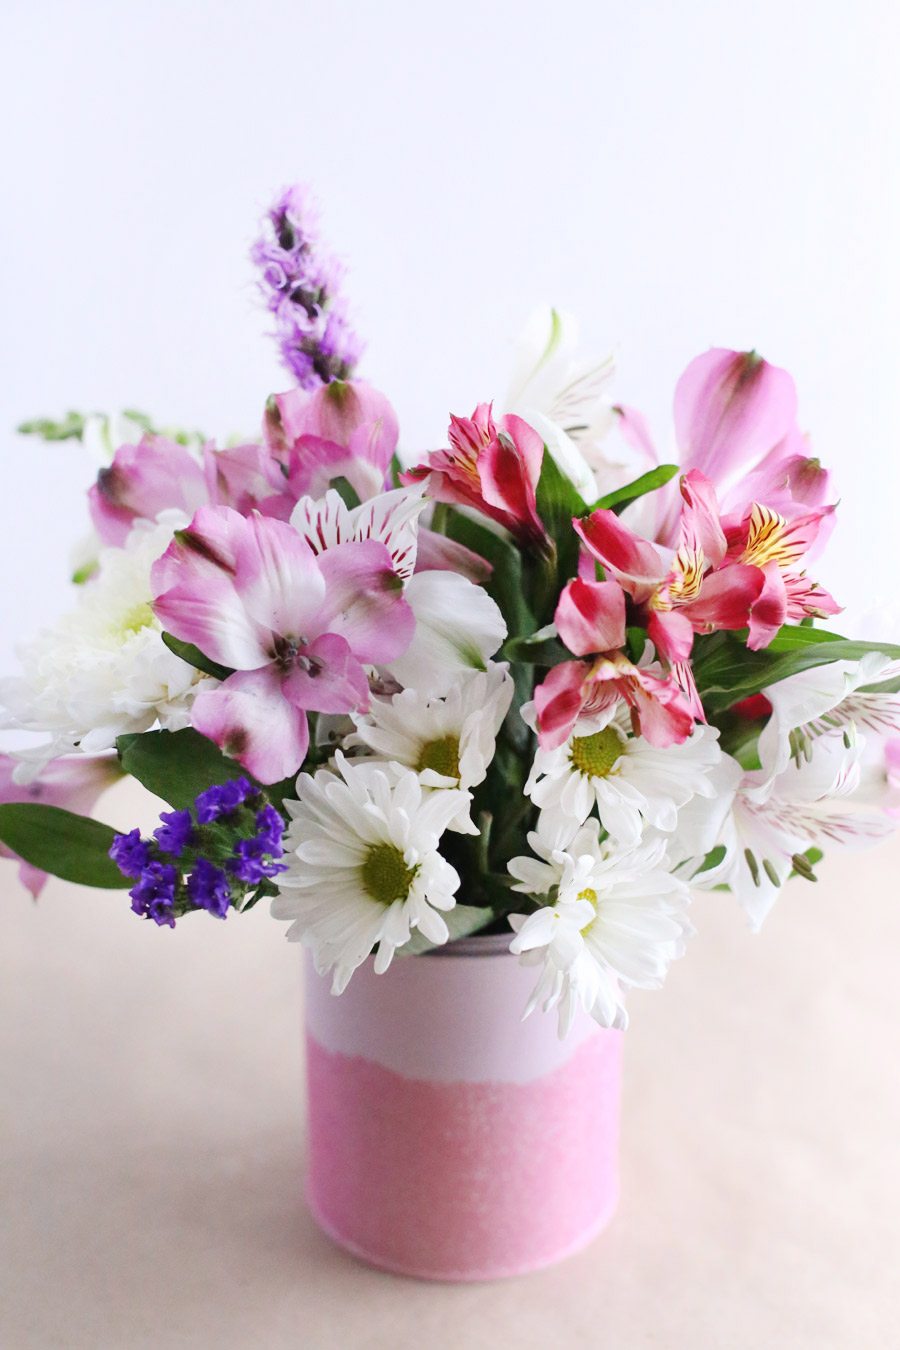
I picked up a few bunches of flowers in pretty, Valentine’s Day inspired colors from the grocery store and then trimmed everything down to a length that looked pretty with the height of the paint can vases. Start with one color or flower type and push the stems directly into the foam in the bottom of the can. Then build it up layer by layer, adding a color at a time until you have a big, full looking arrangement in each can.
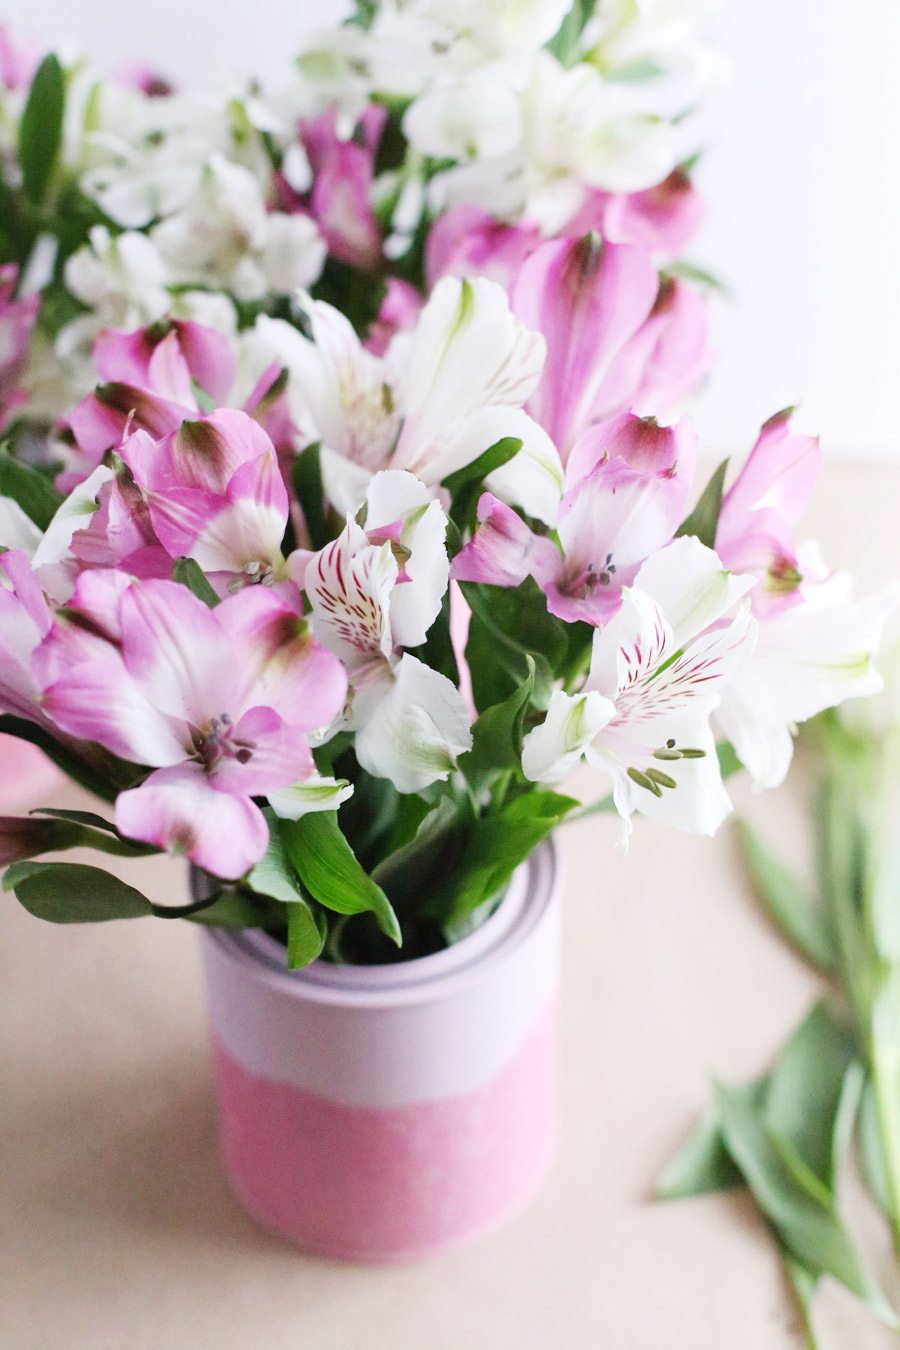
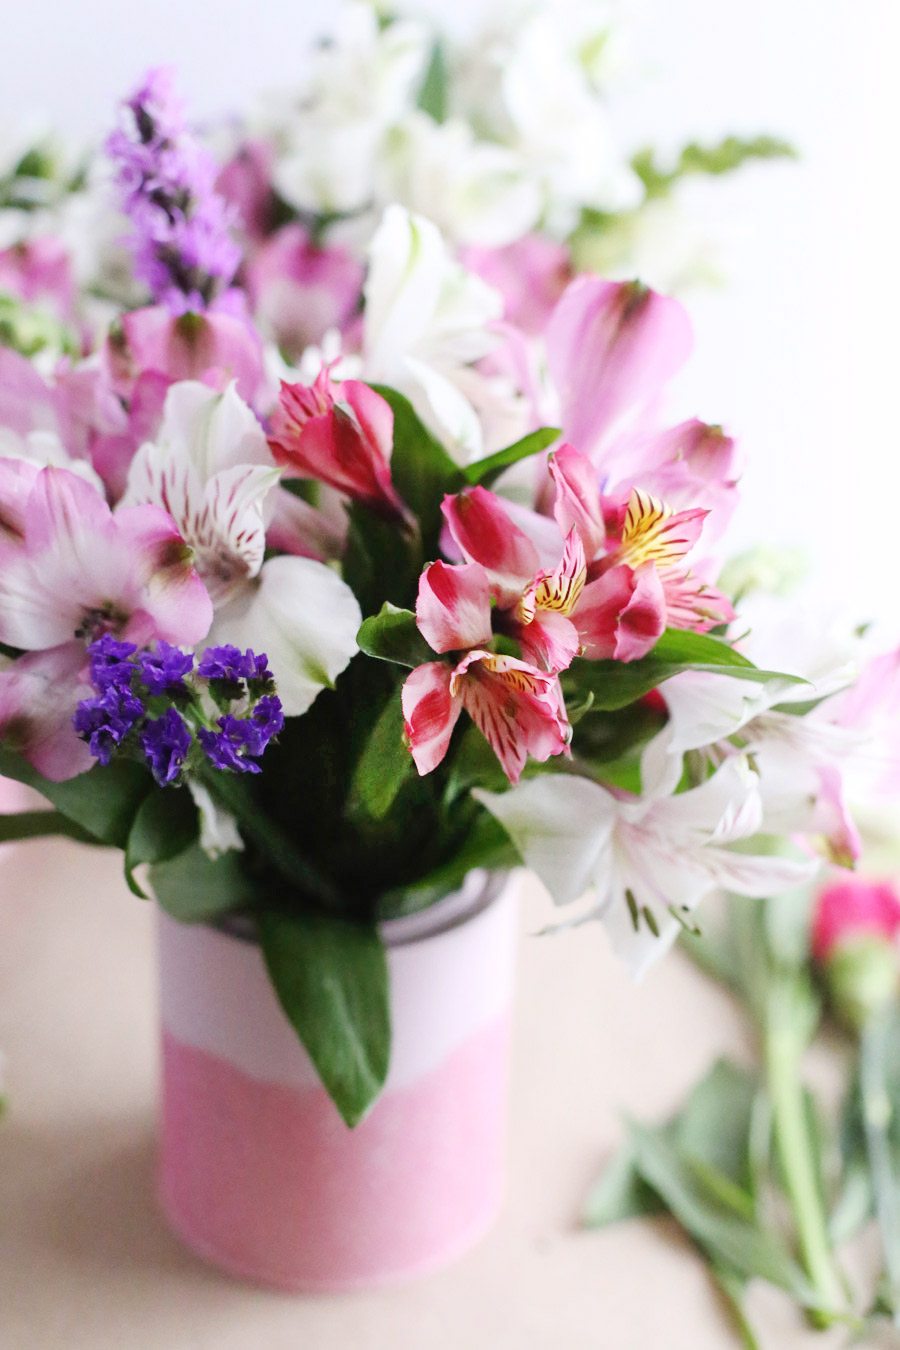


And there you have it! The prettiest little paint can vases loaded up with gorgeous flowers for making all of the ladies in your life feel super special this Valentine’s Day. Of course, you can choose from any of Valspar’s gorgeous spray paint colors and play with different colors of glitter to really customize these and make them suit your personal taste. For me, it was all about the pink for Valentine’s Day and I’m so glad that Valspar gave me the chance to have fun creating these. I know a few special ladies who will be receiving these from me this week!

![]()
[Design, styling + photos by Cyd Converse for The Sweetest Occasion.]
This post was sponsored by Valspar. Read more about our editorial policies.


 Back to Top
This is so soft and feminine, love the colors. I feel like you could add some foam backing to the paint can lids to use them as coasters, too.
this is a nifty do it yourself idea that you can do fairly easily and without spending too much and makes a big difference. will add a glimmer to your decor for sure.
LOVE IT! This is so brilliant, I can’t wait to try it out. :) As always, thanks for sharing!
Thank you, Elle! I’m so glad you like it..it was so fun and it’s crazy simple. Plus, glitter. I love glitter, as we know. ;-)
I am so excited that you are working with them I can’t wait to see what other fun colourful DIYs you come up with! This DIY is a great way to reuse old paint cans and looks gorgeous (especially with some fresh flowers) :)
emmasbeginning.blogspot.com
Thank you so much, Emma! Your support means the world! We already have a lot of super colorful posts in the works that will start popping up over the next few weeks. :-)