


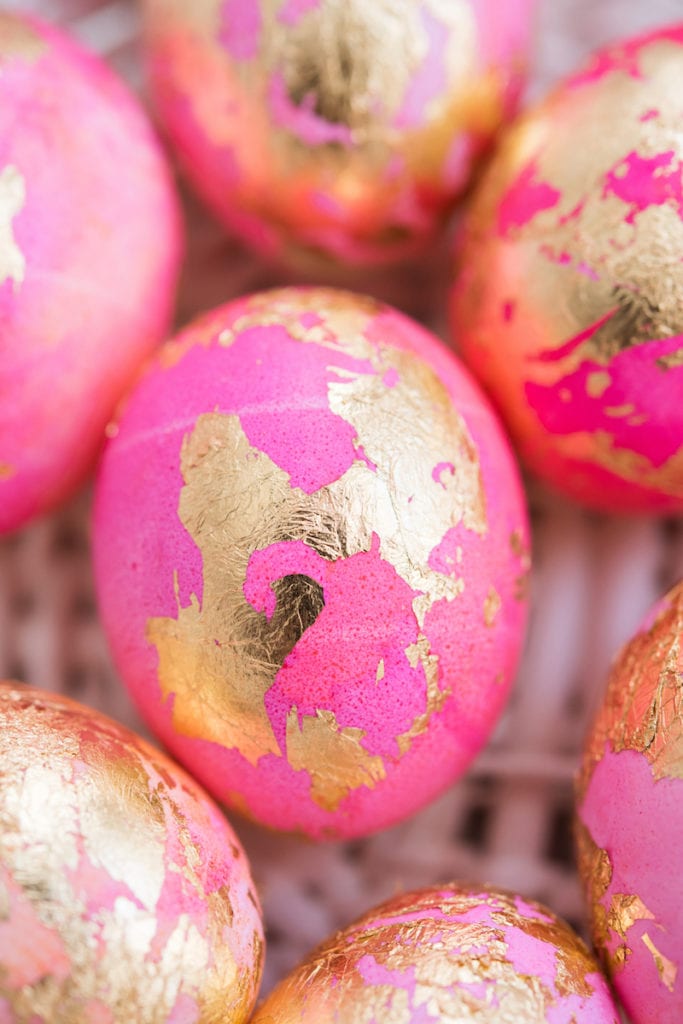
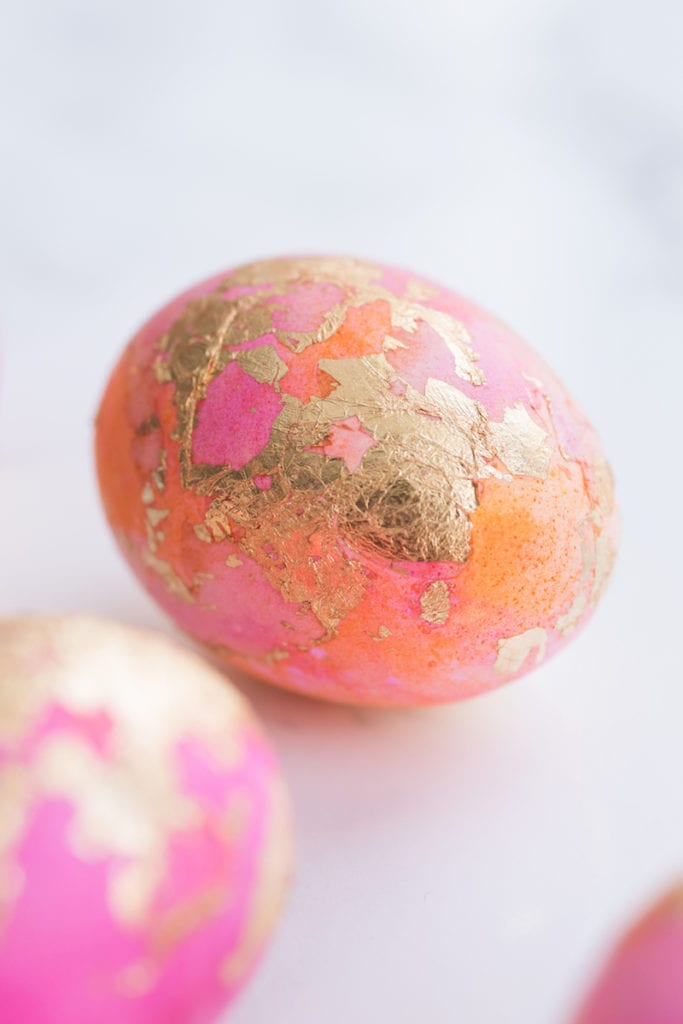
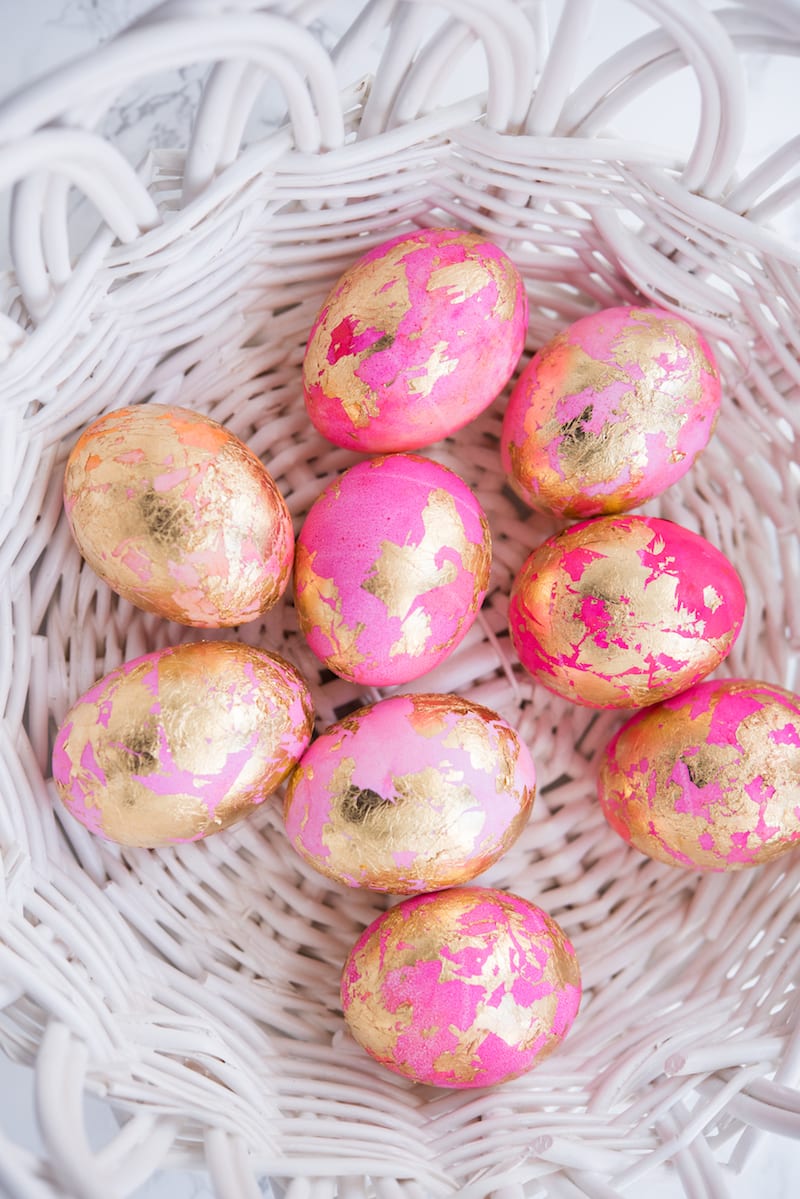
These gold leaf shaving cream Easter eggs are so fun to make and deceptively simple to make at home! The touch of gold leaf makes for the prettiest Easter eggs ever.
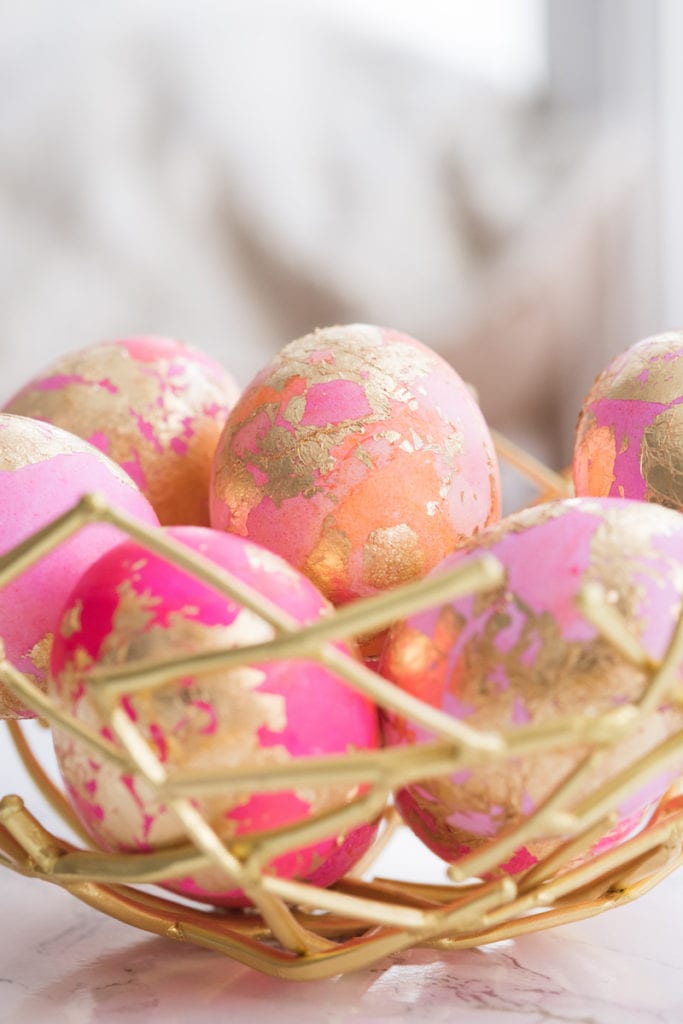
Coloring Easter eggs was always one of my favorite parts of the Easter season when I was a kid. These gold leaf shaving cream Easter eggs are way prettier than the eggs of my childhood, and surprisingly almost as simple to make!
Fair warning! This post is quickly going to become a study in, “How many photos of the world’s prettiest Easter eggs can I smash into one post before everyone hates me?!” I just can’t get over how lovely this are, and they’re even more so in person! Plus they were actually super fun to make.

To Make Shaving Cream Easter Eggs, You Will Need:
- Hard boiled or faux eggs
- Shaving cream (the cheapest foam kind – not gel)
- Food coloring
- Disposable tray
- Bamboo skewers
- Plastic gloves
- Paper towels or cloth
- Foam brushes
- Gold leaf sheets
- Mod Podge or similar adhesive (glossy finish is best)
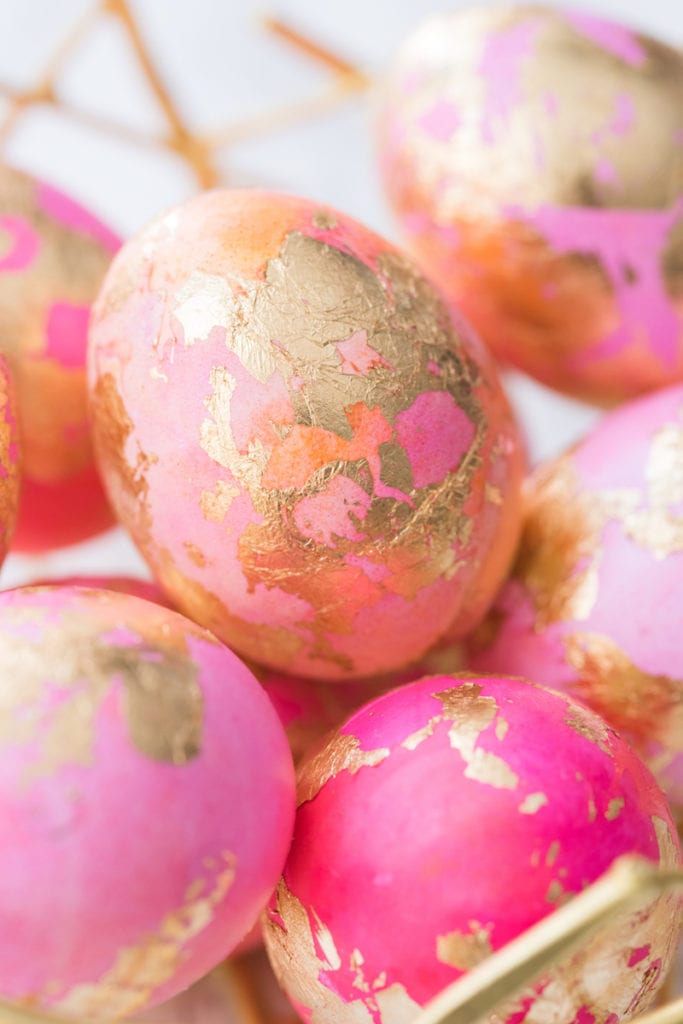
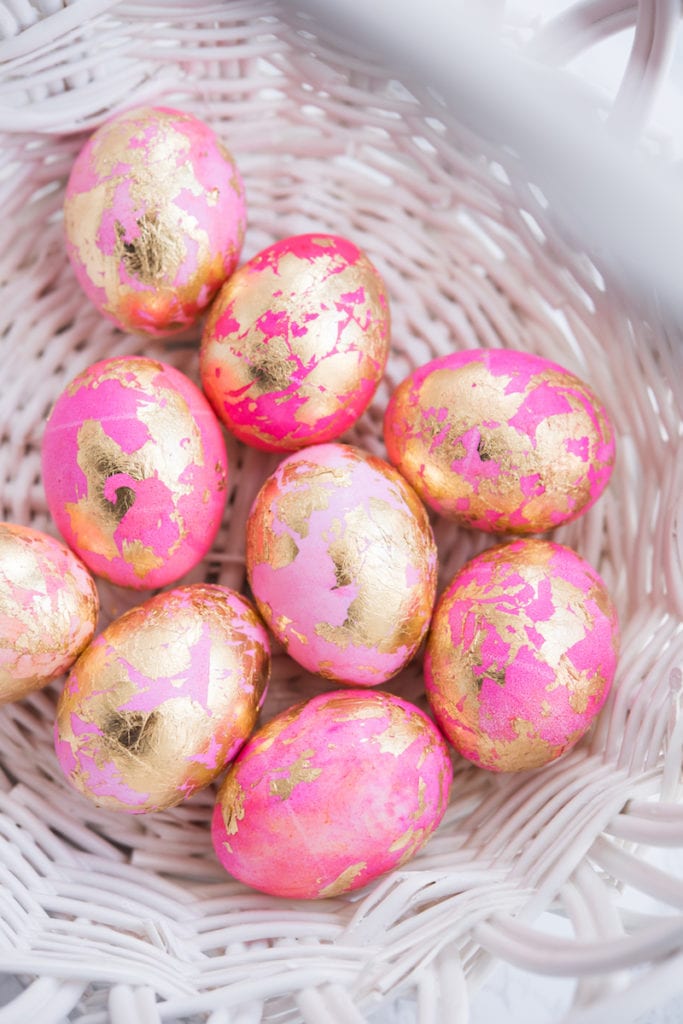
A quick note that I wanted the colors here to be super vibrant so I used food coloring from the Wilton Color Right Performance Food Coloring Set. You can totally use inexpensive food colors though! I’d give the neon food coloring from the grocery store a try if you want to go for the bold colors like I have here.
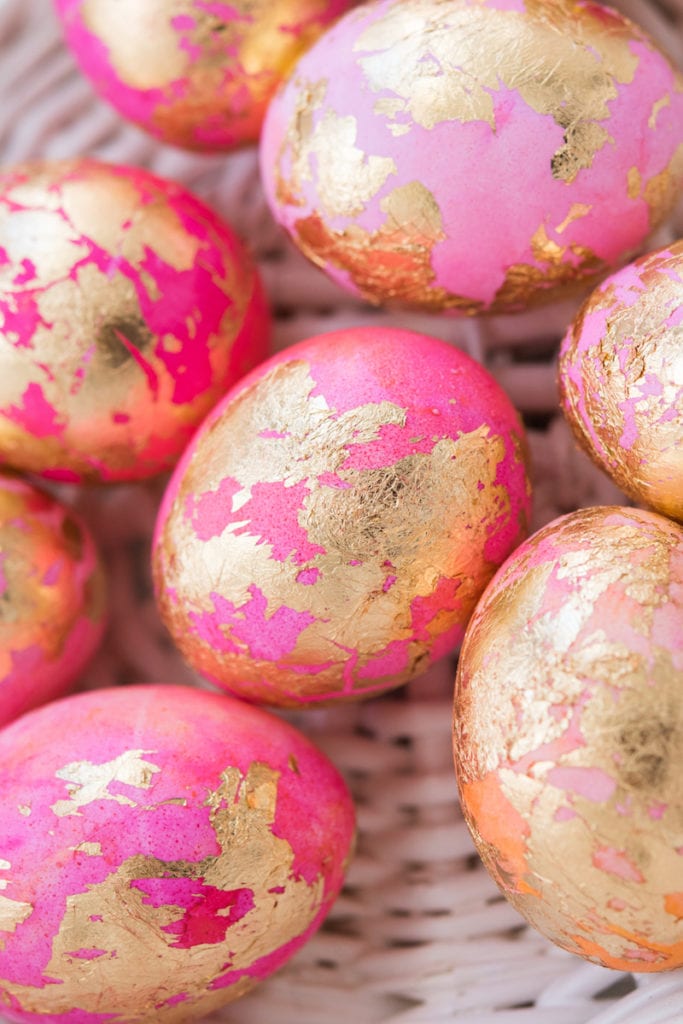
While these look very very fancy (and, indeed, they are) this is still a totally kid-friendly Easter project! Shaving cream Easter eggs are honestly so easy to make, maybe even easier than traditionally dyed eggs, but they give a cool marbled effect that is just beautiful.
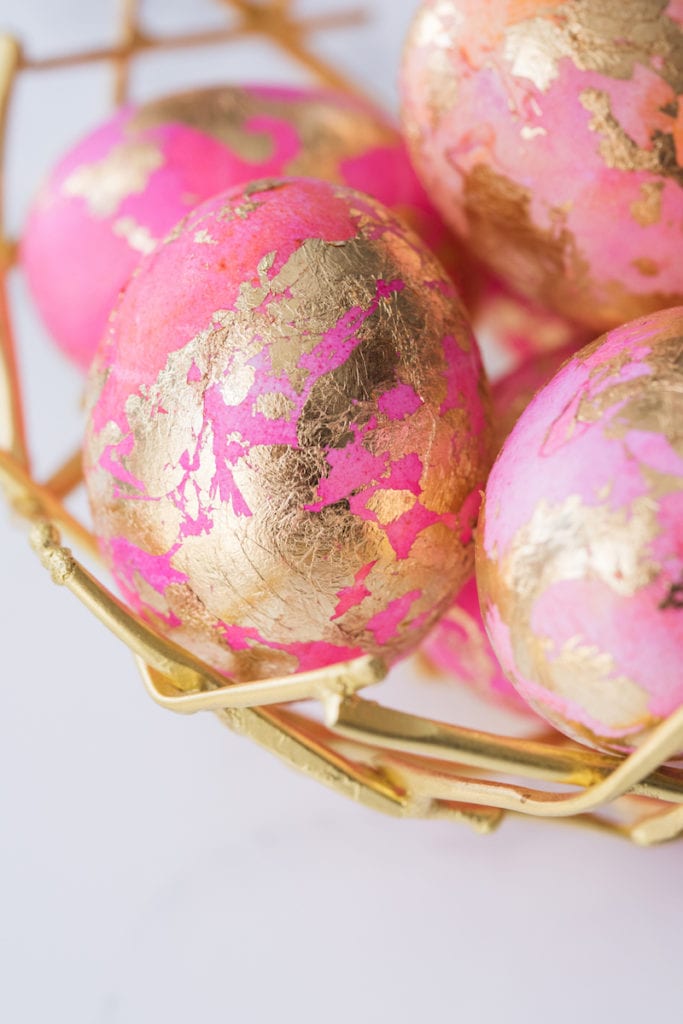
With traditional gold leaf projects, I use an additional coat of sealer over the finished gold leaf. I skip that here since these are really a temporary project (in the sense that eventually hard boiled eggs have to be tossed) and I wanted to keep the natural matte eggshell finish.
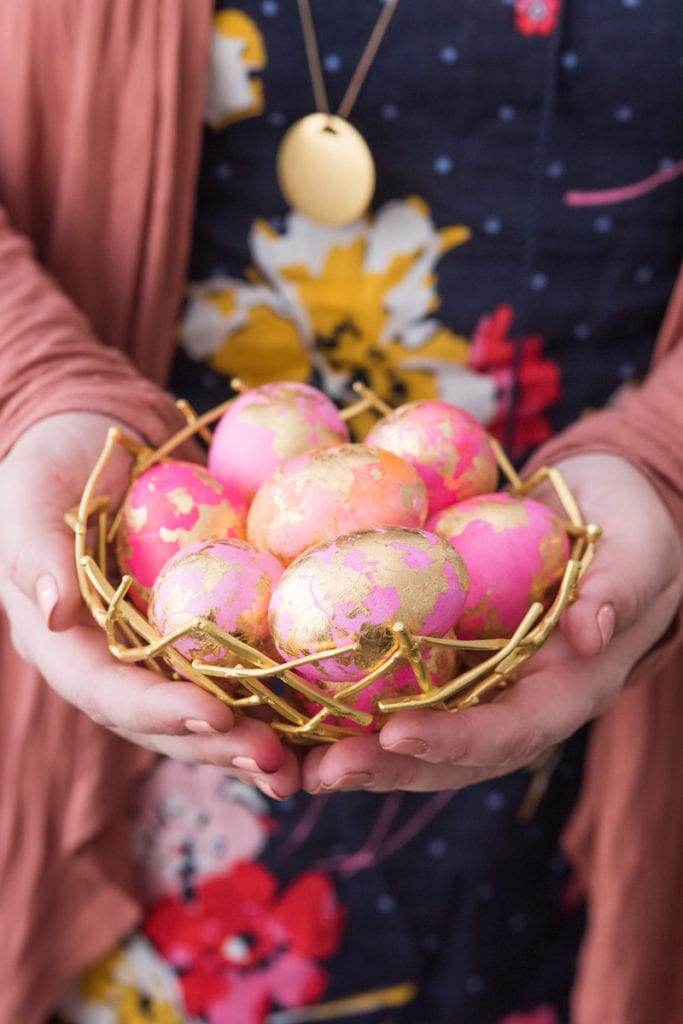
If you’ve been wanting to give shaving cream Easter eggs a try, I think this is the tutorial for you! We’re going to be making another batch later this week with the neighborhood girls since Easter is just a few days away. Scroll down for the step-by-step tutorial and be sure to rate this project 5 stars!
Need more Easter ideas? Check out all of my Easter crafts and recipes!
[Art direction + styling by Cyd Converse | Photos by Alice G. Patterson.]
DIY Gold Leaf Shaving Cream Easter Eggs
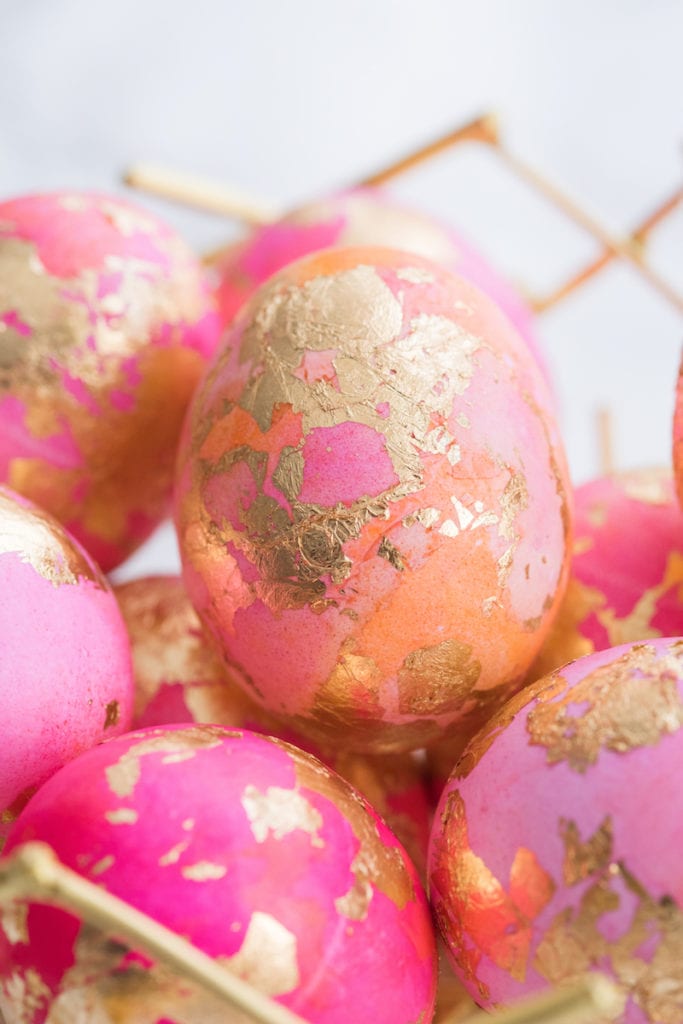
These gorgeous shaving cream Easter eggs are vibrant and golden, covered with a wash of gold leaf to create a truly special Easter craft.
Materials
- Hard boiled eggs
- Shaving cream
- Food coloring
- Disposable tray
- Bamboo skewers
- Plastic gloves
- Paper towels or cloth
- (2) Foam brushes
- Gold leaf sheets
- Mod Podge (gloss)
Instructions
 Begin by liberally spraying shaving cream (as cheap as you can find) into a disposable tray or another tray that is ok to be stained. You'll want your shaving cream to be a couple inches thick along the bottom, then smooth it out using a rubber spatula or similar.
 Wearing gloves, generously drop food coloring across the surface of the shaving cream. I choose to use higher end food coloring to make more vibrant colors and used just two colors to keep things from getting muddied.
 Drag a bamboo skewer through the surface of the shaving cream to distribute the color.
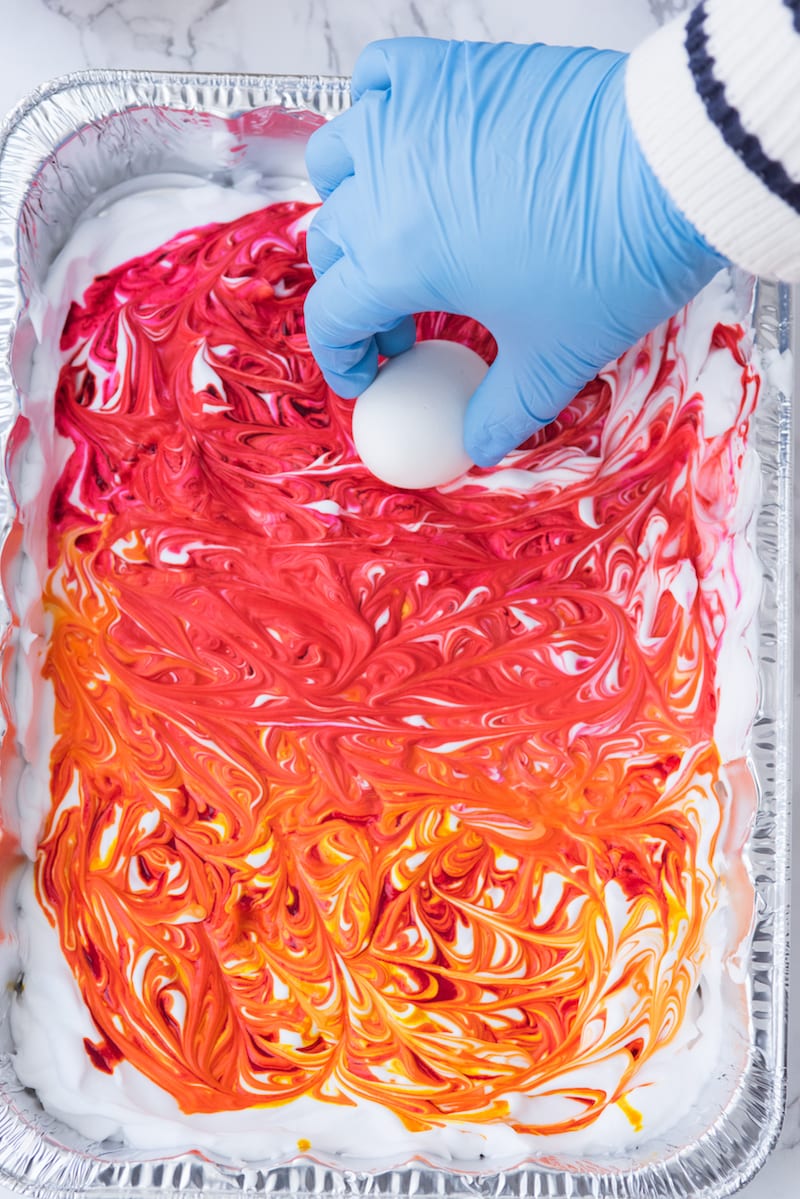

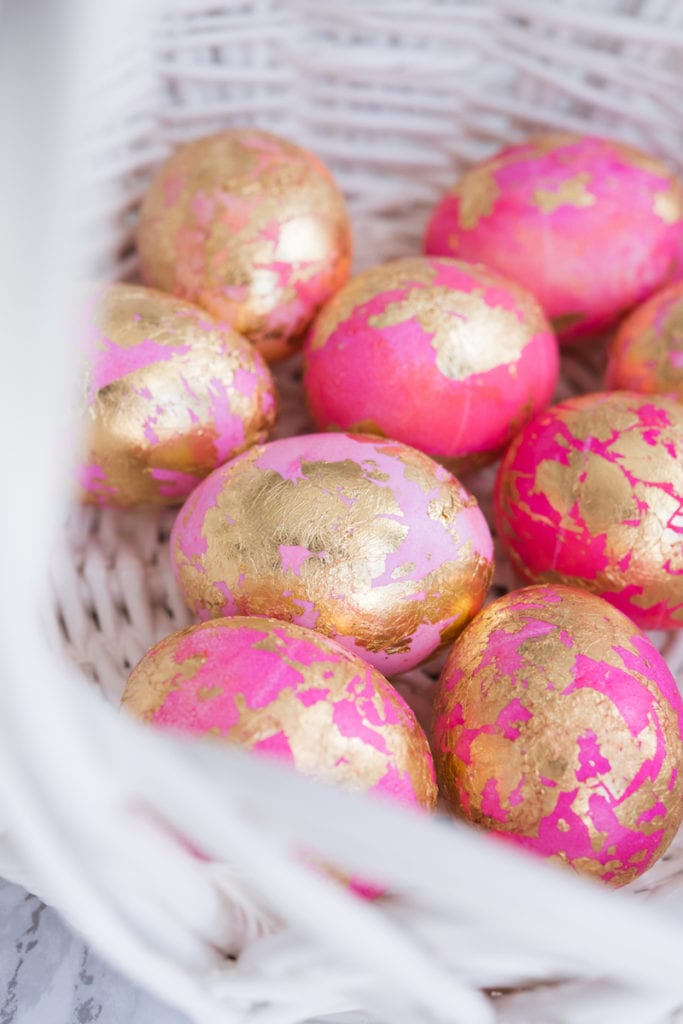
 Roll each hard boiled egg through the shaving cream all the way across the length of the pan. Set them aside to dry for 10 - 15 minutes. Then use a paper towel to gently clean off the shaving cream. Allow them to dry completely.
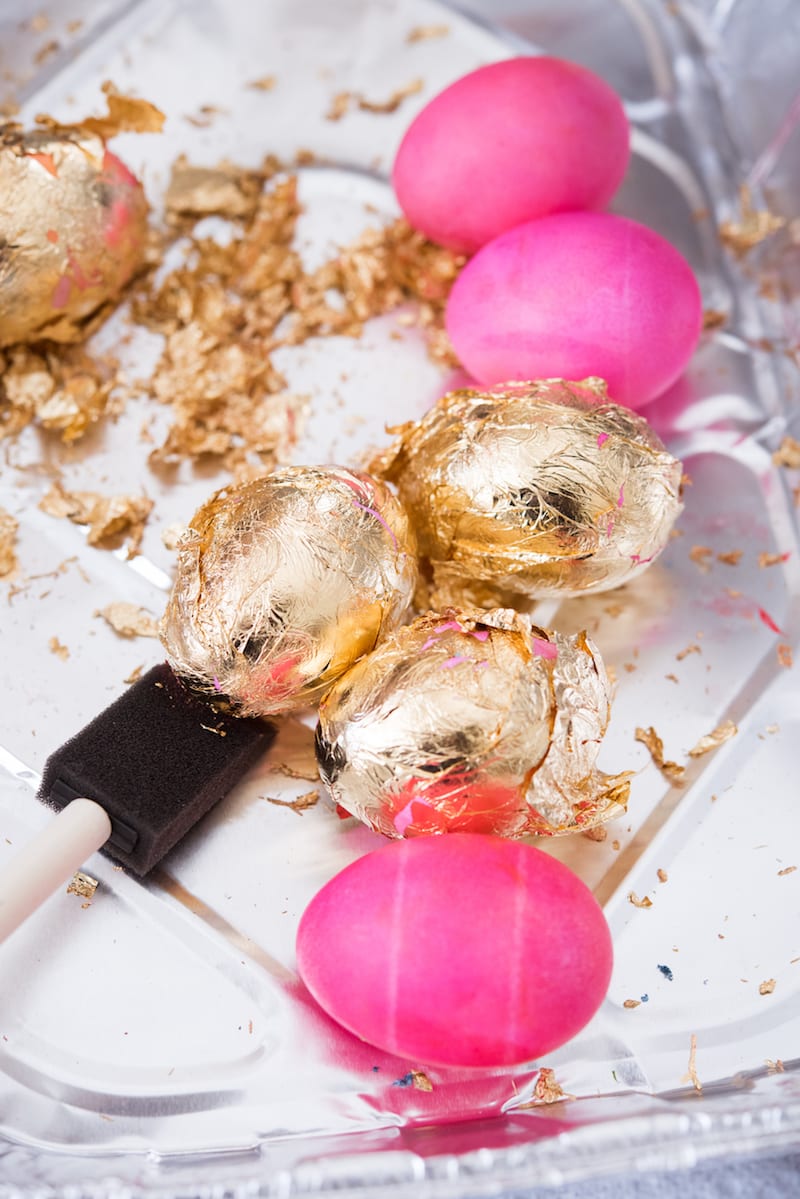 Use a clean foam craft brush to apply a thin layer of gloss finish Mod Podge on each egg, then wrap a sheet of gold leaf around the egg and set aside.
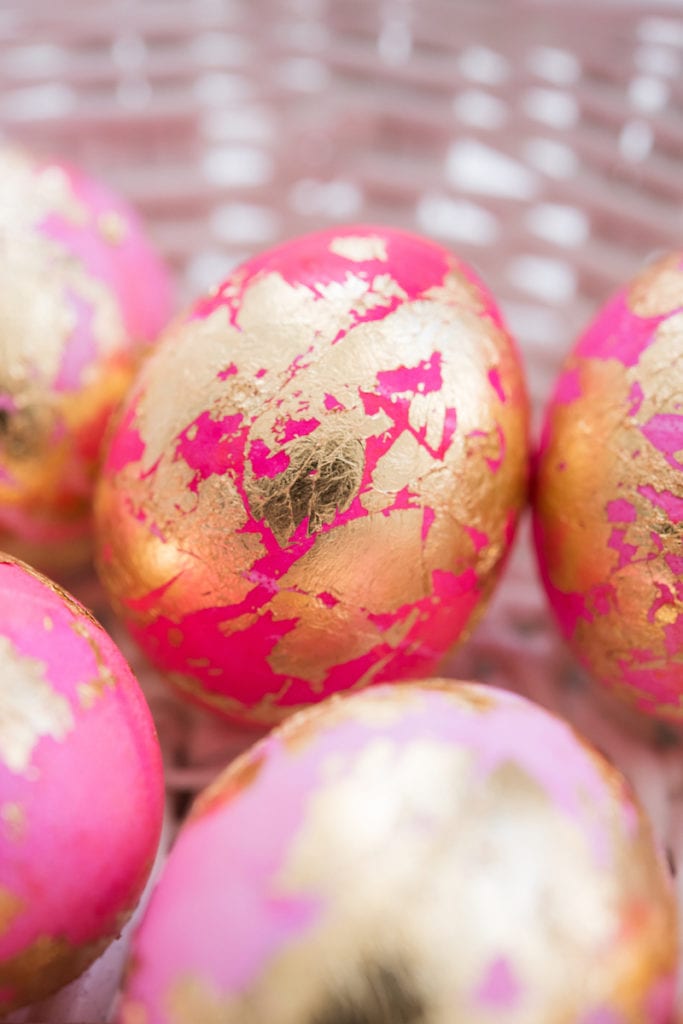
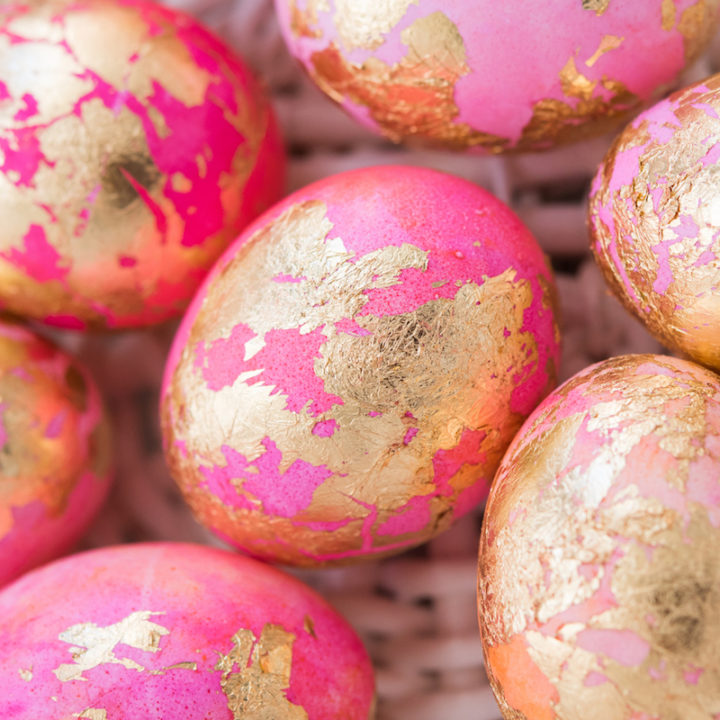
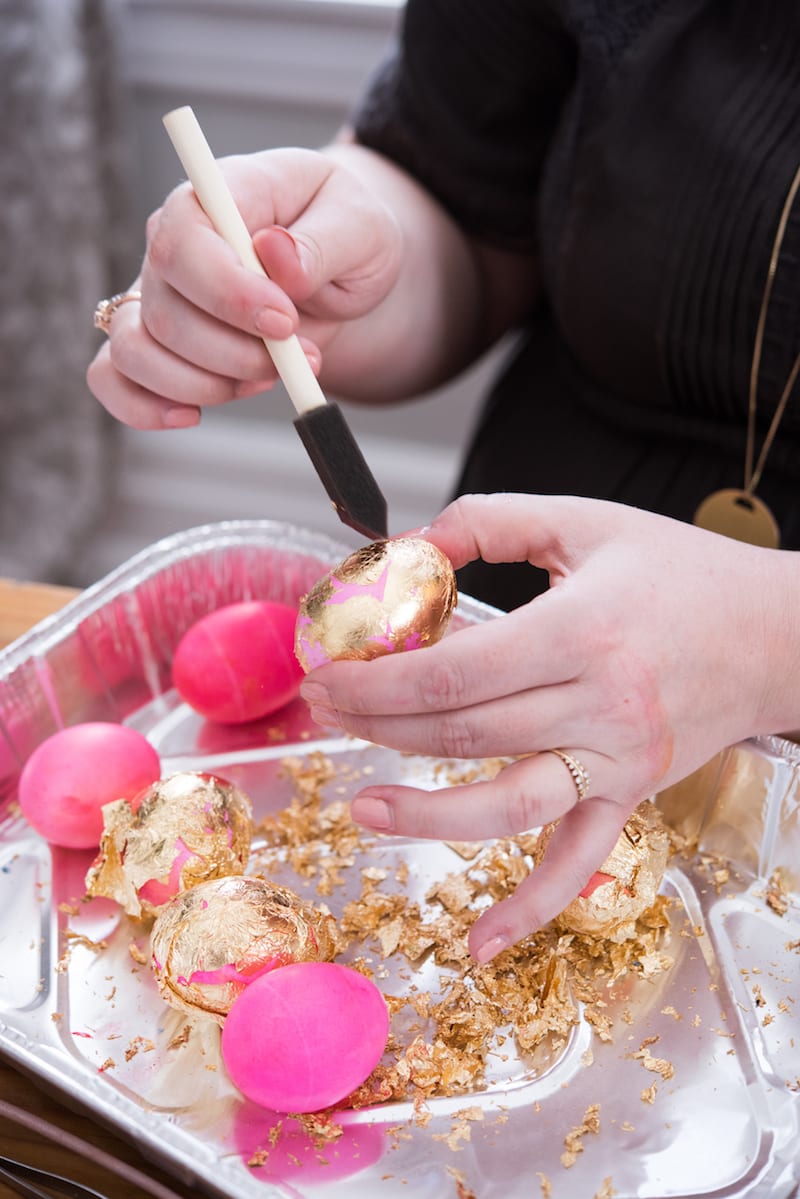 Once all eggs are covered in gold leaf, take a second foam brush and gently brush off the excess gold leaf. This step is called burnishing and it's what gives gold leaf projects that cool, imperfect look.
Notes
 I'm sure I'll get the question so I'll answer it here - I would not personally eat these eggs, but strictly speaking they may be fine since they'd be peeled before eating. Eat at your own risk though, friends!


 Back to Top
great idea! doing it this weekend.
So beautiful and now I can use up all the left over silver leaf from the Christmas ornament project – also from you! Thanks!
I love that, Joy! I hope they turned out great! xoxo