


This post was sponsored by CVS Photo. Thank you for supporting
the sponsors that help make The Sweetest Occasion possible!
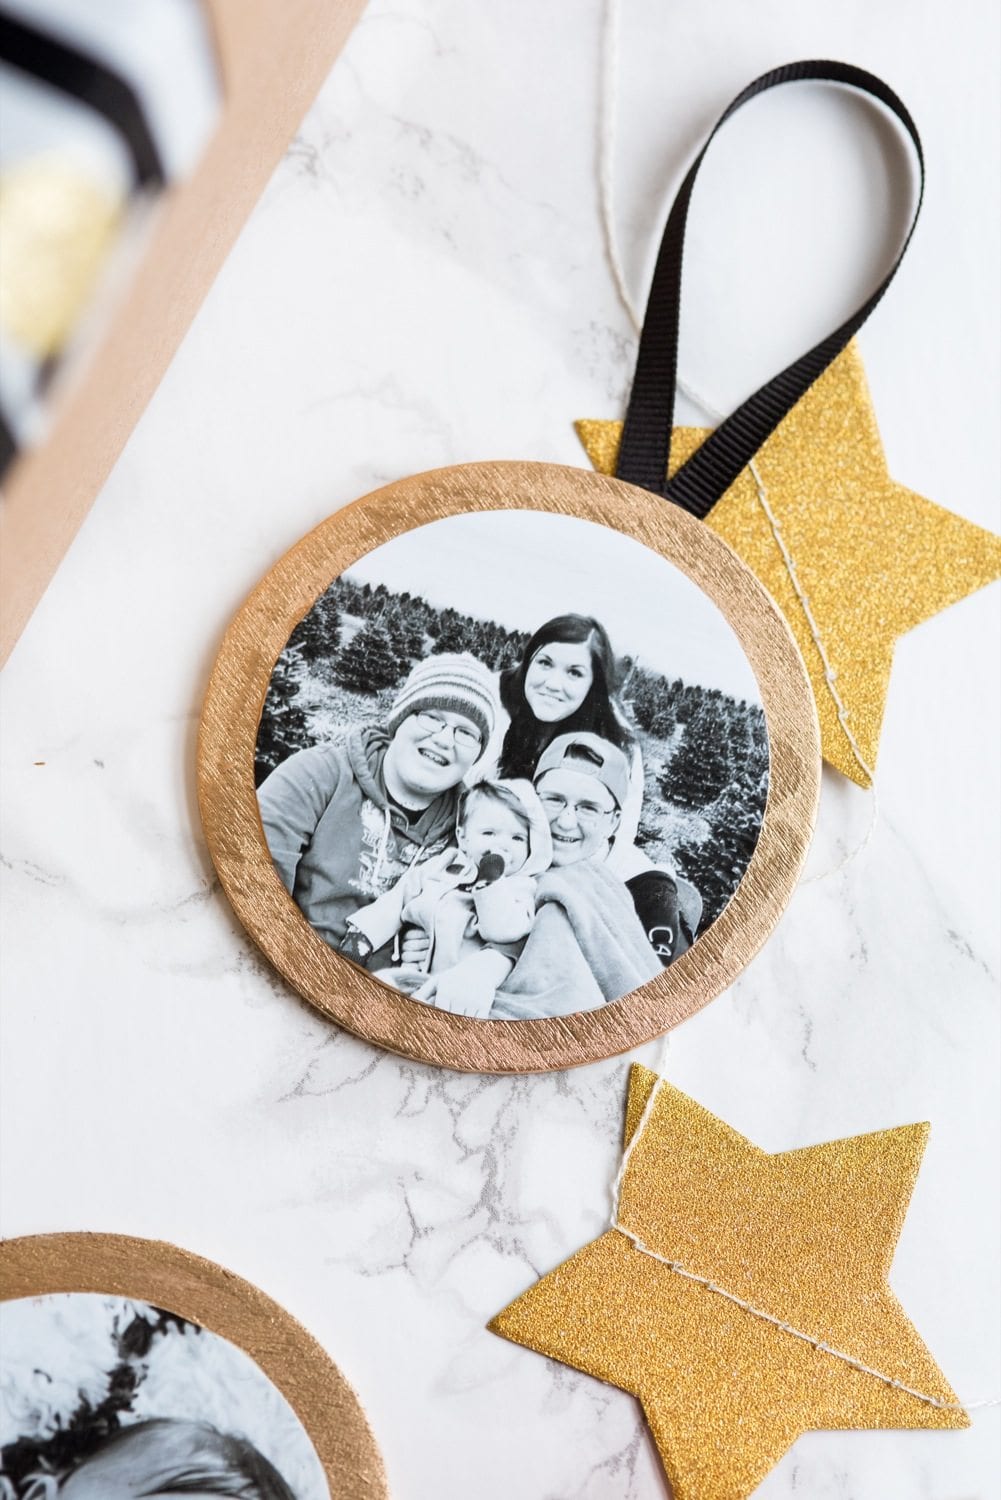
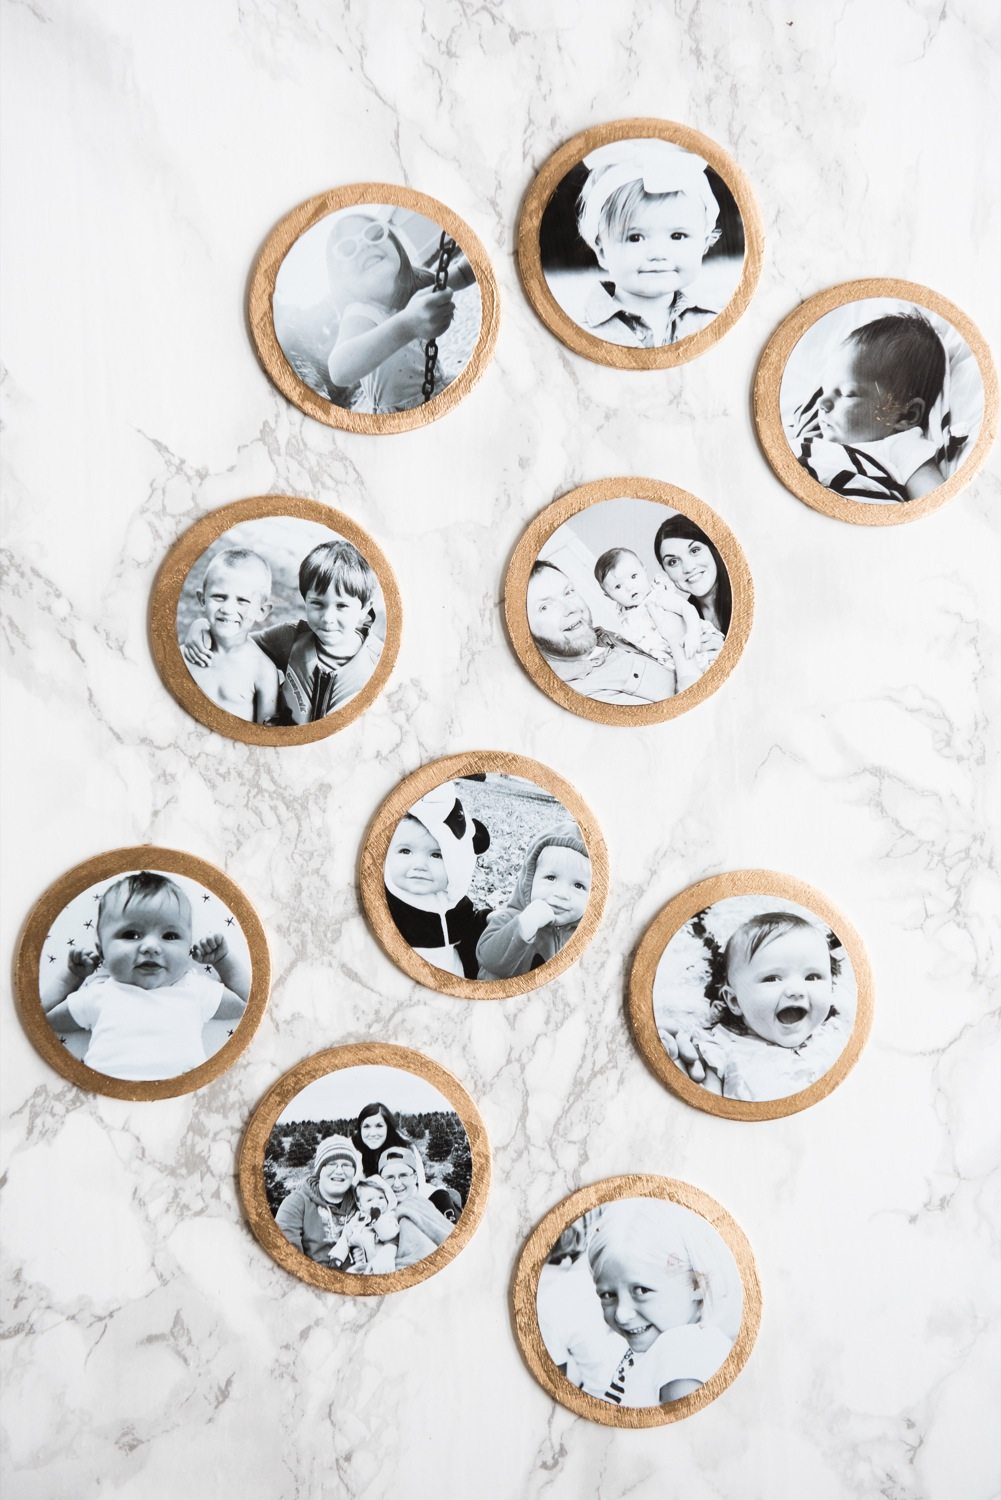
On the tree at my dad’s house, there are four old ornaments all bearing the faces, names and birth year of my siblings and I. As an adult I’ve grown to love those ornaments more than any others from my childhood, and every Christmas morning to this day my sister and I find so much joy in reveling over our tiny little faces. This year as he was decorating his tree, my dad took a photo of each of them and sent them to all of us on our family group text thread. “Now I just need some like these for all the grandkids!” What a cute cute old man. (Actually, my father isn’t old at all, but my sister and I find it really fun to call him a cute old man. Ha!) That conversation is what inspired these sweet DIY gilded photo ornaments, which I created in partnership with CVS Photo. With a phone and a Dropbox account filled with photos, I loved the idea of creating lasting memories with those images instead of just having them live on social media. Thanks to CVS’s same day photo services, you can create these ornaments to hang on your own tree, to give as a sweet gift or to top packages this Christmas morning!
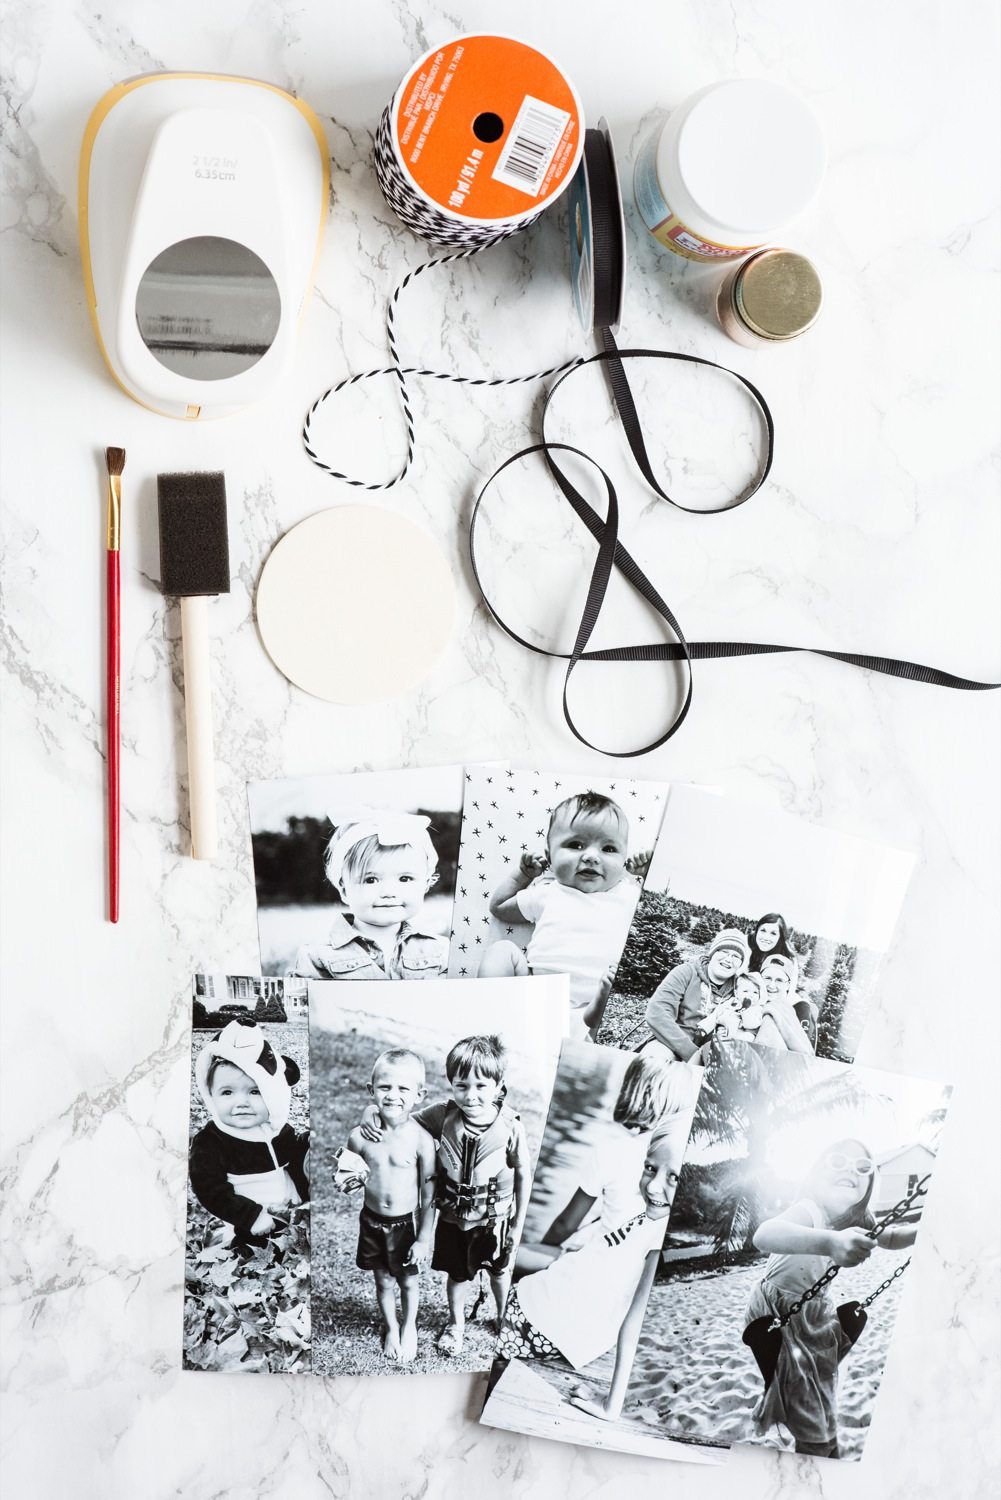
Supplies
- Photo prints from CVS.com
- Ribbon and/or twine
- Circle paper punch (mine is 2½”)
- Round wood discs (these are 3″)
- Paint brushes (small and medium)
- Liquid leaf in gold
- Scissors
- Hot glue gun + glue sticks
- ModPodge or decoupage glue
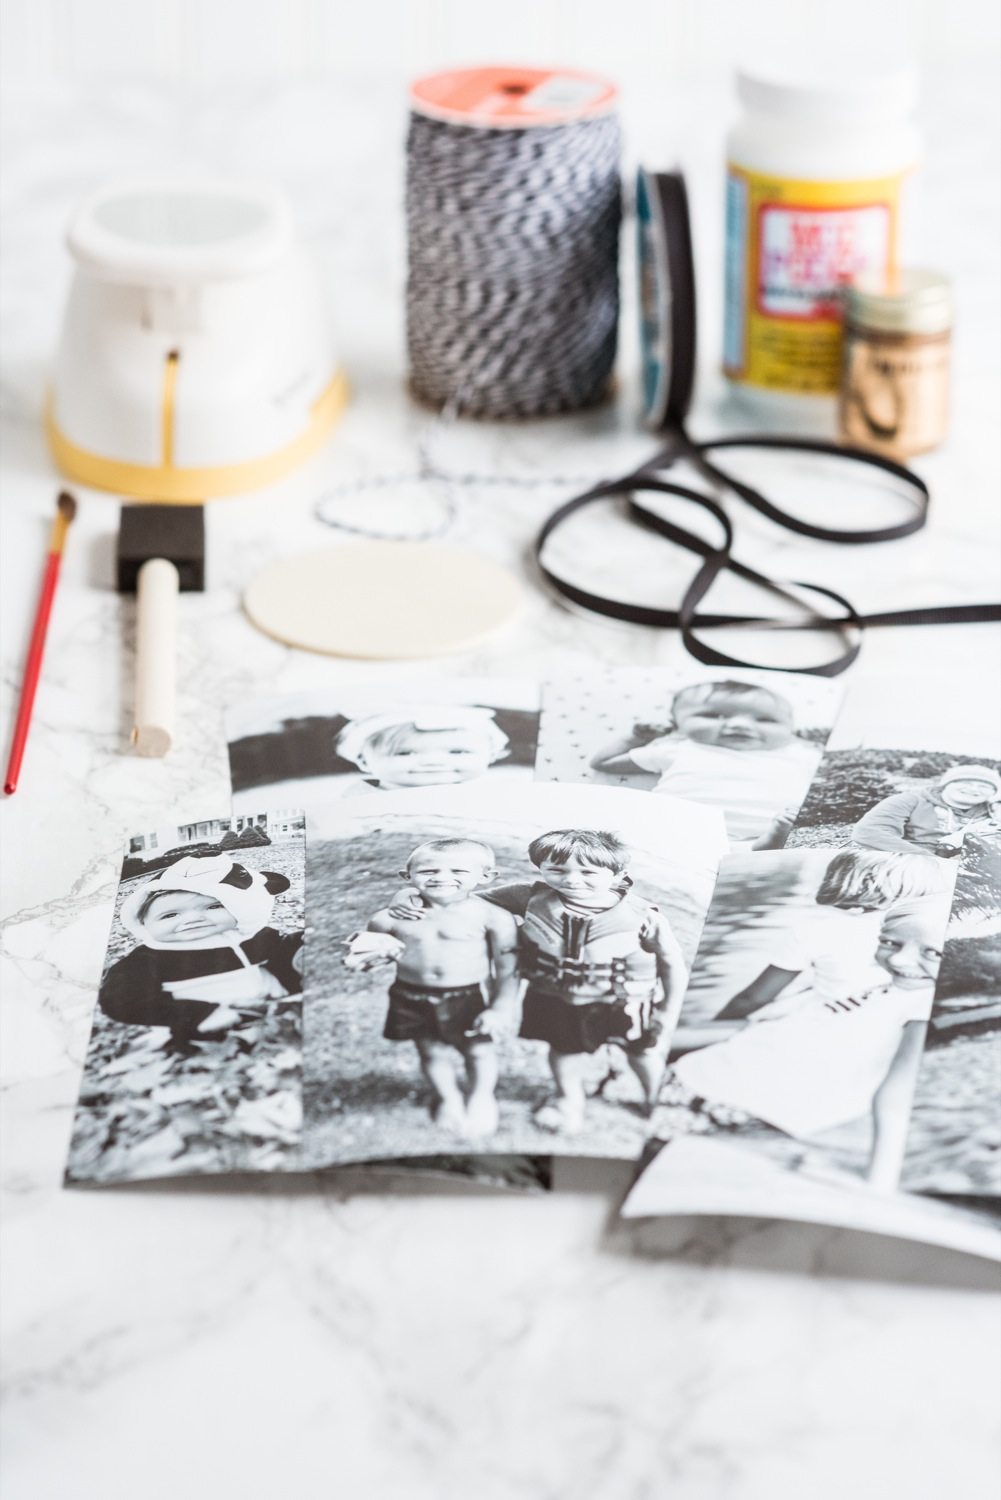
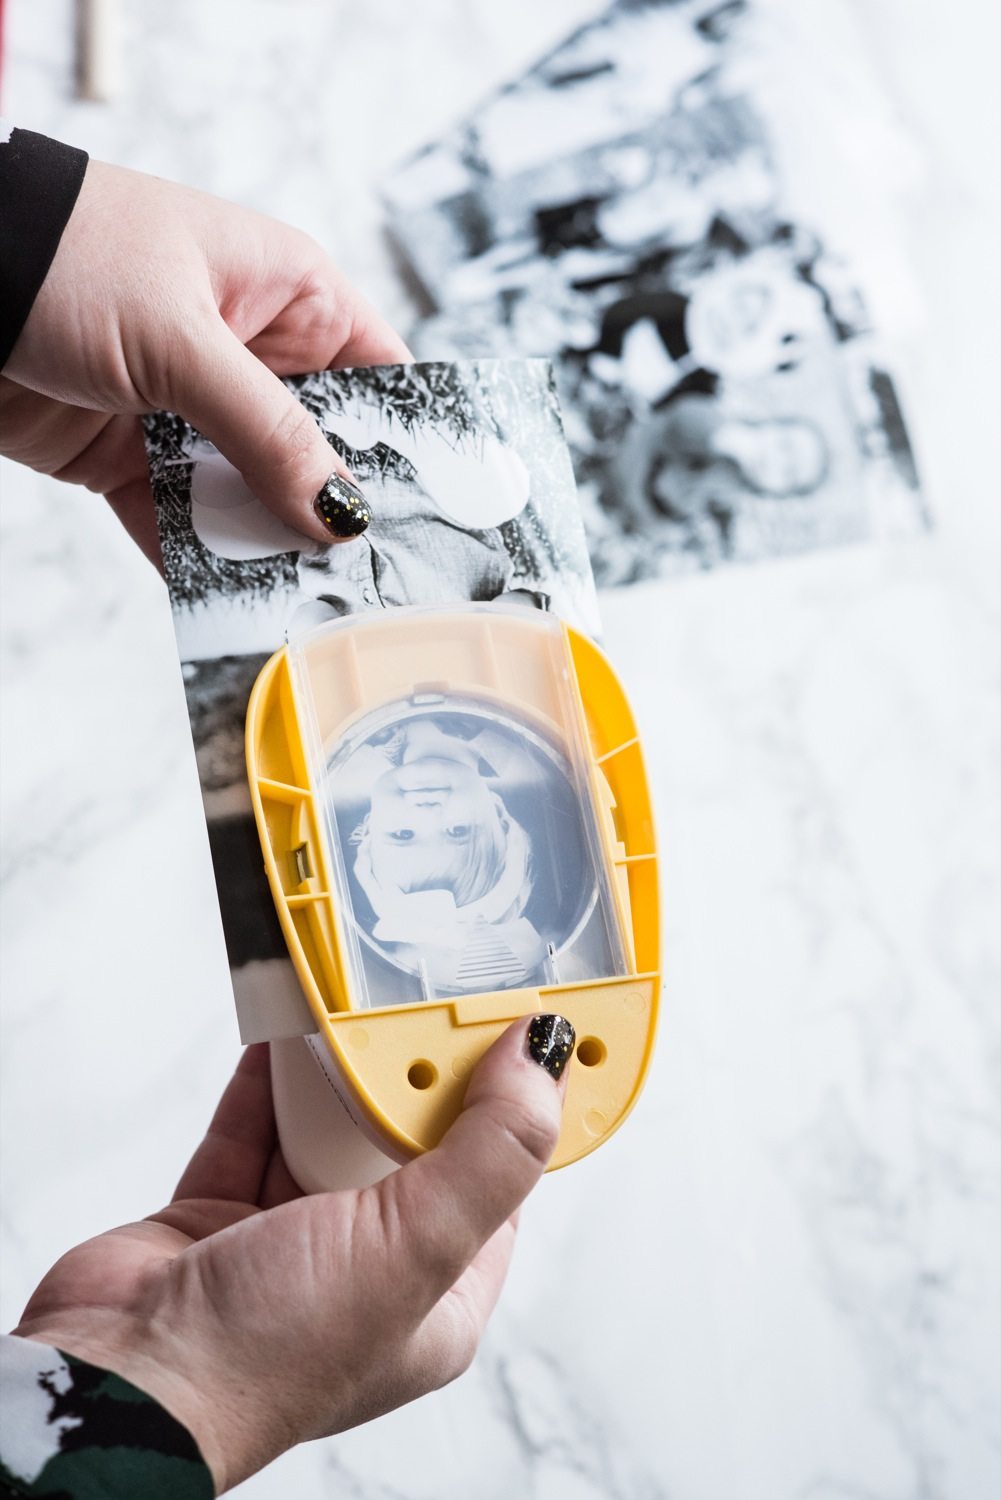
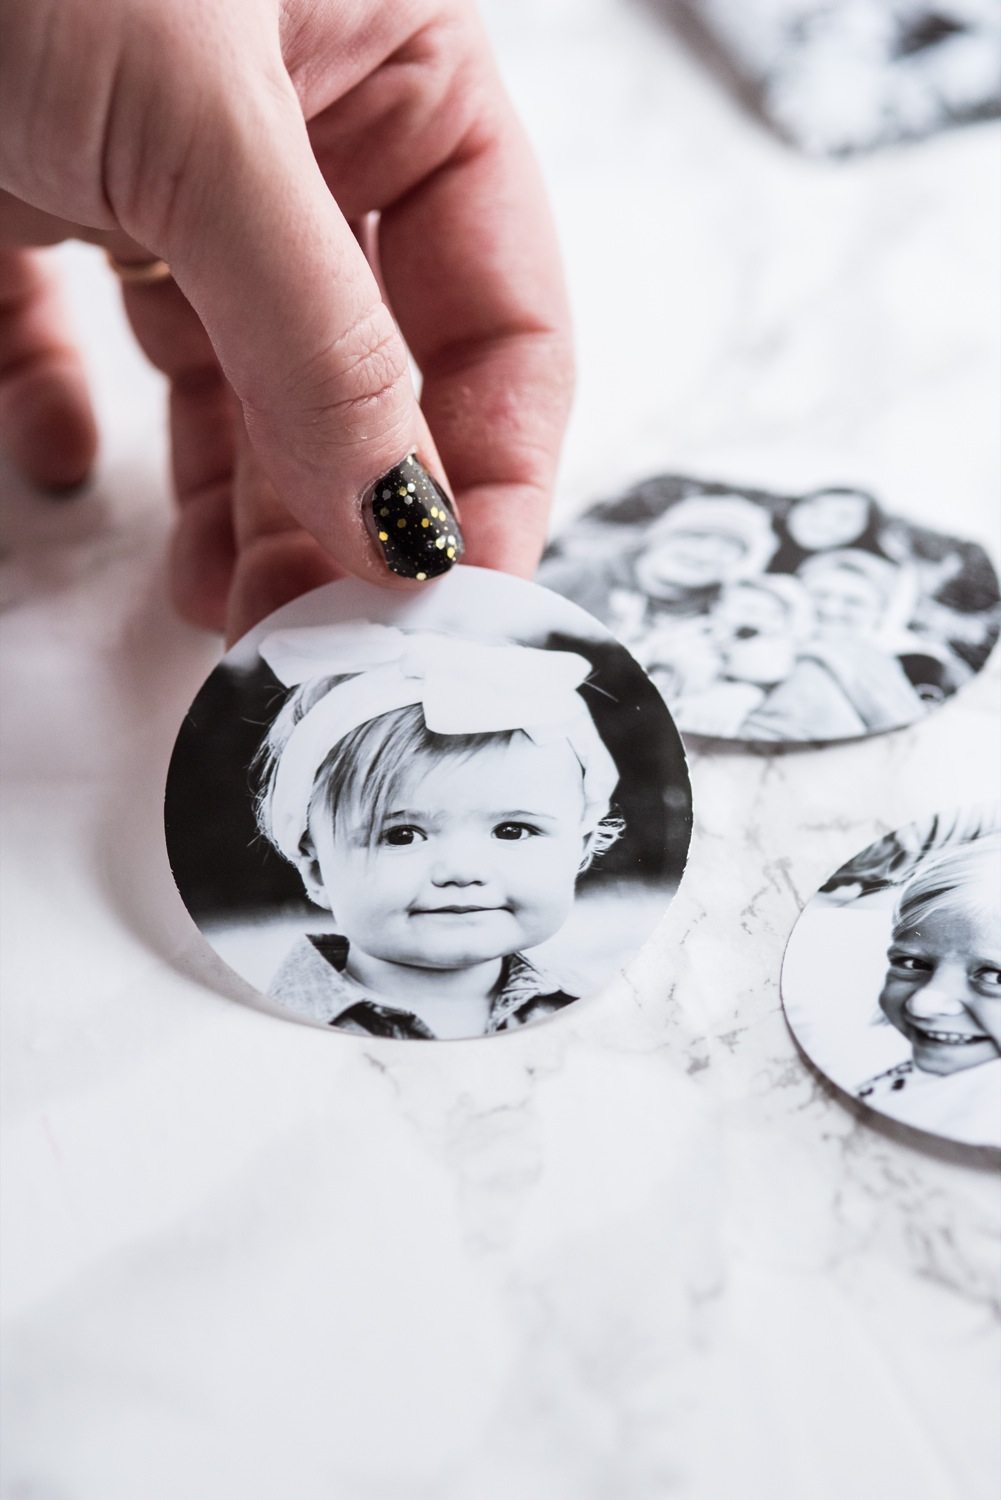
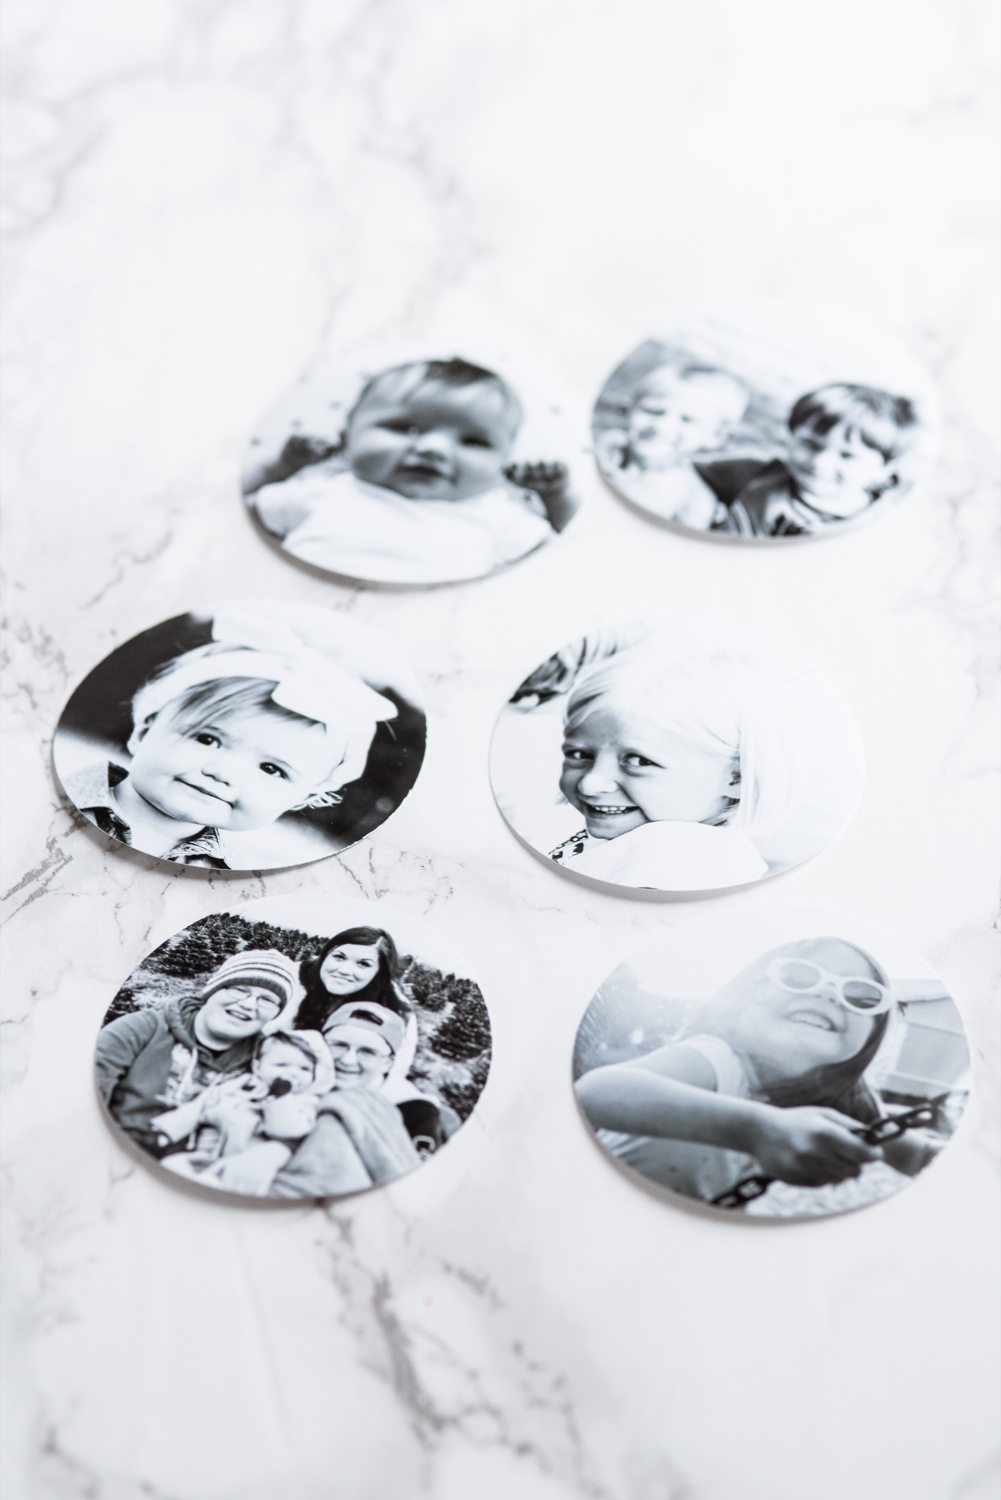
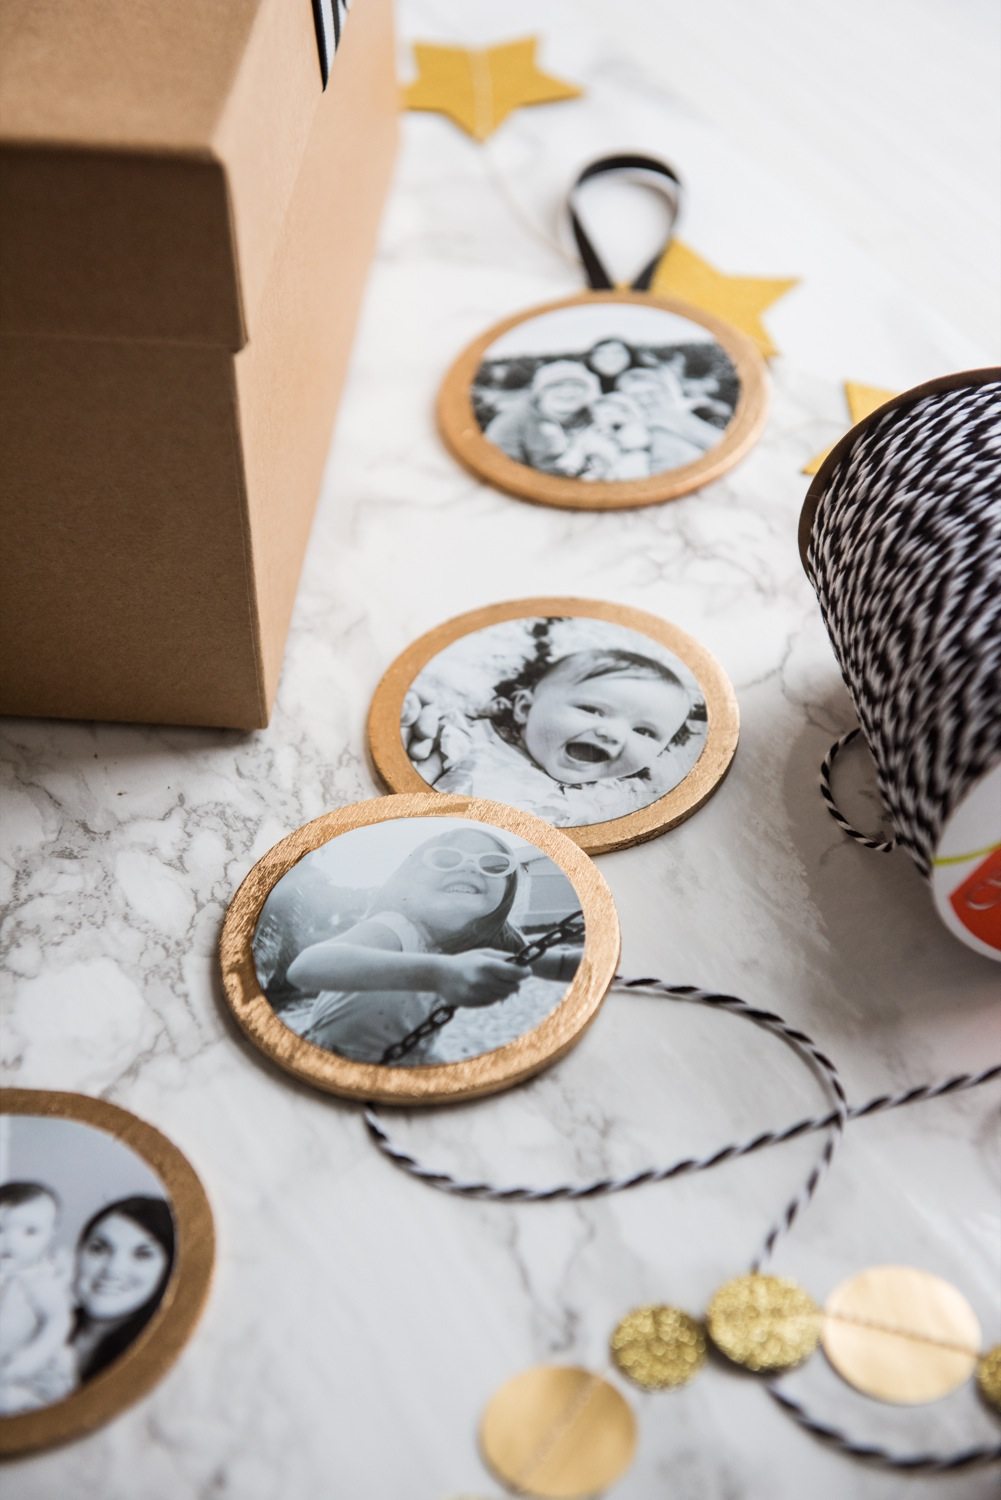
To begin, I quickly converted all of my photos to black and white, because I loved the idea of the black and white paired with a bit of gold for a timeless heirloom quality. You can do this using photo editing software or a photo editing app, or skip this step entirely! Upload to CVS.com and place your photo order, then take a quick trip to the local craft store where I picked up all the rest of these supplies. With your photos in hand, use a large circle punch to punch out the images for each of your ornaments. If the people are a little lower in your photograph making it tough to just punch them out, simply trim down your print first using scissors, then punch out the circles.
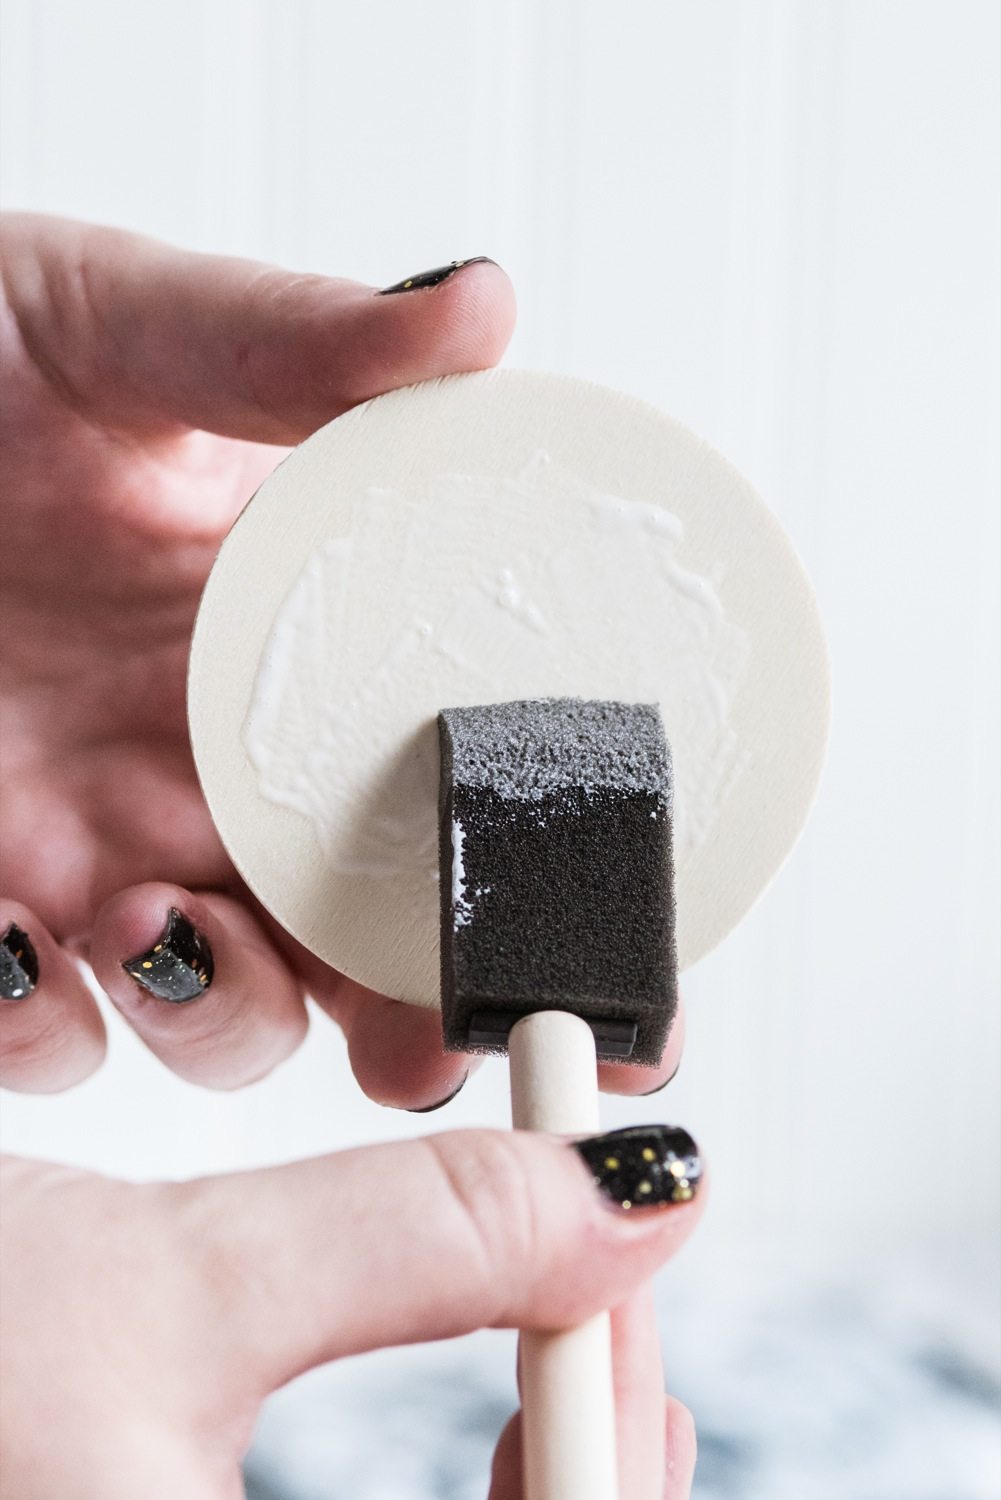
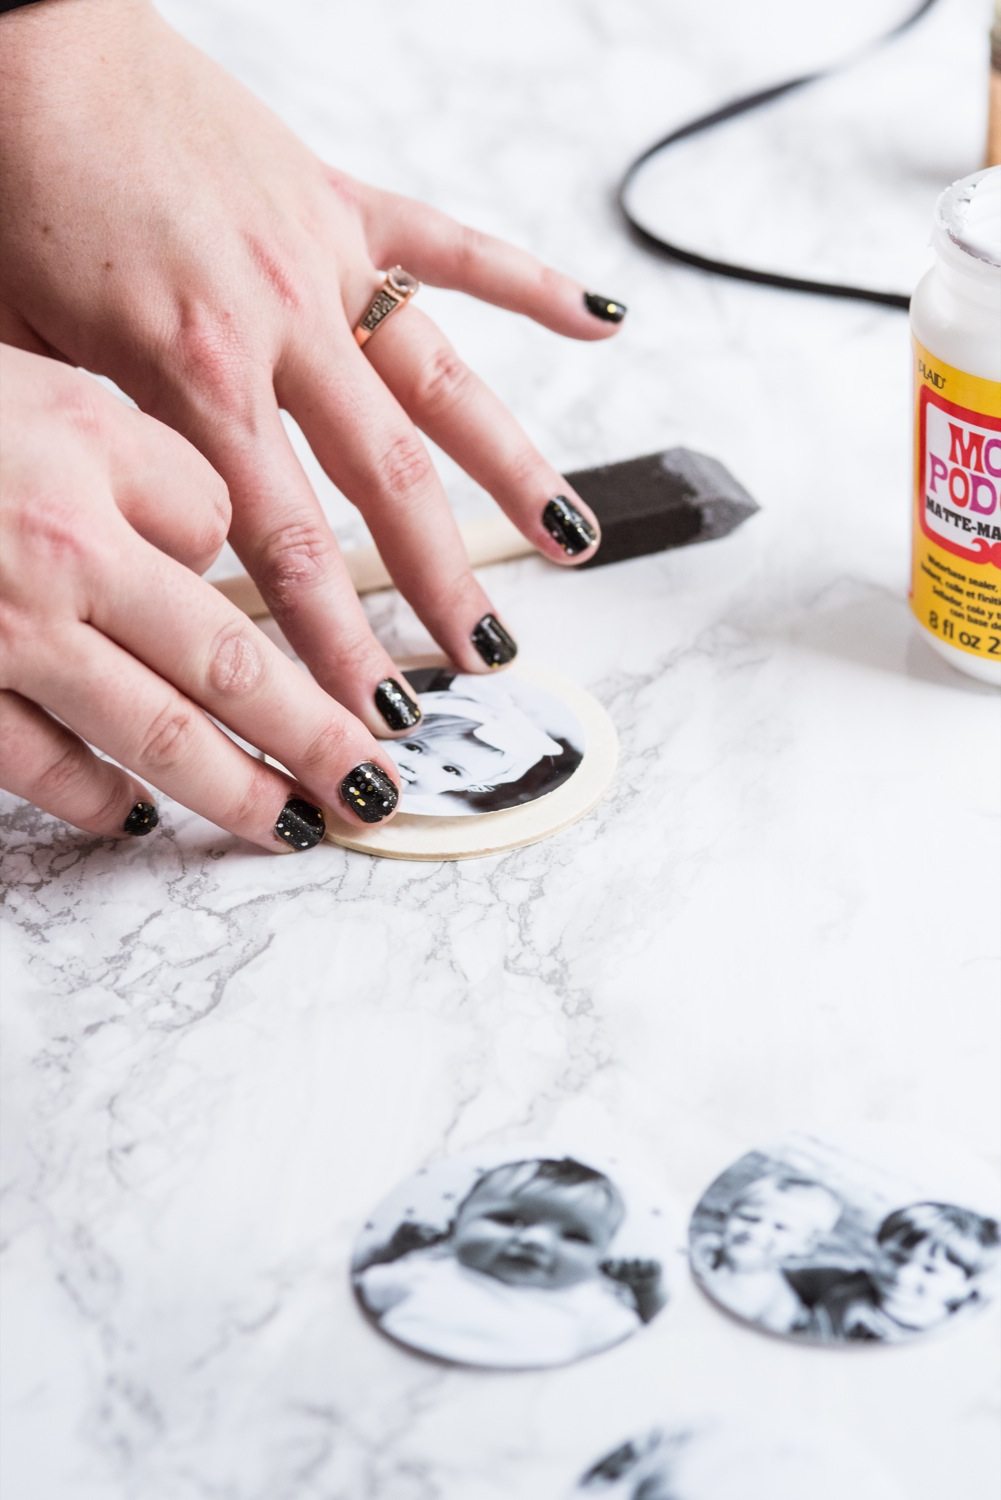
Use a medium sized craft paint brush to apply a layer of ModPodge or similar decoupage glue to the center of your wood round, roughly covering the area where the photo will go. (It’s ok if you apply it a little outside of that area as it dries clear.) Then place a photo on top of the wood, center it as best you can and apply another layer of decoupage glue to cover the entire top. Pay special attention to the edges of the photo to make sure it adheres completely. Again, the glue will dry perfectly clear so no worries about applying it to the top of the photo, this just helps ensure a nice, strong permanent hold. Repeat this process with all of your ornaments and then allow them to dry completely.
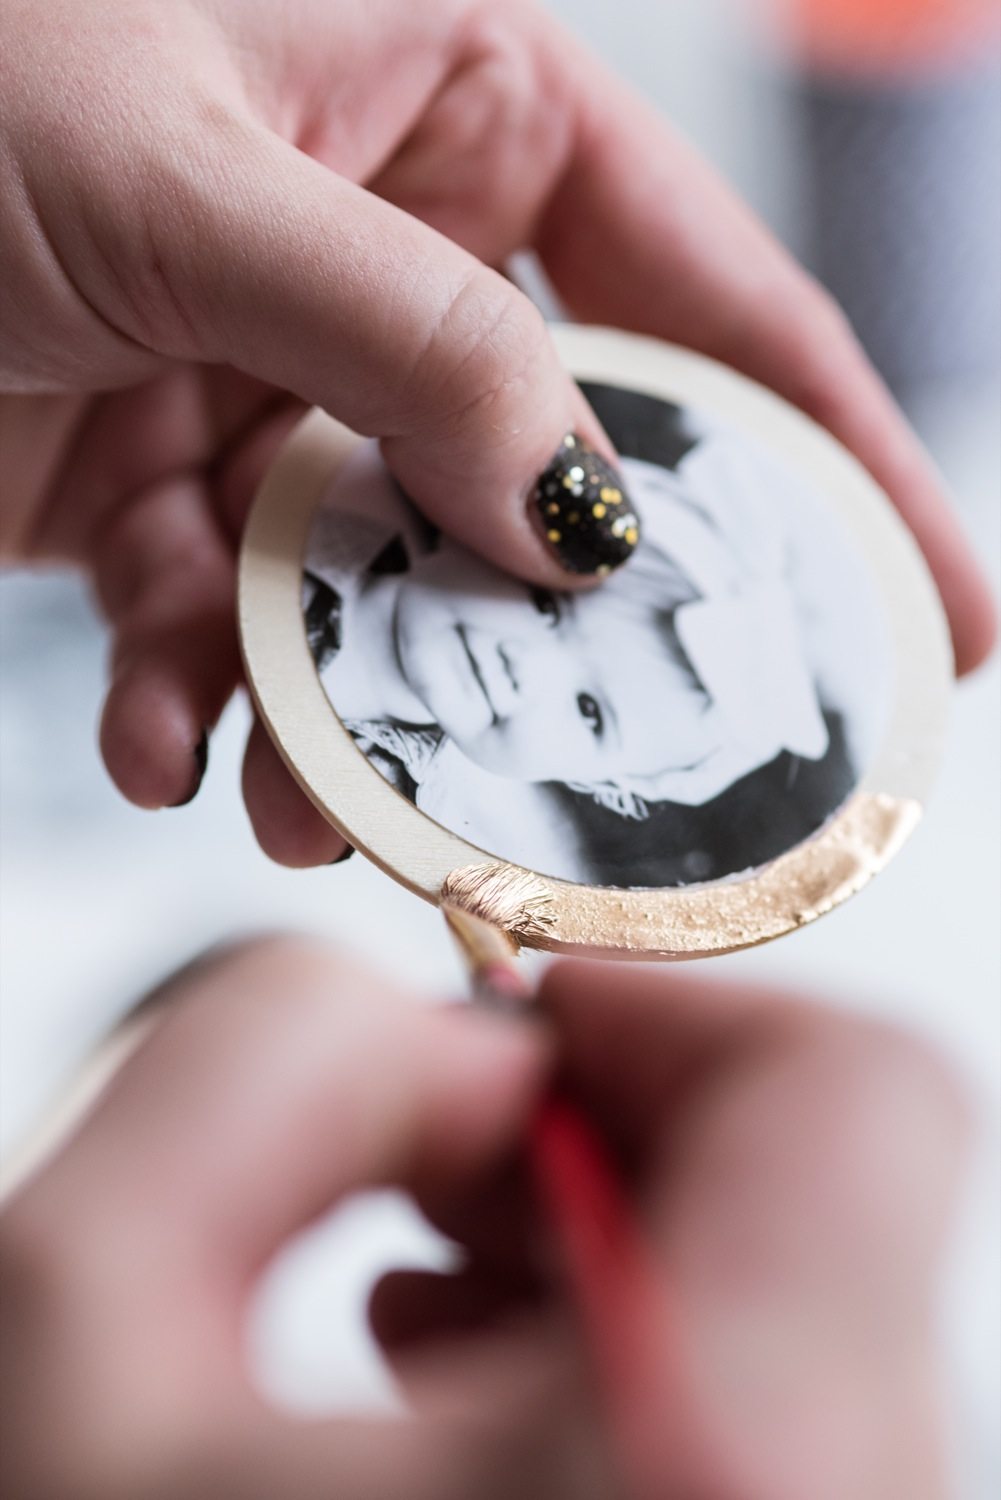
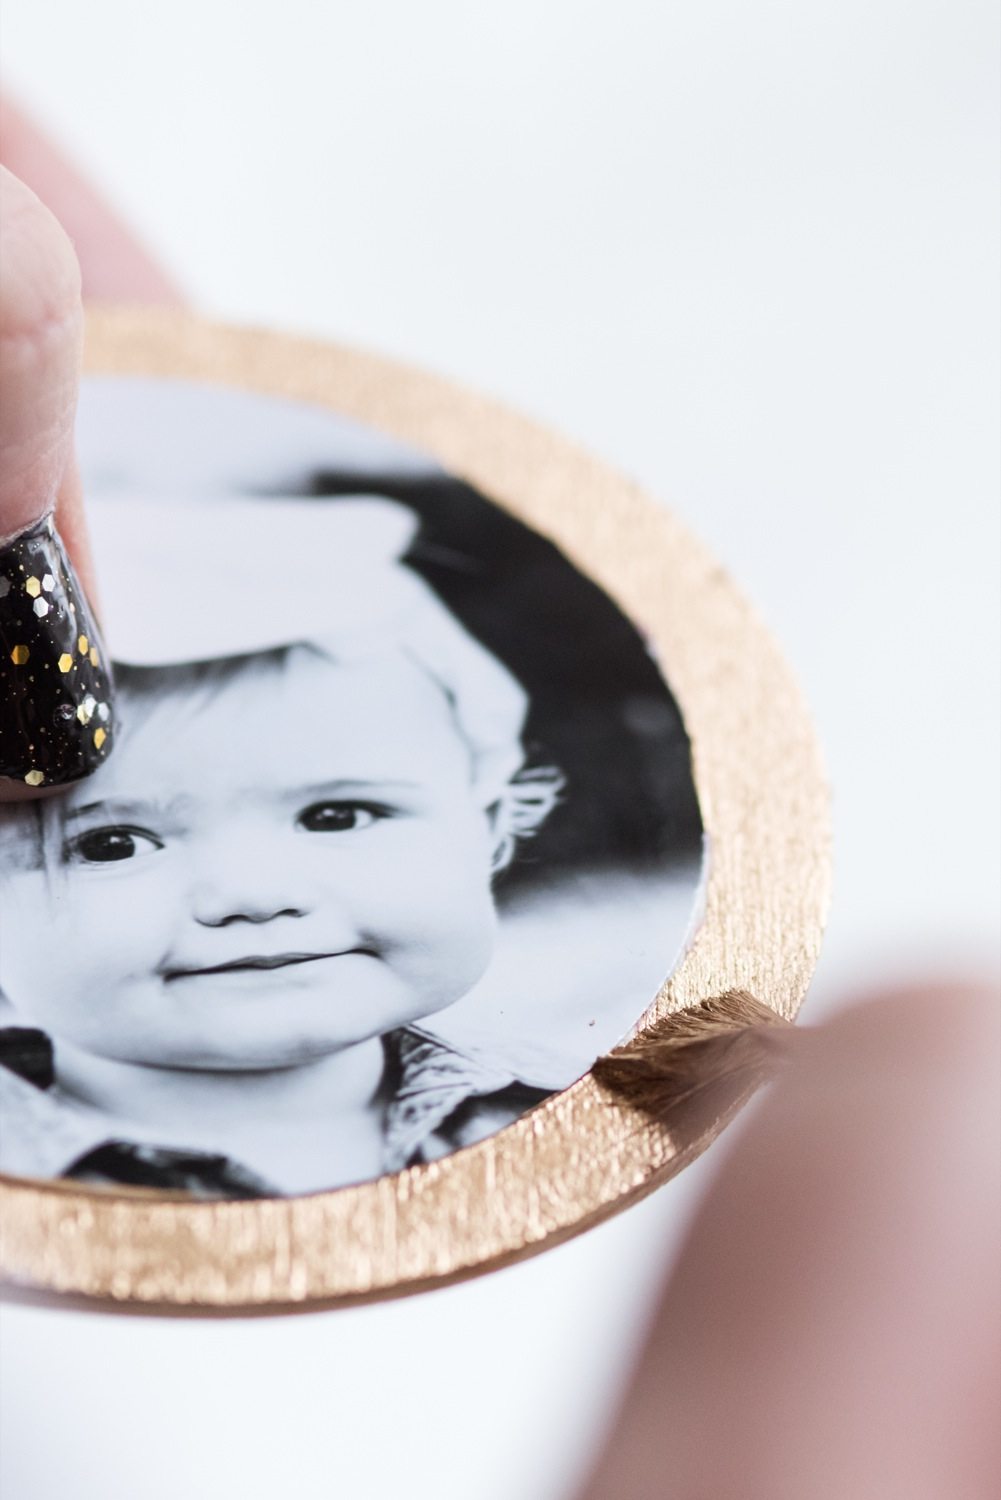
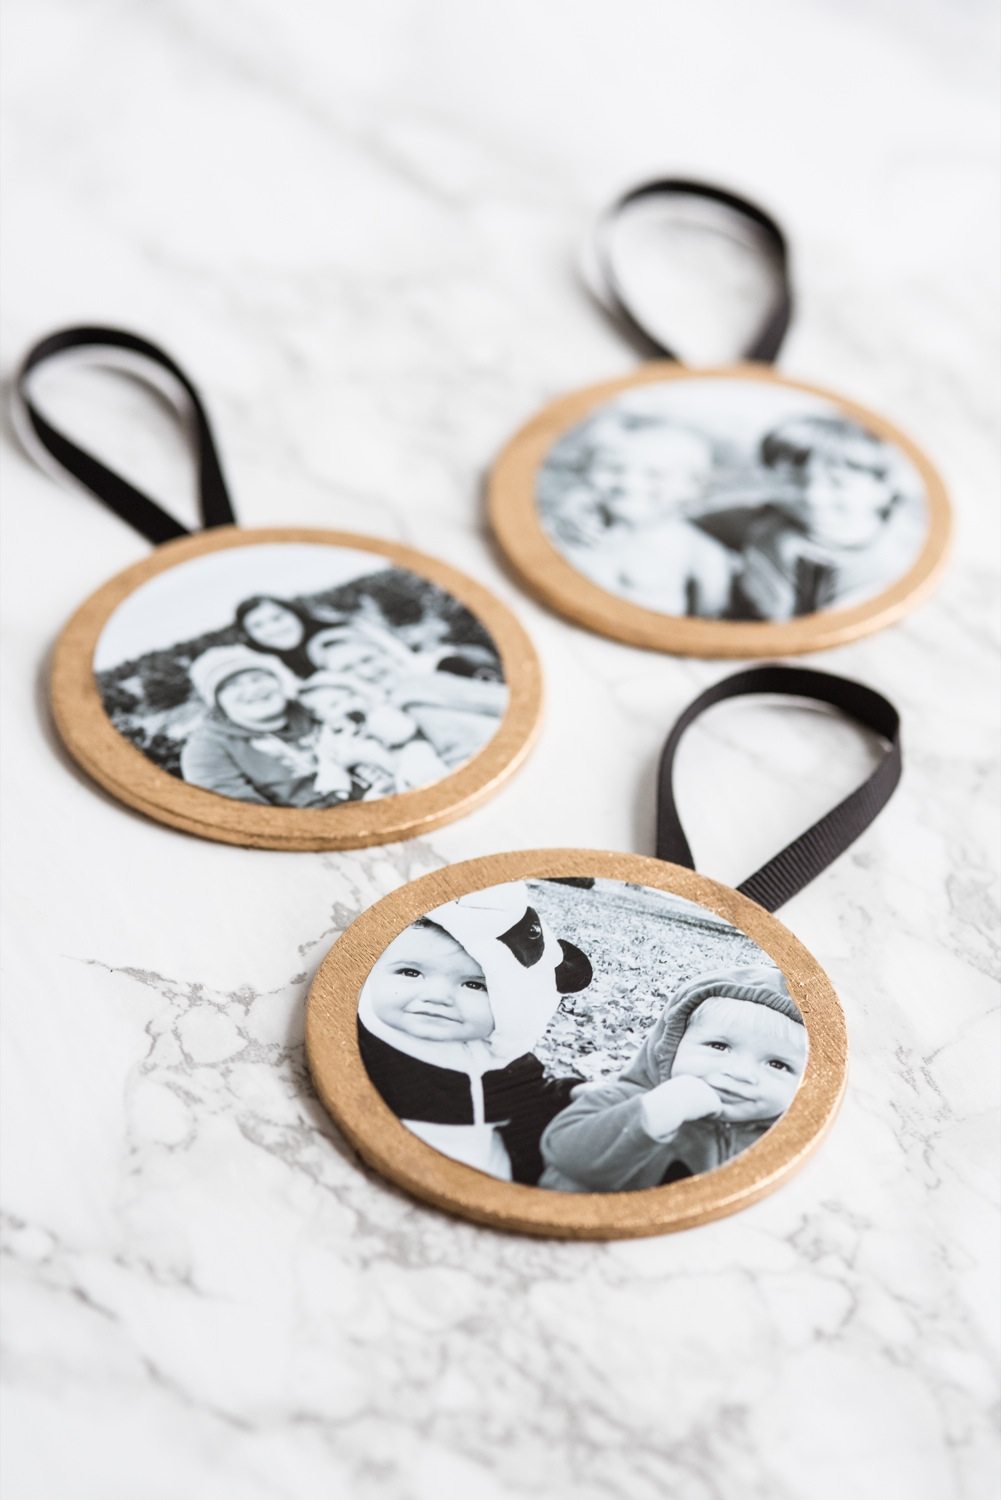
Next, use a small craft paint brush to carefully paint the border around the photo with liquid leaf. You’ll also want to paint the edges of the ornament so it all appears gold when hung from the tree. If this seems tricky, no worries! The edge of the photo provides a nice little ridge to run your brush along so as long as you don’t go at it too quickly, you’ll easily be able to apply the gilding with mucking up your photos. Then allow everything to dry once more.
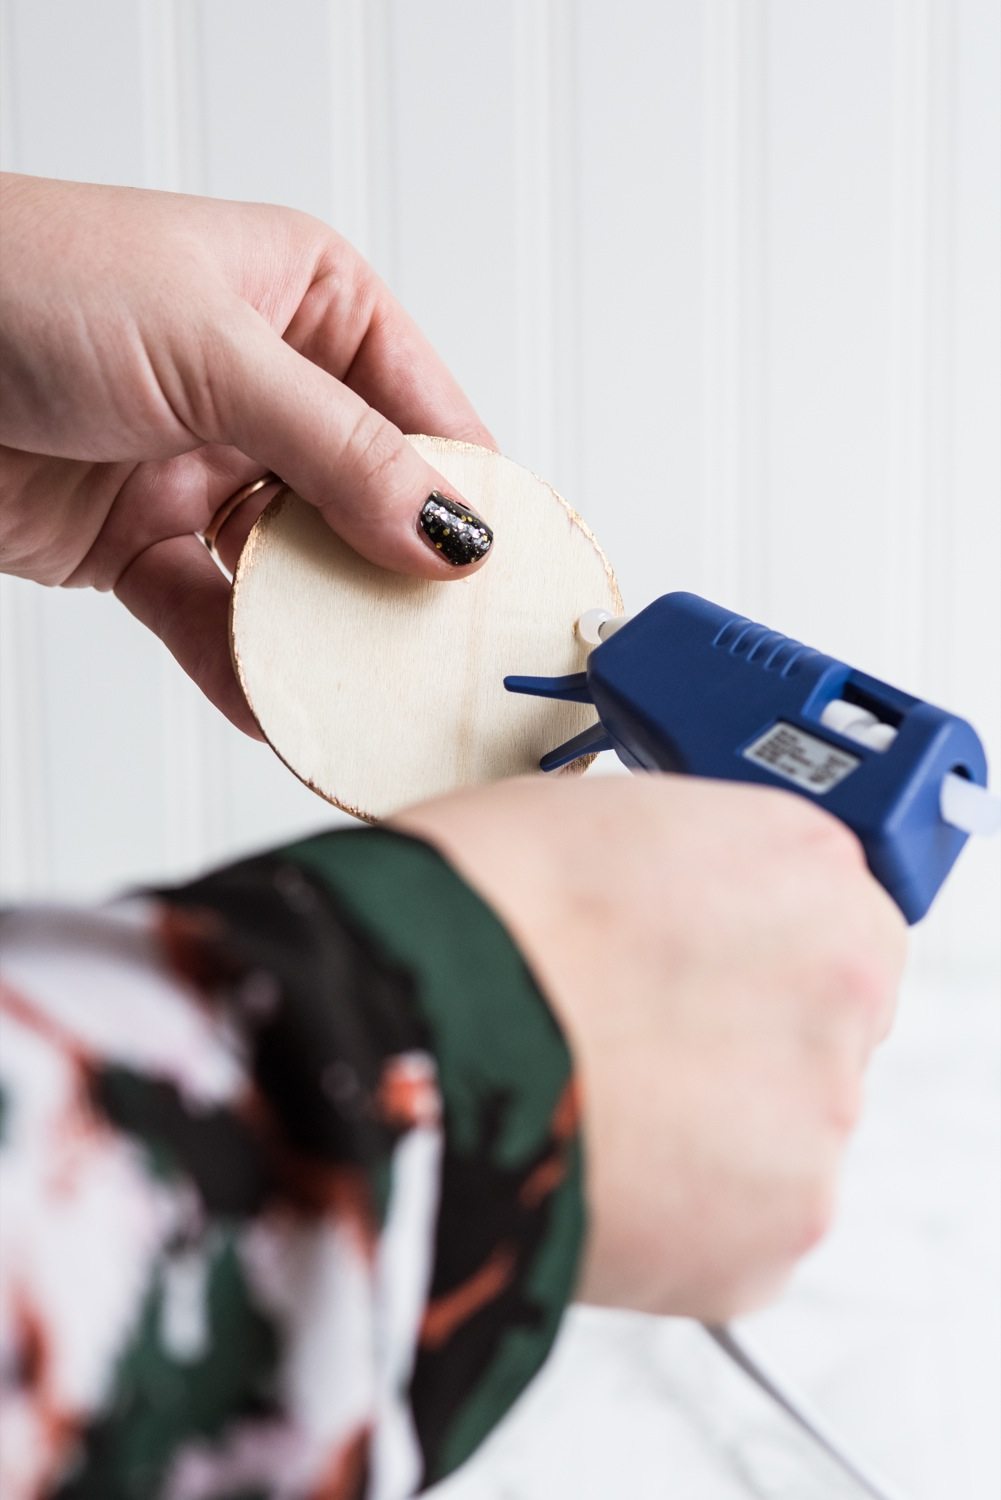
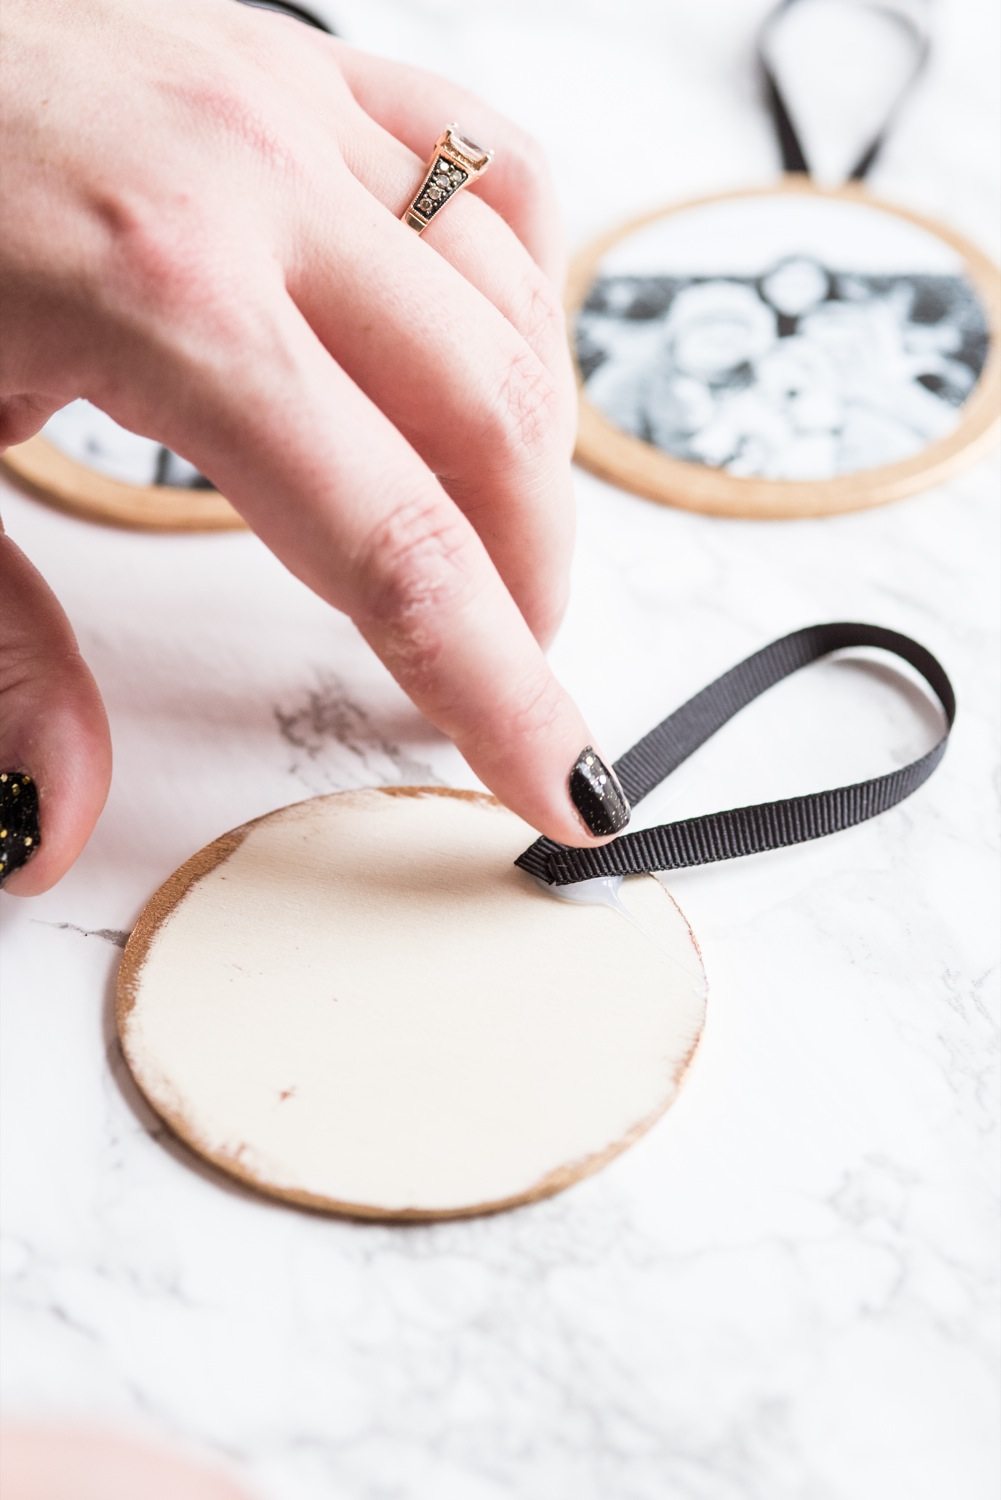

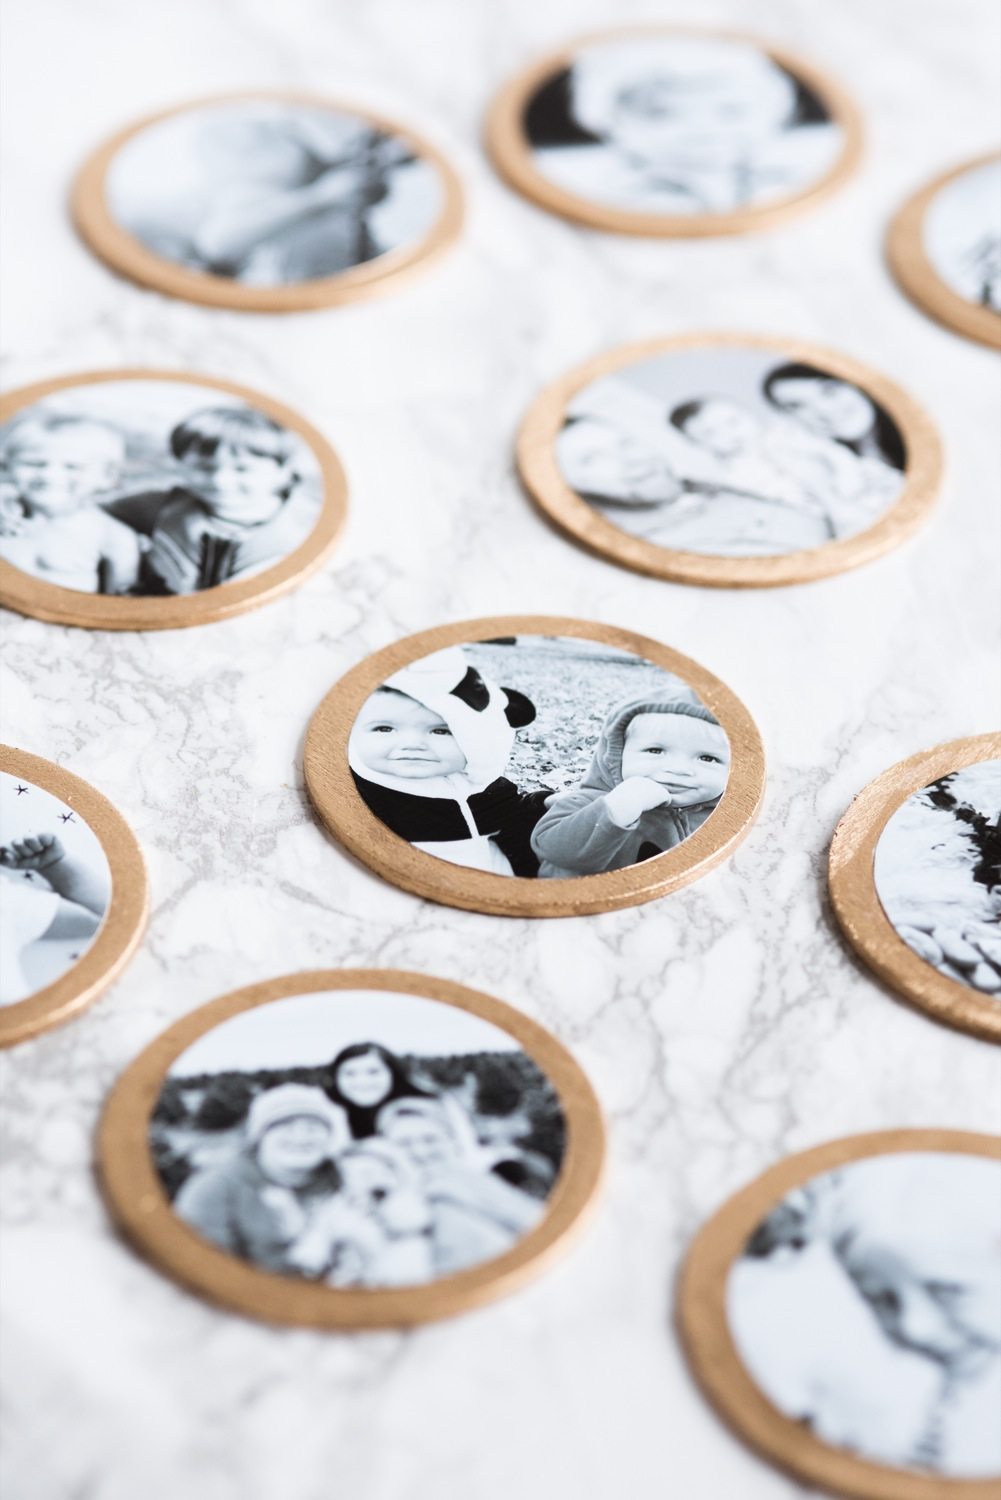
For the final step, cut lengths of ribbon or twine roughly 5″ long to create the loops for hanging your ornaments. I mocked it up and tested the length on our tree to make sure they’d be large enough hangers to easily hang over the branches without having to struggle. Then just add a bead of hot glue on the back of the ornament at the top, centered on your image on the reverse side. Carefully press both ends of the ribbon loop into the hot glue, being careful not to burn your fingers. Then allow the glue to cool. Once cool, you’re ready to hang your ornaments!
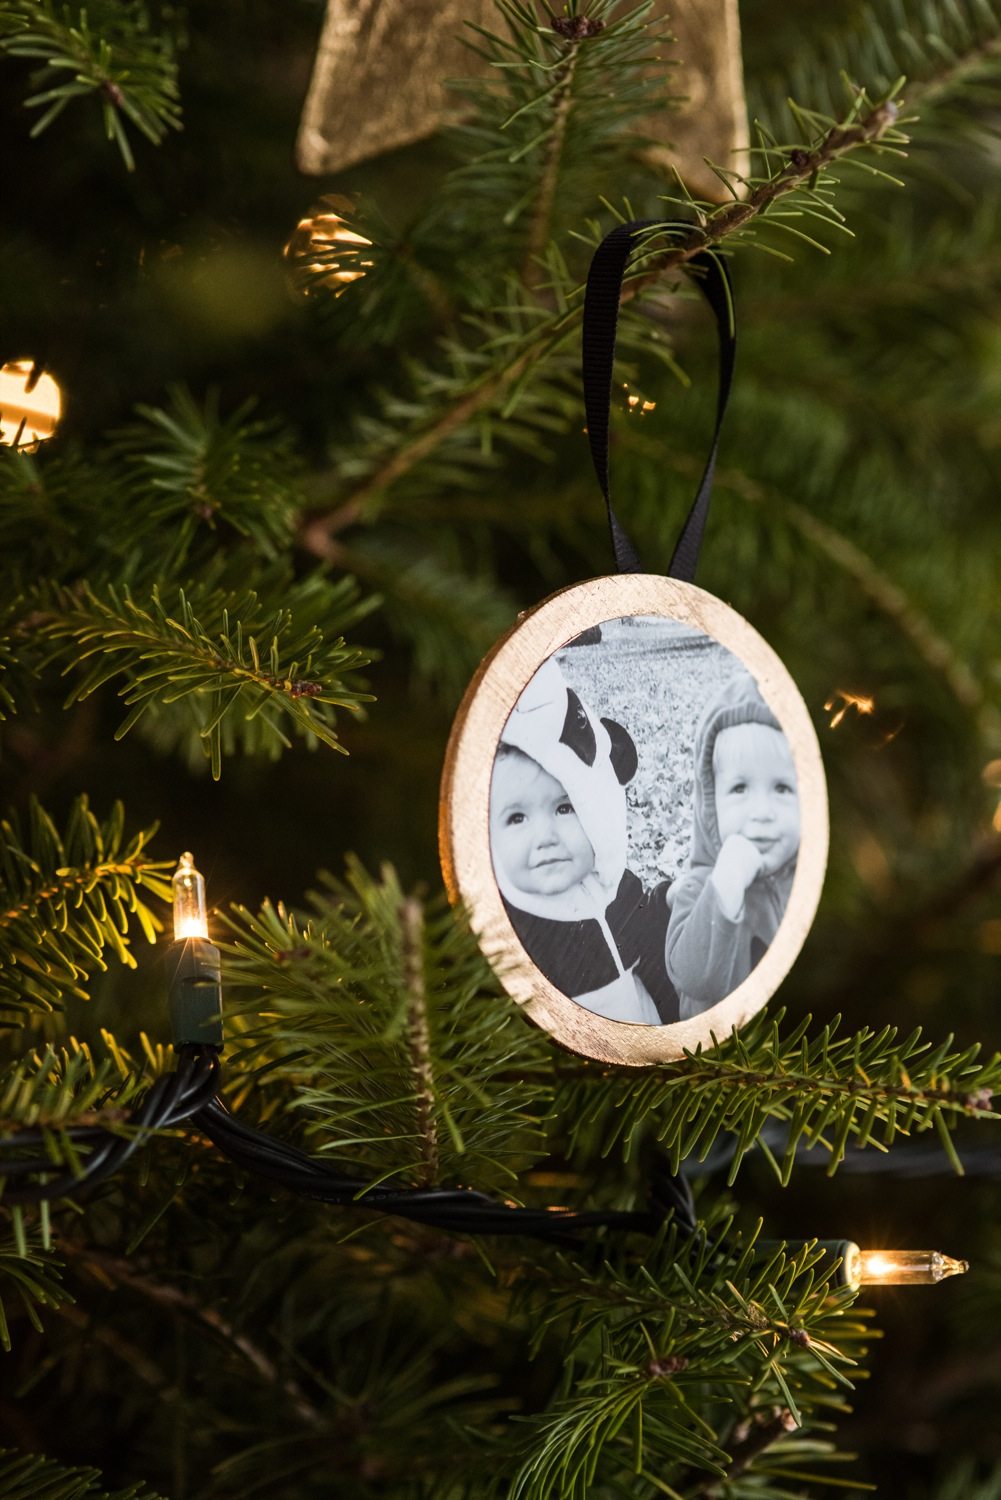

Alternately, these make really beautiful gift toppers, too! Use a bead of hot glue or double sided tape to attach them to your wrapped package and they can either denote whose gift it is or serve as a sweet bonus gift for the recipient. My dad is going to be getting a whole set of ornaments for Christmas this year to make his wish of having a tree filled with photo ornaments of the grandkids come true. (And don’t worry, my dad doesn’t read the blog…even though he very often is caught bragging about his daughter, the “famous” blogger. Hahaha!) Many thanks to CVS.com for teaming up with me for this fun project and be sure to pay them a visit for more fun ways you can bring the holidays to life this year with your favorite photos from throughout the year!


![]()
[Art direction + styling by Cyd Converse | Photos by Alice G. Patterson for The Sweetest Occasion.]
Disclosure: I’m proud to partner with CVS Pharmacy for the Bring Holidays to Life campaign. I am being sponsored by CVS Pharmacy for my posts and activities, but all opinions expressed are my own, and all product claims or program details shared should be verified at CVS.com or with the appropriate manufacturers.
Read more about our editorial policies.


 Back to Top
Where can I bye everything I need to do these I would love to do them for my great grandchildren thank you
I found everything to make these at Michaels!
What size of photos should be used? I printed some 4×6 I haven’t picked them up yet but am afraid they might be to big?
Hi Molly! I did 4×4 prints here but 4×6 should also work, they’ll just have to be trimmed more. I hope this helps!
Such a cute idea! I have so many photos I need to print.
Yes, Leah! So do I, which is why it was so fun to make these. You could make a ton of cute ones with photos of the twins! ;-)