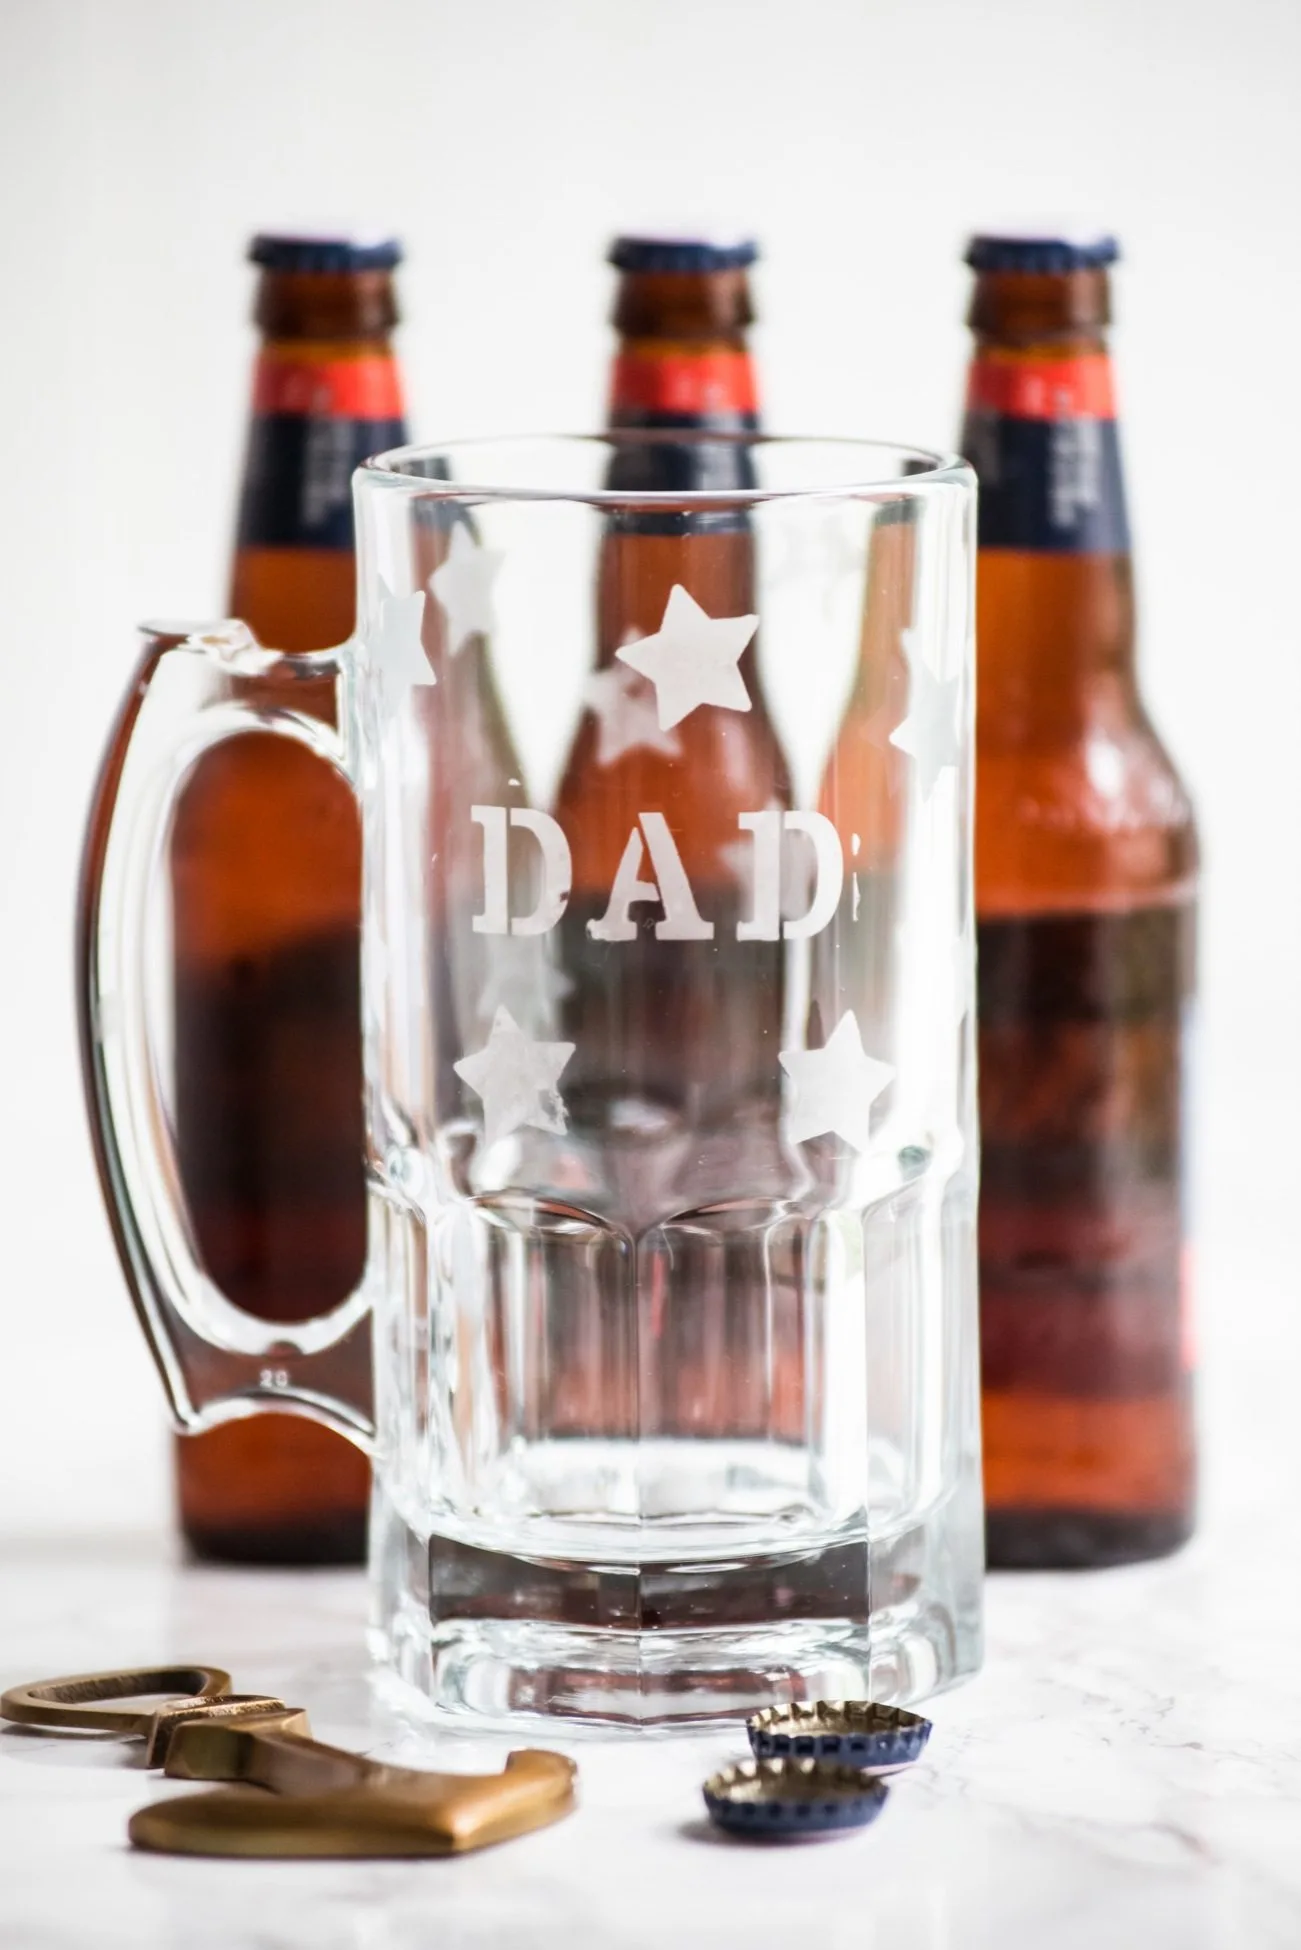
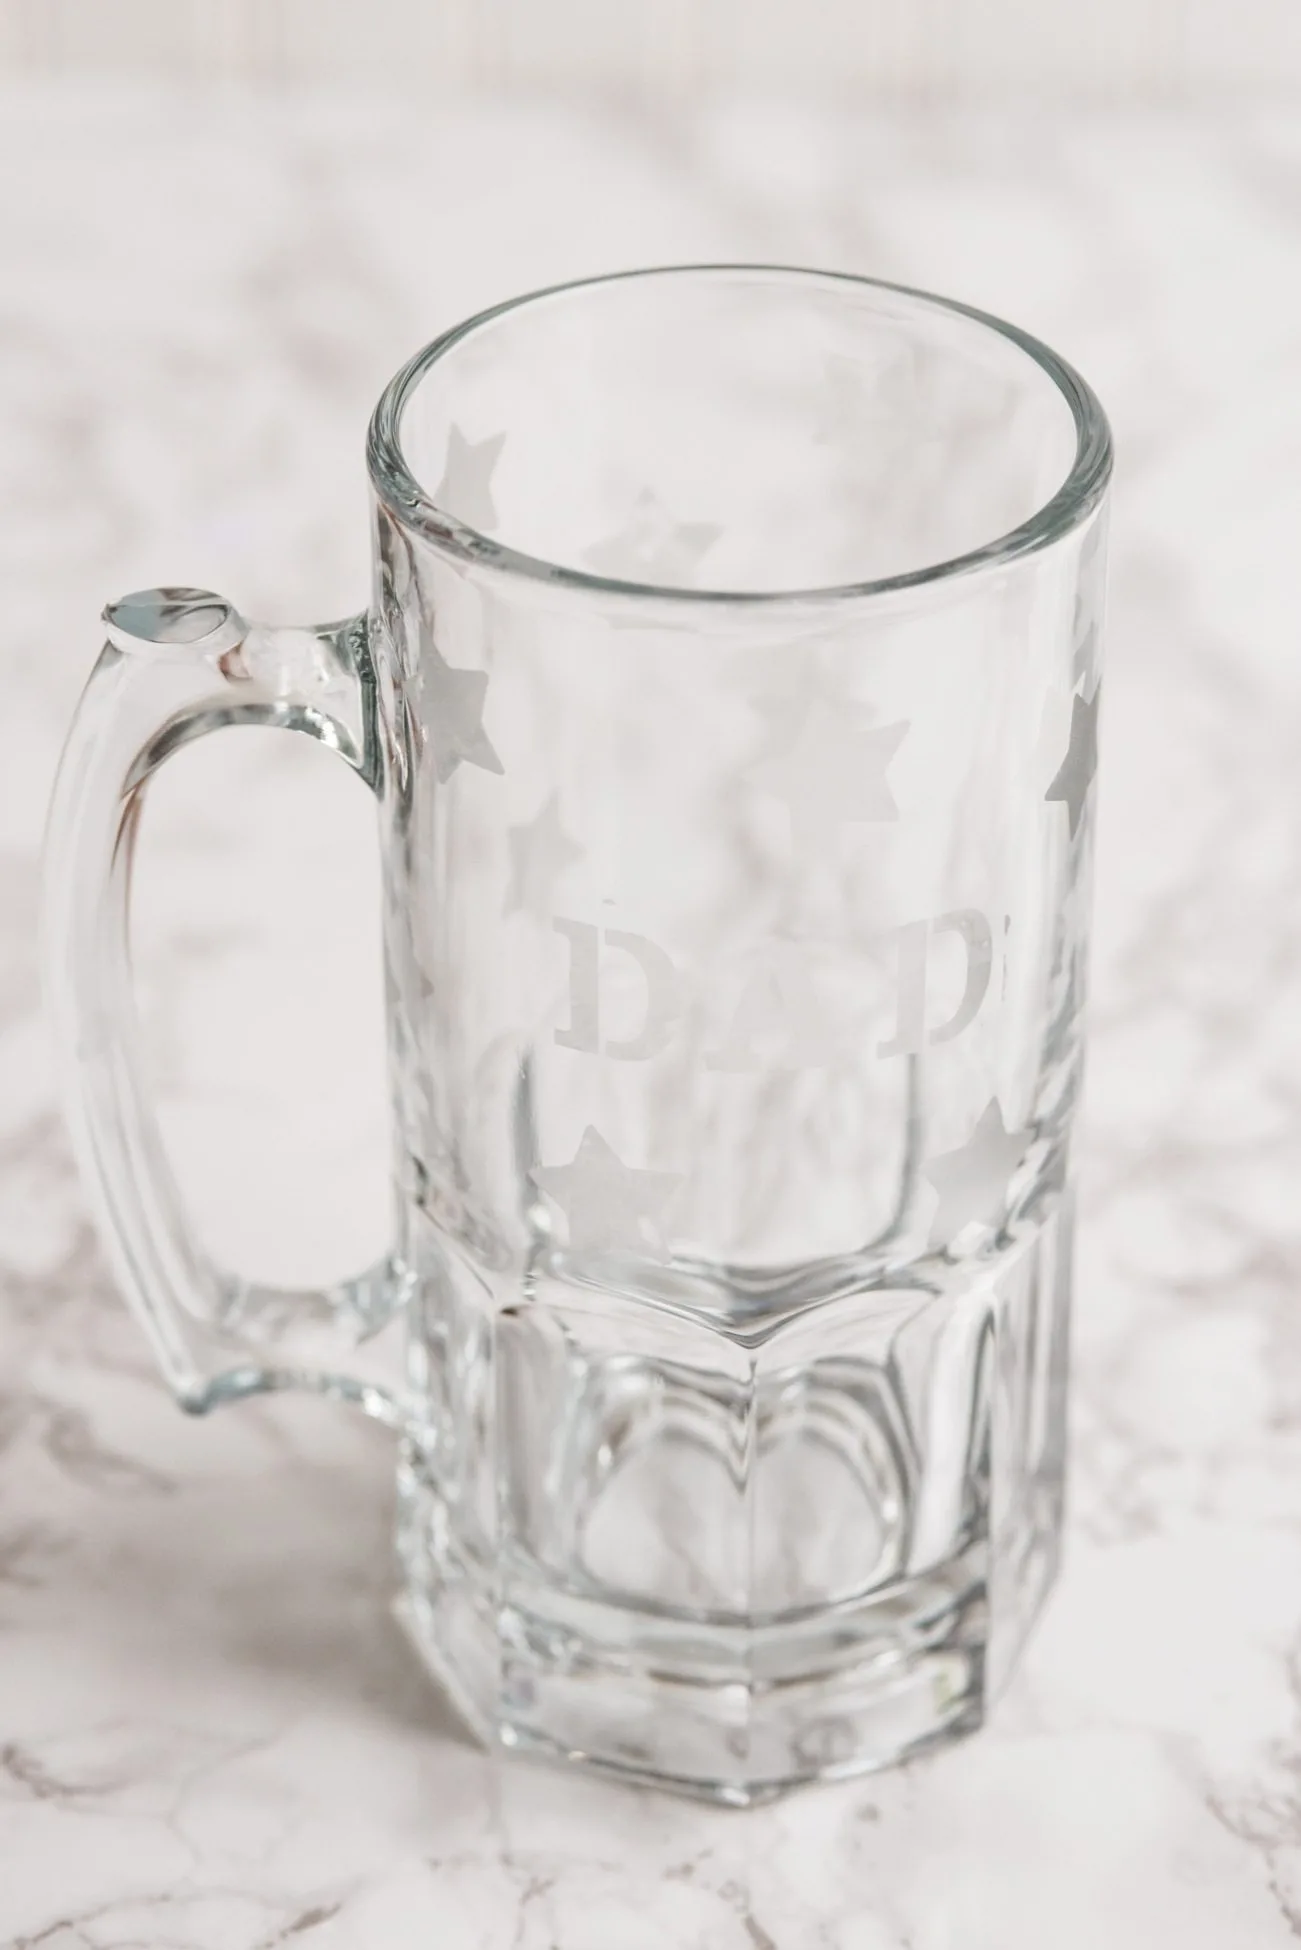
 For whatever reason Father’s Day (like Mother’s Day) feels like one of those occasions for which homemade gifts are always the best idea. Even if Dad really wants an upgrade to his grill utensil set or has been longing for a new neck tie, chances are he’ll really really appreciate a homemade Father’s Day gift even more. Make him a DIY etched beer mug and pair it with a six pack of his favorite craft beer and he’ll be crazy impressed and feel especially loved. Dad’s not a drinker? No worries! Snag some good root beer and a half gallon of gourmet vanilla ice cream and he’ll still love this one. If you’ve never etched glass before, it’s surprisingly simple, but still seems really impressive so etched glass projects make perfect gifts in that way. You can make a mug in a half hour or less so there’s no major time involved here either. Win-win-win!
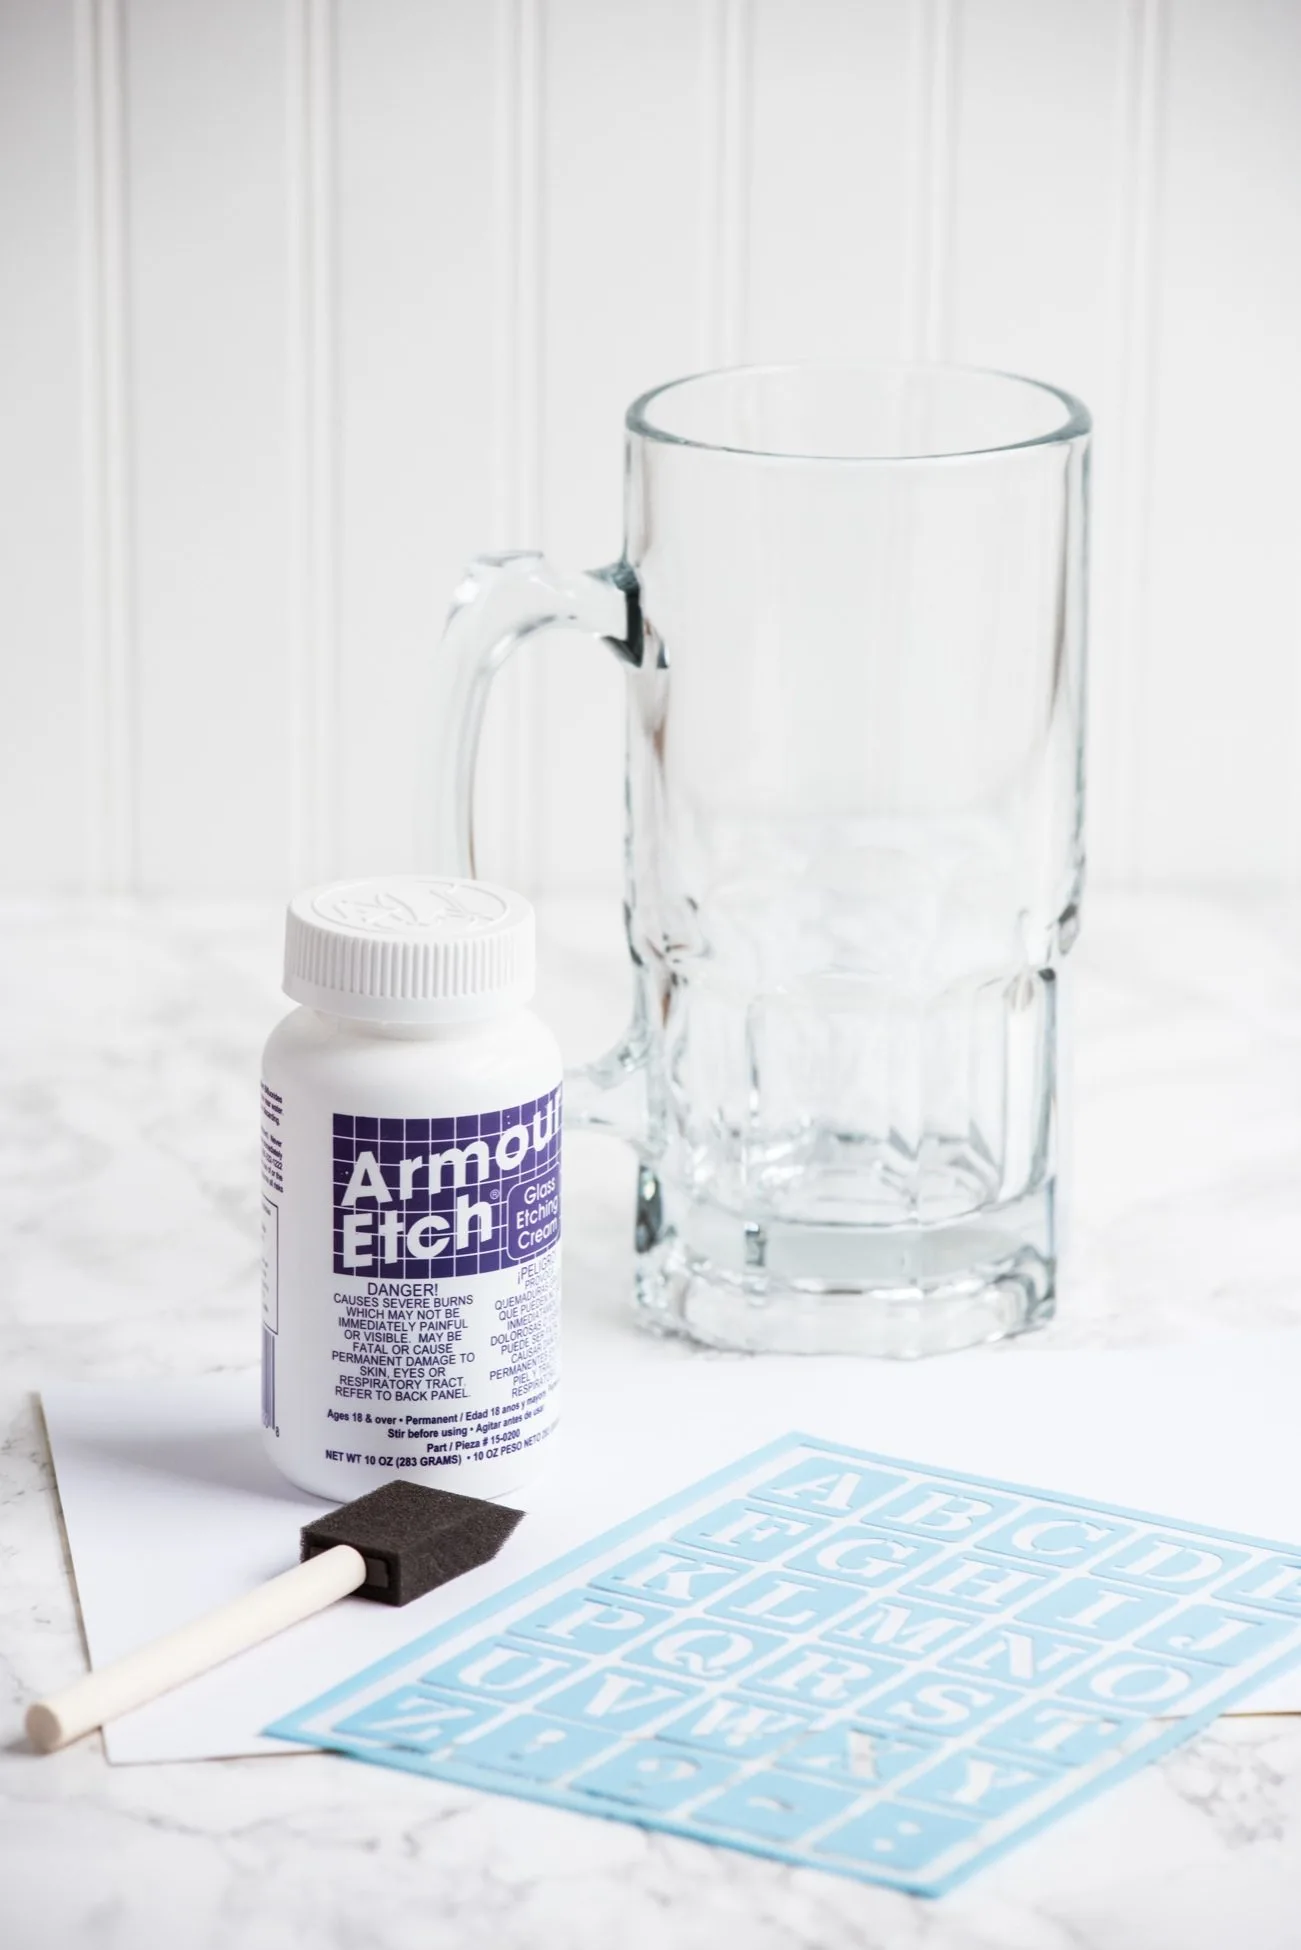
SUPPLIES
- Glass etching cream
- Beer mugs
- Adhesive letter stencils
- Star shaped paper punch
- Plain label/sticker paper
- Small craft brush
- Protective gloves
- Scissors
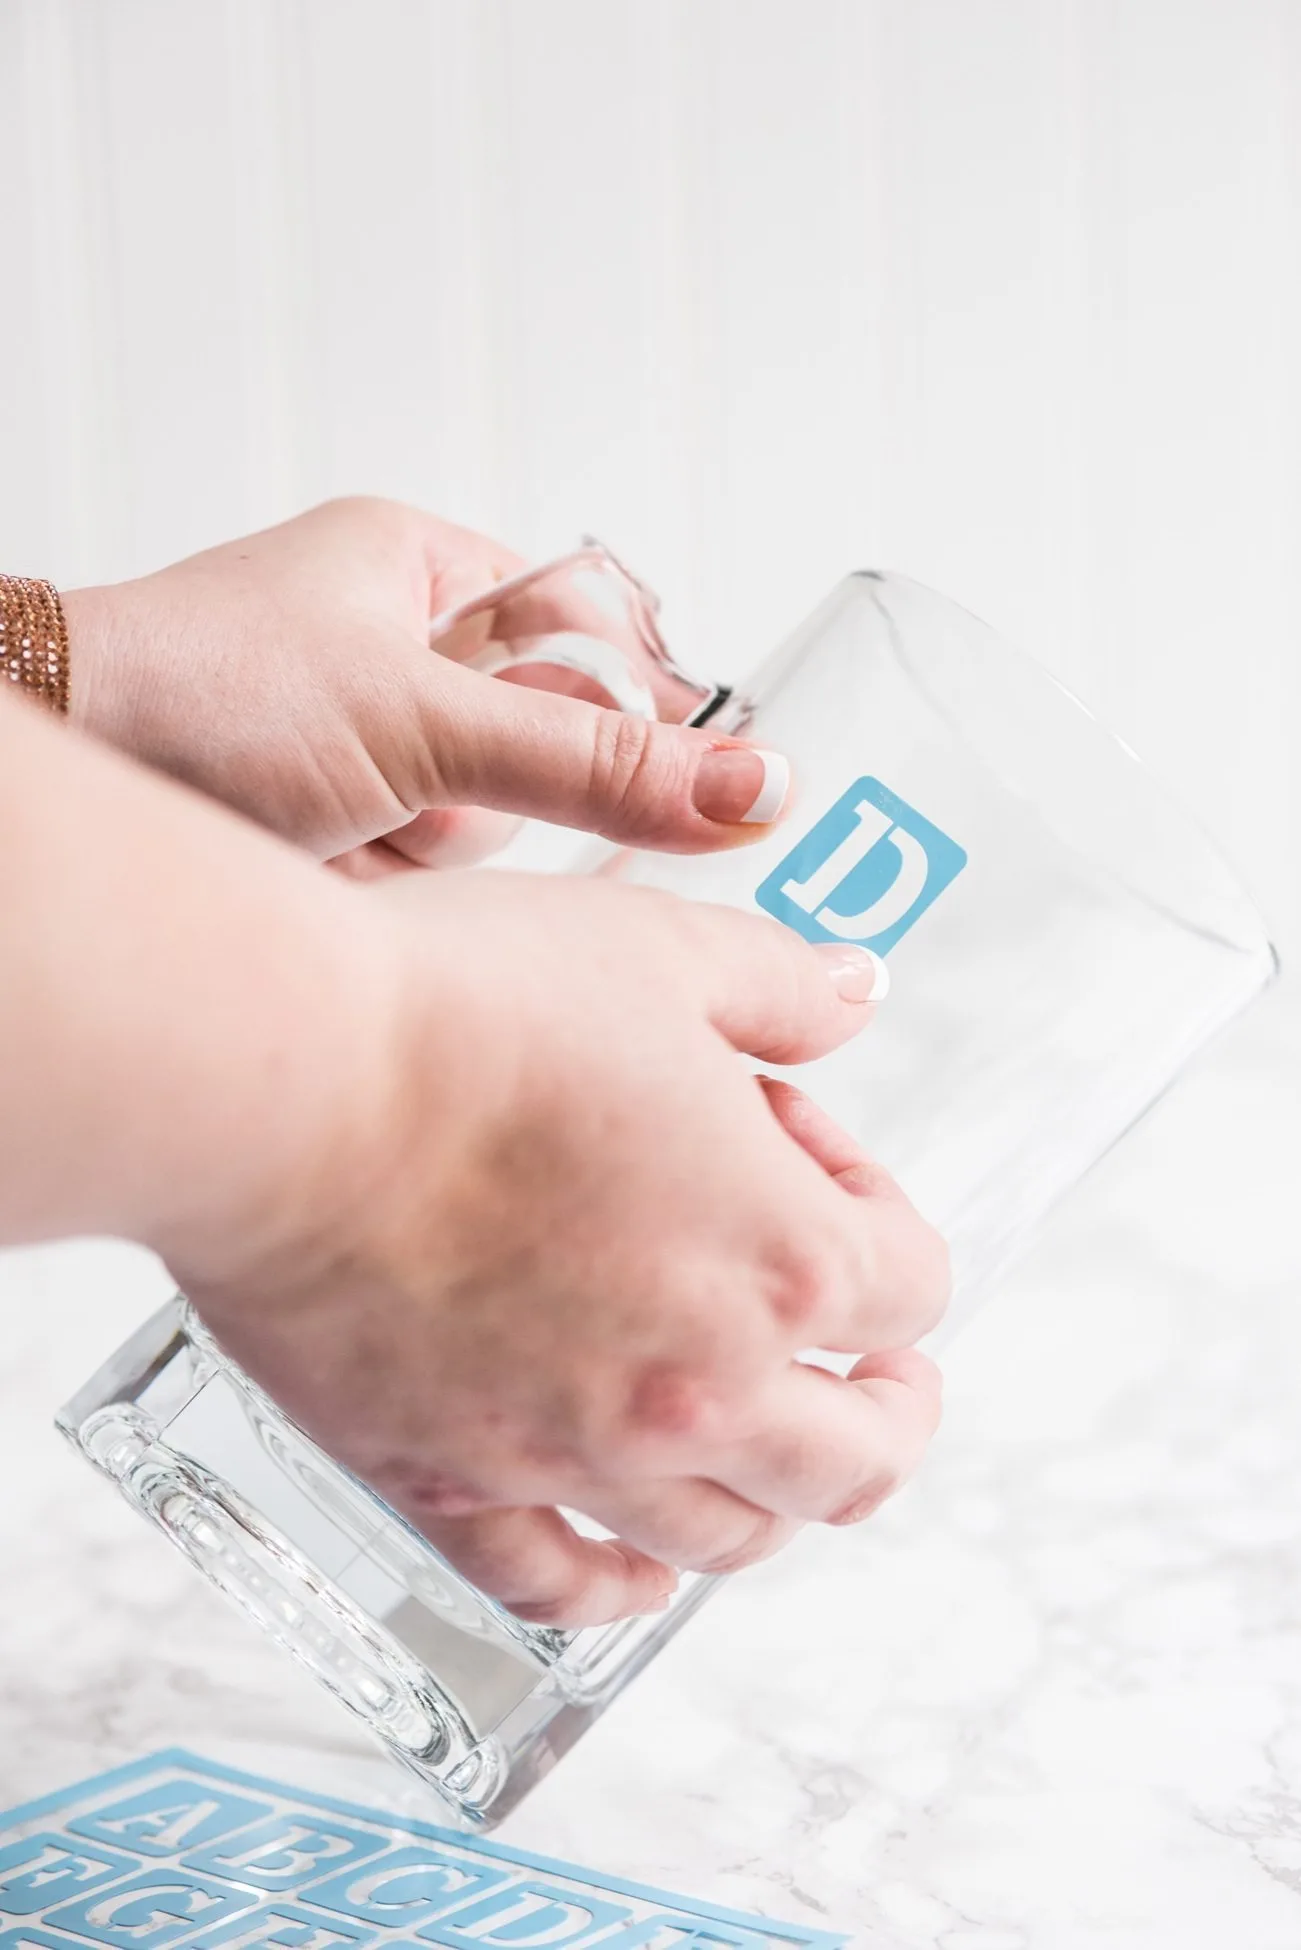
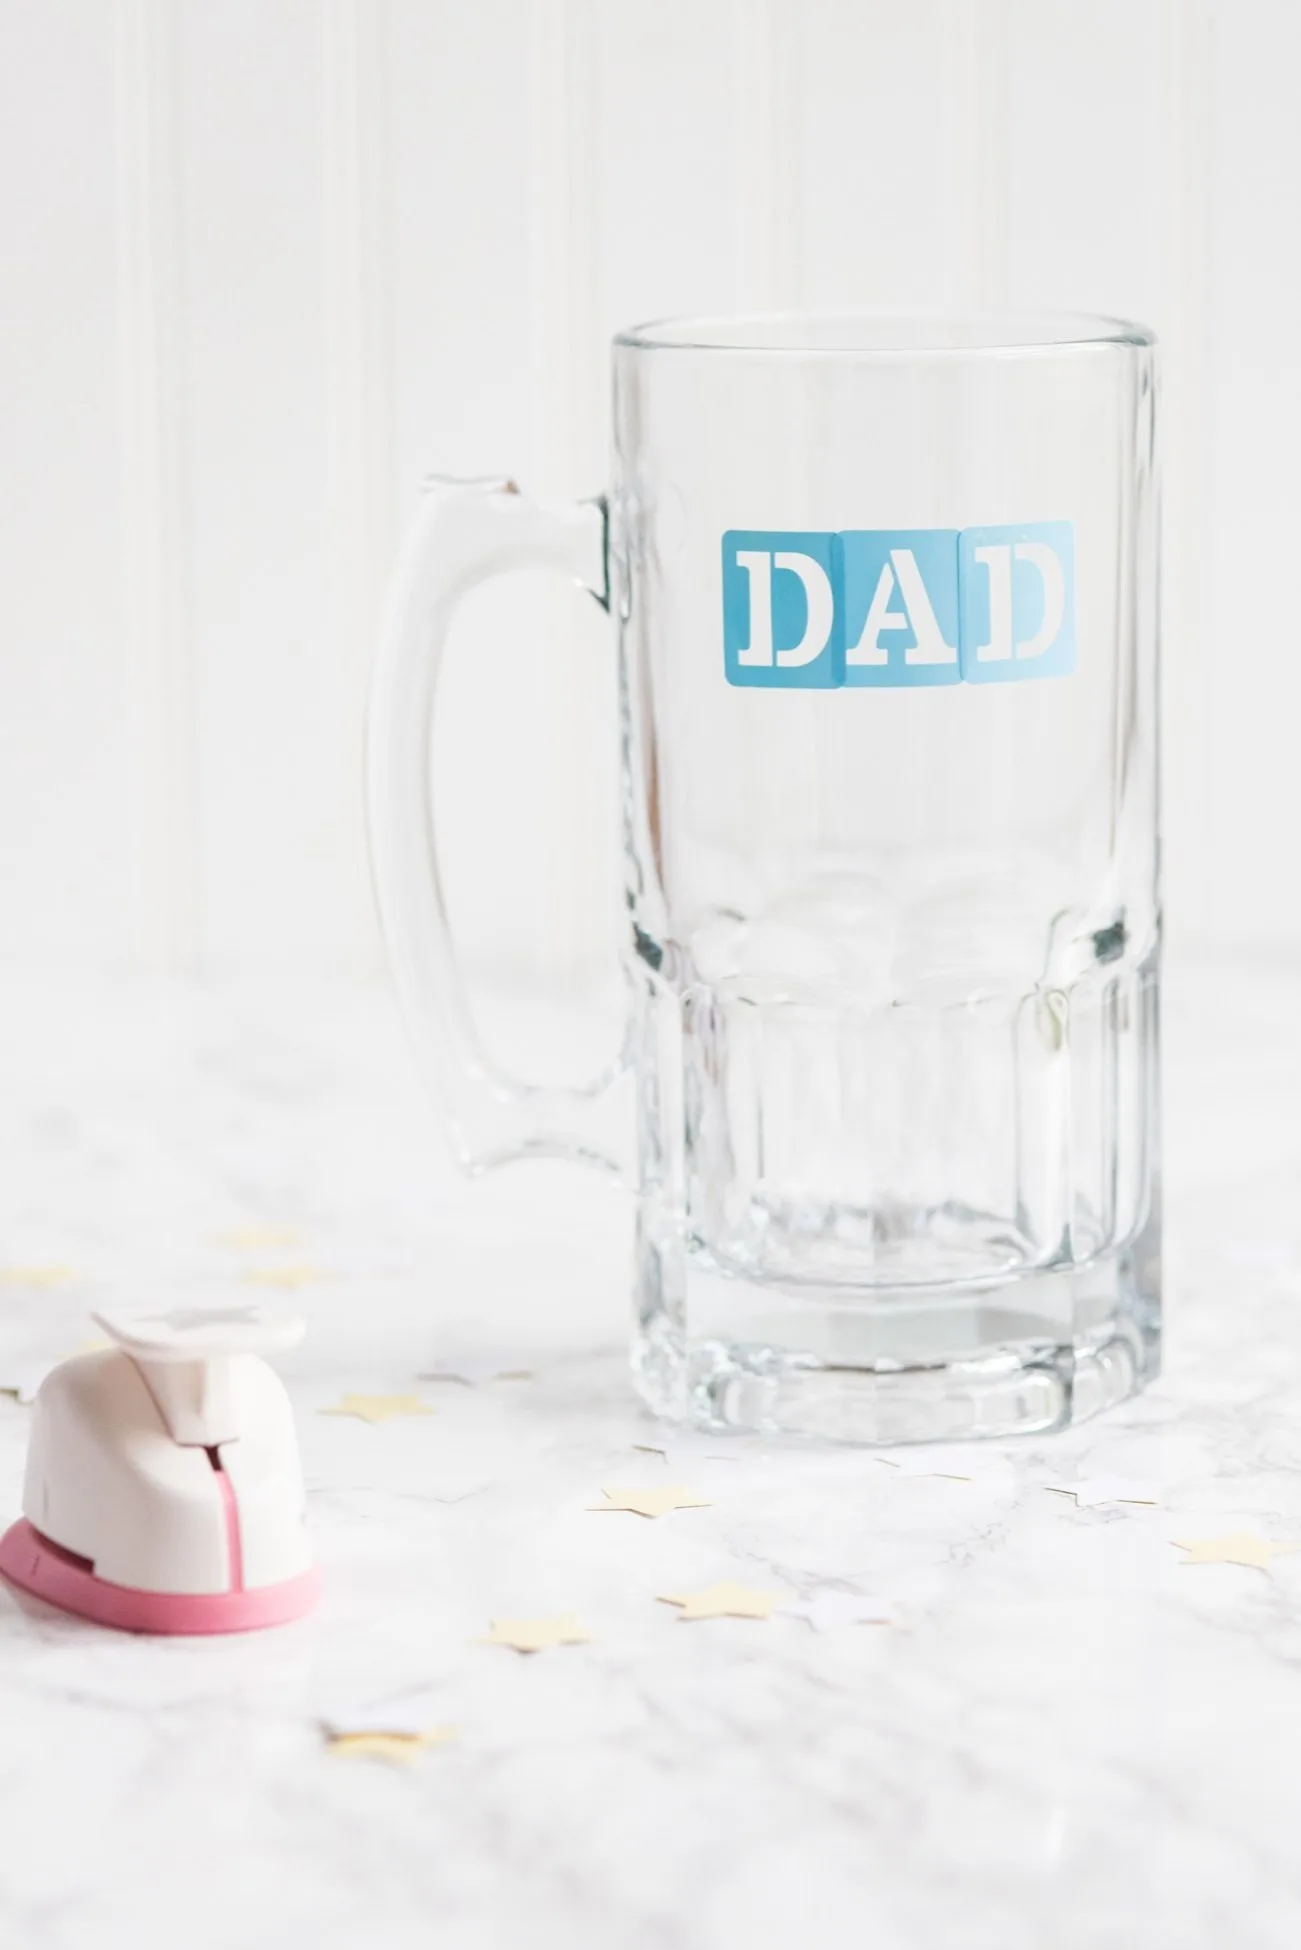
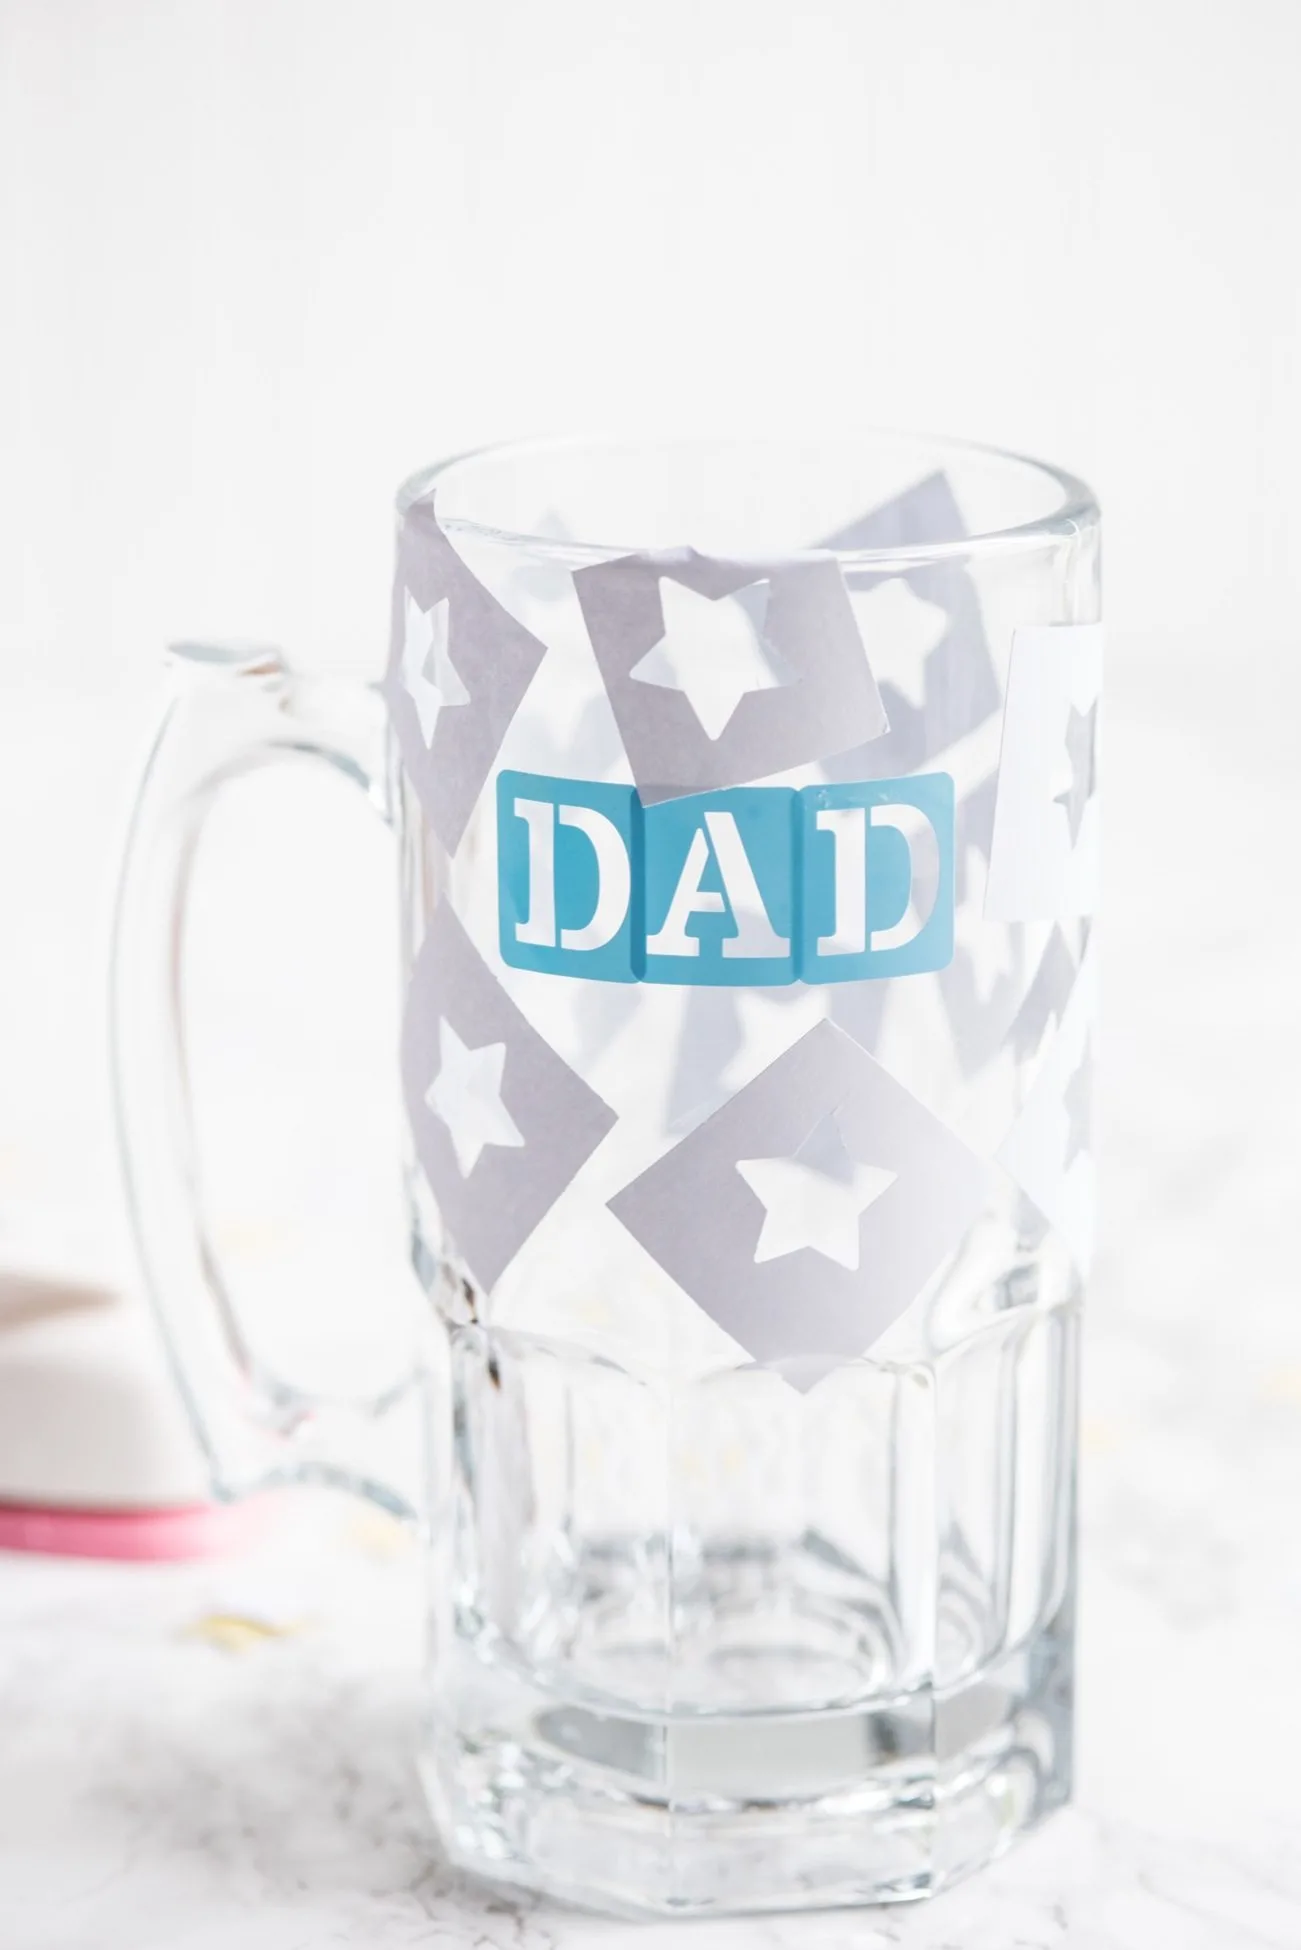
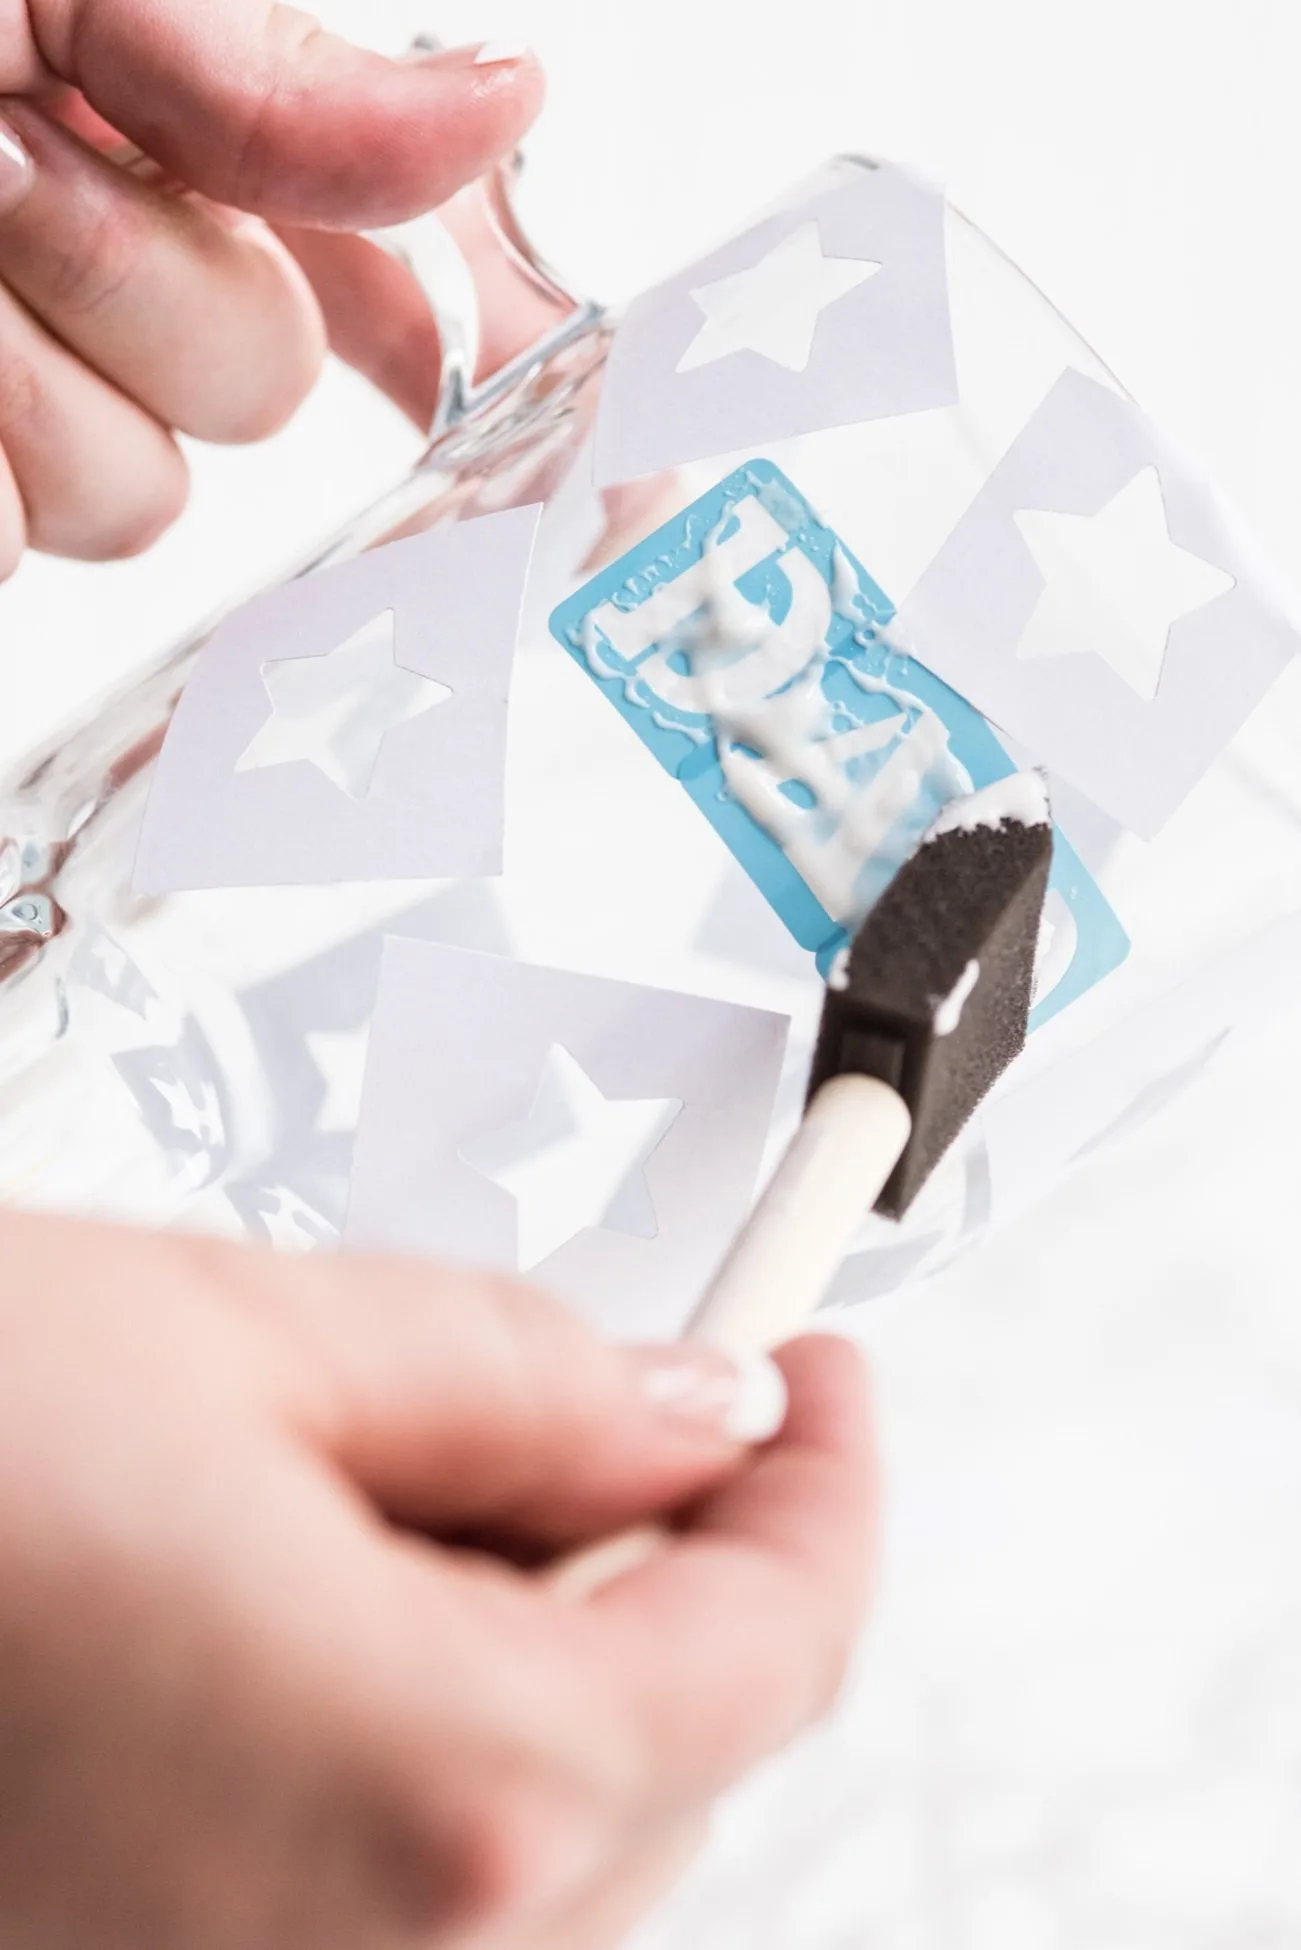
With any etching projects, be sure to start by making sure your glassware is thoroughly cleaned and dried. I generally wash mine with warm soapy water, then scrub them well again with a dry cloth and glass cleaner to be sure there are no finger prints or oils left behind. Next you’ll position your adhesive letter stencils in place to either spell out “Dad” or maybe dad’s name or his initials. Be sure to smooth the edges of the stencils down firmly so no etching cream can creep under the edges.
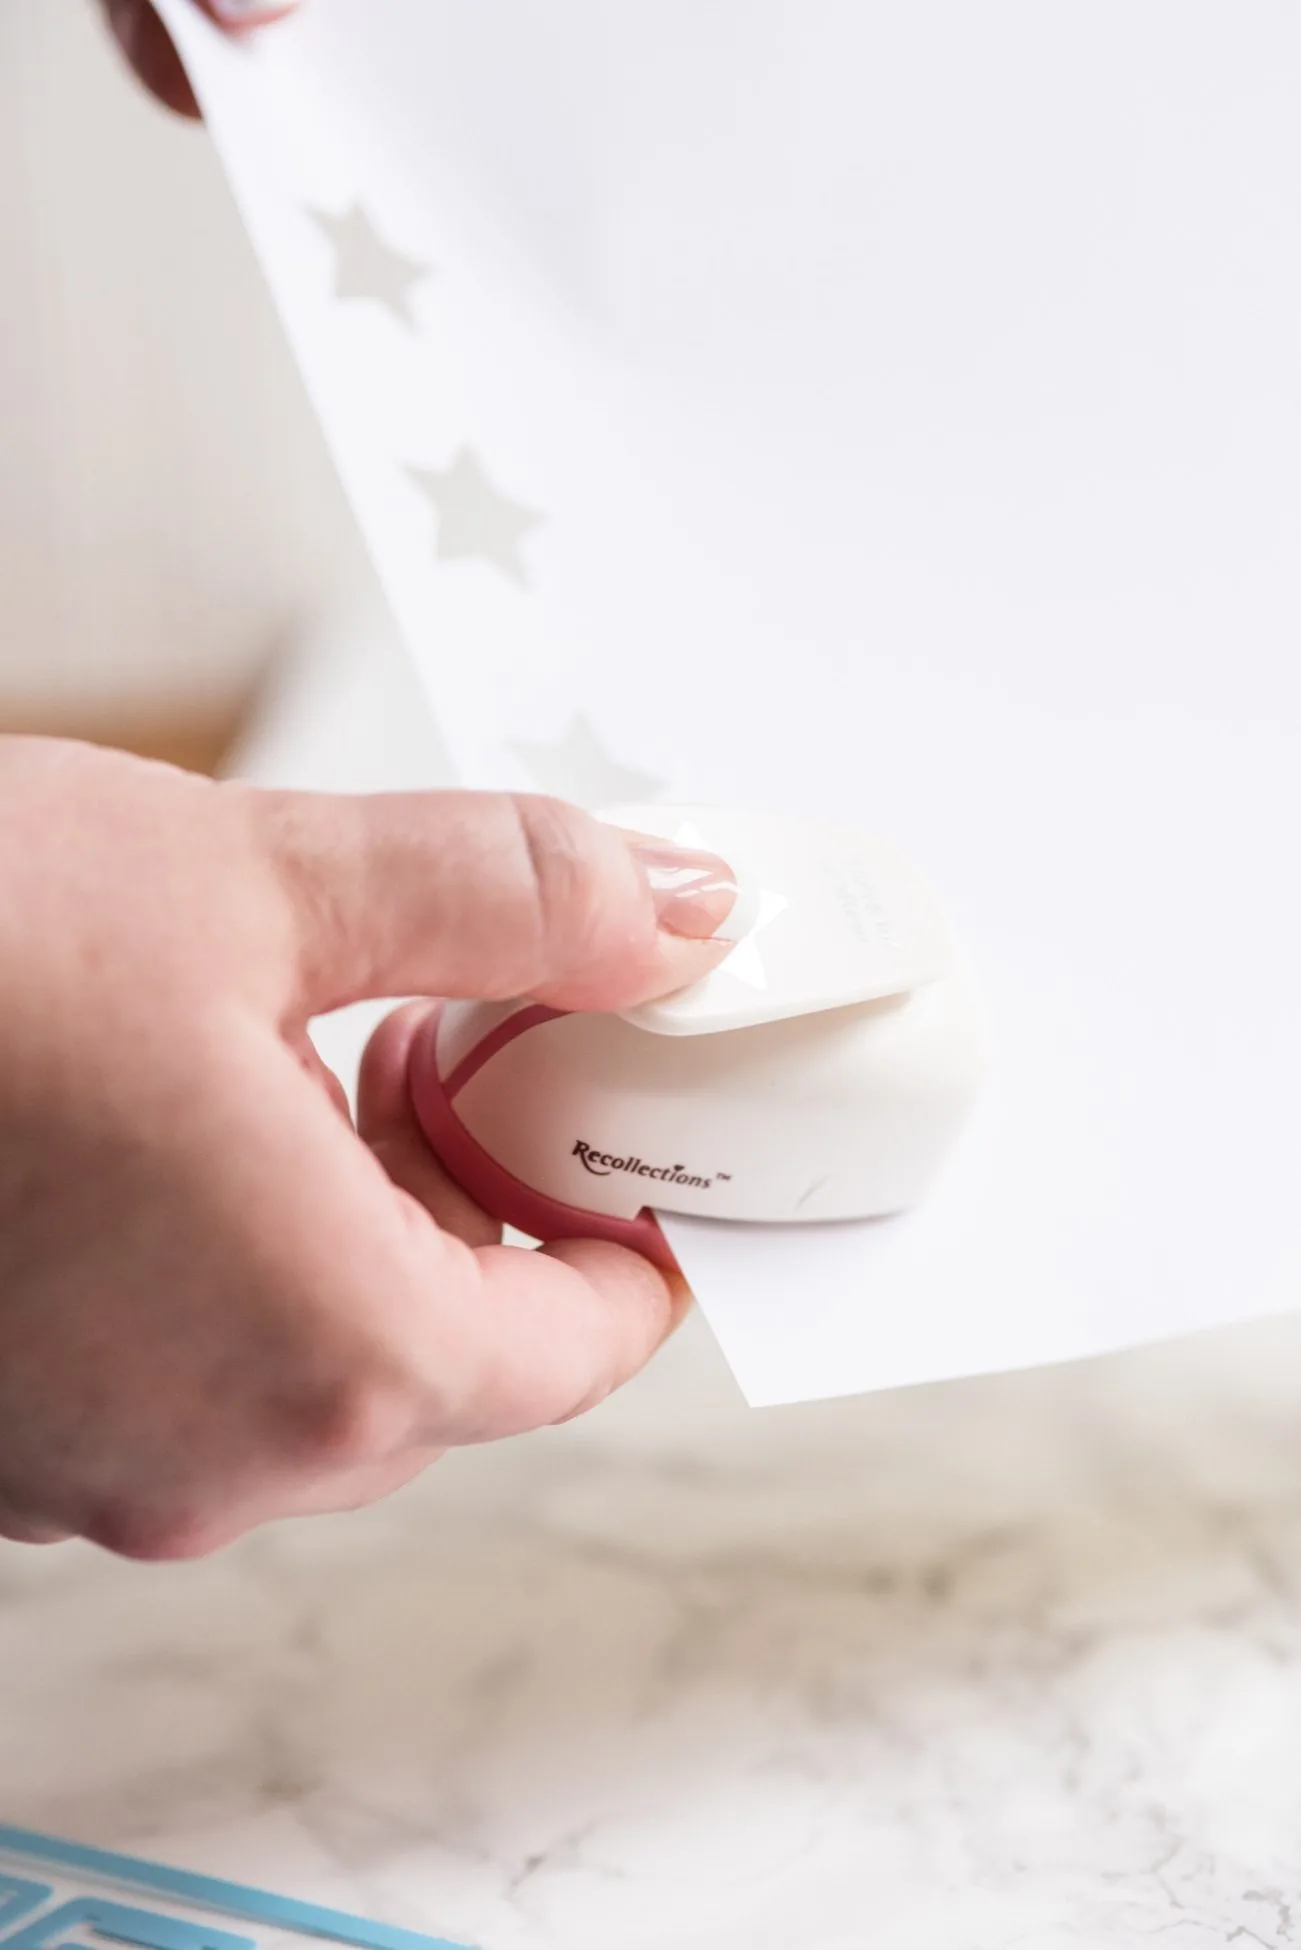
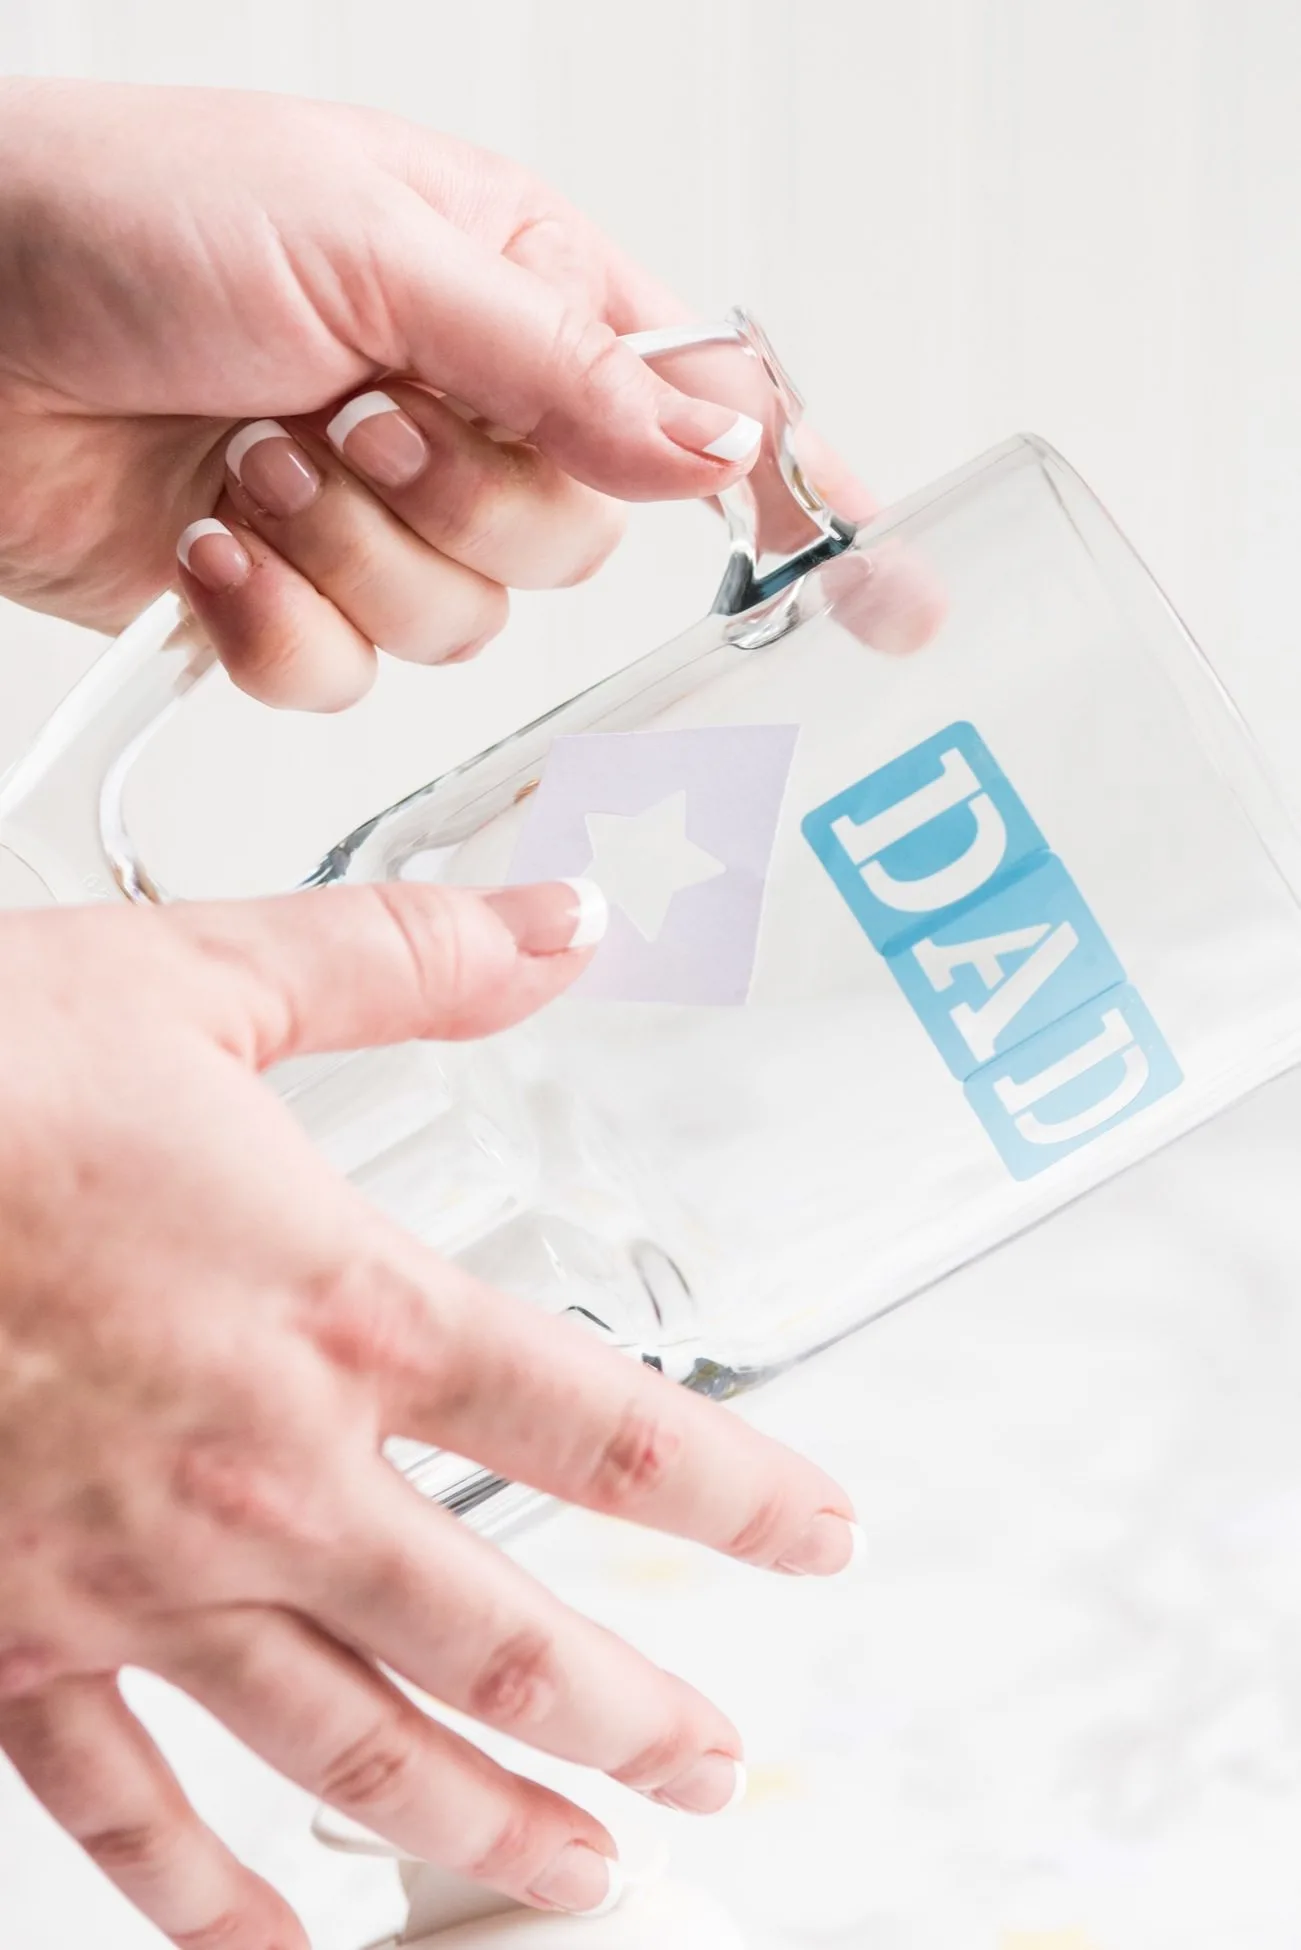
Next, use your star paper punch to punch a bunch of stars out of a piece of label paper, which creates the stencils you’ll use for etching the star pattern. In this case we’re using the negative of the star, not the star itself, so be sure you don’t punch them too closely together. Then you’ll cut out each star-shaped negative, leaving a border around the edges. Of course you can choose a different shape or skip this part entirely, which is the fun of this project! It’s really easy to customize to create something one of a kind. Adhere the star stencils all over the mug, taking care once again to ensure all the edges are firmly and securely pressed down onto the glass without any gaps.
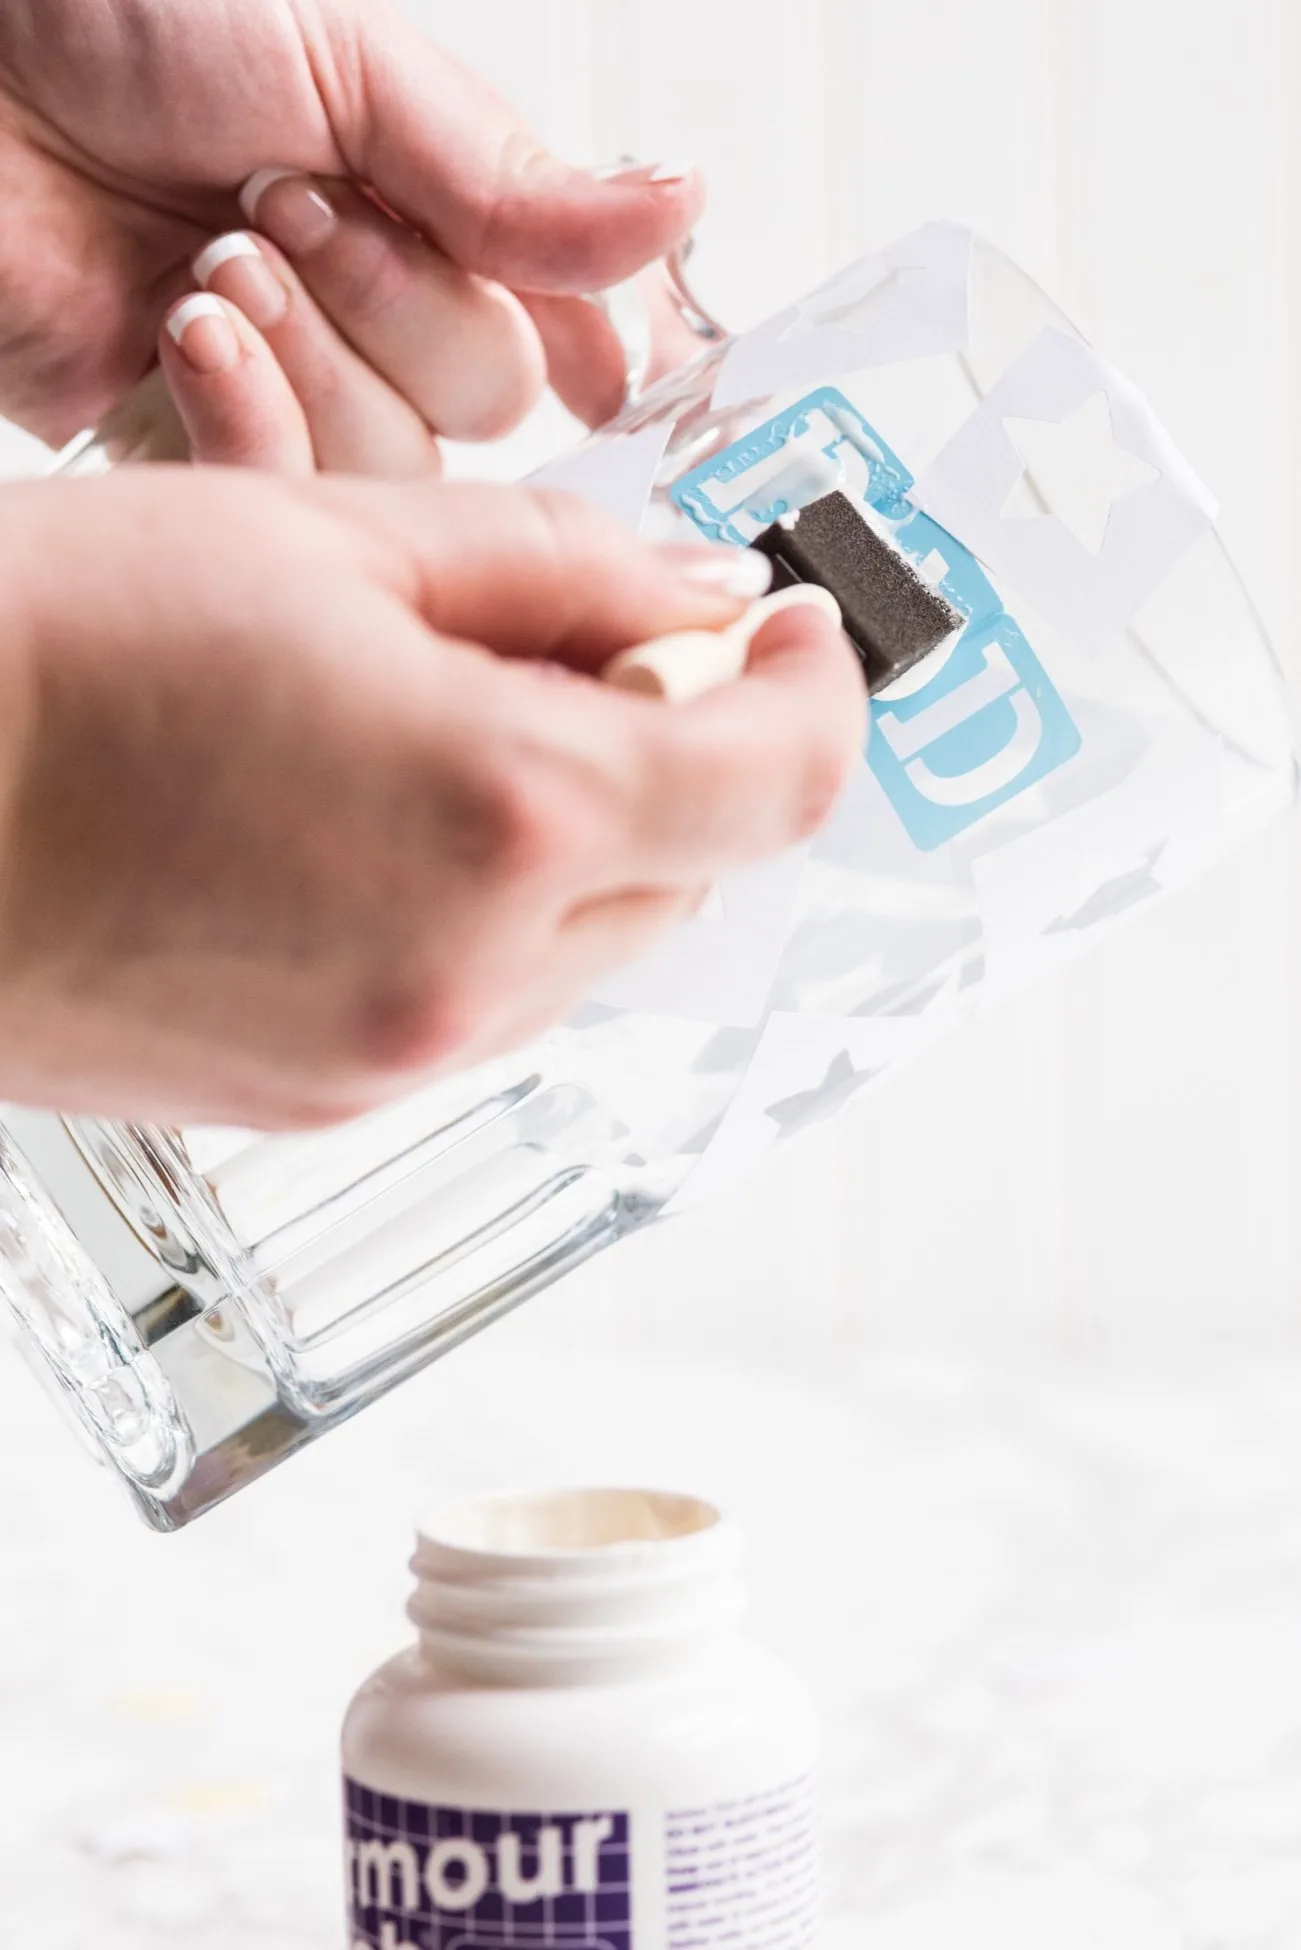
Now it’s time to etch! Use a brush to apply a generous amount of etching cream to each stencil, being sure not to let the etching cream touch outside of the stencil. (Refer to the instructions that come with your particular etching cream, but I let the etching cream sit for about ten to fifteen minutes.) You want to apply a good amount of product, but not so much that it drips. Anything the cream touches will be permanently altered, so you’ll want to make sure it only comes in contact with the areas you want to take on that cloudy, etched appearance. Be sure to work in a well ventilated area for this step since the fumes can be strong! Finally, after waiting the length of time recommended by your particular brand of etching cream, wear a pair of gloves to carefully run your mug under warm water to remove the stencils and rinse away the etching cream. Clean well it well afterward and it’s ready for gifting!
[Art direction + styling by Cyd Converse | Photos by Alice G. Patterson.]


Matthew K. Norton
Wednesday 20th of September 2017
Wow! I need to show it to my children=)
Cyd Converse
Monday 2nd of October 2017
Yes, Matthew, you do! Never too early to plan for next year. ;-)