


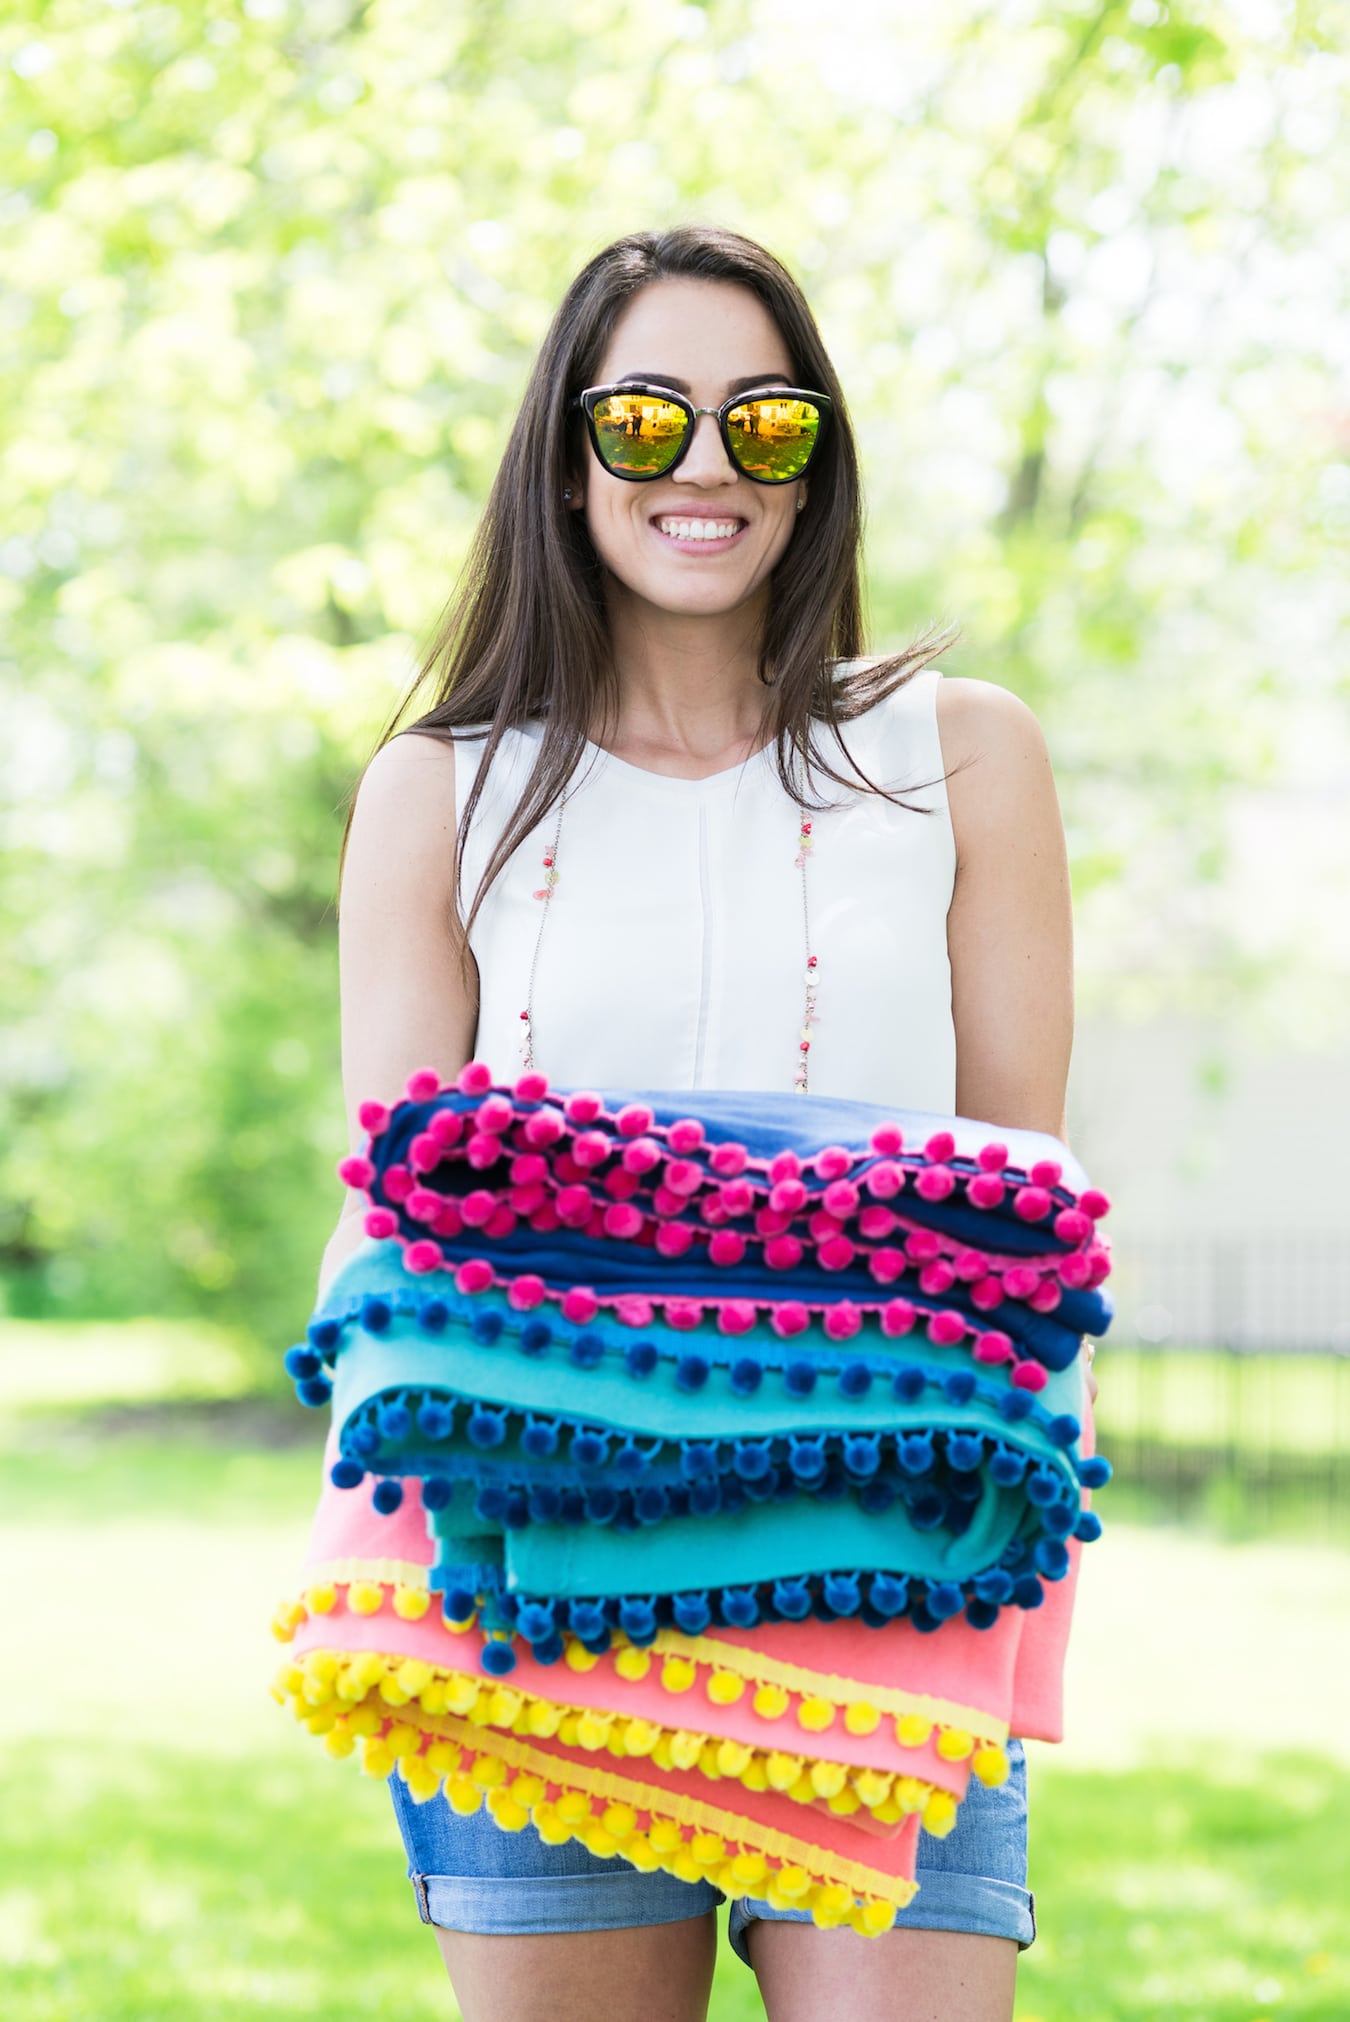
If you’re a long time reader, you probably know that I don’t sew. It’s one of the few domestic skills I haven’t at least attempted to master, even though I always swear that I’m going to learn. (Technically I learned how to sew back in 8th grade home ec class and did quite well, but I haven’t sewed since!) For that reason I love a good no-sew project! When you tell me I can make something really cool and I don’t have to sew? I’m so into that life. Over the years I’ve learned a few tricks! Namely, that E6000 or Fabric Fusion will hold just about any fabrics together and that iron-on hem tape is my best friend! Today we’re putting some of my go-to hacks to work by making these super colorful and summery DIY no-sew picnic blankets! I’m also calling them pool blankets, because they’re as perfect for lounging by the pool as they would be for picnics, cozying up for fireworks at the park or snuggling up around a campfire.

Supplies
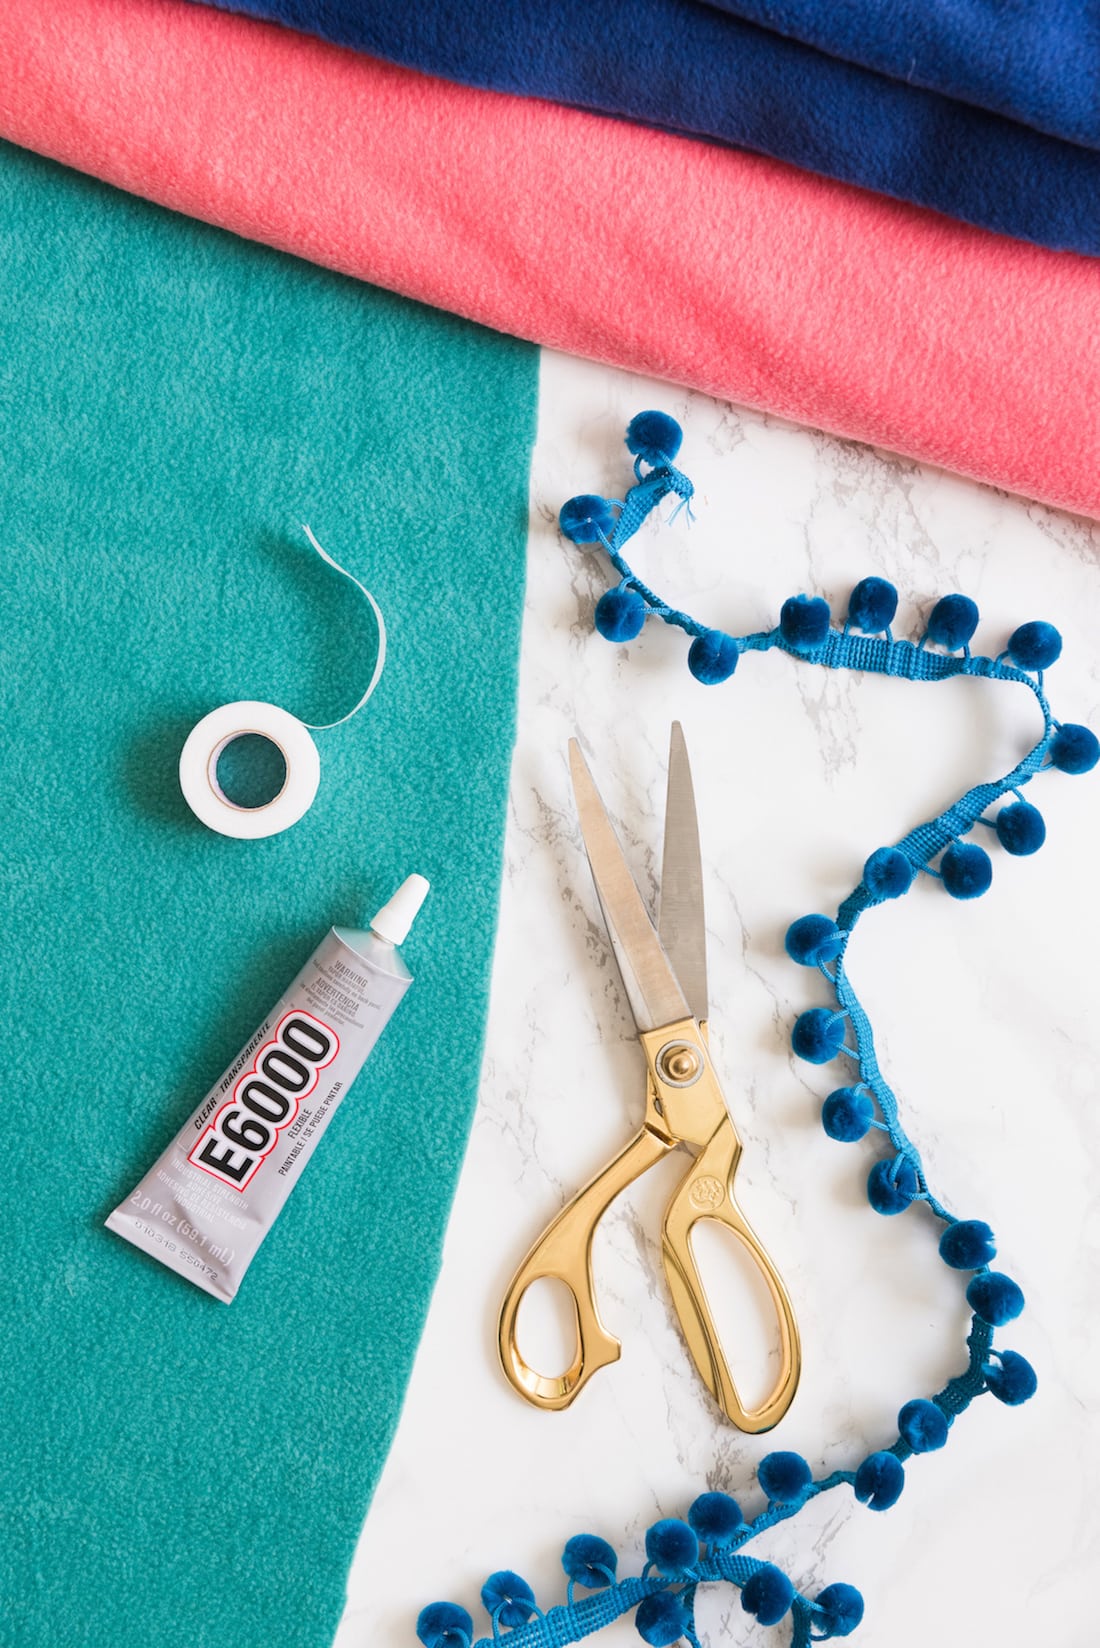
- Fleece yardage
- Pom pom trim (long enough to cover each of the short ends of the blanket)
- E6000
- Stitch Witchery or similar iron-on hem tape (long enough for two of the long ends)
- Scissors
- Iron
I made these blankets with just a few supplies! I determined the size of my blankets based on the width of the fleece yardage (58″) and then deciding to go 3 full yards in length. It made it simplest to just work with the natural width of the material. I then doubled the width and added a few inches for wiggle room when determining how much pom pom trim I needed, to accommodate trimming out either short end of the blanket. With the 58″ width of my particular fleece fabric, I went with three and a half yards of pom pom trim per blanket. Note: While I mentioned Fabric Fusion above as a favorite no-sew tool, in this instance I used E6000 since Fabric Fusion doesn’t work with fleece!

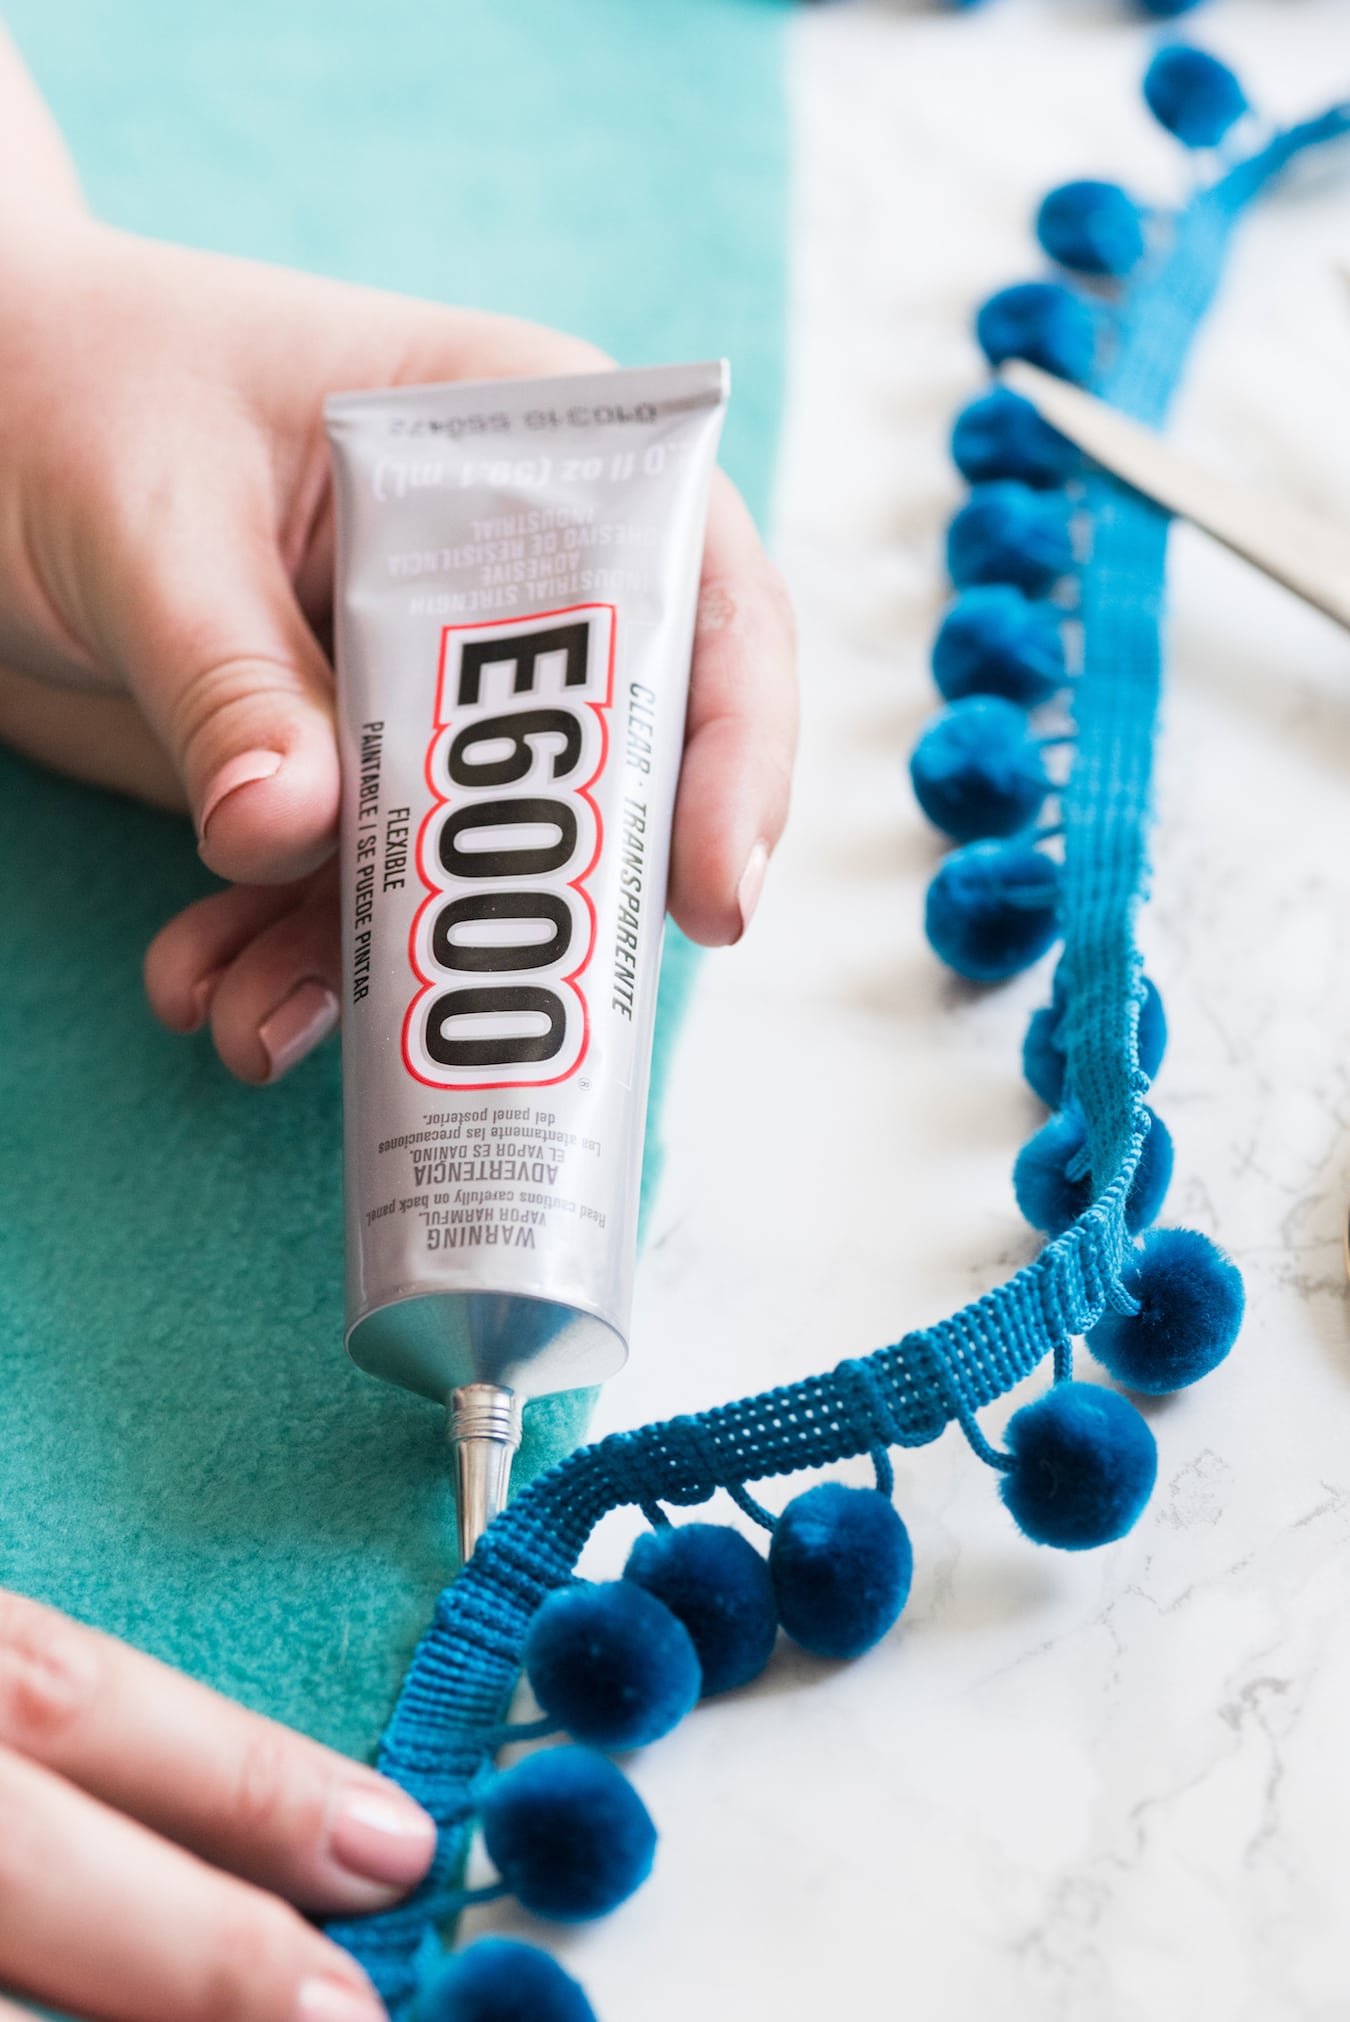

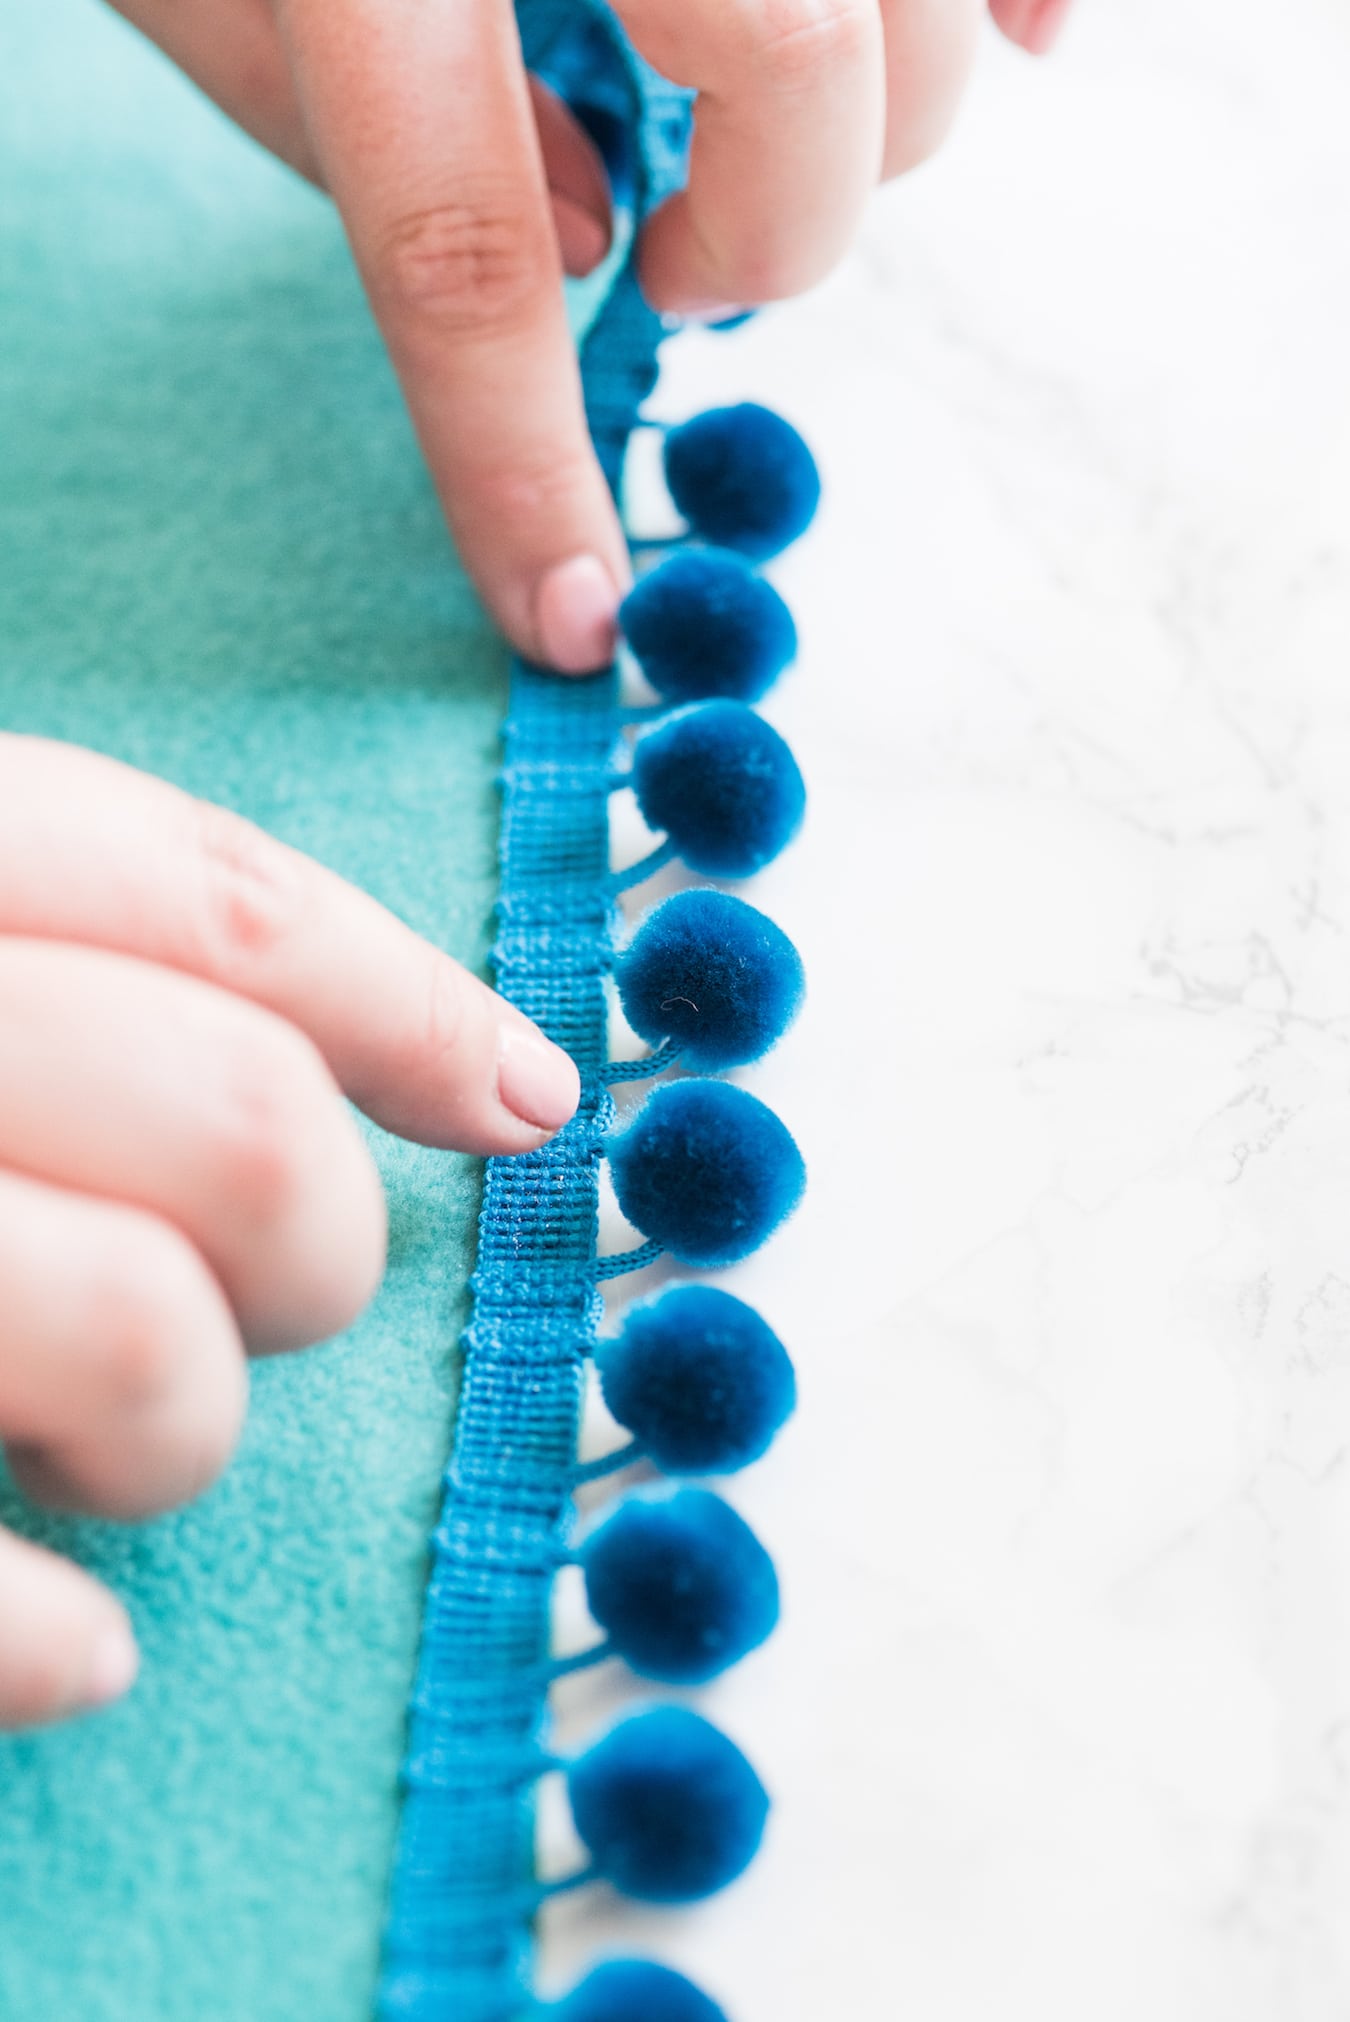
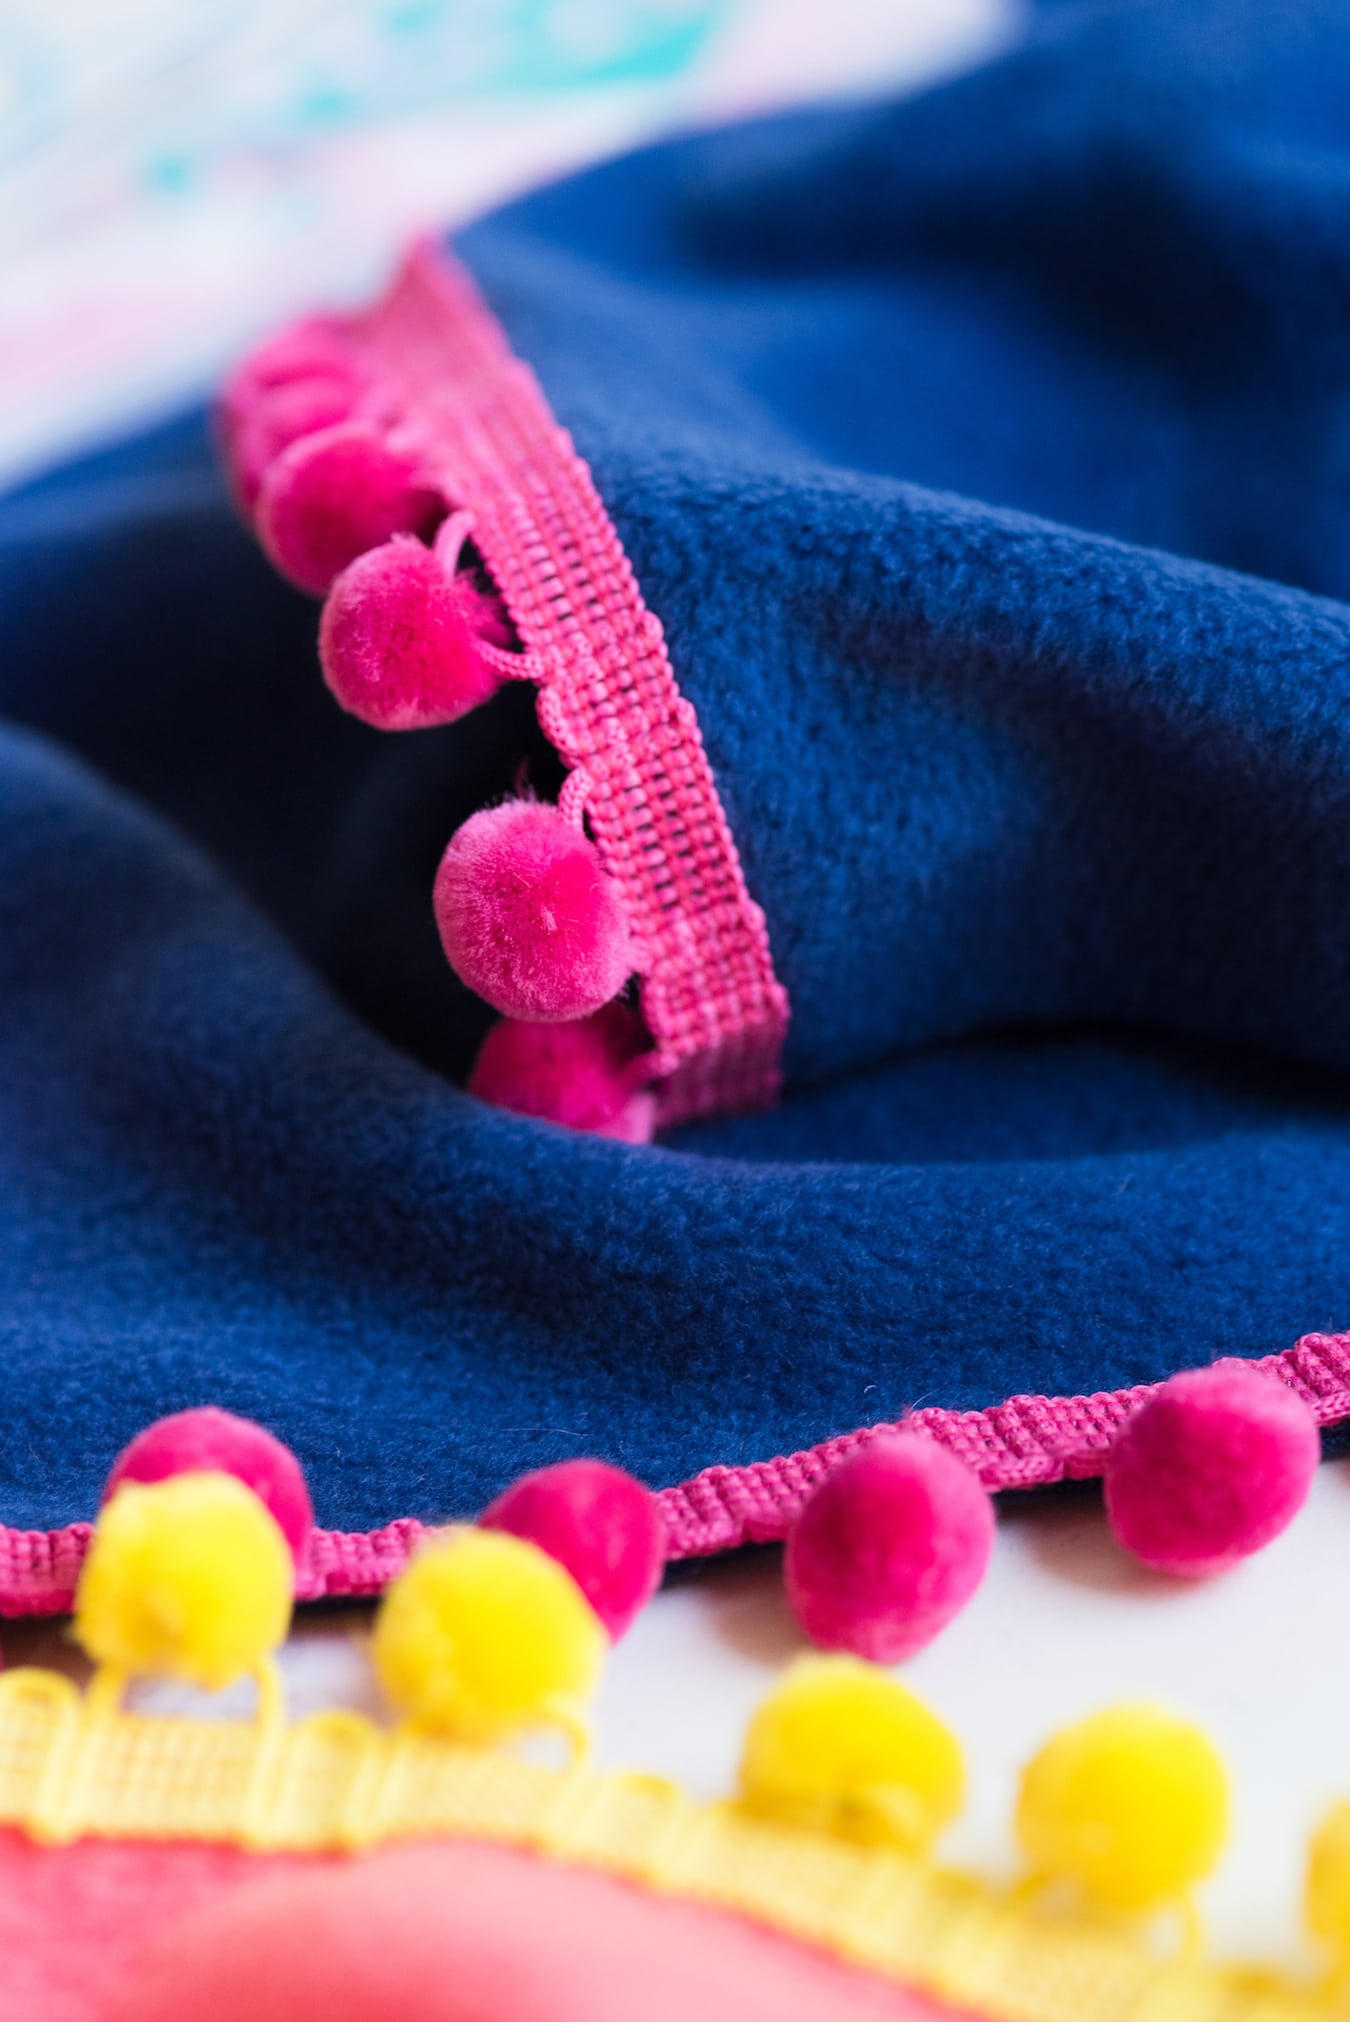
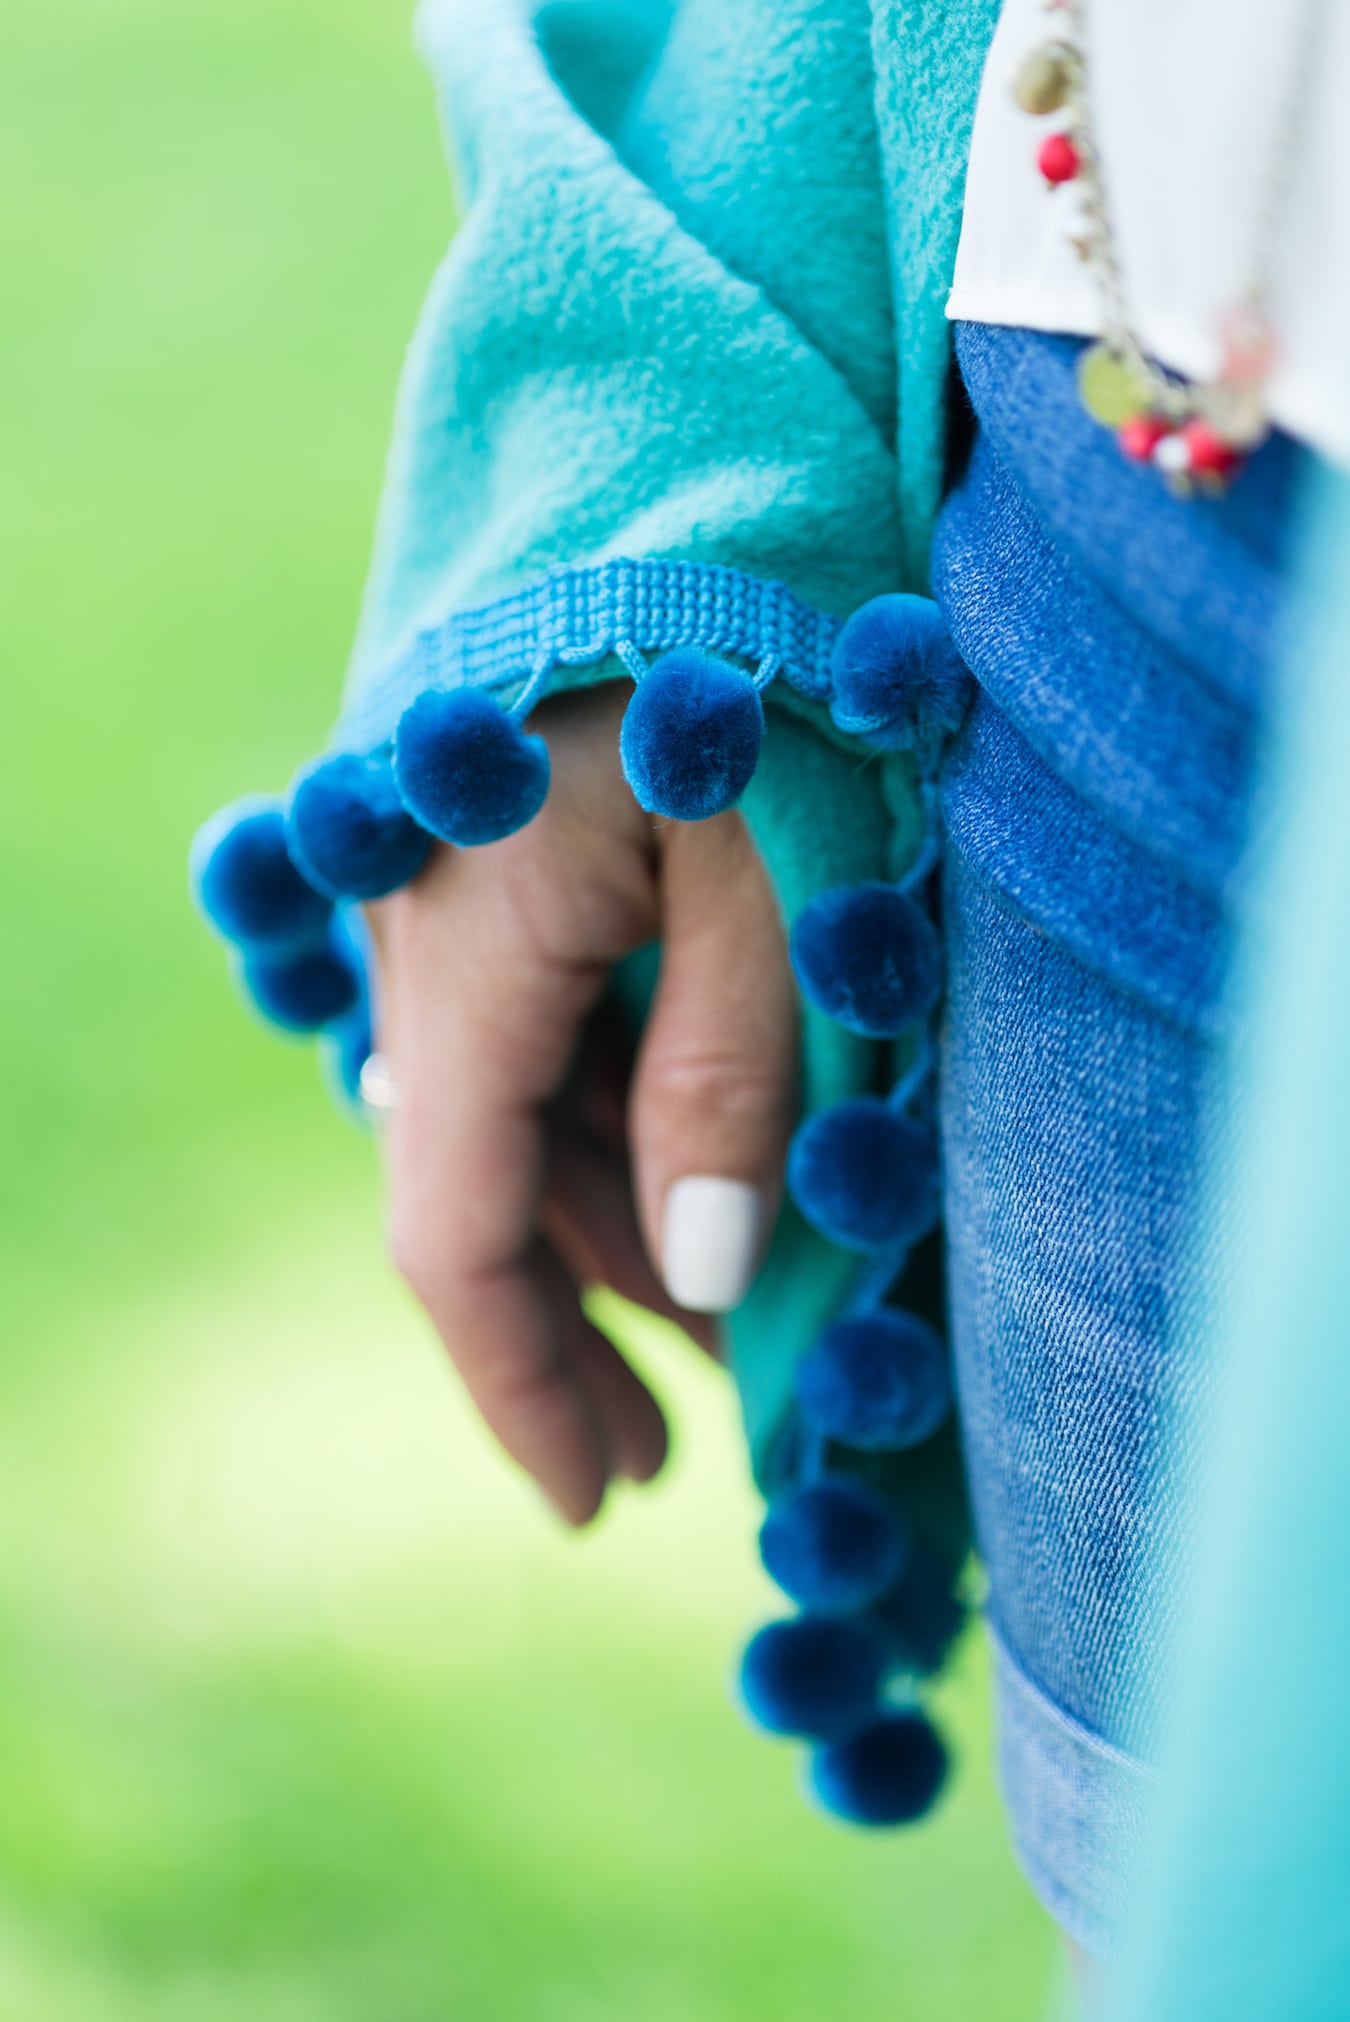
Step One. Begin by spreading your fleece across a flat work surface. Run a long bead of E6000 near the edge of the fabric, along one entire short end of the fabric. Follow behind with the pom pom trim, gently but firmly pressing it into place. I worked in small sections, probably 8 – 10″ at a time so I could avoid any messes. Keep in mind that E6000 can throw off heavy fumes since it’s an epoxy, so you’ll want to work in a well ventilated area. Continue along the edge in the same fashion until the one end is done. Weight down that end so it doesn’t slip around too much, then repeat on the opposite of the blanket. Allow the E6000 to dry for a couple hours before moving on. Alternately, if you can’t keep the first end lying flat while you work on the second end, allow it to dry for at least an hour before working on the opposite end.
![]()
![]()
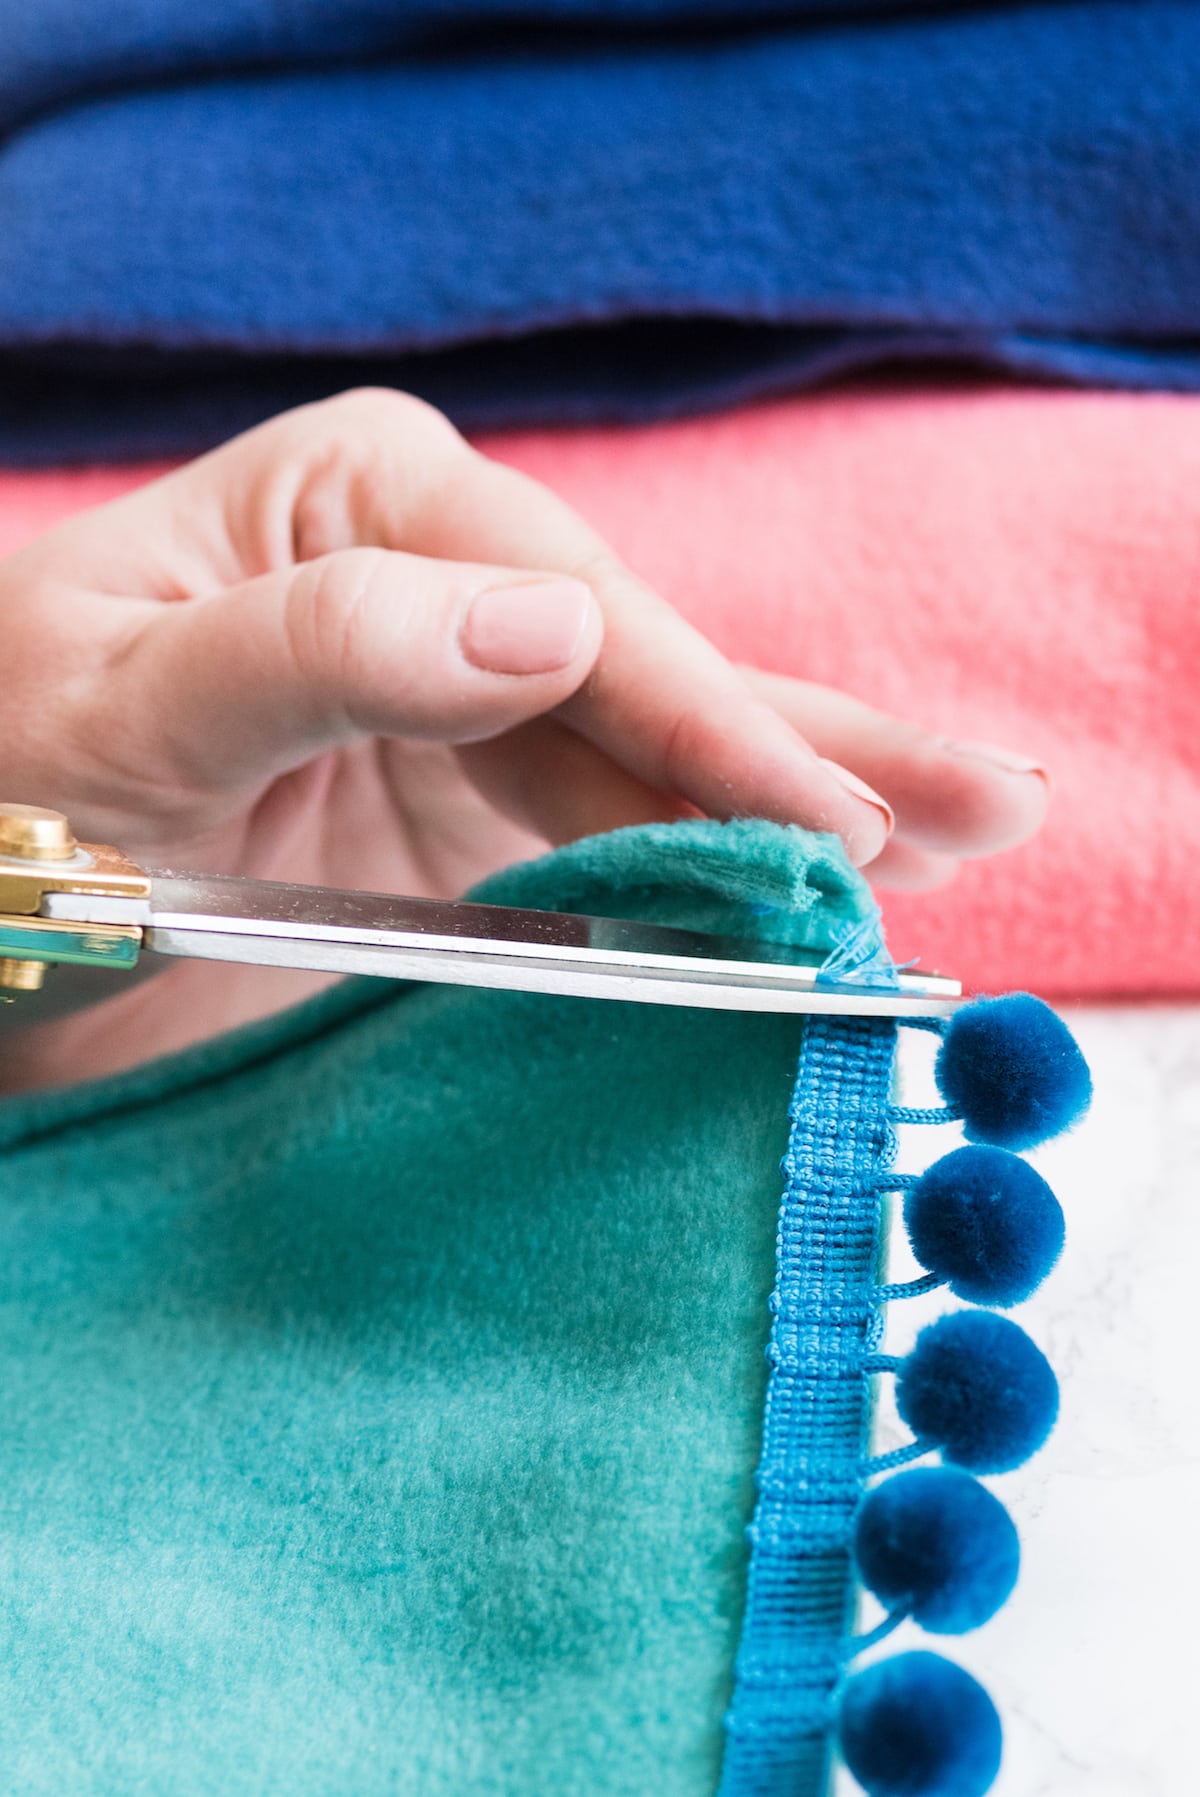
Step Two. To finish off the pom pom trim, simply trim it where the raw edge of the fabric begins (where the hem will end up being) and secure it down with another small bead of E6000 so it’s nice and neat with no frayed edges.

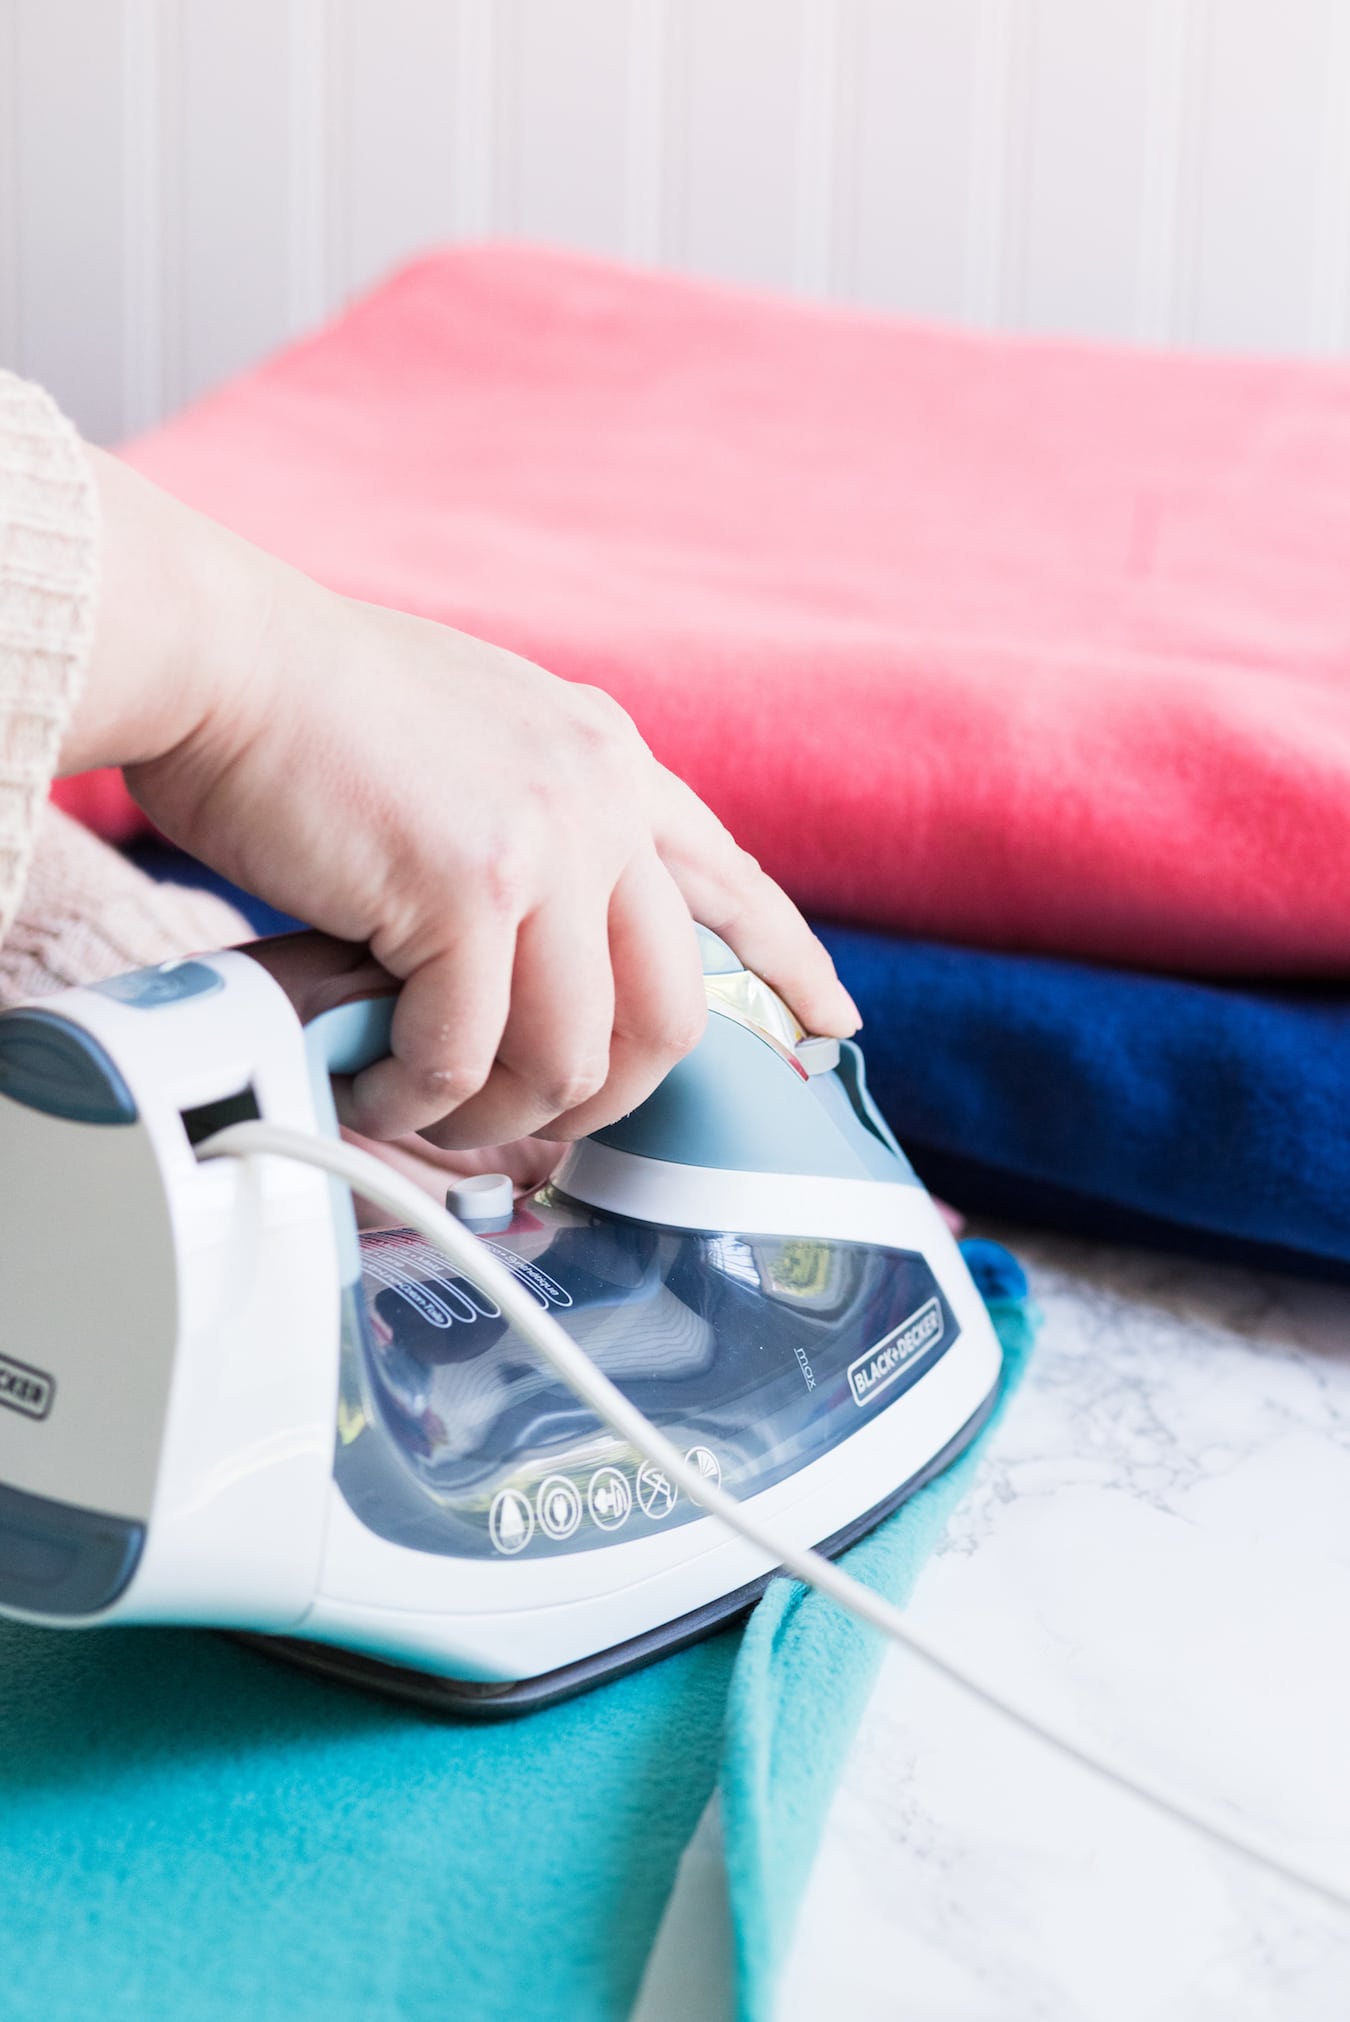
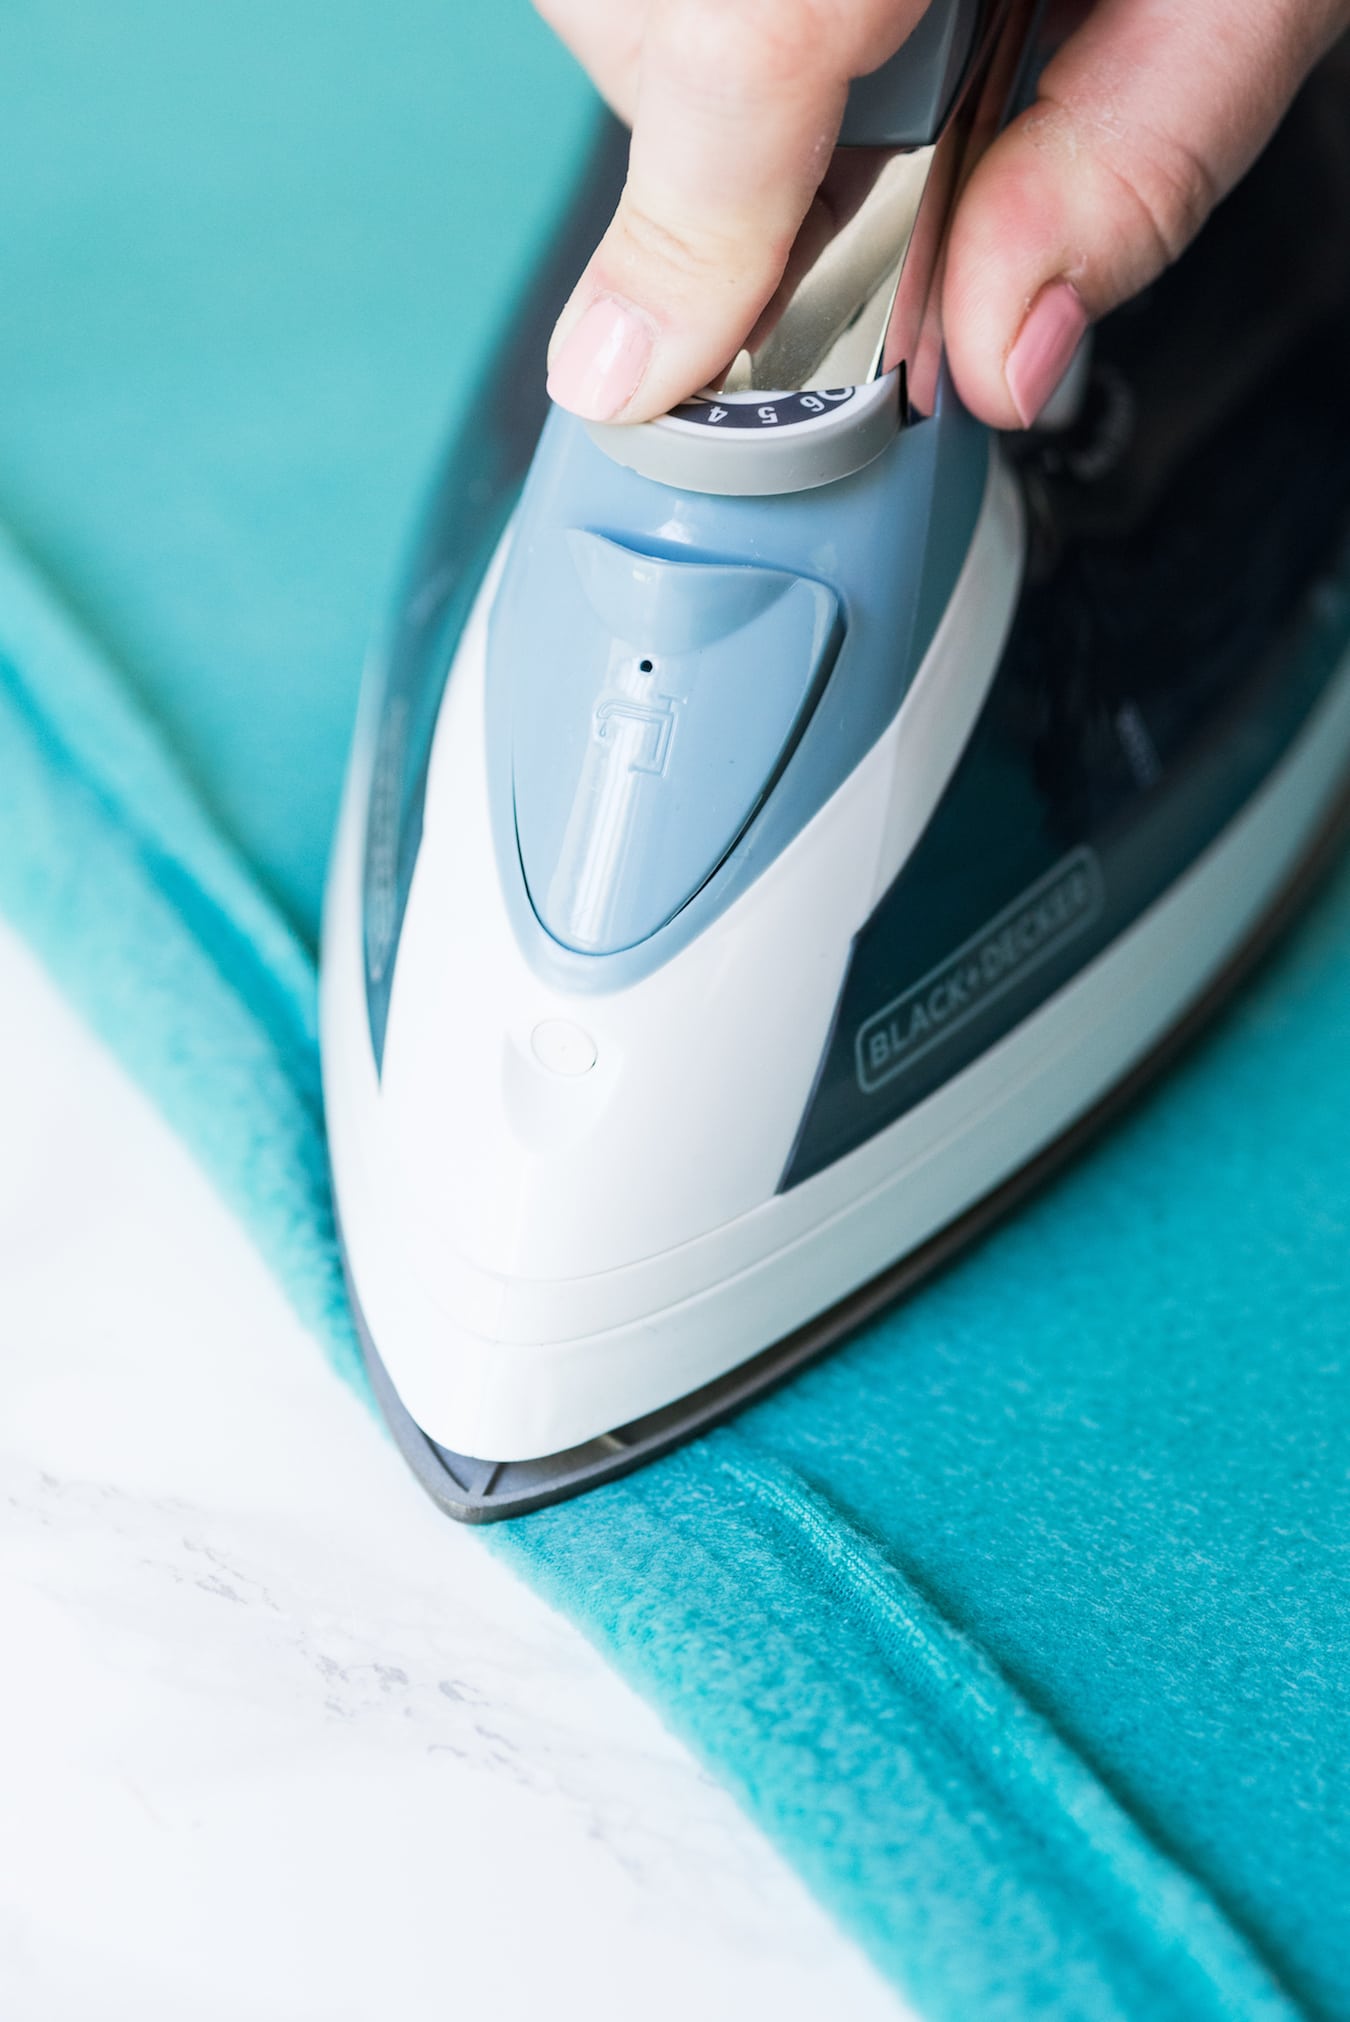
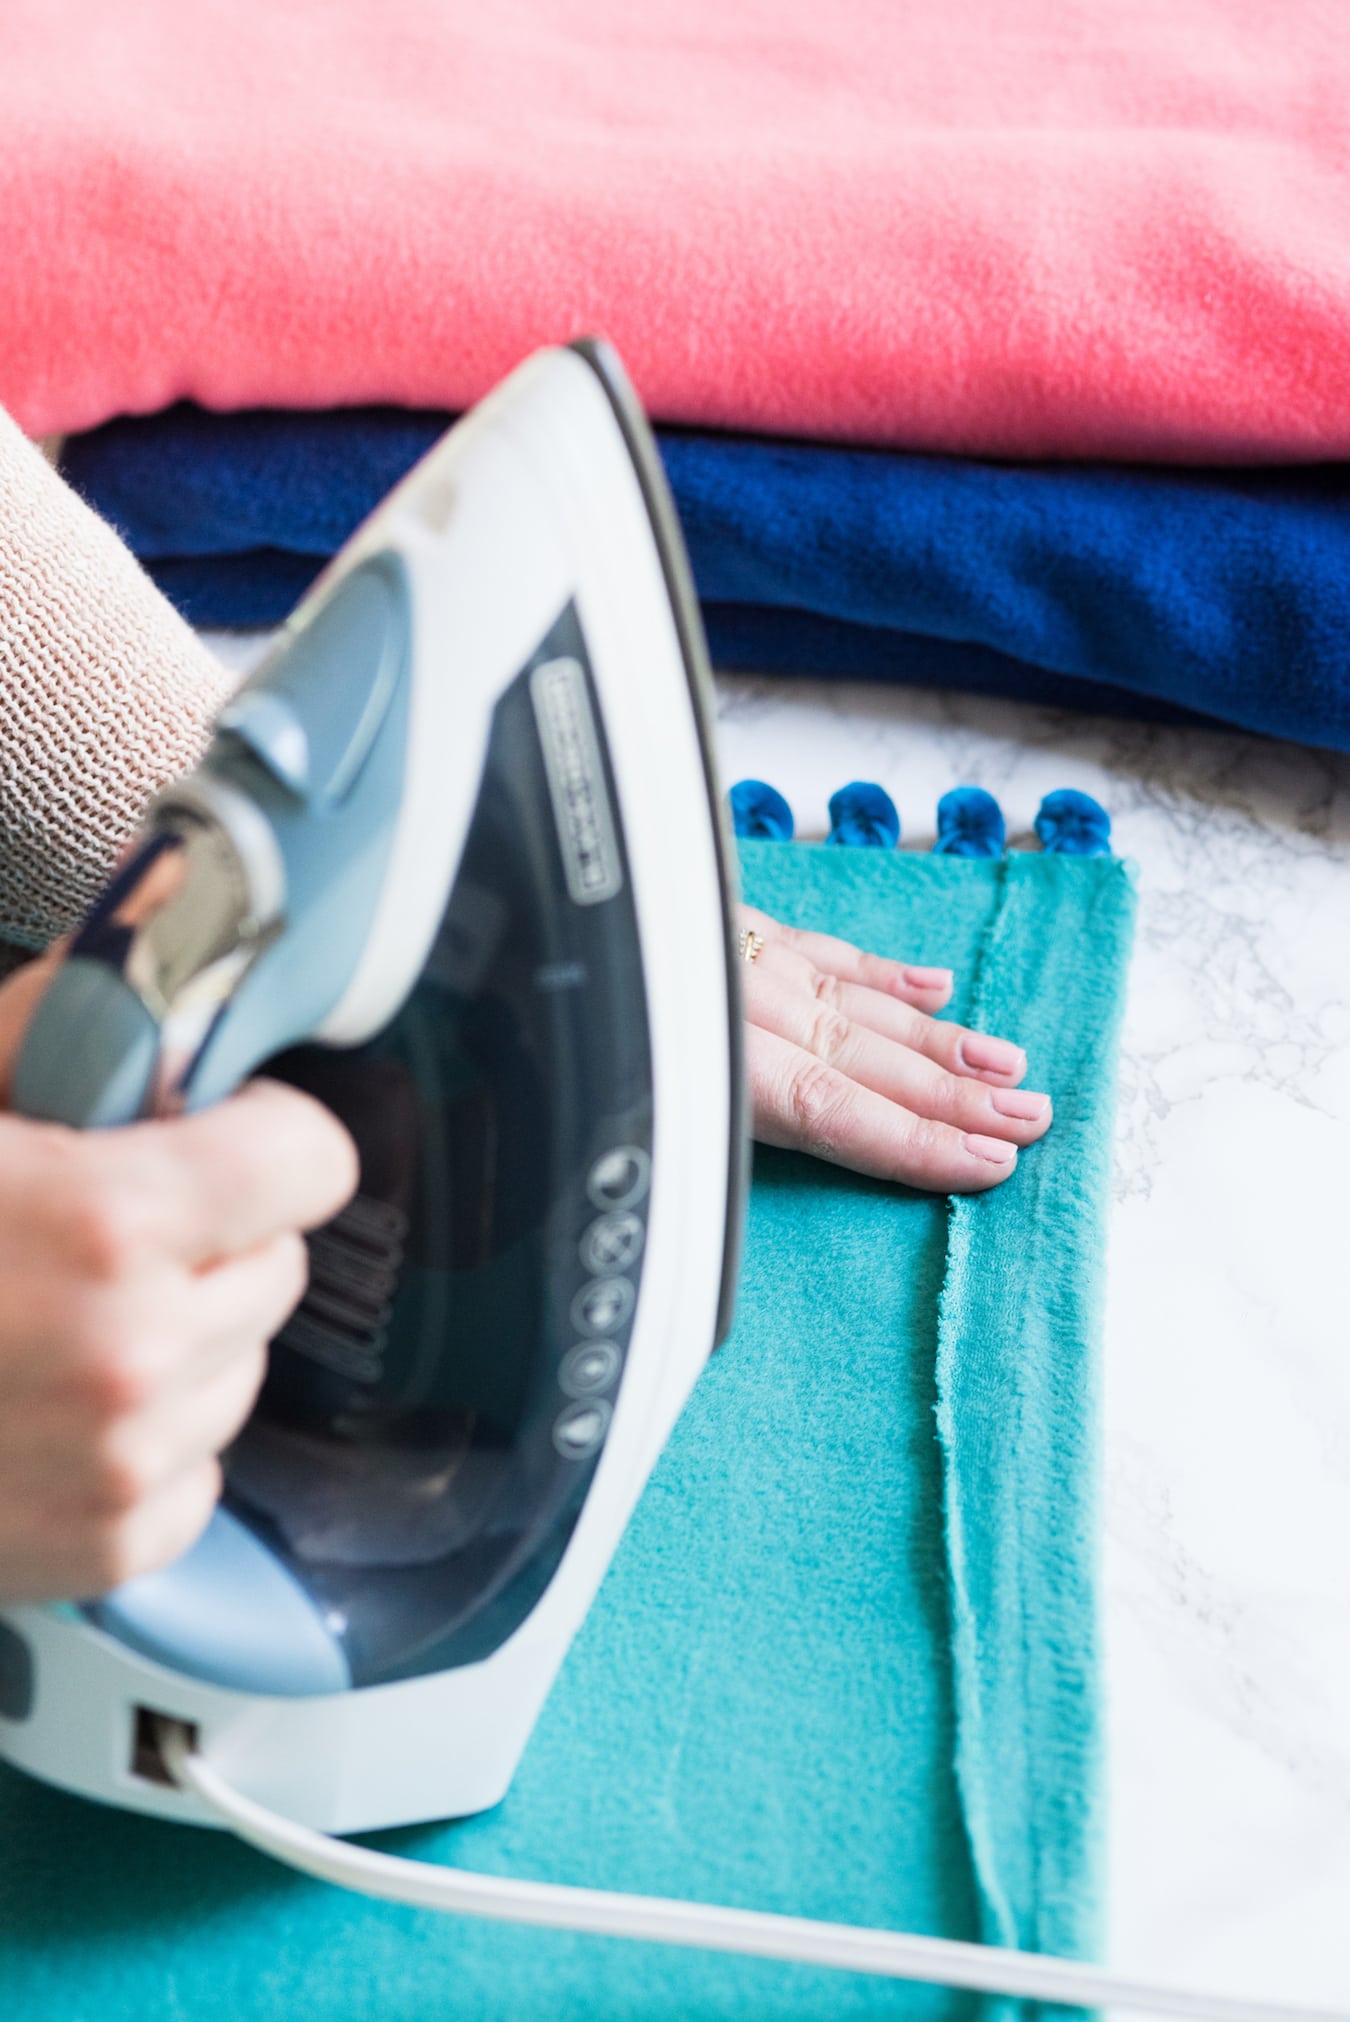
Step Three. Before you get to work with your hem tape, be sure to read the provided instructions for your particular brand. I opted to work with the natural edge of the fabric, where there was a raw edge of about 1″ practically begging to be folded over and turned into a nice neat hem. I used a 3/4″ hem tape and again worked in small sections at a time, first tearing off a length of hem tape, laying it in place, then folding over the fabric and pressing down firmly with a no-steam iron. Make sure you’re working on a heat-safe or protected surface when ironing! Once your hems are complete, your blankets are immediately ready to use!
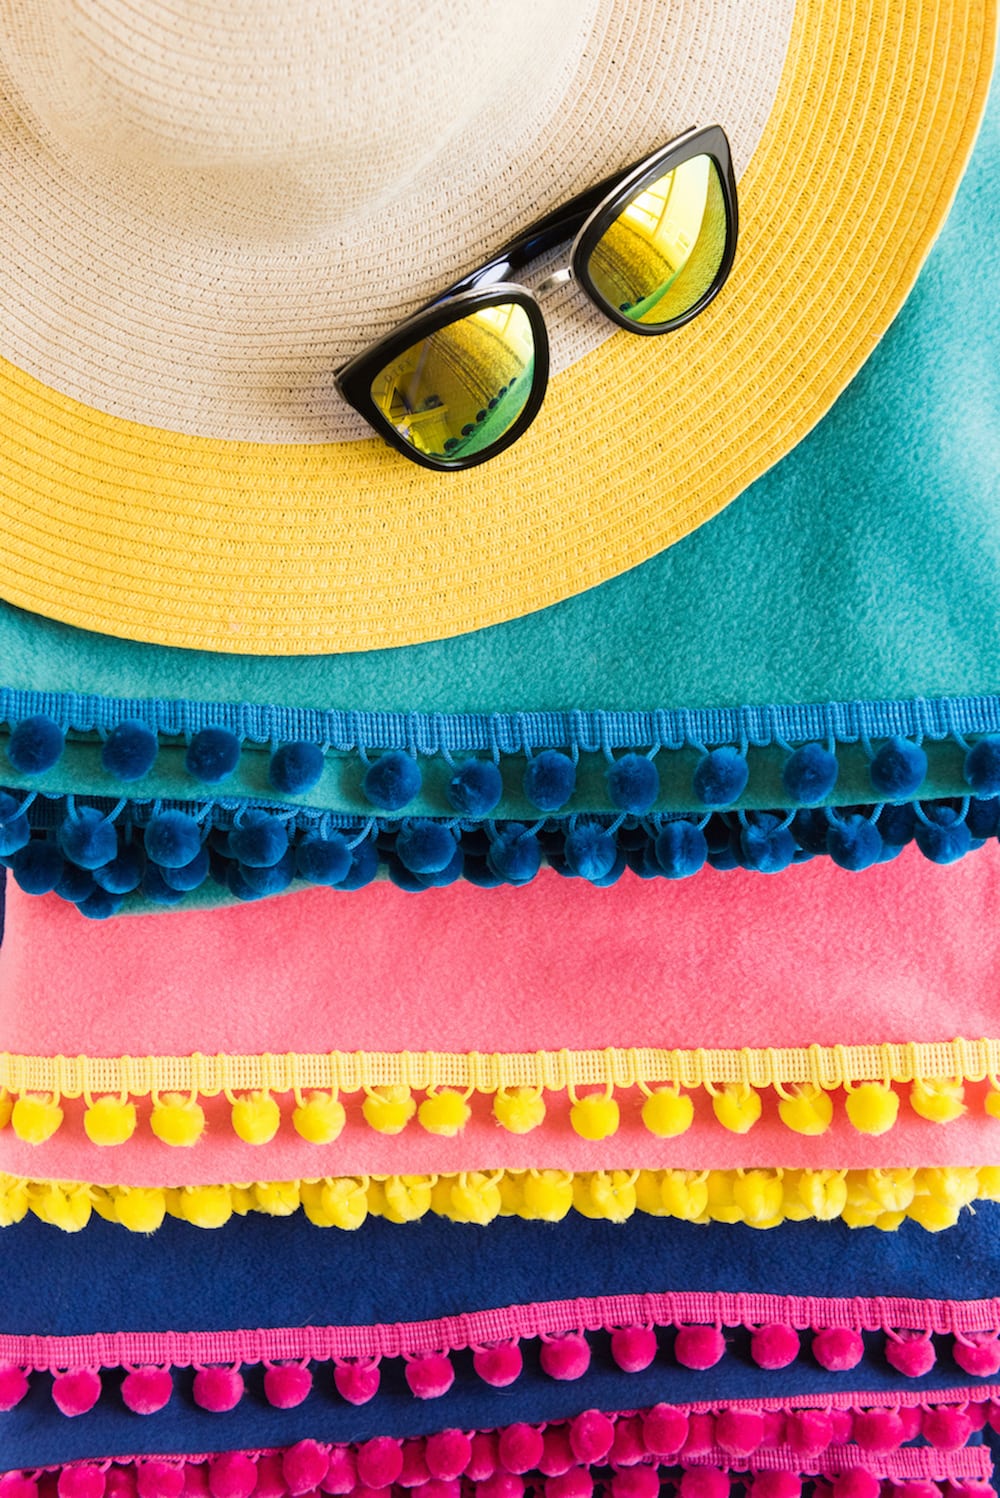
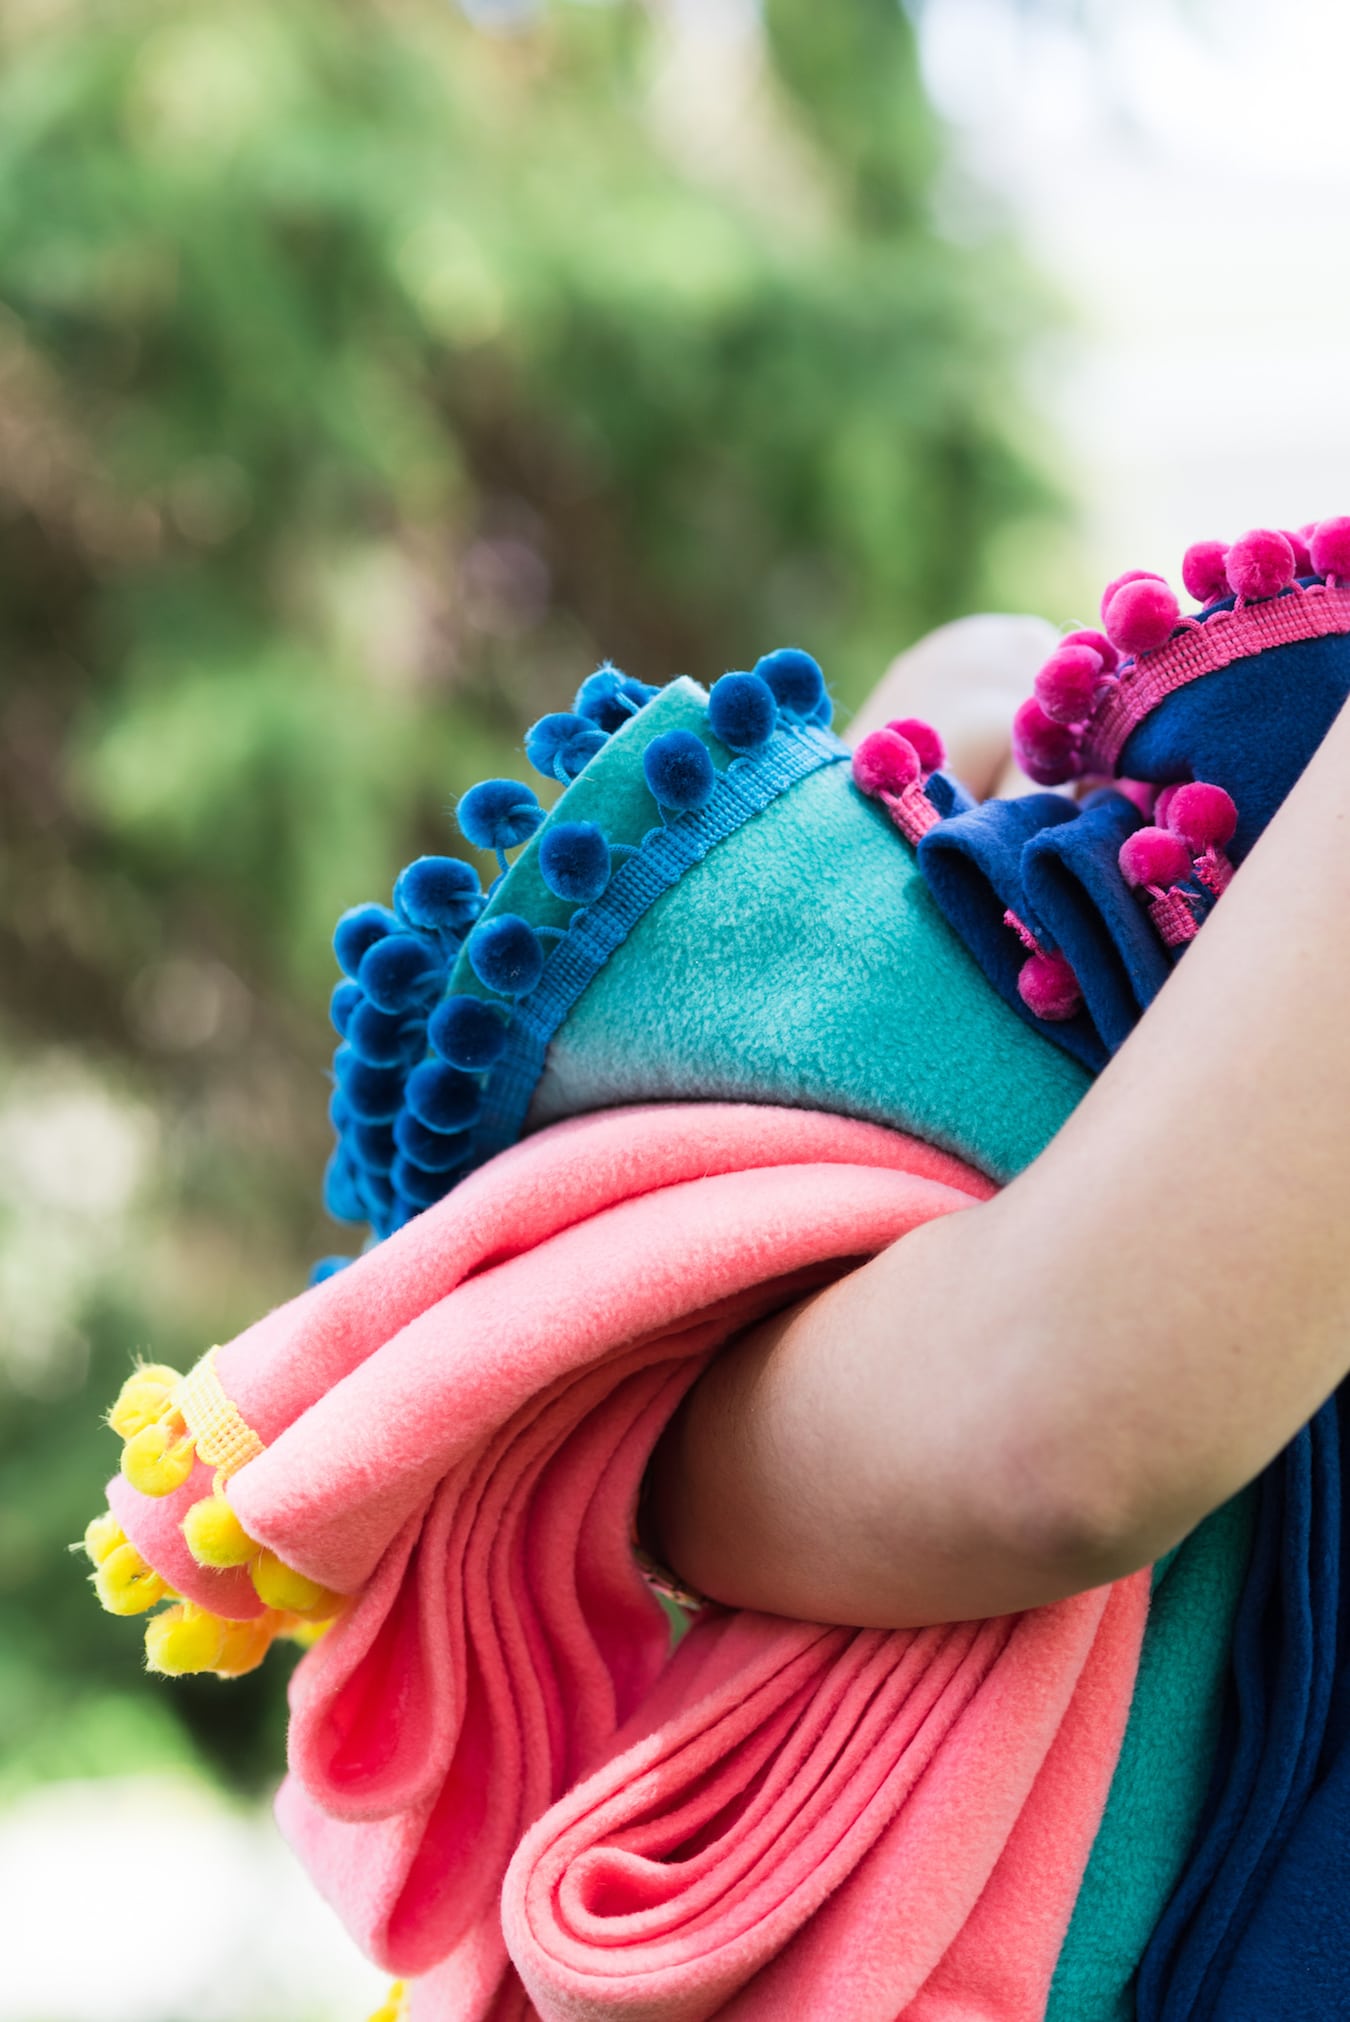
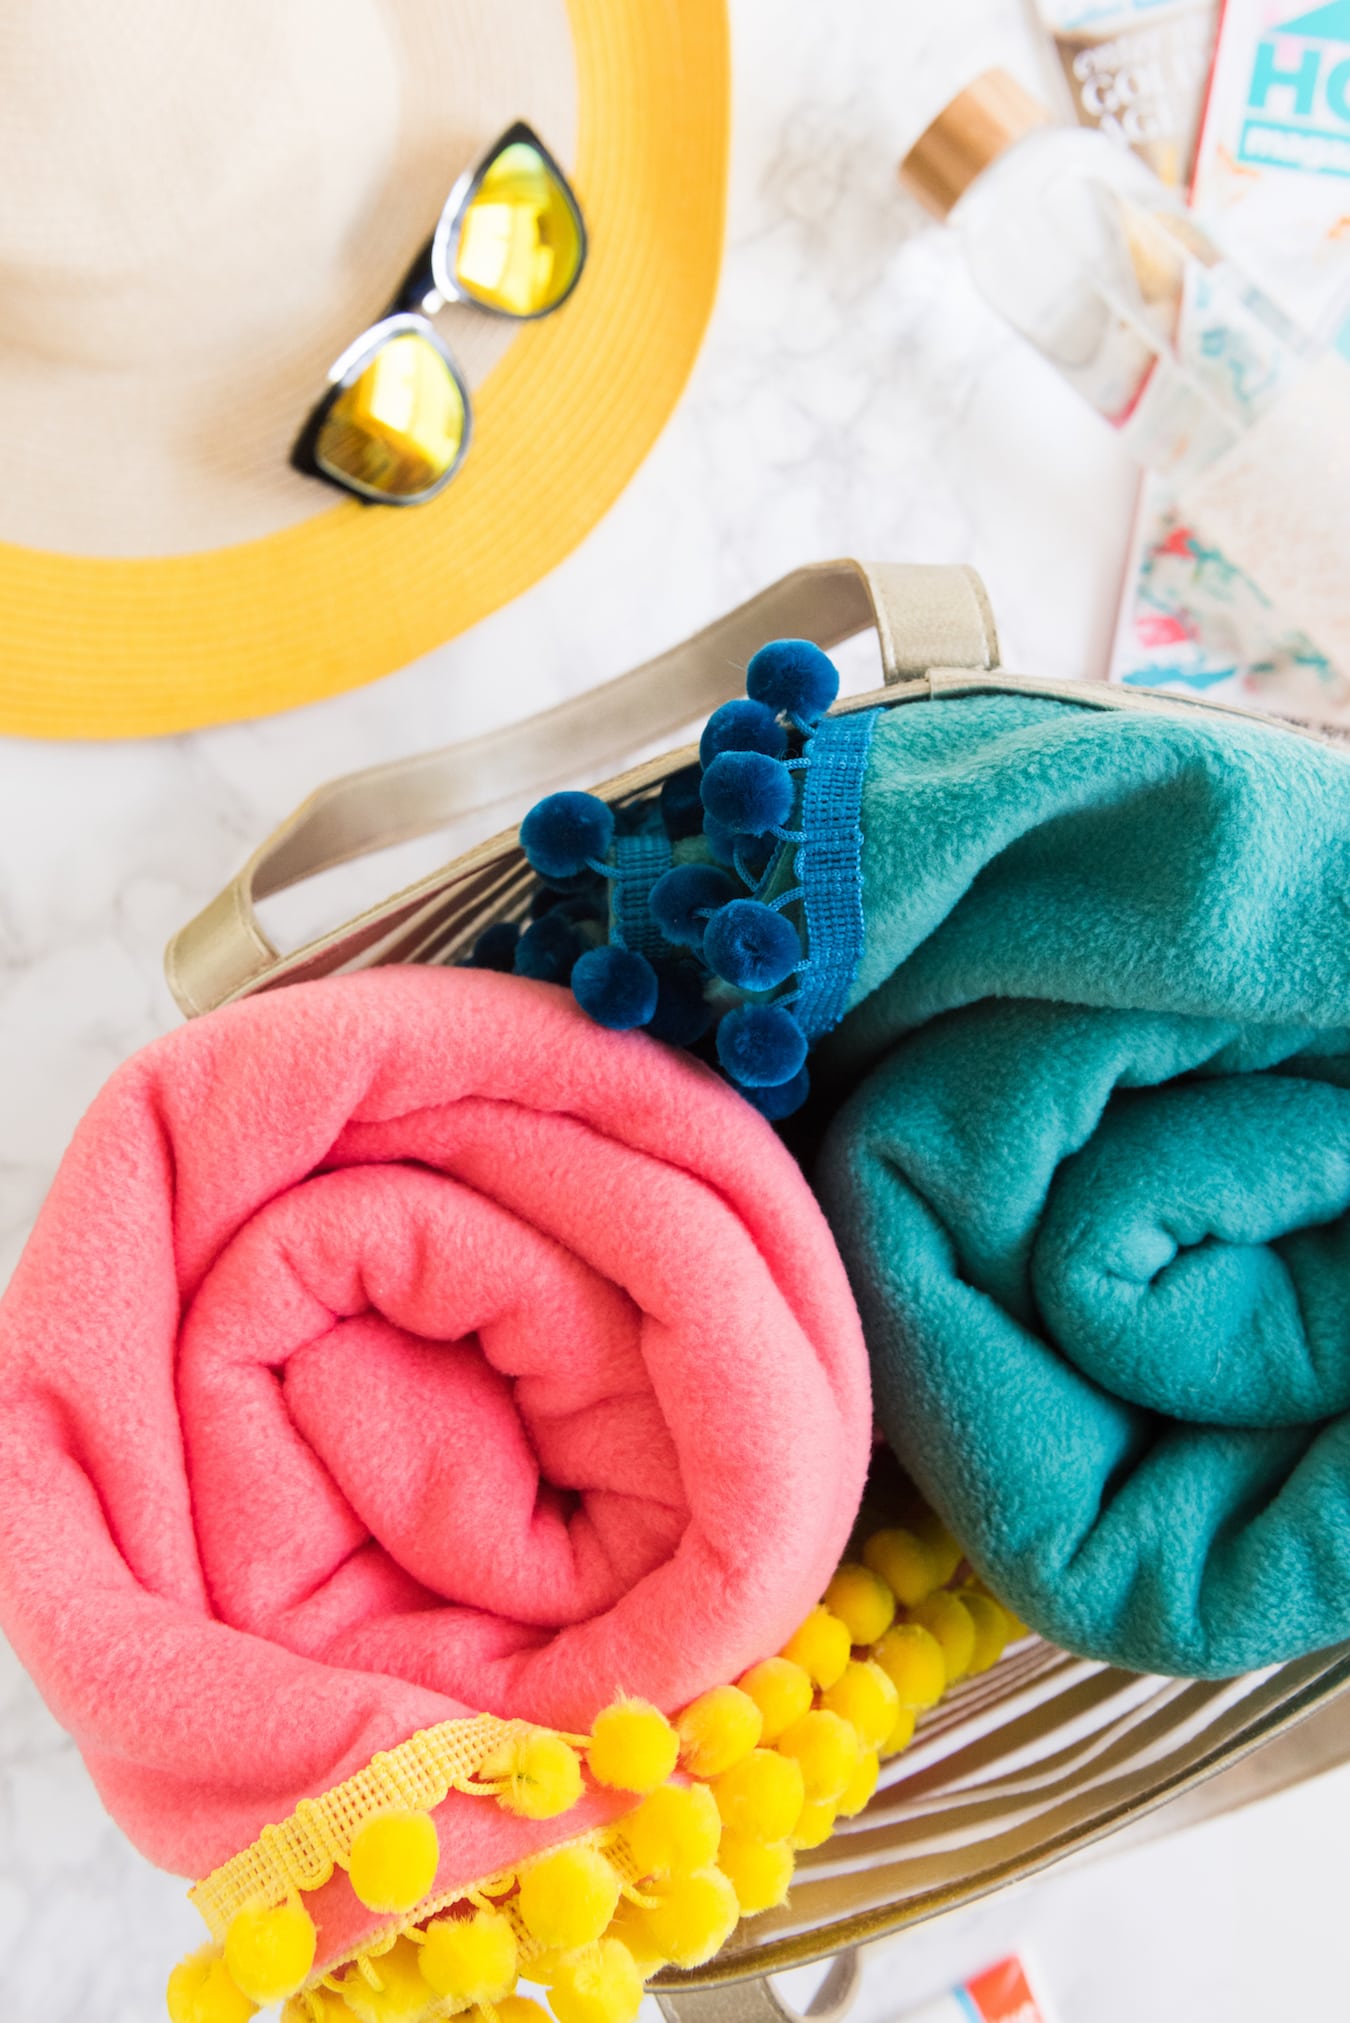
These blankets turned out so cute and honestly don’t even look homemade! I had grand plans to gift them to people, but I’ve had a hard time parting with them so for now I’m kind of hoarding them and planning all kinds of picnic outings with them. These are the perfect kind of lightweight but warm, colorful and summery blanket that’s just sort of perfect for so many things all season long. Take it camping, keep it in your car in case it gets chilly at an outdoor concert, bring it along on a boat ride – you get the idea!


[Art direction + styling by Cyd Converse | Photos by Alice G. Patterson.]


 Back to Top
Hi,
How would I do this if I wanted to use double thickness of fleece?
Hi Dara, I haven’t tried it with double thickness, but if I were to give it a go, I’d follow this tutorial, then add a second piece of fleece trimmed neatly to size on the back, and use fabric glue or iron-on adhesive tape to secure it together.
Do you have a photo of how this looks like flat on the grass? I want to do this for my outdoor wedding!
Hi Jonayacel! Unfortunately I don’t – I’m sorry about that!
Are they washable? Will the E600 come off?
Hi Dee! I wash mine on gentle cycle and hang them to dry and I’ve had no problems!
Thank you!
These are sooooo darling! And I’m not the best at sewing either. I can use a serger, but most of the time I use hem tape. :) LOVE this idea!!
Thanks, Kim! I swear someday I really really will learn how to sew. Ha! So I say every year and then it never happens. Isn’t hem tape the best?! ;-)