


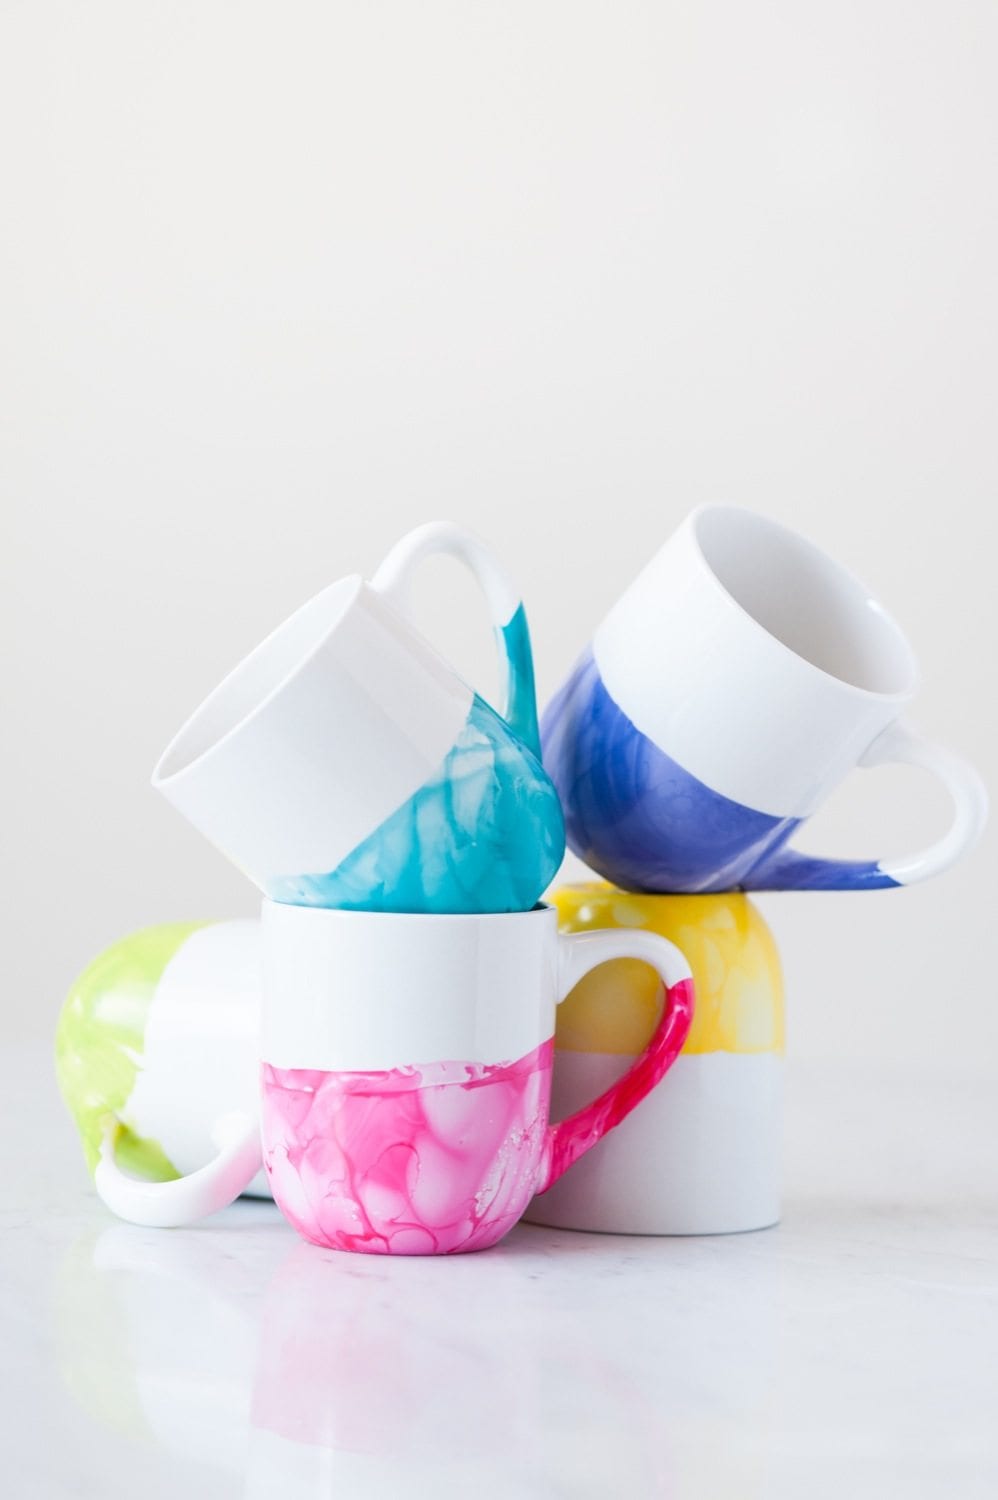
These colorful marble mugs are a simple craft made with nail polish! This nail polish marble technique easily creates pretty marble dipped mugs to gift or to keep.
Remember a while back when I made what was arguably the world’s prettiest DIY marble pitcher? Well, I couldn’t get enough of playing with nail polish and that made resisting the urge to make DIY marble mugs impossible. The process here is much the same so scroll through for details!
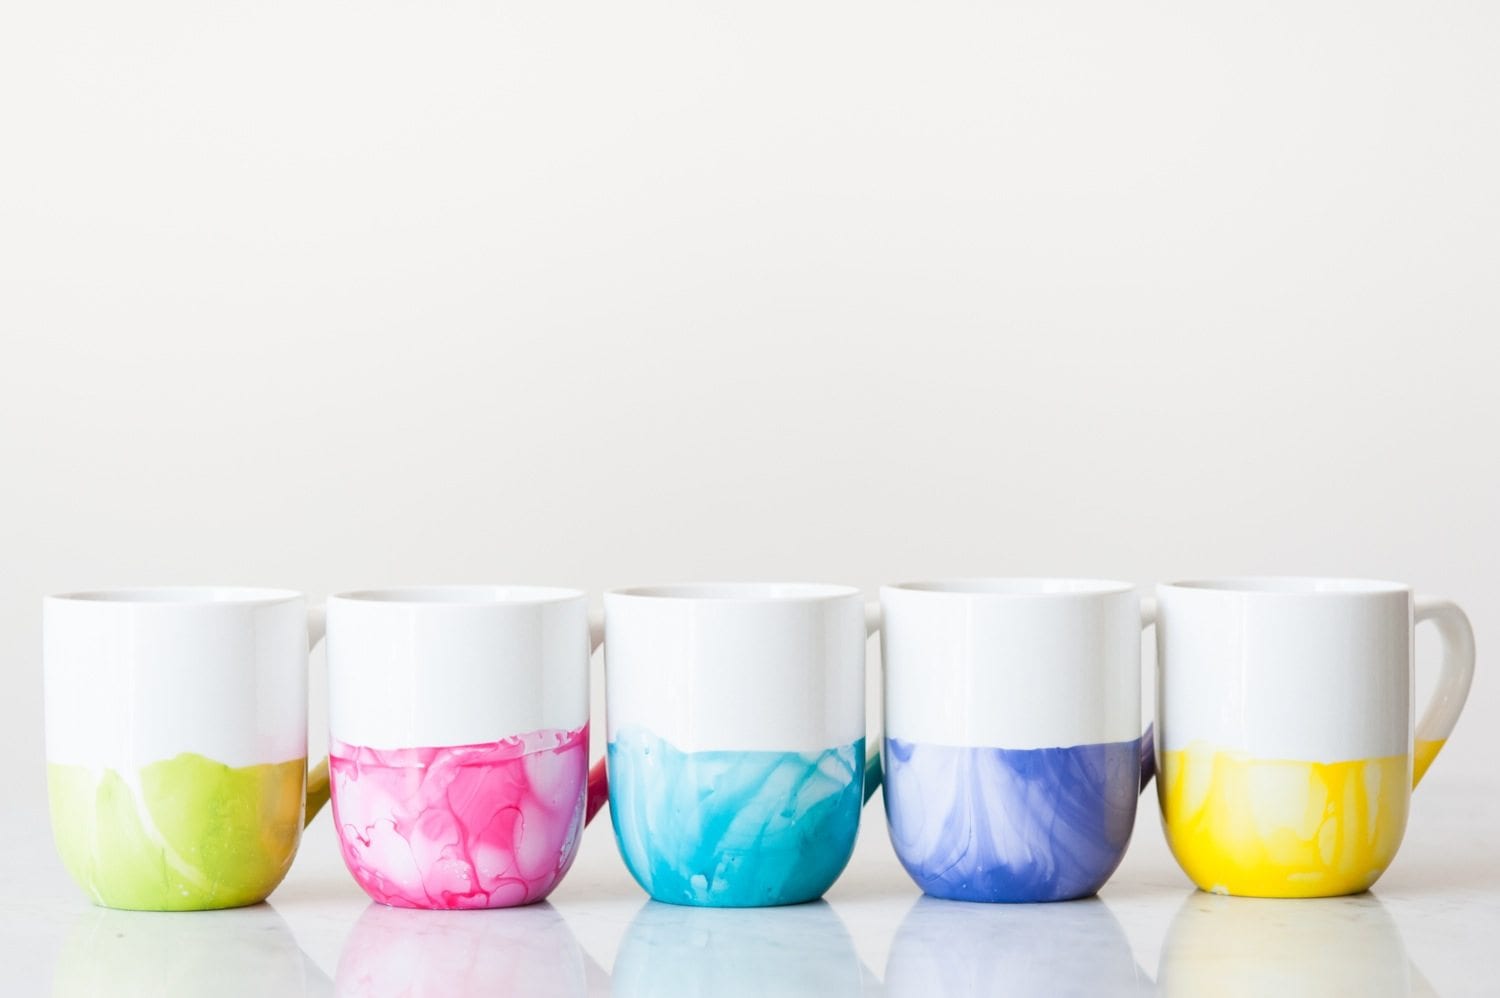
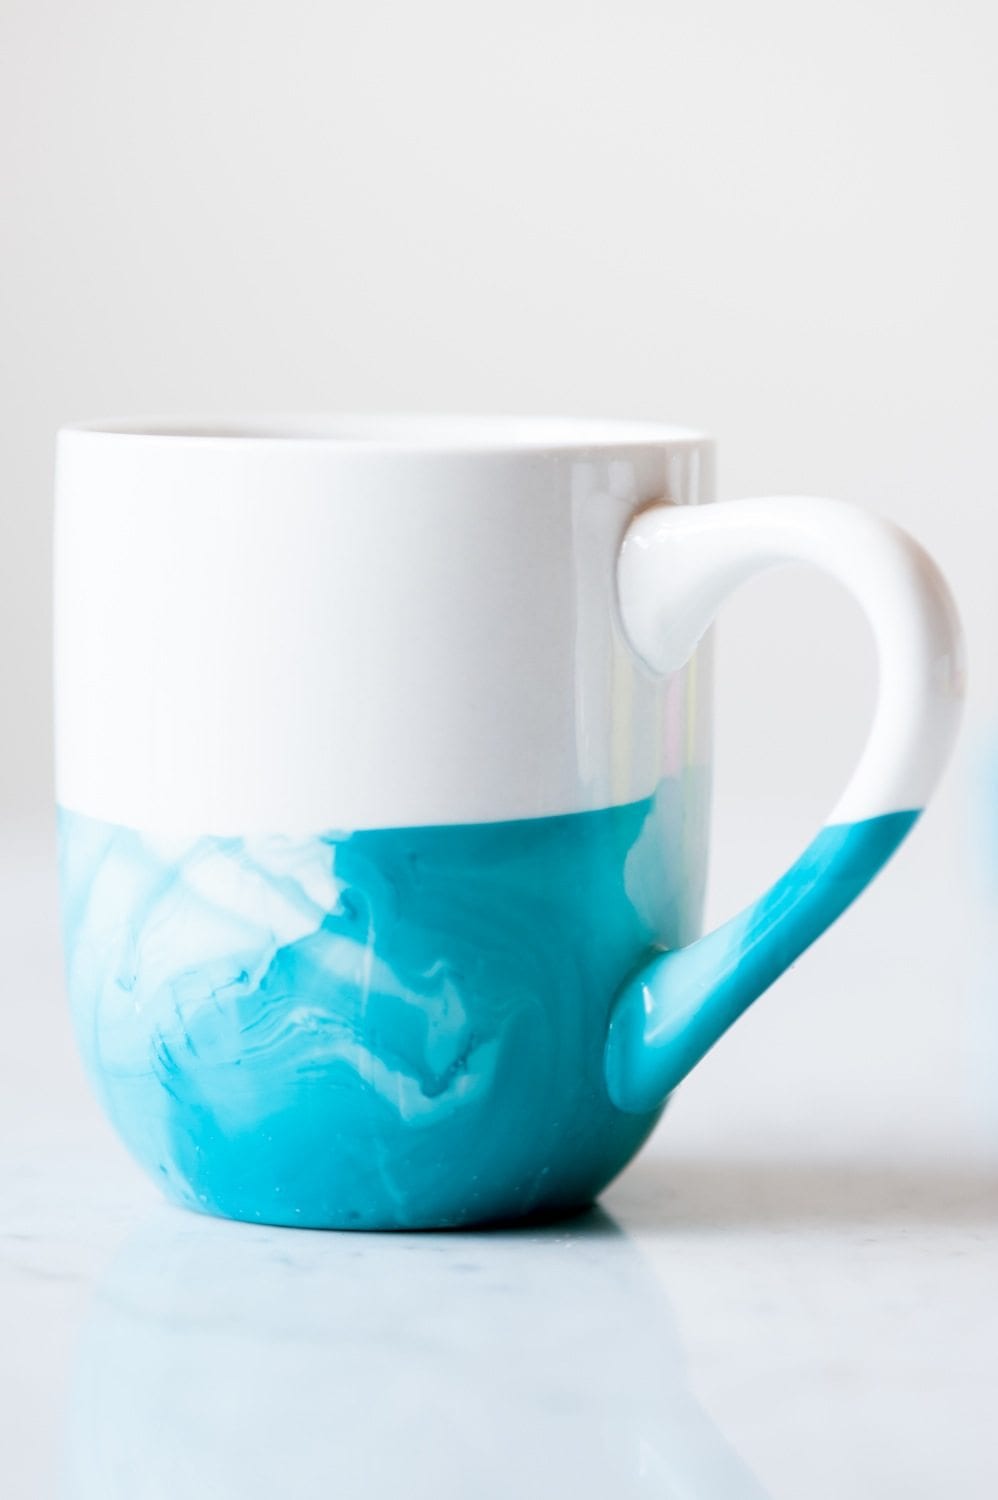
I love the idea of making a set of mugs in different bright, happy colors (like I did here) to either keep yourself or split up and give as gifts! This is another sweet, simple, inexpensive projects that is so fun. And addicting. Consider yourself warned!
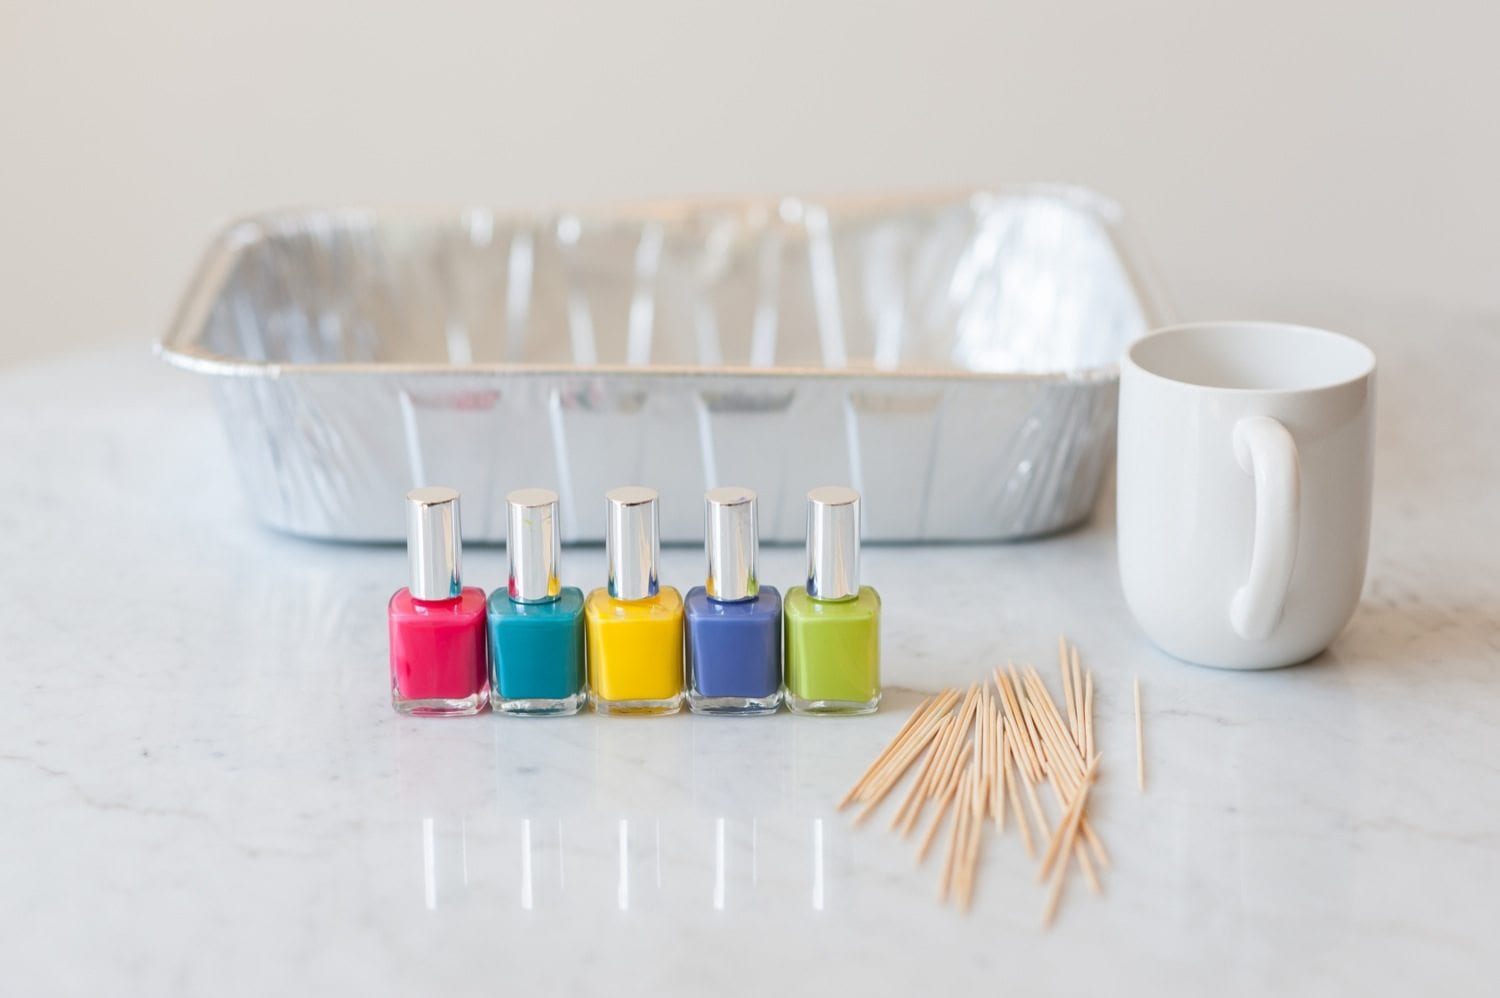
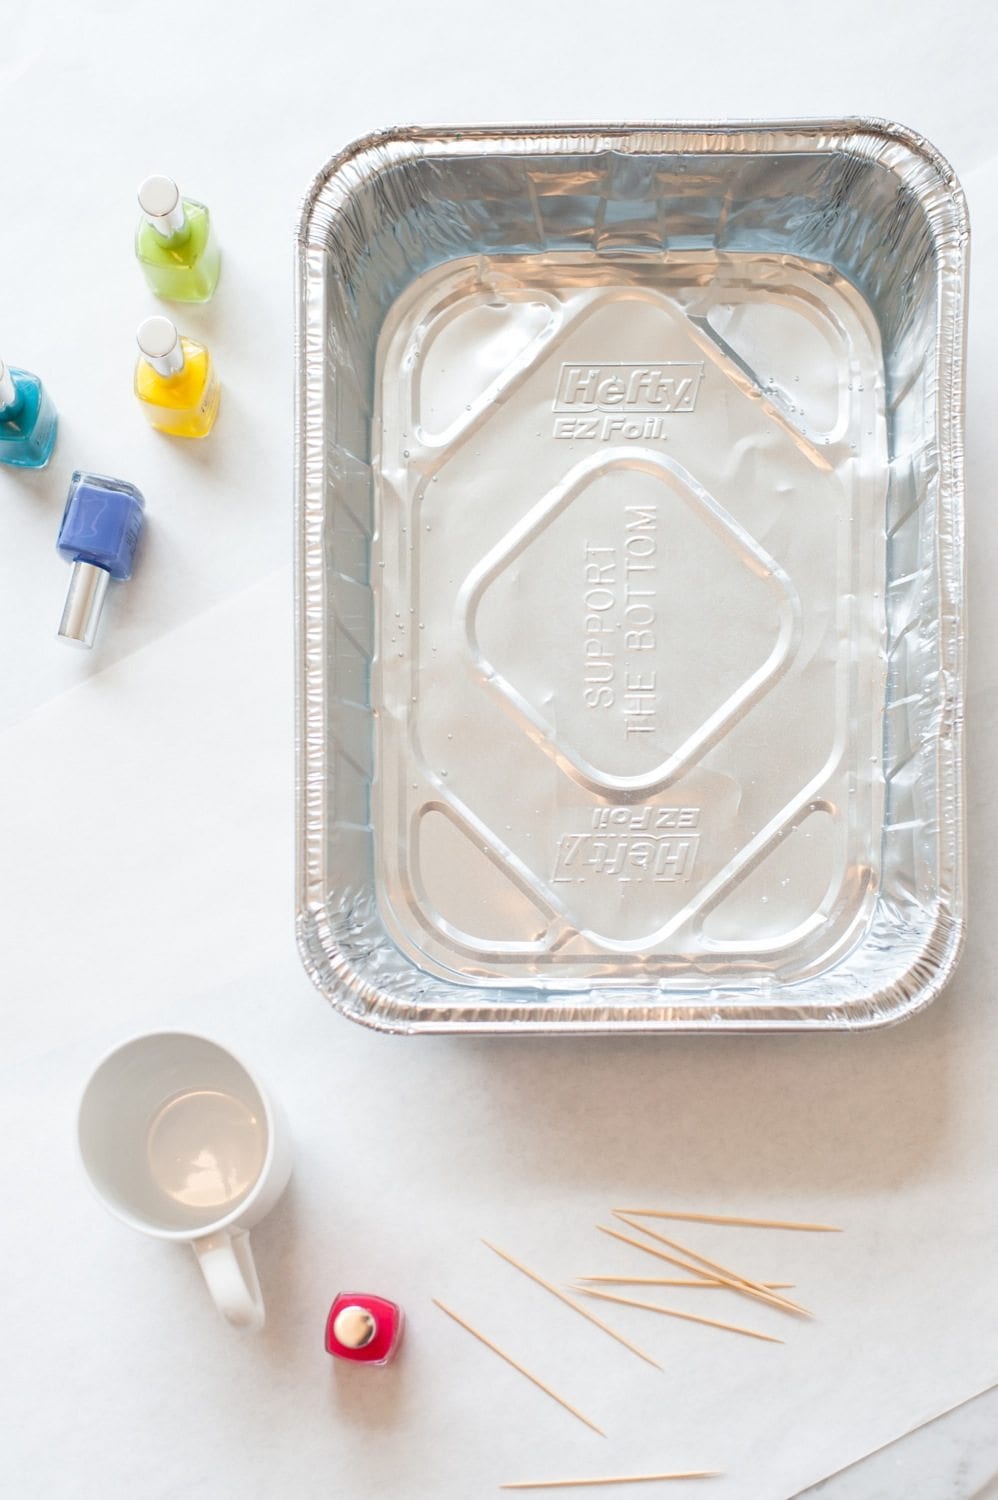
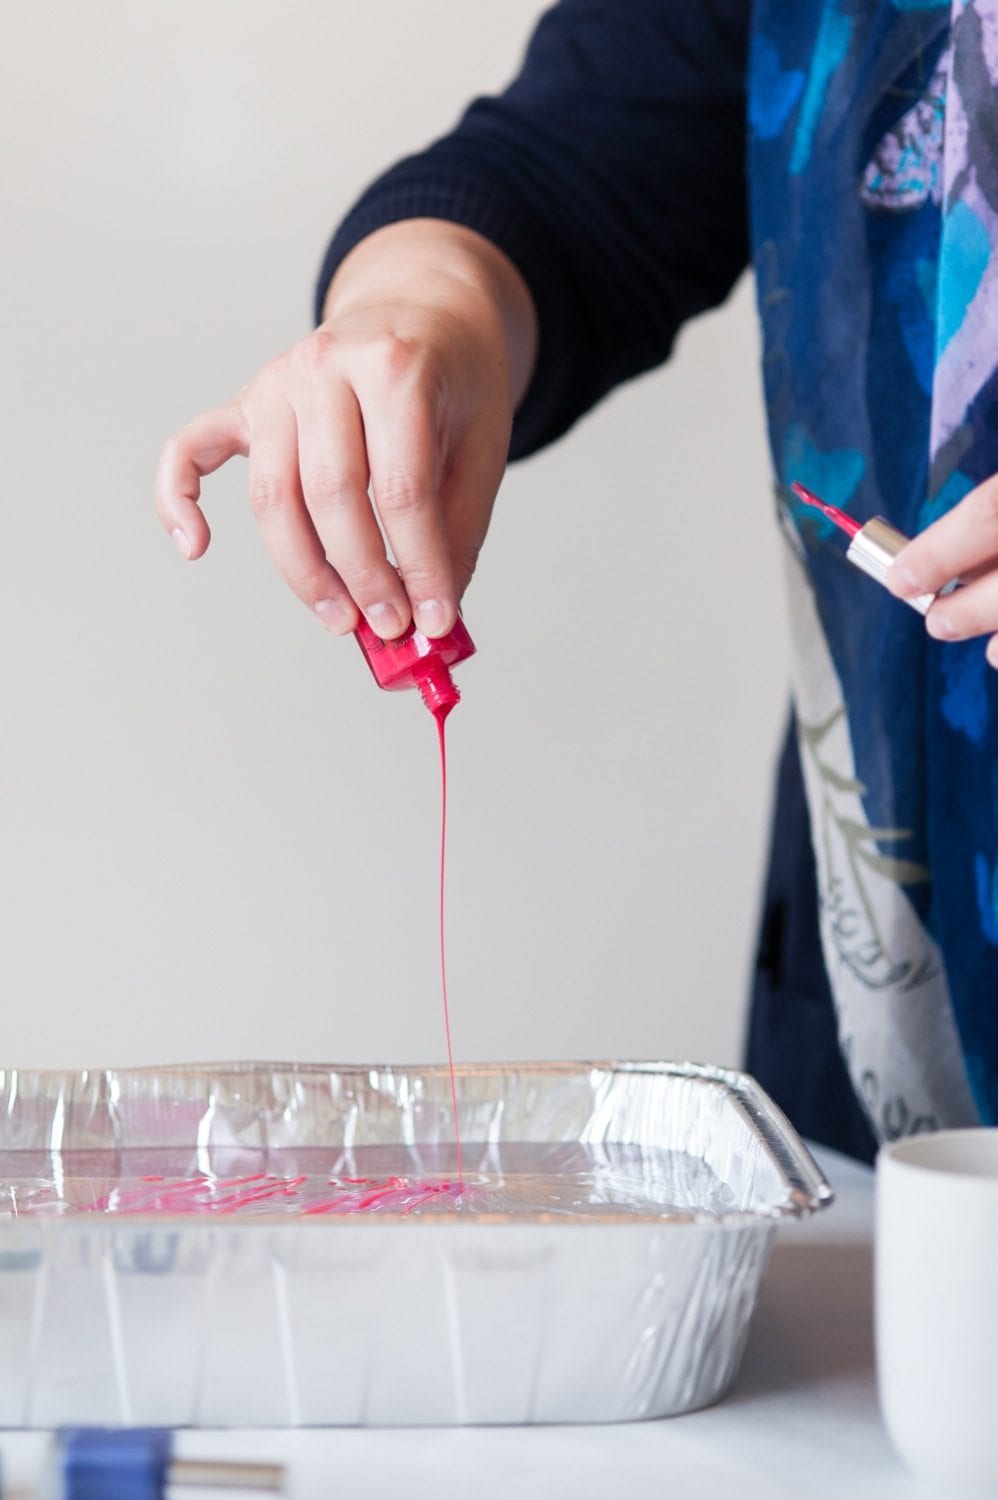
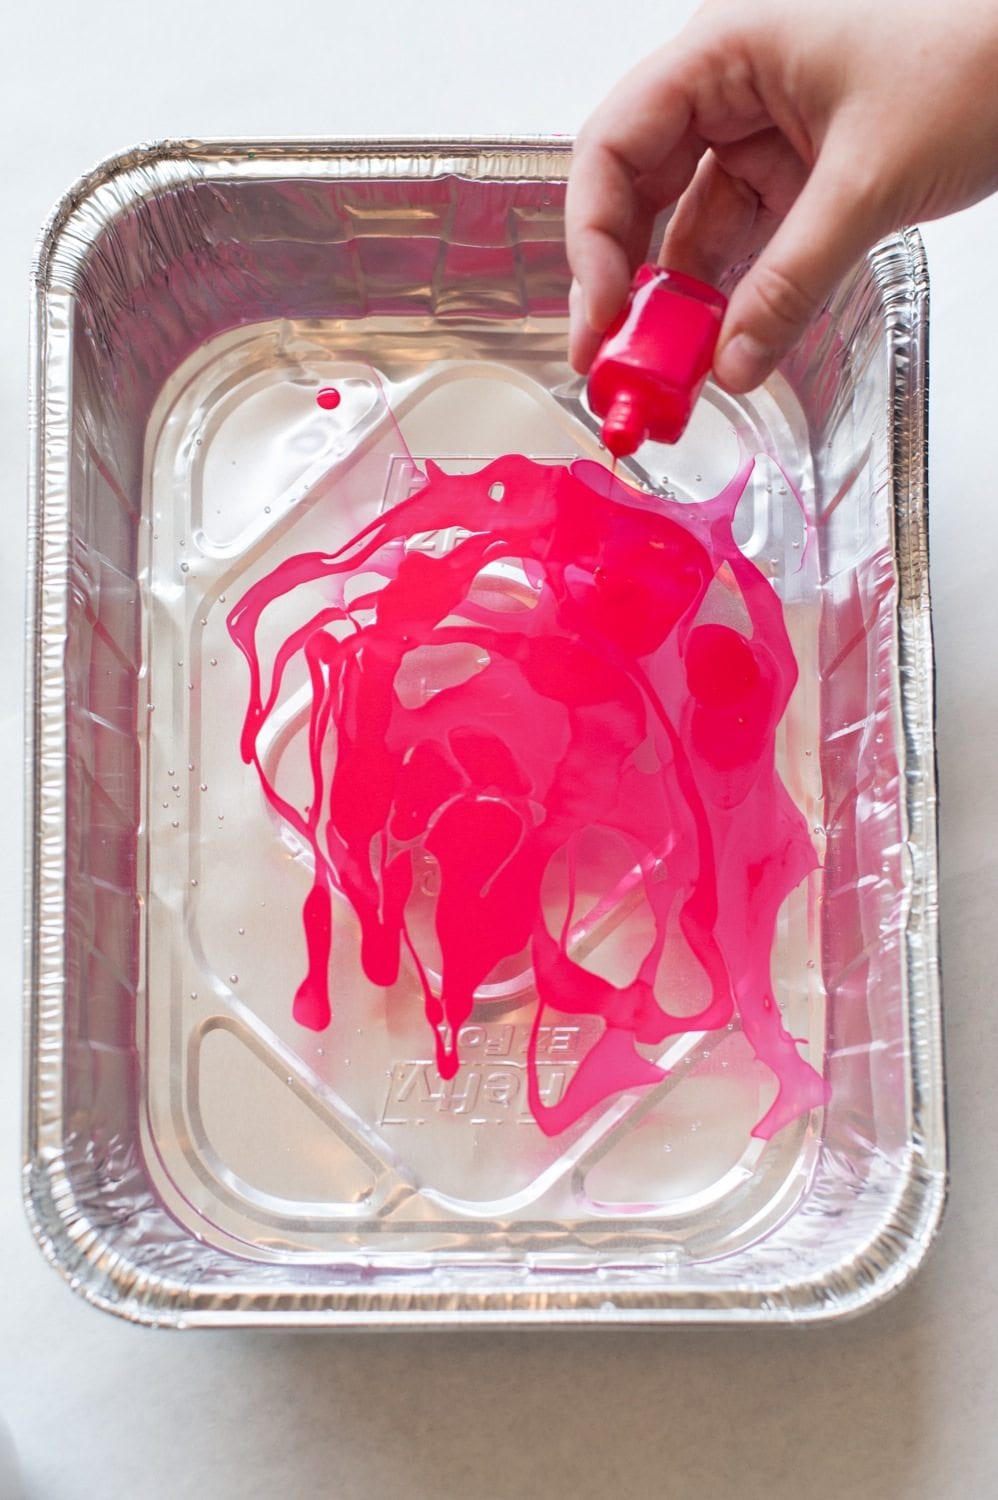

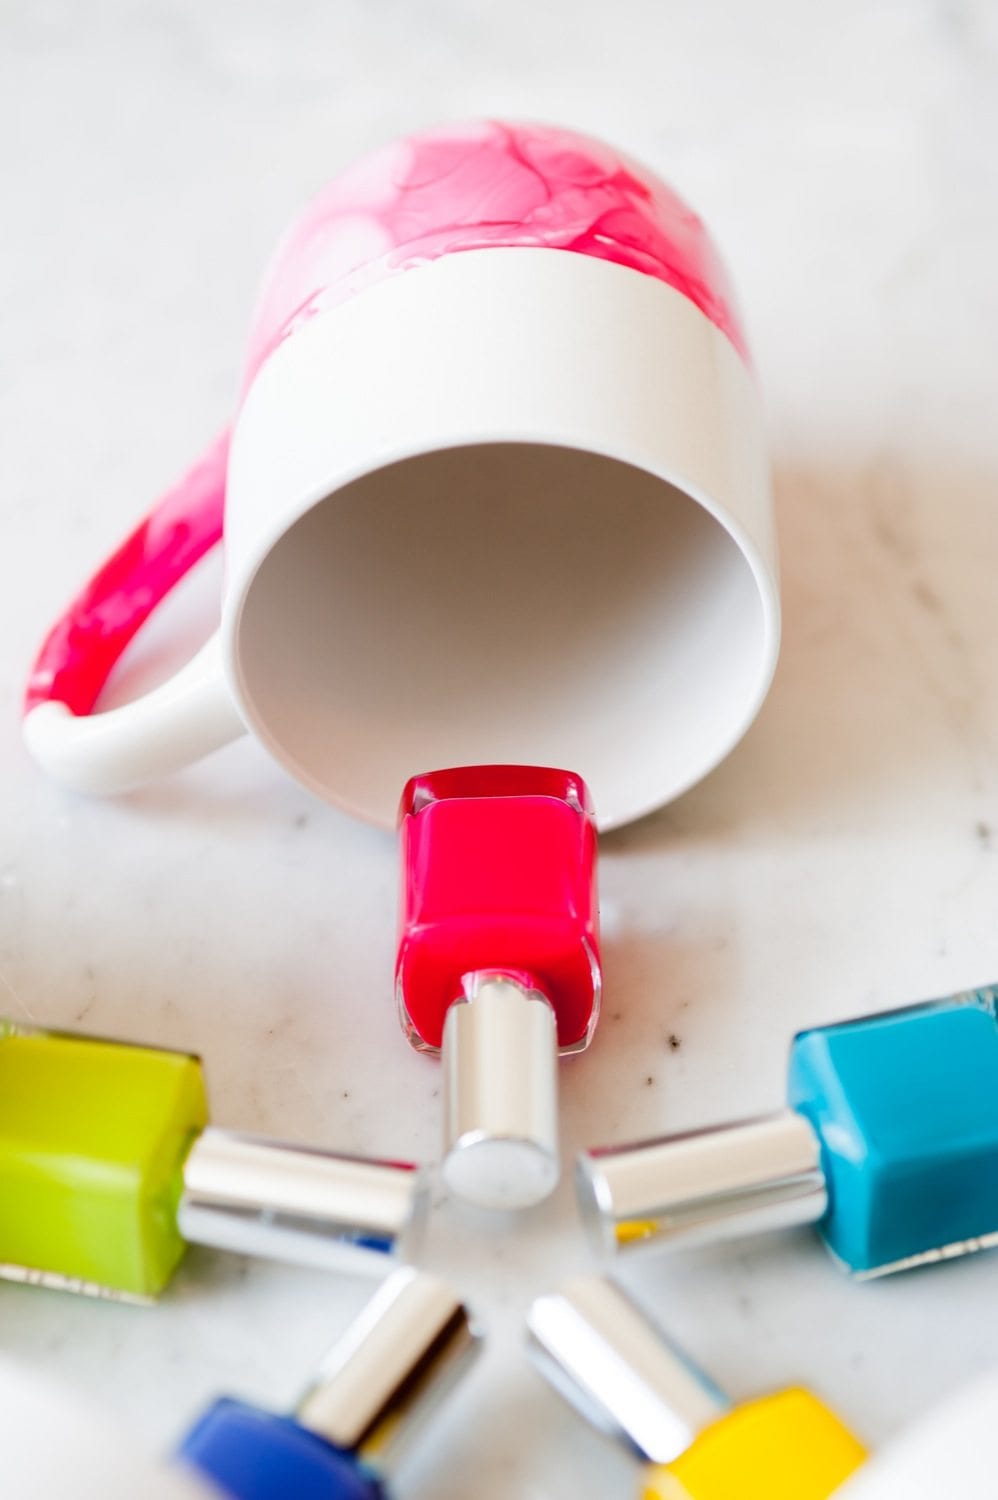
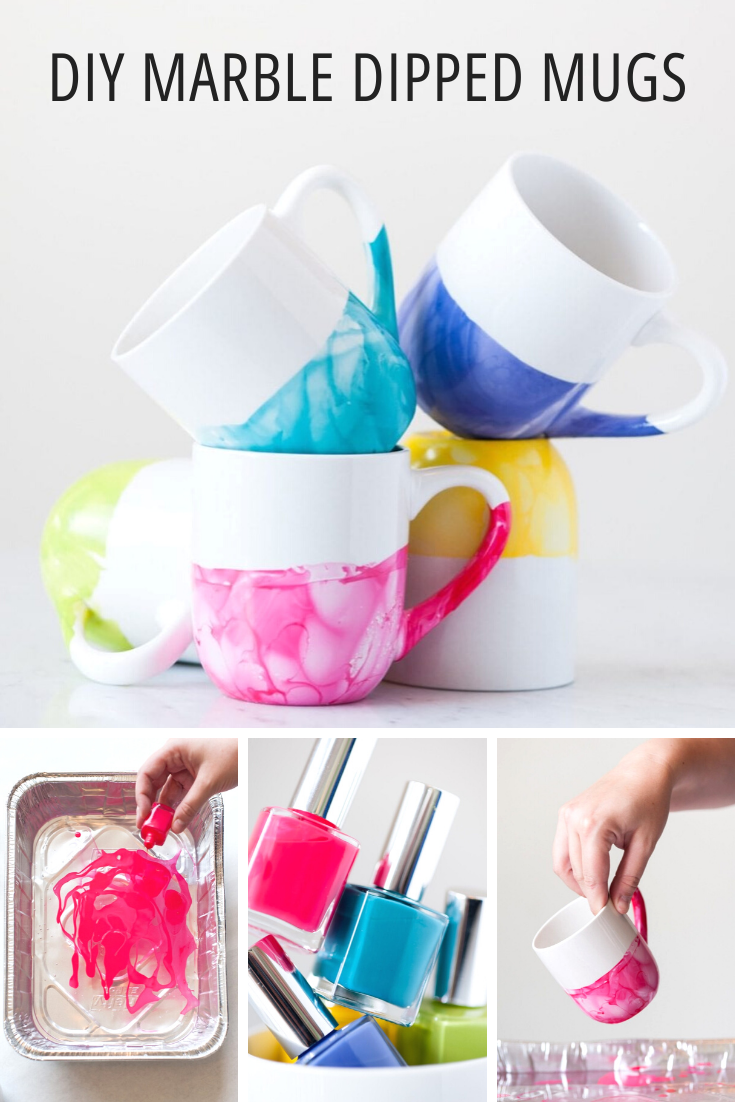
The first step to marble dipping the world’s loveliest mugs is filling a a disposable pan (or something you don’t mind getting permanently colored by nail polish) 2 – 3″ full with warm water. Add more or less depending on how high on your mug you’d like the color to reach. Make a mark on the inside of your pan to indicate the water level so you can fill it to the same spot each time if you’re making multiple mugs. Then, add your nail polish! Pour it onto the surface of the water, adding more or less depending on if you’d like more or less white to show through your marble pattern. Working super quickly, use a toothpick or skewer to swirl the nail polish across the surface of the water to help create the marble effect, but don’t think too hard about it! You don’t want to drive yourself crazy overcomplicating a simple process and you want to move quick so the nail polish doesn’t set up on the water.
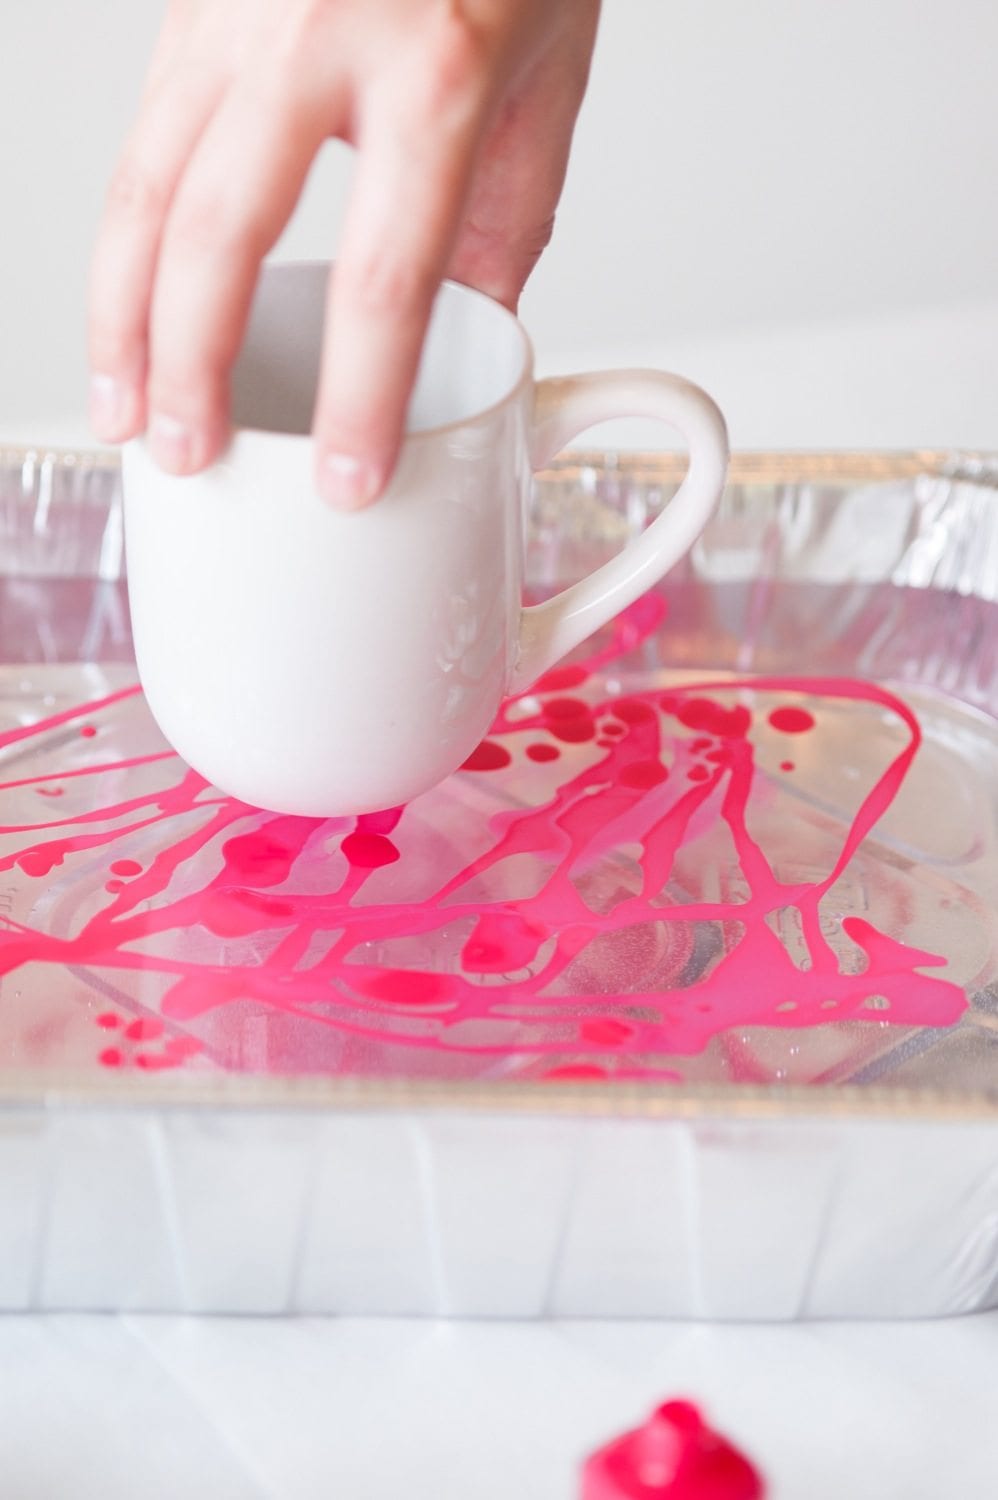
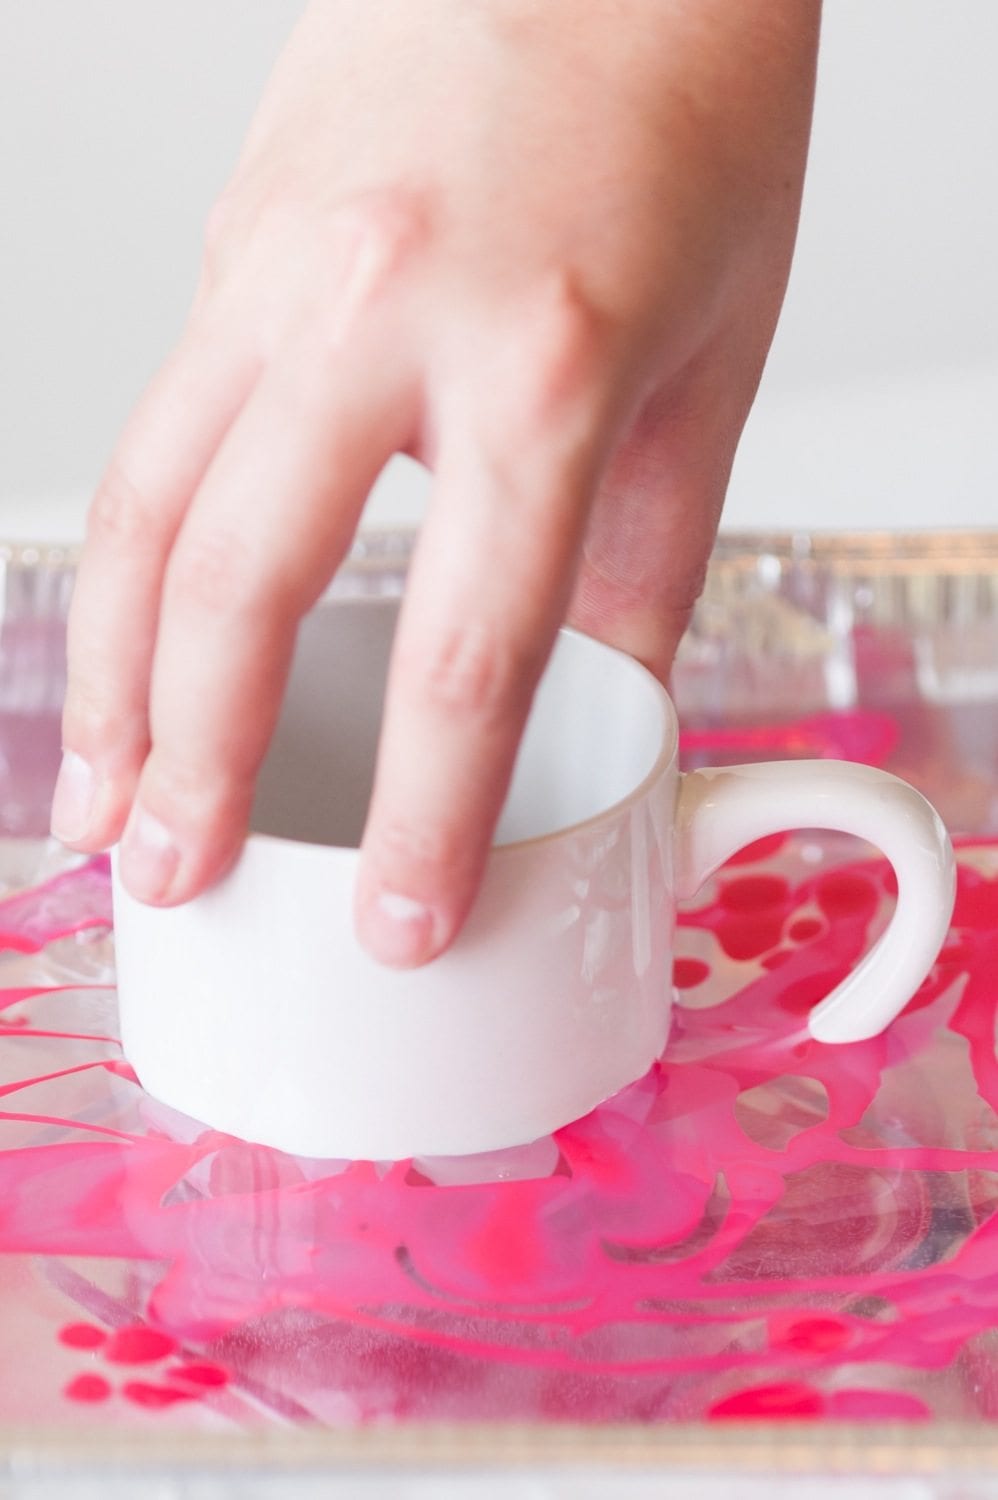
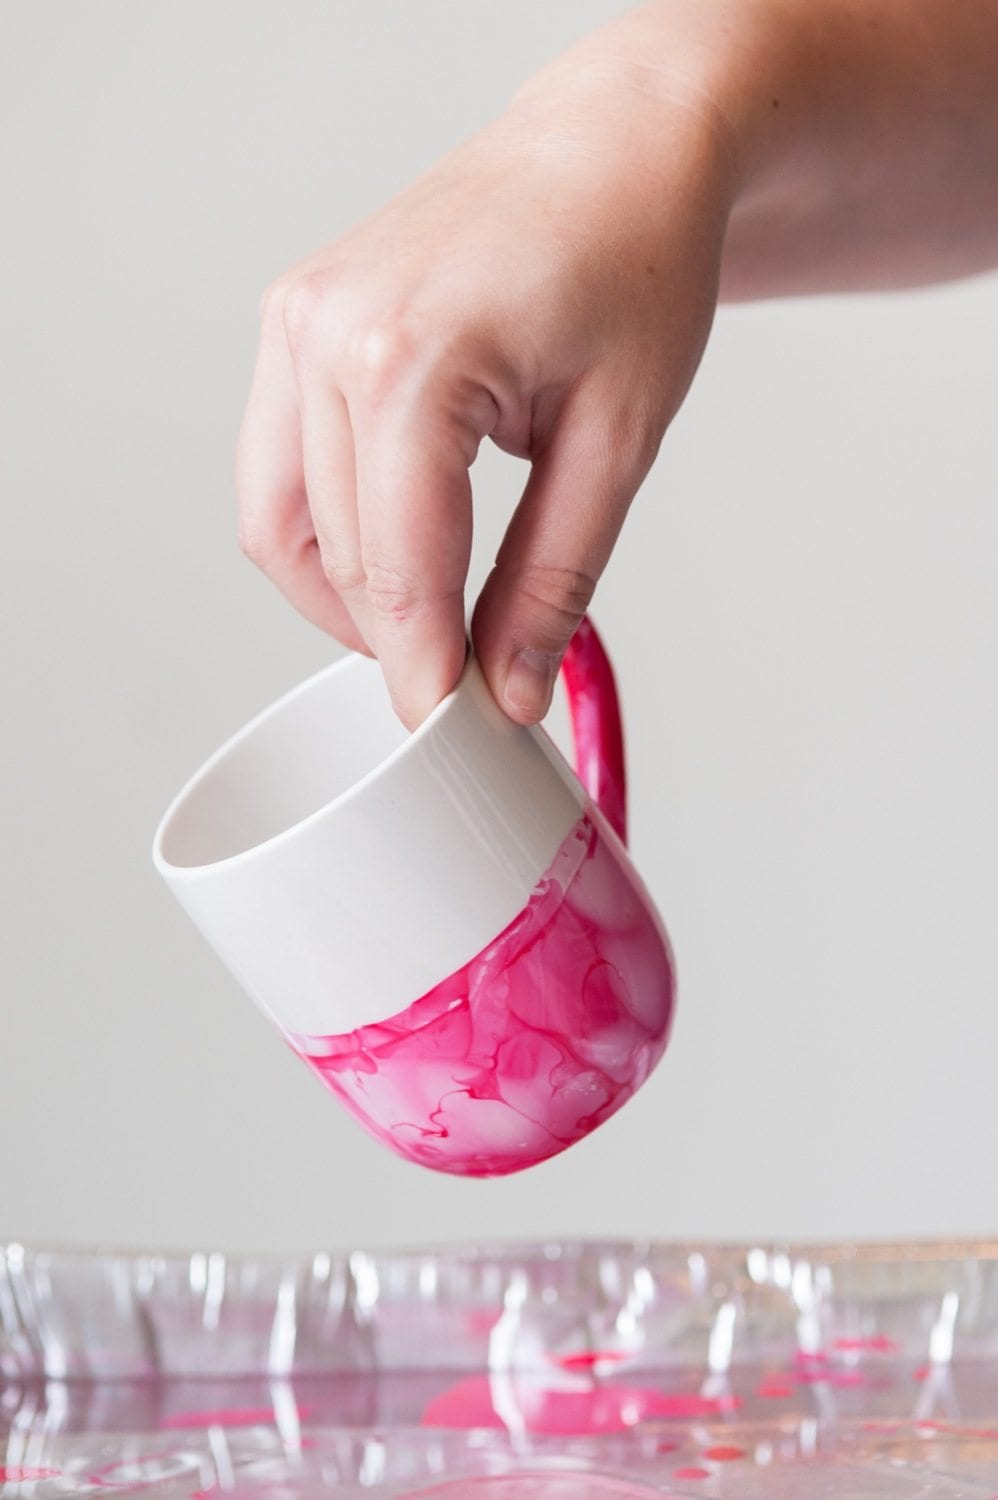
Moving equally as quick, the next step is to dunk your mug into the nail polish water. Go straight down and straight up to achieve the dipped look. Move the mug to a protected surface to dry completely, avoiding rubbing the surface of the mug until completely dry. I prefer to sit mine on top of a something to elevate it a little bit (such as a couple skewers) so it doesn’t stick to the surface it’s drying on, and I let them sit and dry overnight before touching them again. For each mug you’ll need to dump the water and start over, regardless of whether or not you’re changing color. Because the nail polish will start to set up on top of the water, it will be too thick and gloppy to get more than one dip at a time. Other than that it’s a simple process of swirling and dunking! Once dry, a super light and thin coat of dishwasher safe ModPodge (like we used with the gold glitter mugs) and your mugs will be protected when washing, too! (But hand washing to be safe is never a bad idea.)
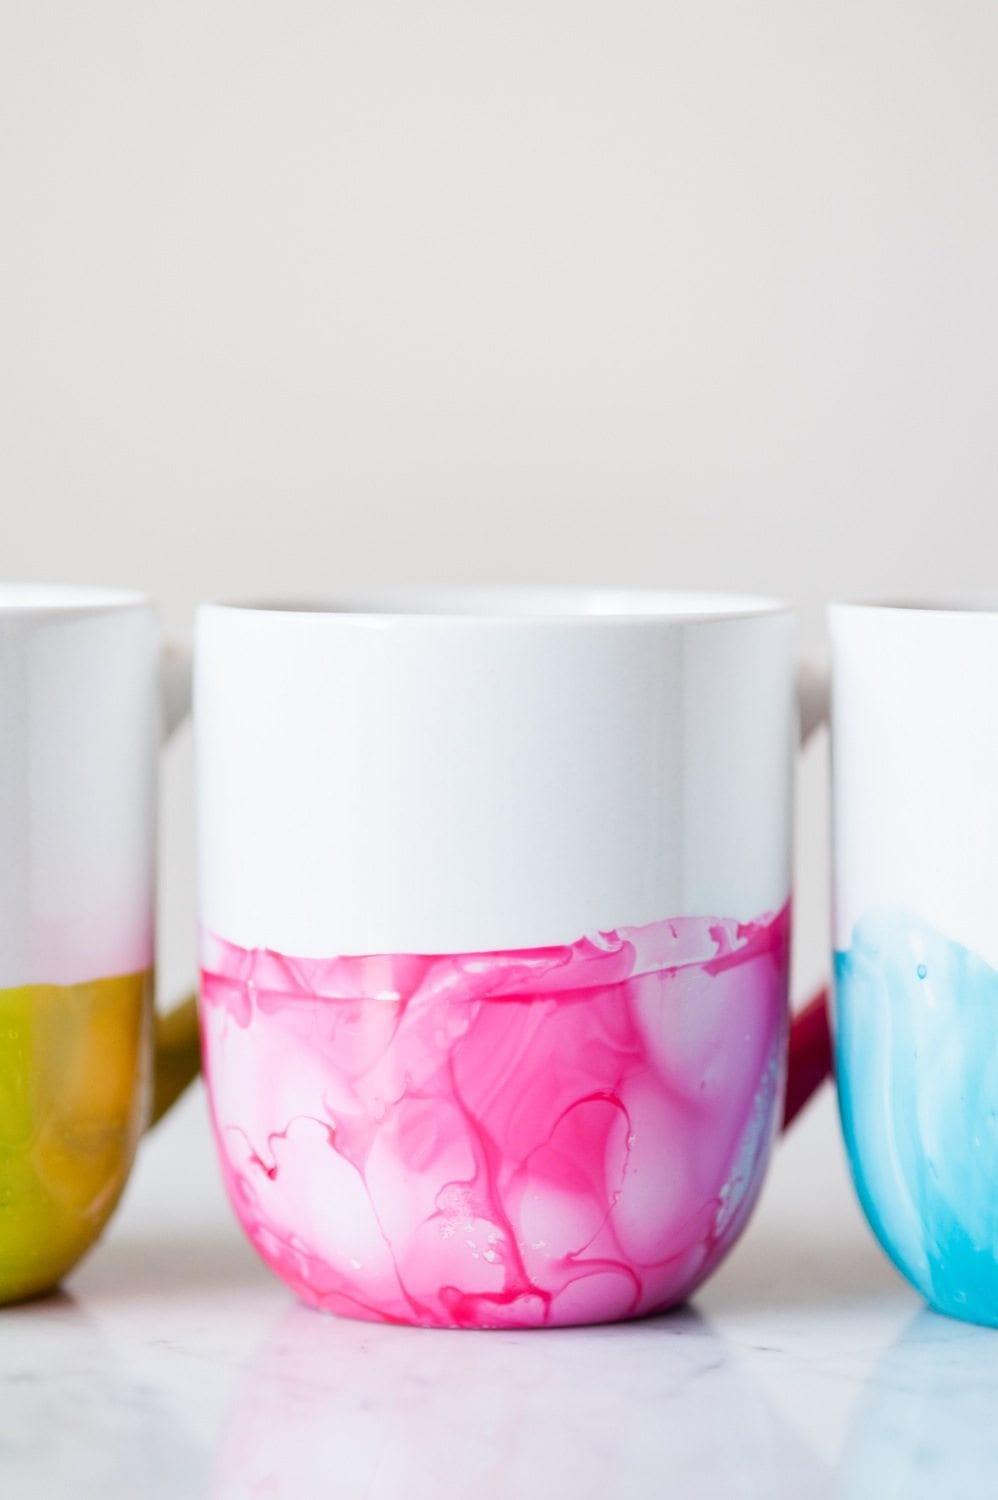
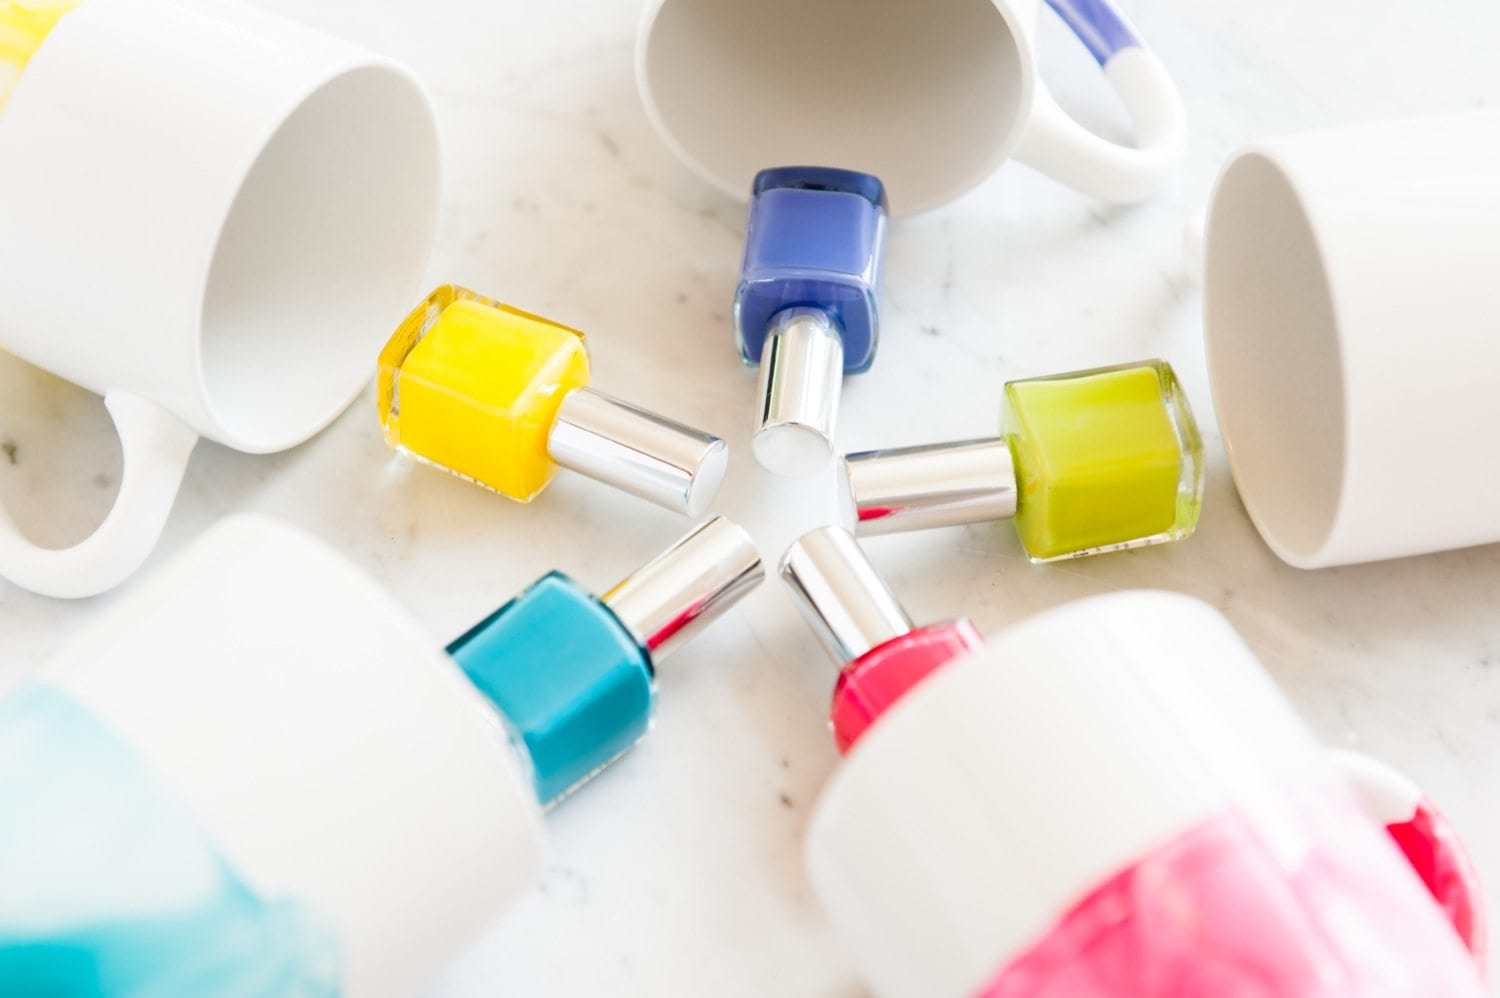
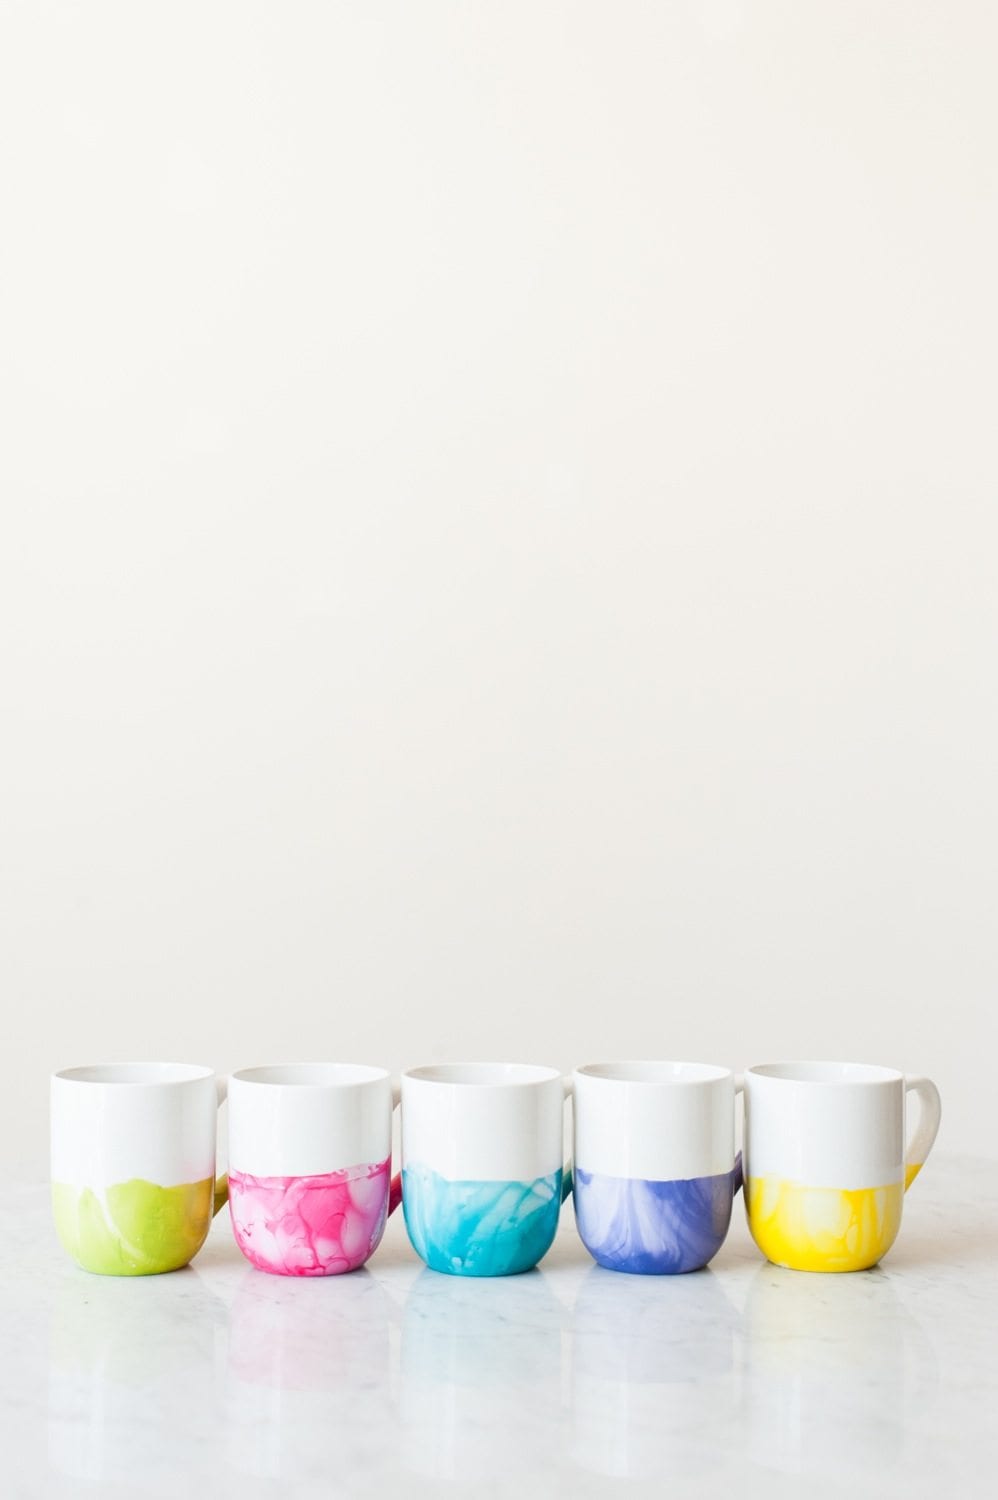
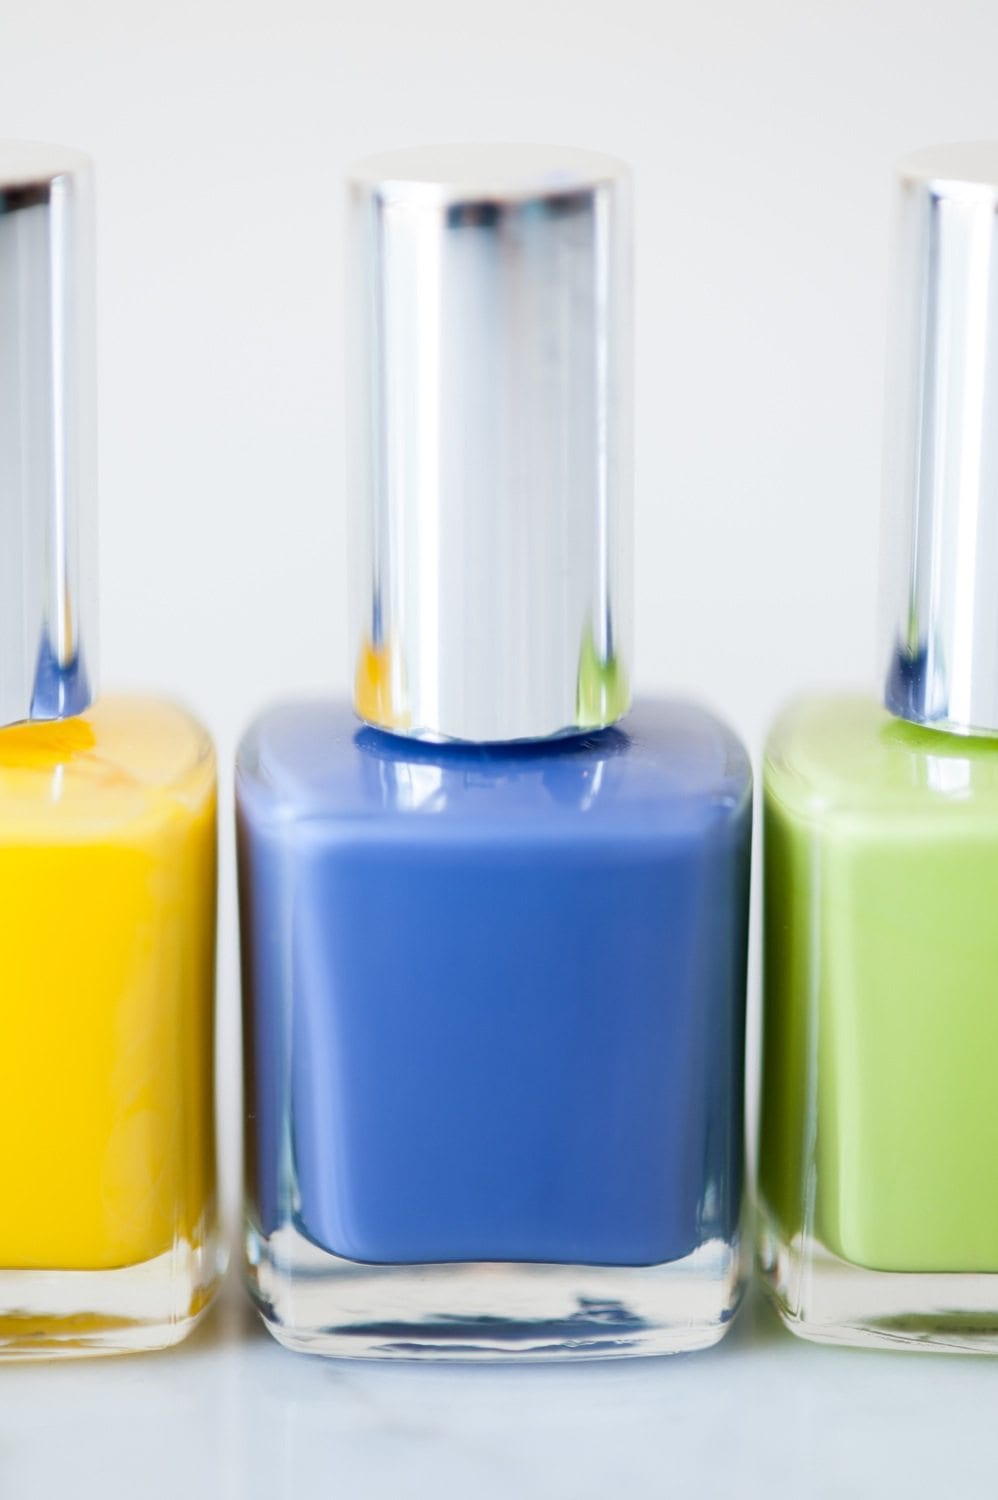
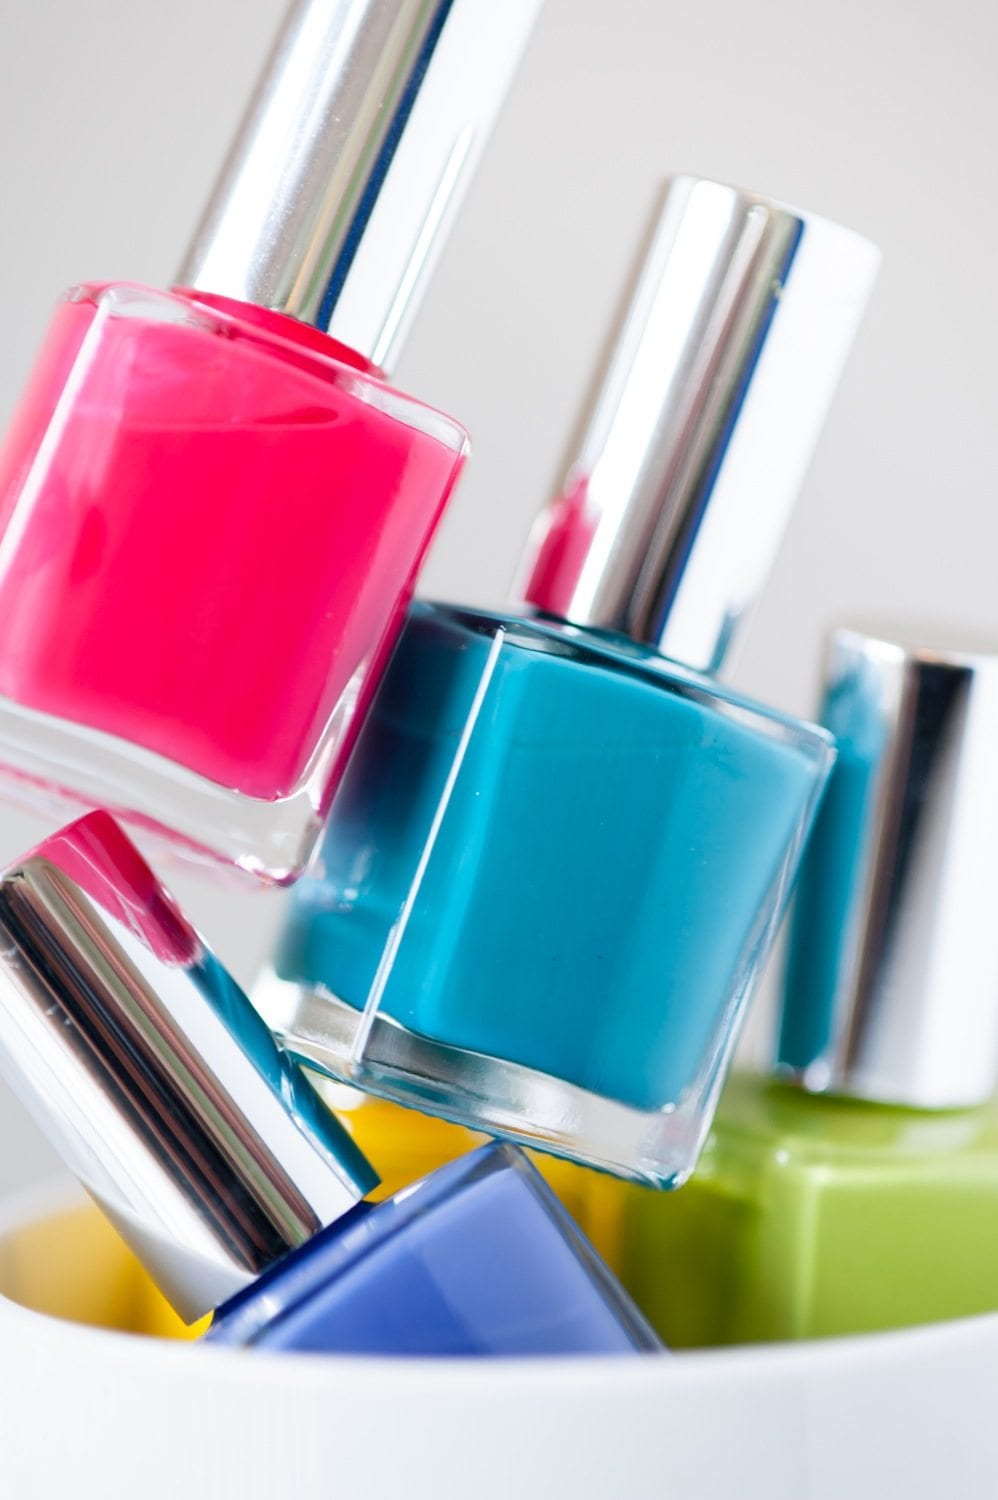
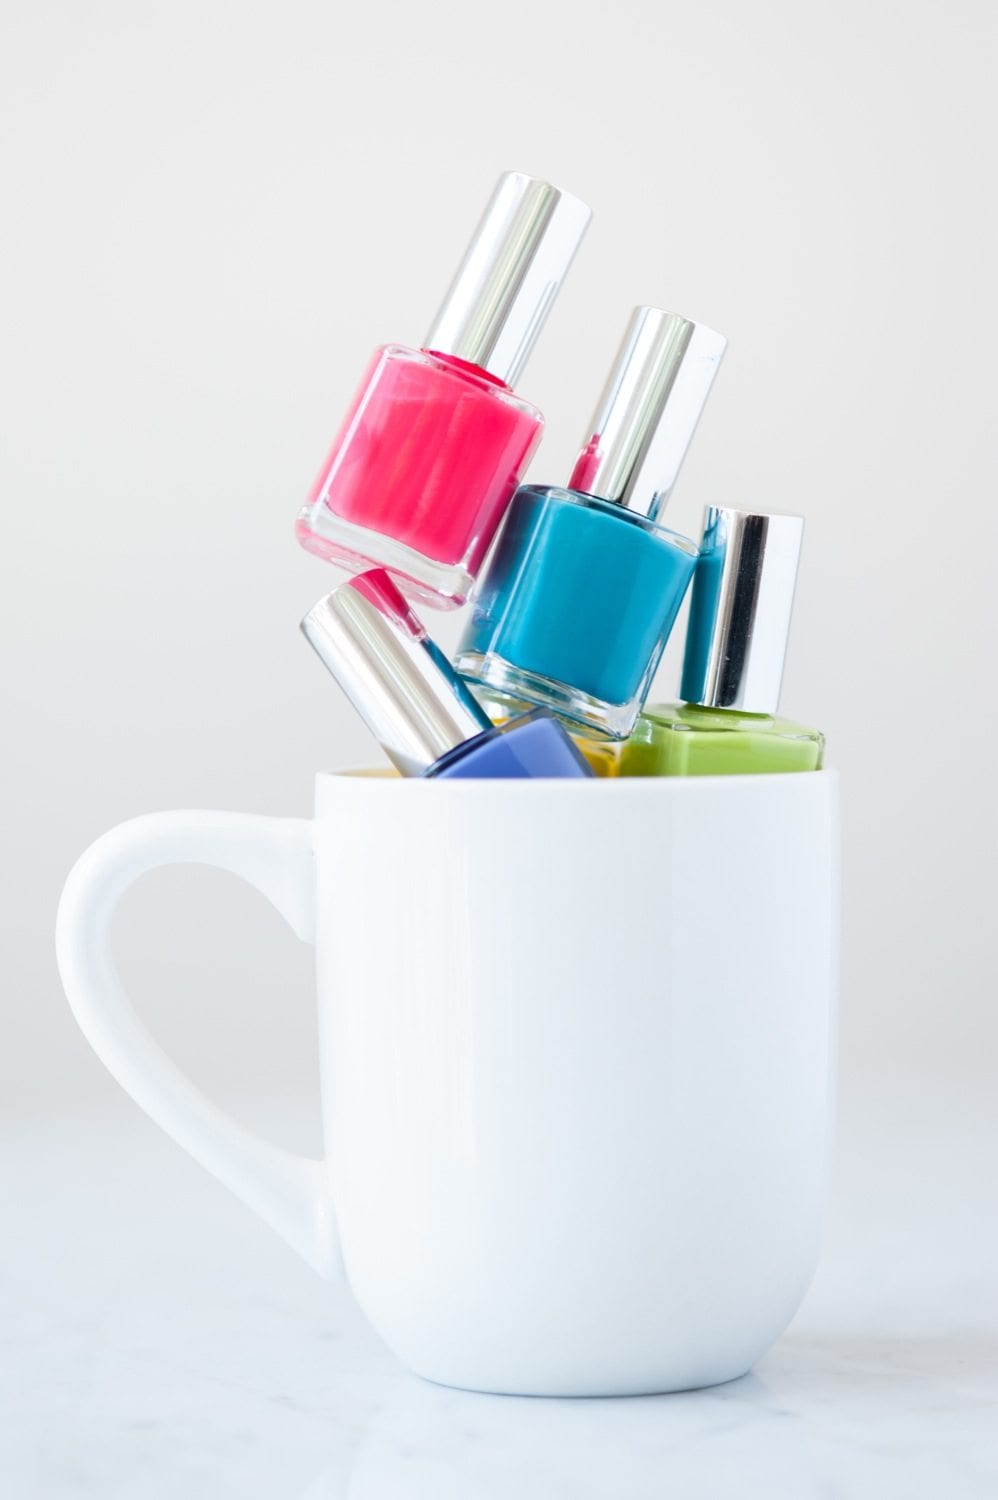
And that, friends, is all there is to it! I hit up the dollar store for these nail polish colors and picked the happiest, brightest colors I could find to make a set of mugs that’s pretty much adorable. (The lesson? This is not how you use up your $8.99 bottles of Essie!) You could split them up and give them one by one, gift the entire set or just dress up your own mug collection! You do have a mug collection right? Ours is pretty extensive and because I can’t stop dressing them up with things like nail polish and gold glitter and Sharpie marker, it just keeps growing. Oops! Feel like making some mugs or feeling otherwise inspired to get crafty? I’d love to take a look! Use the hashtag #thesweetestDIY on Instagram so I can see!
Make colorful DIY marble dipped mugs using inexpensive materials like dollar store mugs and an easy nail polish marbling technique!
DIY Marble Dipped Mugs
Materials
Instructions


 Back to Top
This is the worst ever, dont do it!! Its such a mess, and you have to hustle and bustle and they still come out looking like shit!
Hi Victoria! I’m sorry this didn’t work out for you, I did try to make the tutorial as helpful as possible when pointing out that you do have to move quickly. If you wanted to try it again you can always use nail polish remover to remove the nail polish and start over, which is nice because it makes this a pretty low risk project.
Do you only apply mod lodge to the dip dyed part?
Are these microwaveable safe? If not is there a way to make them microwaveable
Hi Amy and Ashley! I’m honestly not really sure about the microwave thing and I’ll be honest and admit we don’t have one in our kitchen (craziness, I know) so I can’t test it for you. I would imagine a light coat of dishwasher safe ModPodge over top might do the trick, but I would definitely test it out!
Awesome! Can you put these in the microwave after the nail polish is on them? I want to make these for my sister for Christmas. She has a tendency to reheat her coffee. :)
Thanks for the project. I can’t wait to try it…:)
Hi ya. These are lovely and I can’t wait to give it a try :D I can’t see where the nail varnish remover and cotton balls are used?? Is that just incase you make an error?
When you wash these does the nail polish come off
Do you think this would work on glass? like, stemless wine glasses?
Hi Jess! I would imagine it work just great on glass, but I haven’t tested it yet. That said, it’s so inexpensive to try out, I’d say it’s worth a test! Maybe just grab a few thrifted glasses or dollar store glassware to try it out? It sounds really really pretty!
These are gorgeous! I’ve got a gazillion white mugs, I’ve pinned to try later :) Thanks for sharing!
Wow, when I saw the nail polish i was like ‘naaah’ but those loos amazing, gotta try it myself!
What a great idea! Perfect for a housewarming gift or wedding shower!
Just pinned this beauty to my Marbling pinterest board. Love how they turned out because I mean… marbling!!
You are the queen of the marbles! I love these. The colors are jammin! More marbling please!!!
Oh man this is amazing! Such a pretty way to dress up a boring white cup!
Keep the mugs comin! These are adorable and would make such a cute housewarming gift!