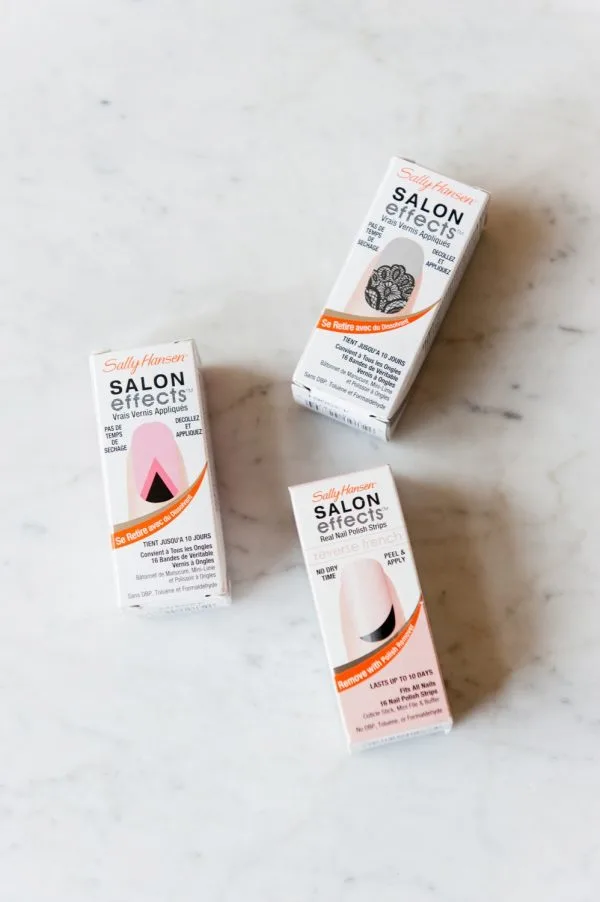
Recently I have gotten a lot of questions both here on the blog and over on Instagram inquiring about my nails so today I thought I would fill you in on my super easy DIY manicure secret! As a bit of background, you should know a couple of things. One. I am a train wreck when it comes to painting my own nails. (A very, serious train wreck.) Two. I am so rough on my hands that paying for manicures is a total waste, because they never last more than a couple days. Enter my secret weapon! Namely, these seriously incredible Sally Hansen Salon Effects Real Nail Polish Strips. Before we go any further, allow me to assure you that the folks at Sally Hansen have precisely zero idea that I exist and this is in no way a sponsored or endorsed post. I genuinely love and use these bad boys all the time and thought some of you might benefit from trying them out. Want to see how easy they are to use? Let’s get started!
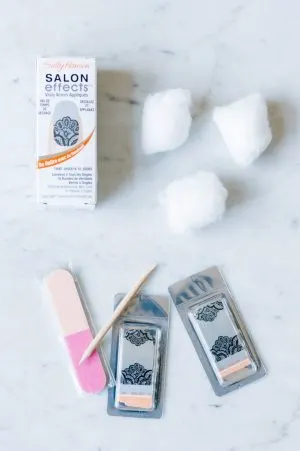
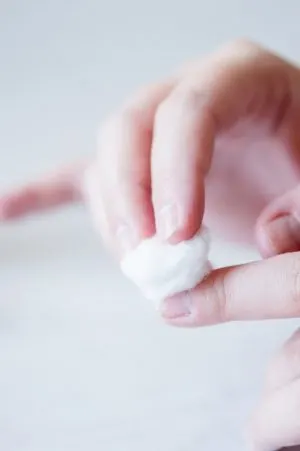
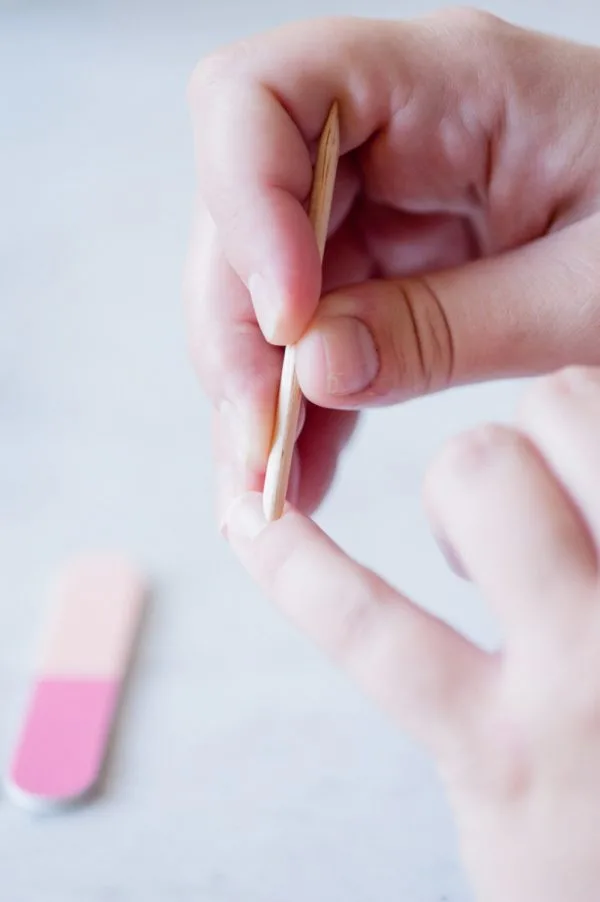
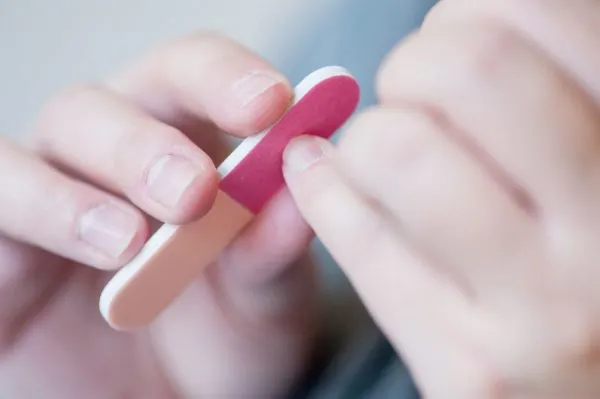
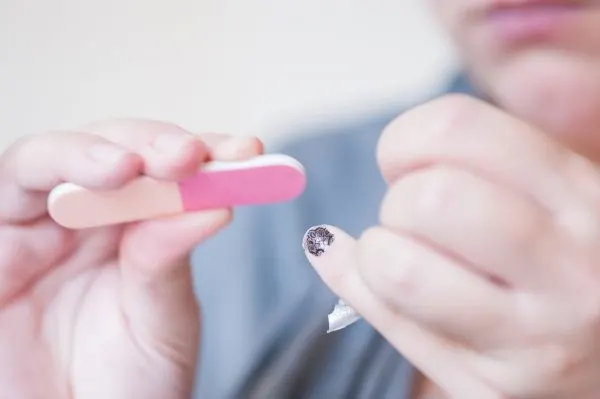
To get the best results with the nail polish strips, you’ll want to start with clean polish-free nails. The package includes a little emory board for filing and buffing your nails, as well as a small wooden stick for pushing back your cuticles. I do all of this pretty quickly! It definitely does not need to be a super professional job, which works for me because I wouldn’t be able to do it all pro-like anyway. (A combination of lack of skill and lack of will, admittedly.) Other than the contents of the box, you’ll only need nail polish remover and cotton pads or cotton balls so you can quickly wipe down your nails to remove any dust after you file and buff.
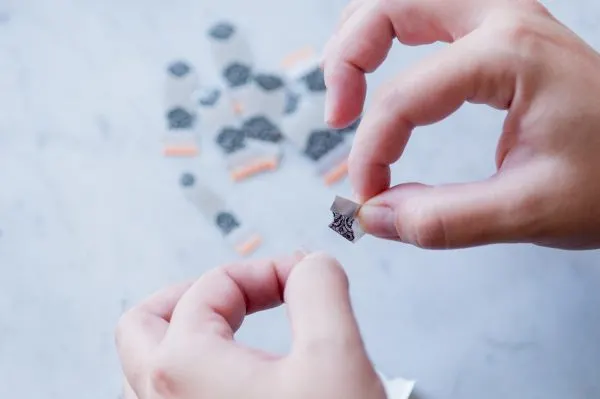
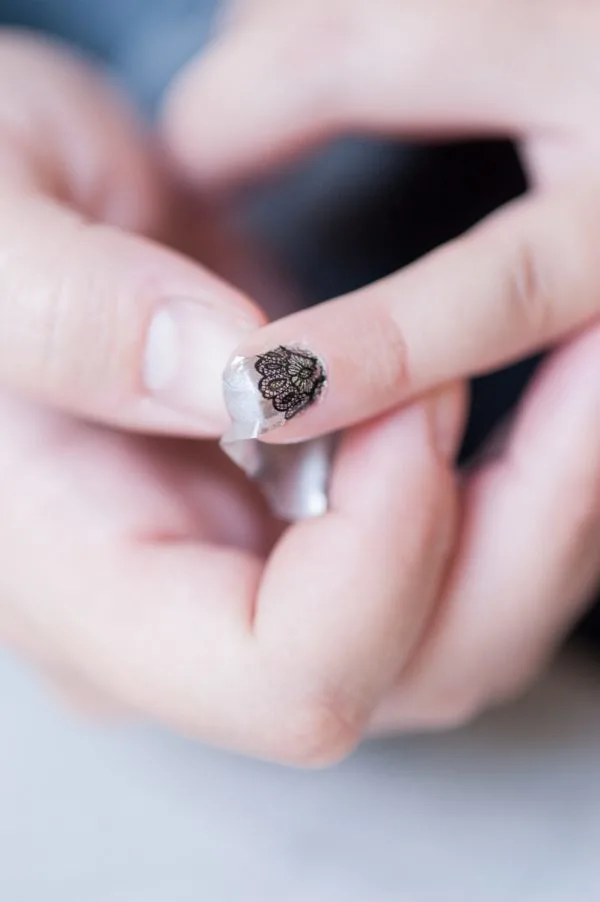
Next up, find the polish strip that best fits each of your nails. They provide multiple different sizes with plenty of extras so you should easily be able to find a match regardless of the size and width of your nails. From there, work one nail at a time, removing the the protective clear plastic from either side of the polish strip. Position the nail strip along the base of your nail and then gently tap it into place. At that point, I slowly but firmly stretch the sides of the polish strip to get a perfect fit, using the edge of my thumbnail to press it into place so it looks really perfect.
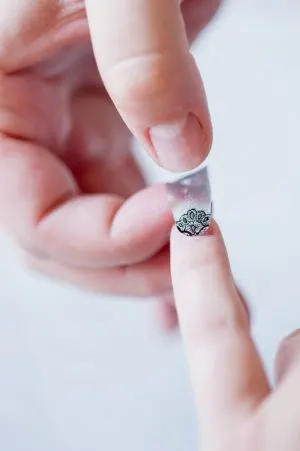
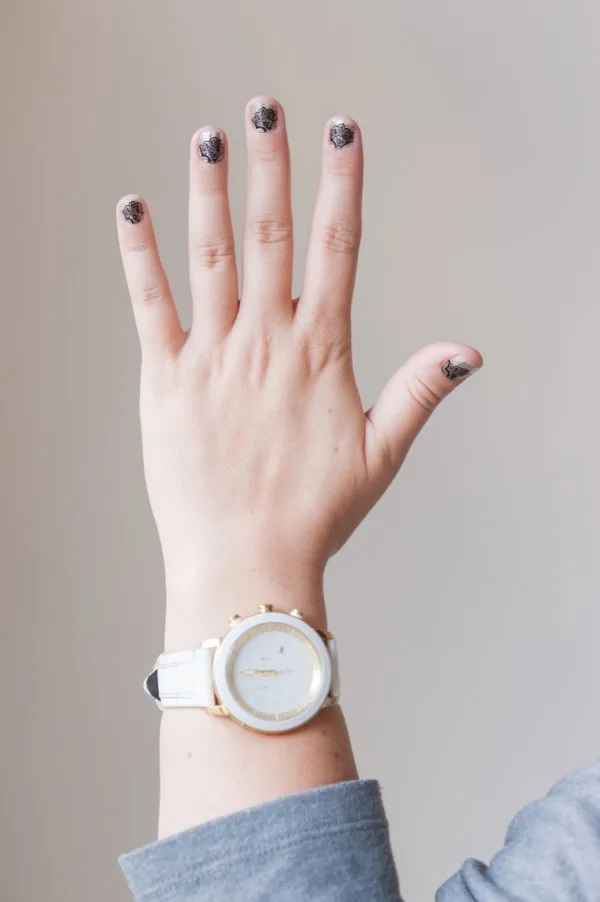
The final step is getting the perfect fit along the length of the nail! Gently pull the polish strip taught (it has a surprising amount of stretch) and fold it over the edge of the nail, using the emory board to gently buff off the excess. And that’s it! It’s really that simple. No heat or special tools required and the nail strips run right around $8.50 a pack or a couple of dollars more for the French tip versions. Sally Hansen says they will last up to 10 days, which I think is definitely possible if you’re a little easier on your hands than I am. For me they easily last 5 – 7 days though which is super impressive! To remove them, I like to use a polish remover with acetone, soak a cotton ball and hold it on the nail for 15 – 20 seconds before wiping away the polish strip.
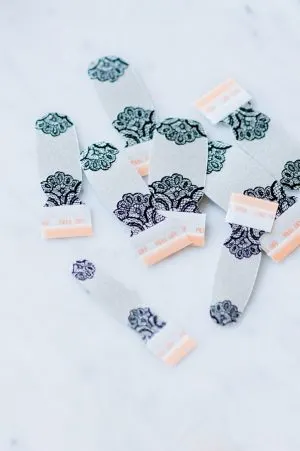
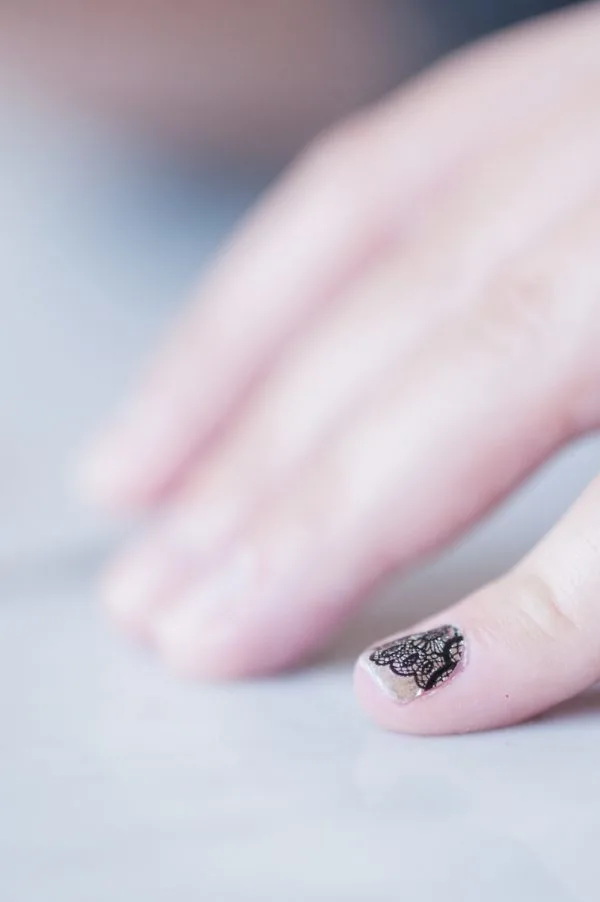
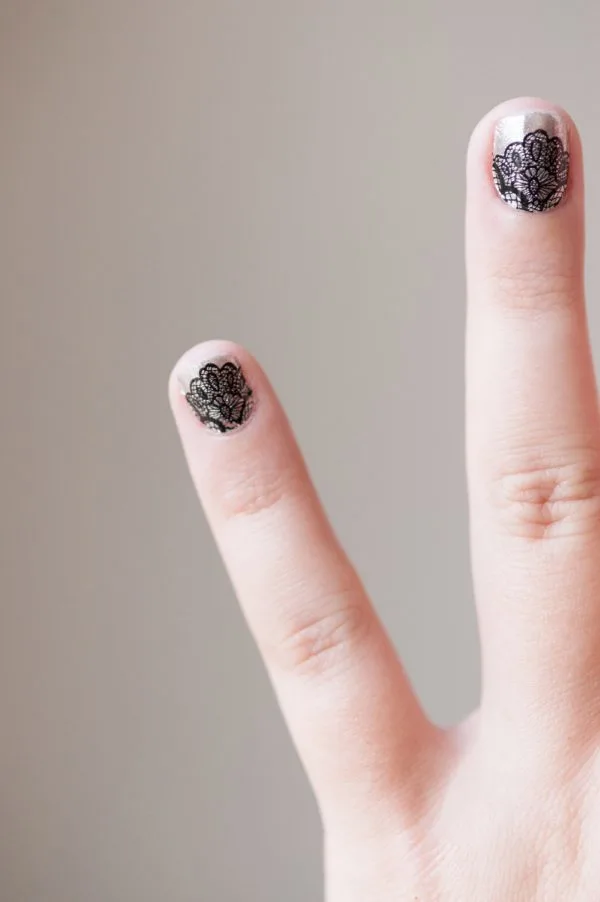
Want to see more posts where you can check out the nail polish strips in action? You’ll find me wearing them here, here, here, here and here. (Among many, many others.) I tend to prefer the simpler designs and colors, but they come in loads of patterns and color options so you can get as funky and colorful as you’d like with your manicure. I liked this black lace one for shooting Halloween posts, for instance. (They kind of match these DIY black lace candle holders!) If you give them a try, let me know! I’d love to know if they help solve anyone else’s nail woes, too.
[Art direction + styling by Cyd Converse | Photos by Alice G. Patterson for The Sweetest Occasion.]




Cyd Converse
Thursday 22nd of October 2015
Agreed, Eden! I've become kind of obsessed with them myself. lol
Cyd Converse
Thursday 22nd of October 2015
You definitely should, Bre! Especially with all of your furniture work - if you're anything like me it's impossible to keep regular polish looking good. ;-)
Eden Passante
Wednesday 21st of October 2015
Love salon effects! So fun!
Breanna
Wednesday 21st of October 2015
These look so good! Might need to give these a try ;)
Cyd Converse
Wednesday 21st of October 2015
Thanks, Cara! xoxo