


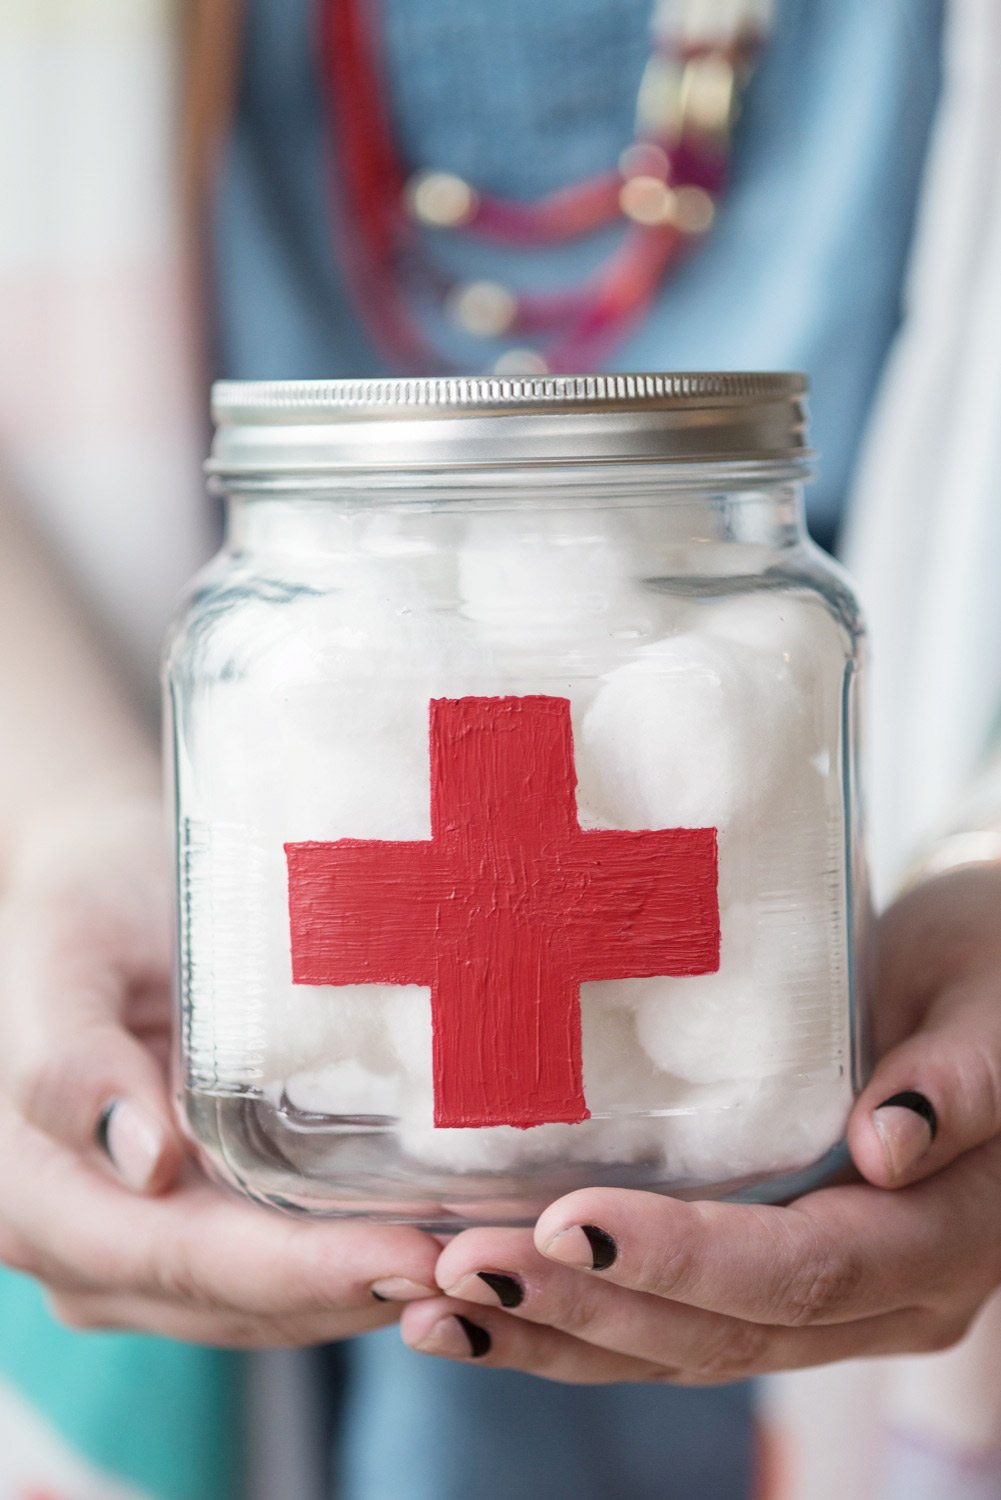
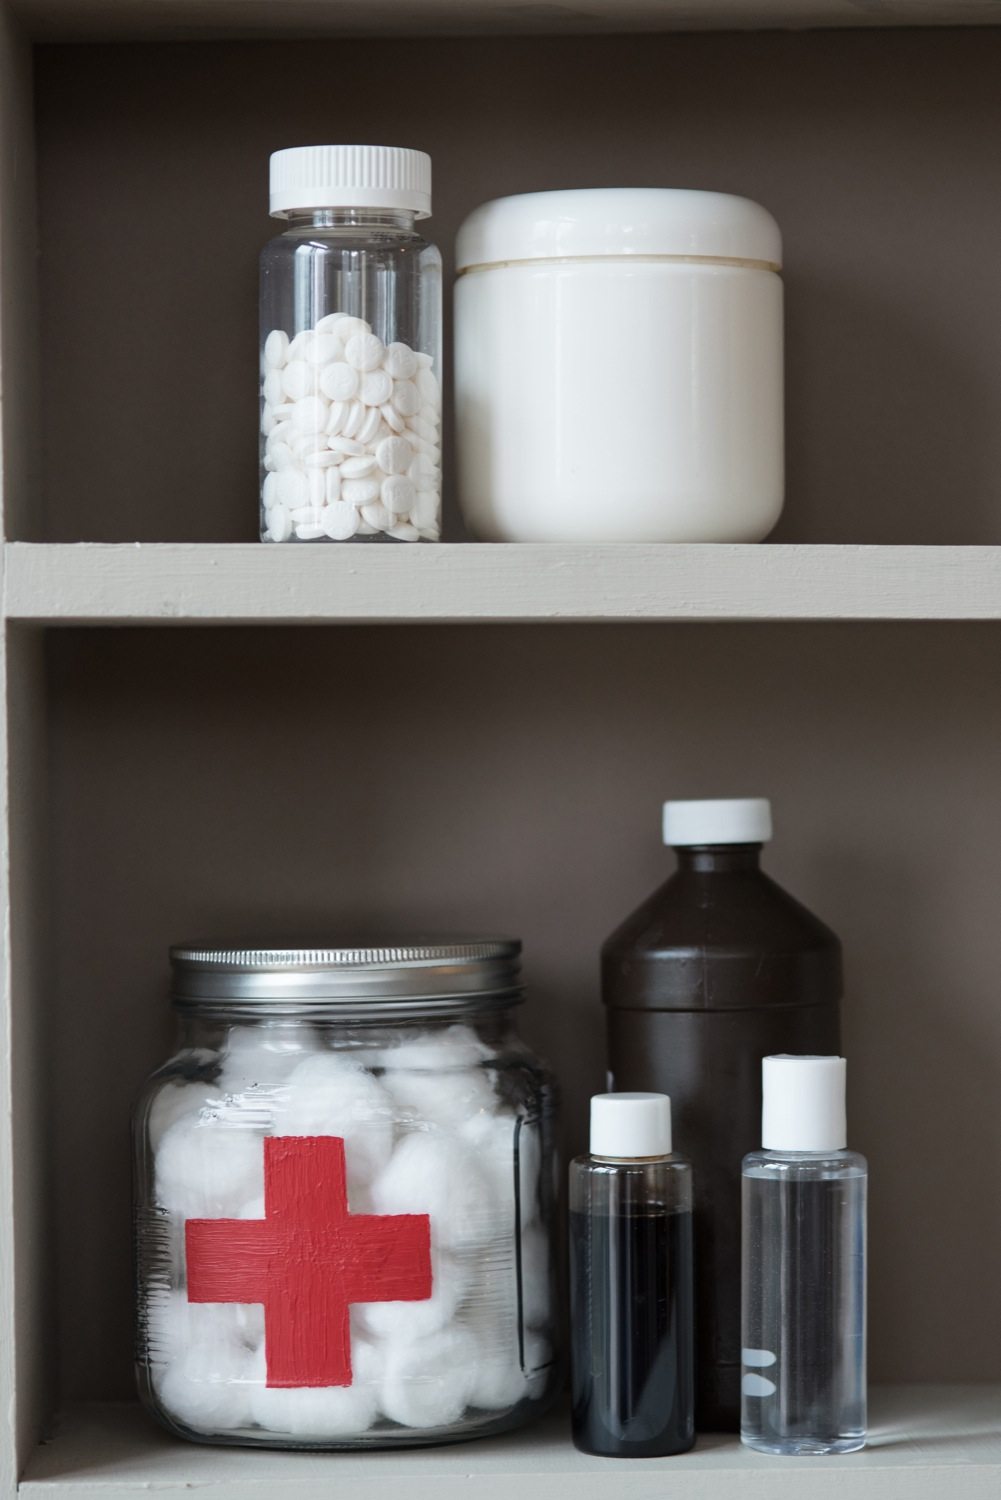
Today’s DIY project is all about adding a little extra storage and organization to your bathroom! Because, seriously, you can never have enough ways to stash things in the bathroom. I personally like to keep everything obsessively organized in the bathroom, with everything tucked into little canisters and apothecary jars. Cotton balls, Q-Tips, bandages, extra toothbrushes, antibiotic ointment – everything has a place. This DIY project is one of those quick, simple and fun ideas that will help tidy up your medicine cabinet or give you an adorable little jar to tuck onto a shelf. Also, how cute would this be filled with first aid supplies as a housewarming gift or to send off to school with the first-time college student? Yup. Cute, I say!
![]()
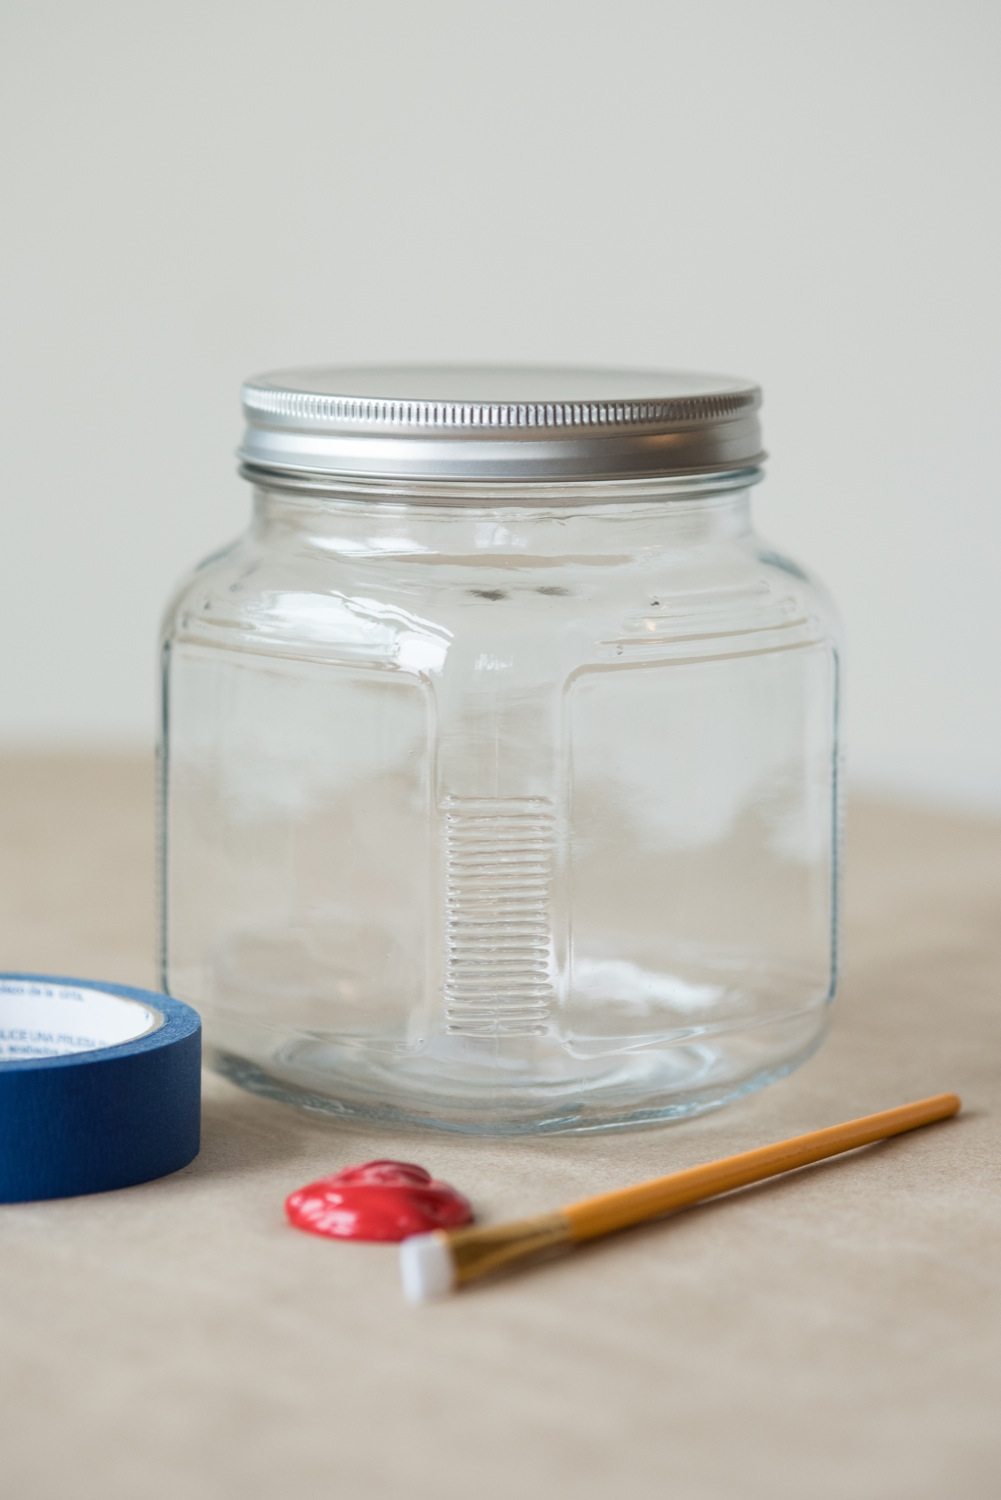
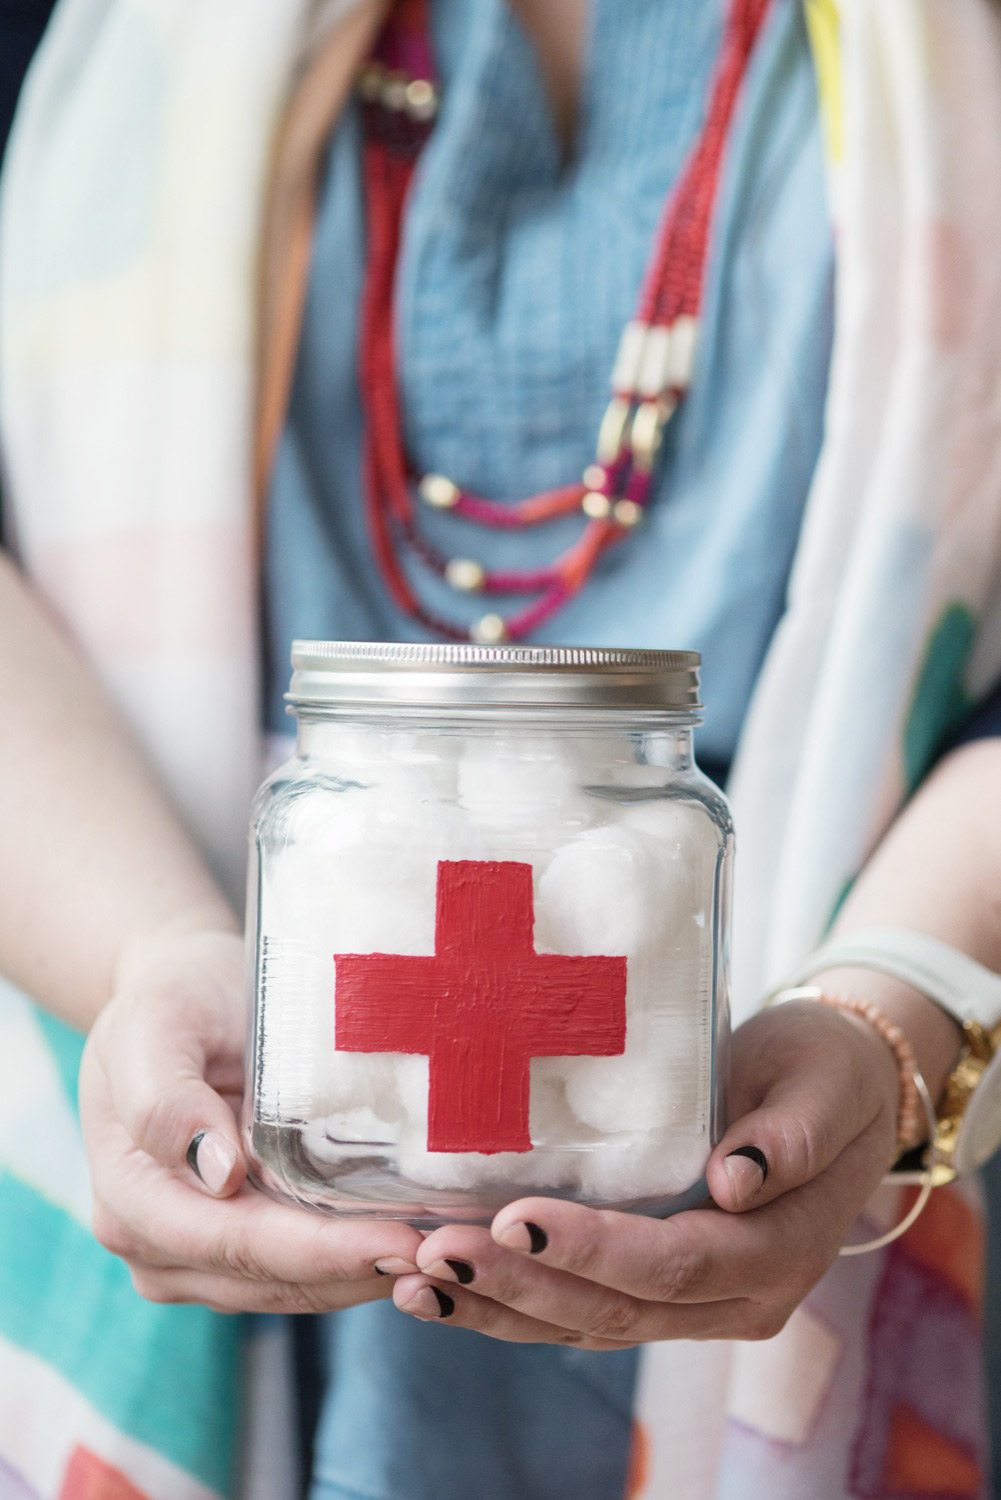
- Large glass jar with lid
- Red craft paint
- Painter’s tape
- Small paint brush
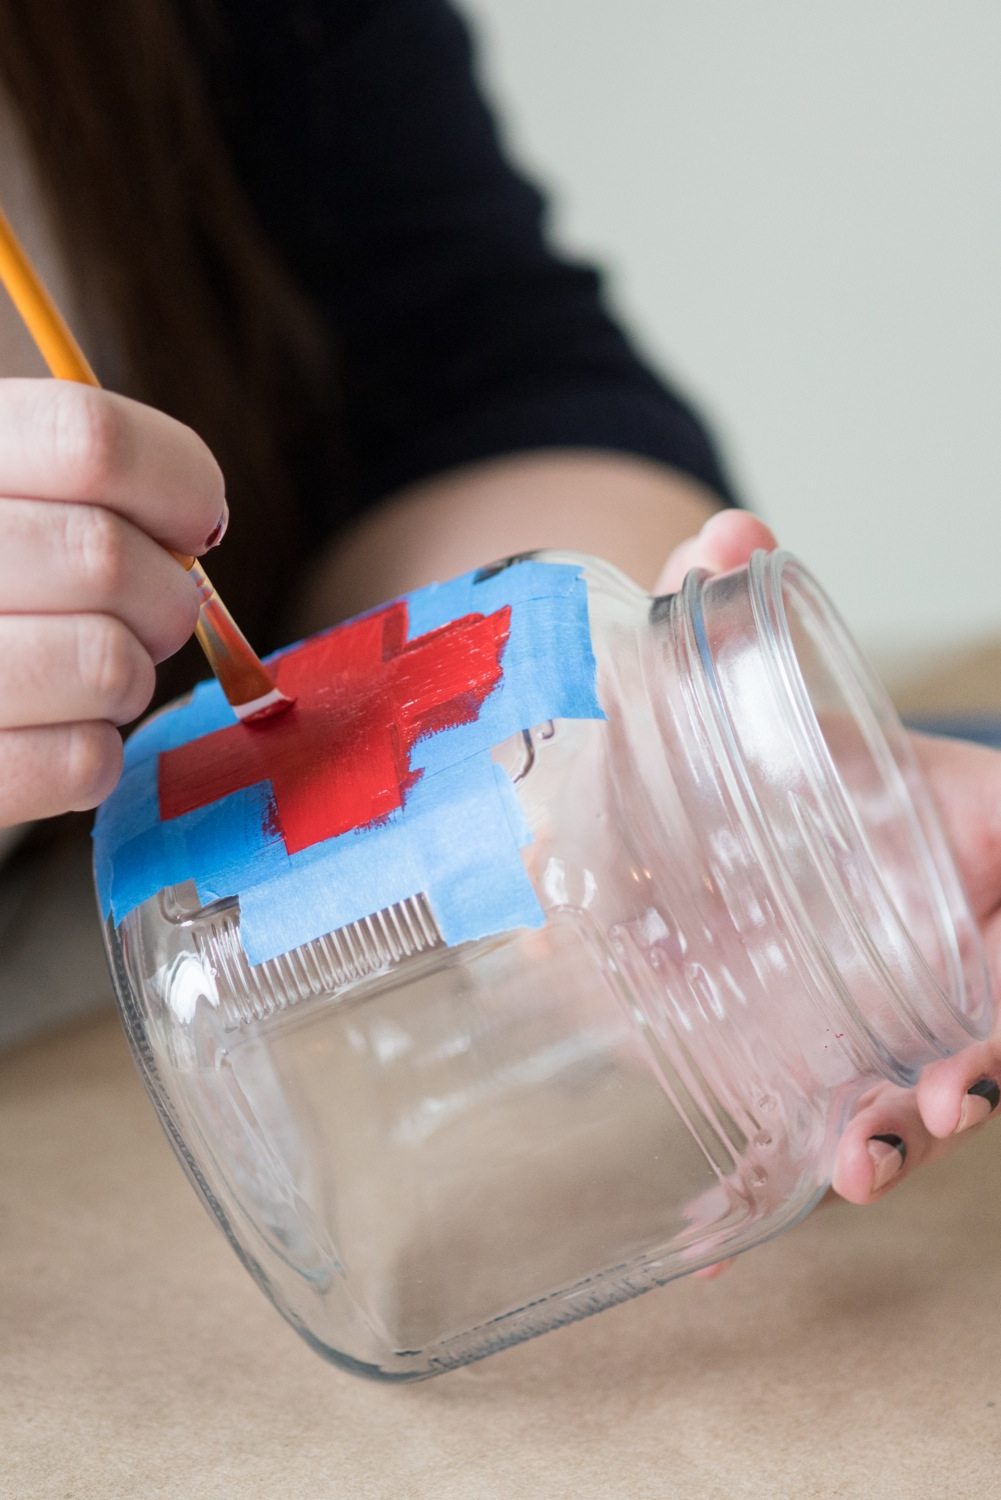


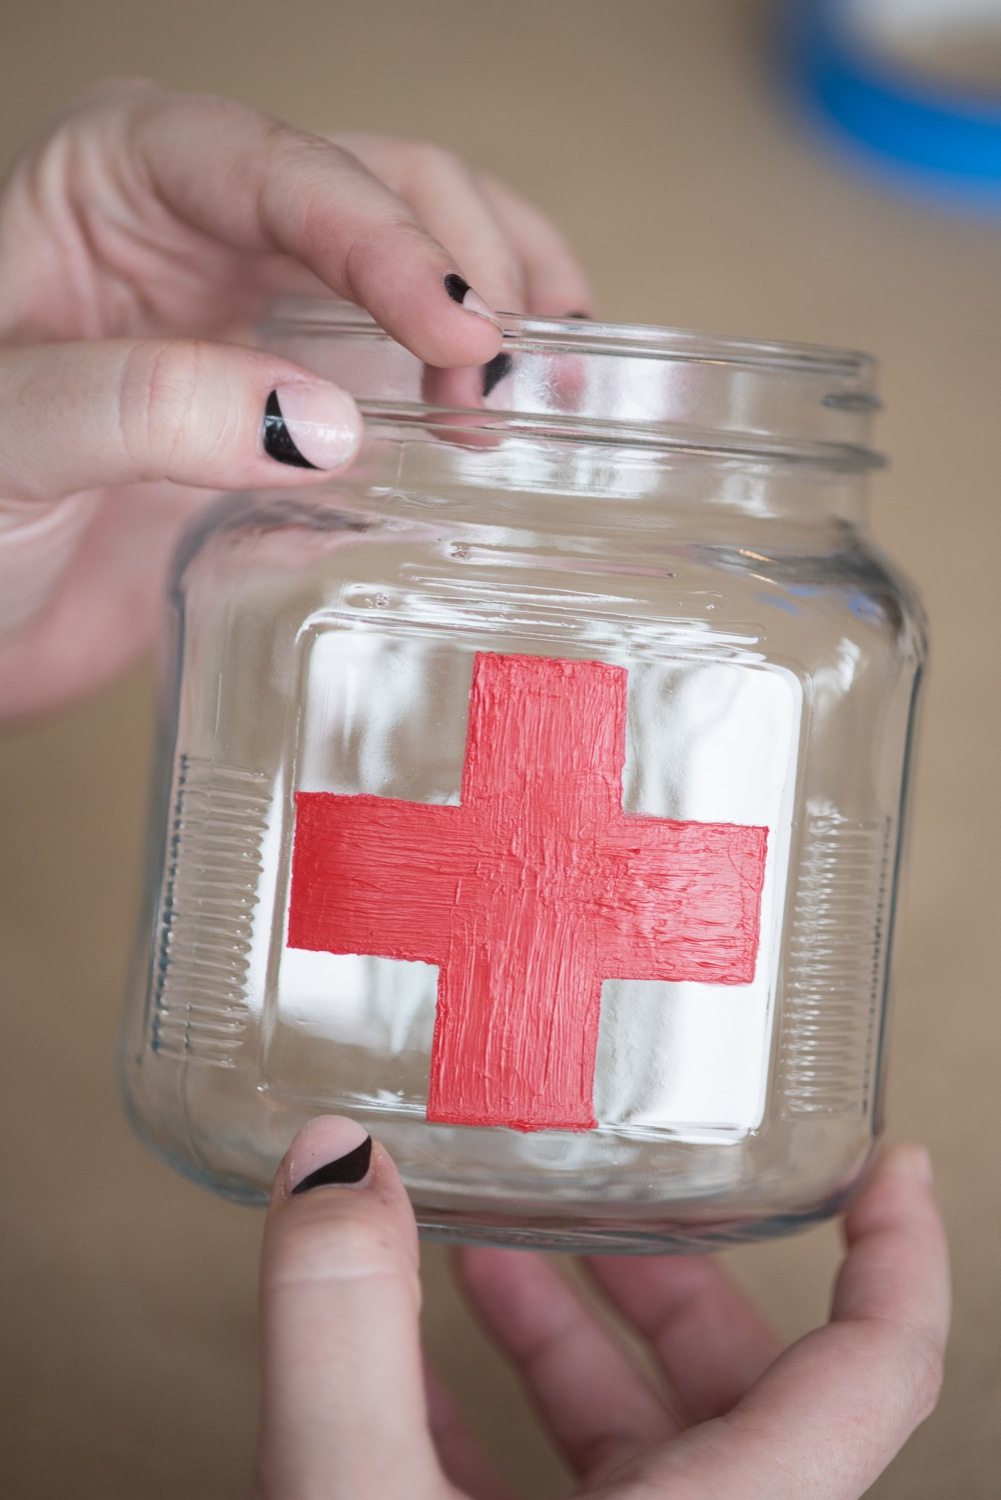
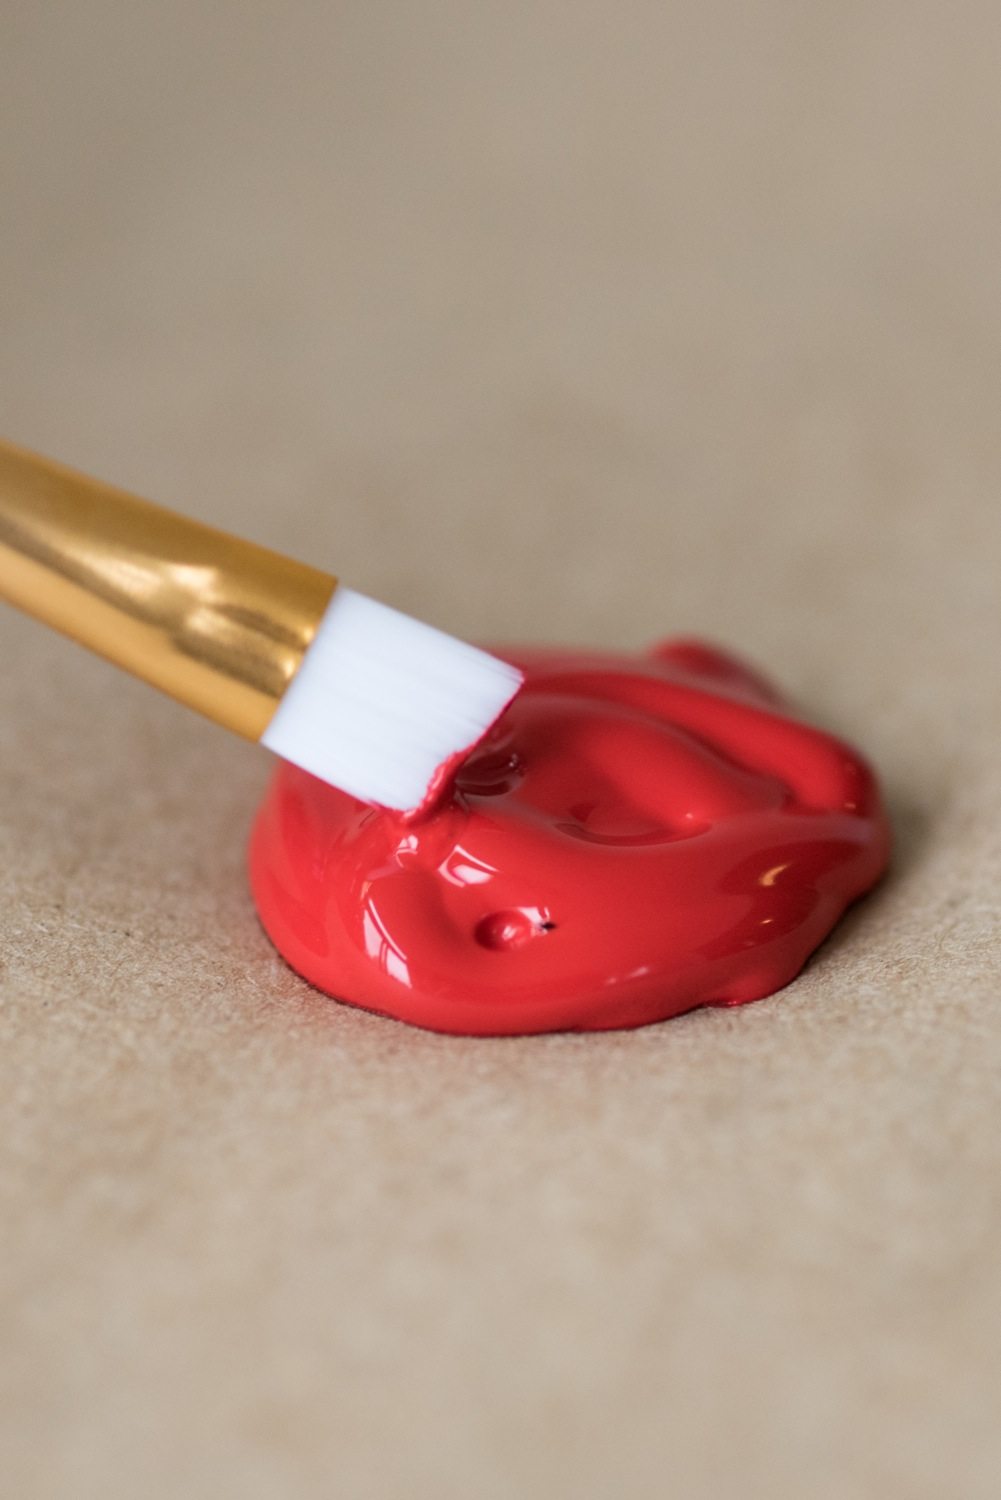
Are you ready for this? It’s pretty darn simple! Begin by thoroughly cleaning the outside of your jar and allowing it to dry completely. Then use the painter’s tape to mask out a stencil of a first aid inspired cross, directly on the jar. I eyeballed mine, but you always print out an image of a cross and place it inside the jar and then trace over it with your tape lines to form your shape. Then it’s time to paint! Standard craft paint will work here, but of course you could use glass paint, too. Brush on several light, thin coats of paint until you achieve the desired opacity, then gently remove the painter’s tape while the tape is still wet. You can clean up the edges of the cross lines as best you can using the edge of your thumbnail. Mine are still a bit imperfect, but I didn’t mind that as it was something hand painted and I’m far from perfect when it comes to such things and I’m ok with that.
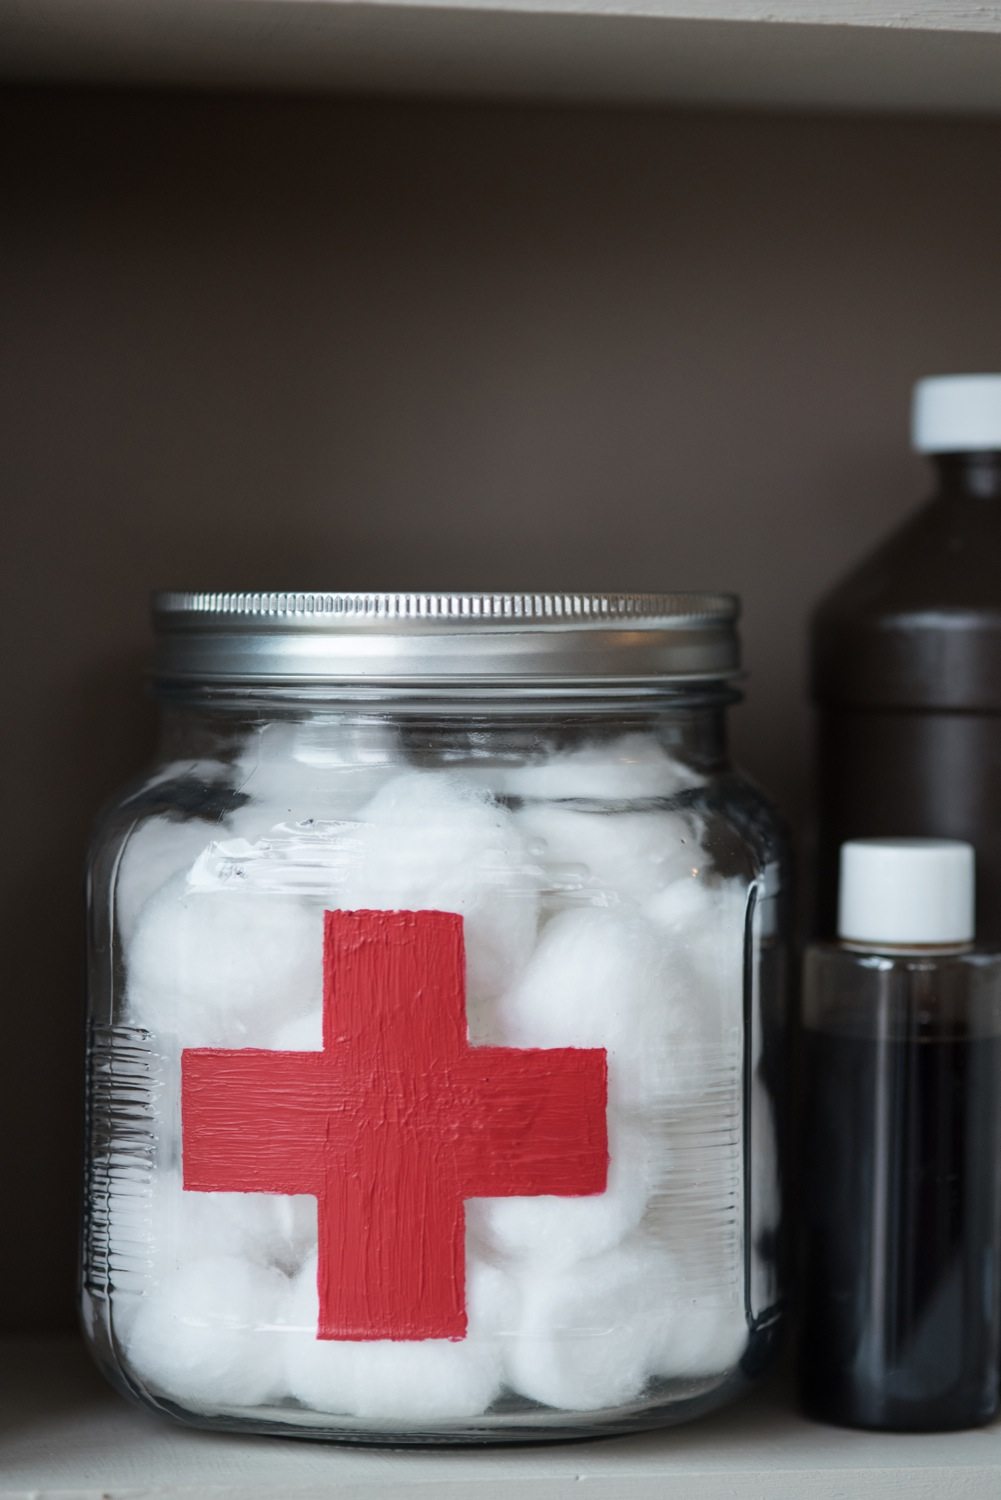
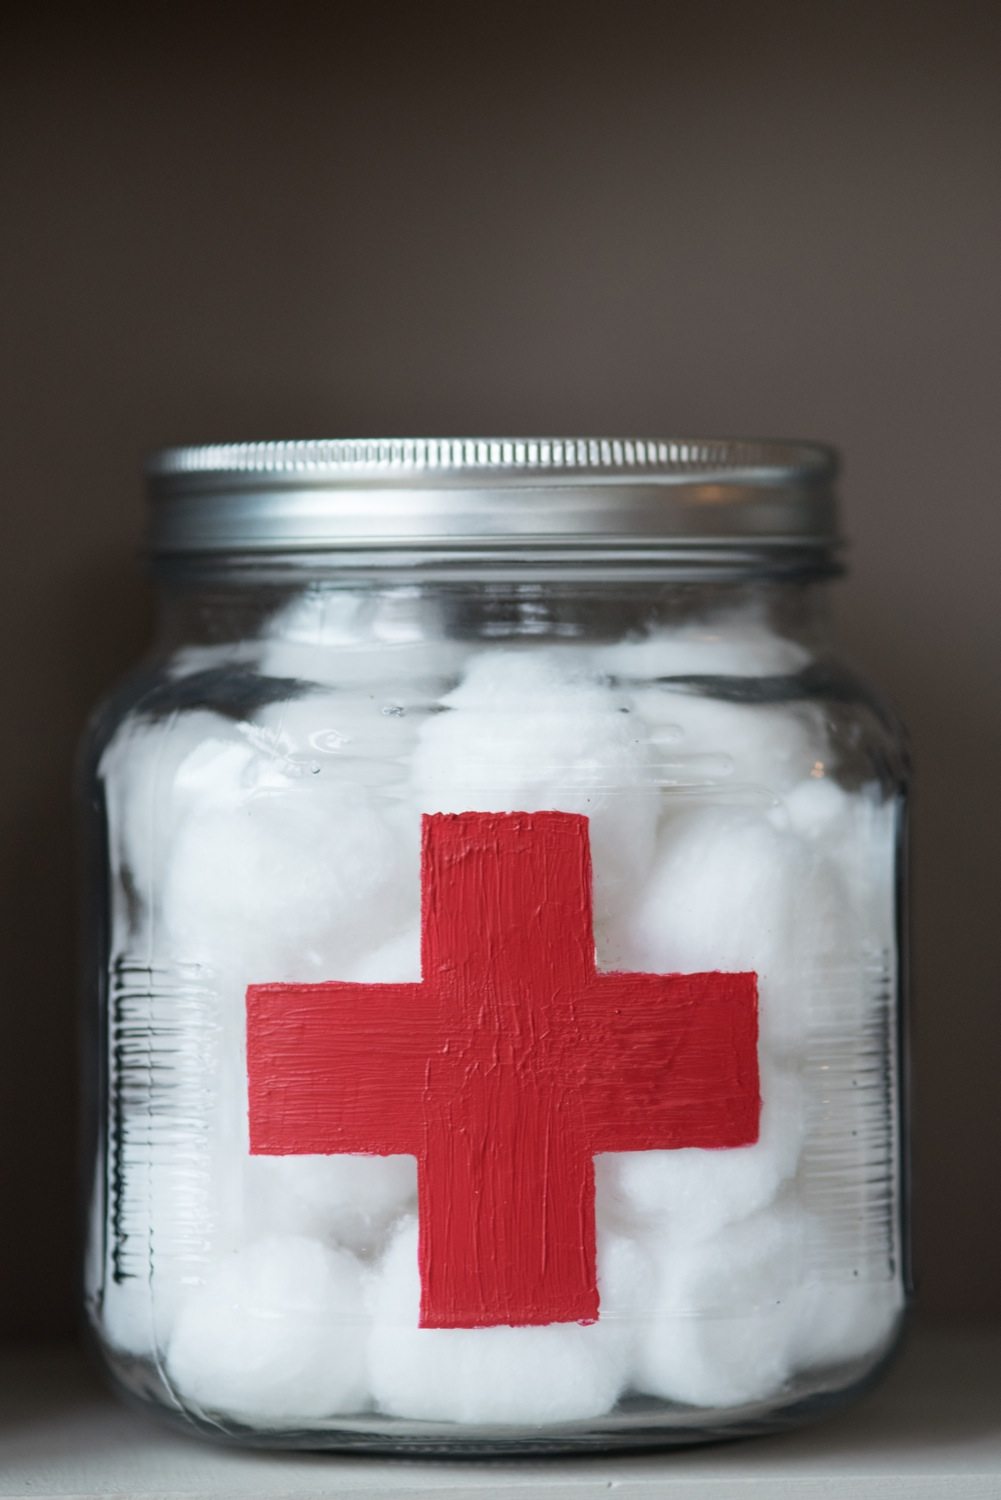

After that, just let your jar dry completely and then put it to work! I love how it looks filled up with cotton balls, but again, you can really do it up however you like. For the record, I’m still loving the first aid kit in a jar idea.
![]()
[Design + styling by Cyd Converse | Photos by Alice G. Patterson for The Sweetest Occasion.]
The fine print: Please link with love! As with all of our posts, DIY projects featured on The Sweetest Occasion may not be copied, distributed or reproduced without express written permission. Love and links are always appreciated! If you’d like to share this post, please link to this post directly for the DIY tutorial and do not include the instructions in your own post. Thanks so much! xoxo


 Back to Top
Your manicure is super cute!
Girl!! These are adorable! and something my DIY skill level could handle :P