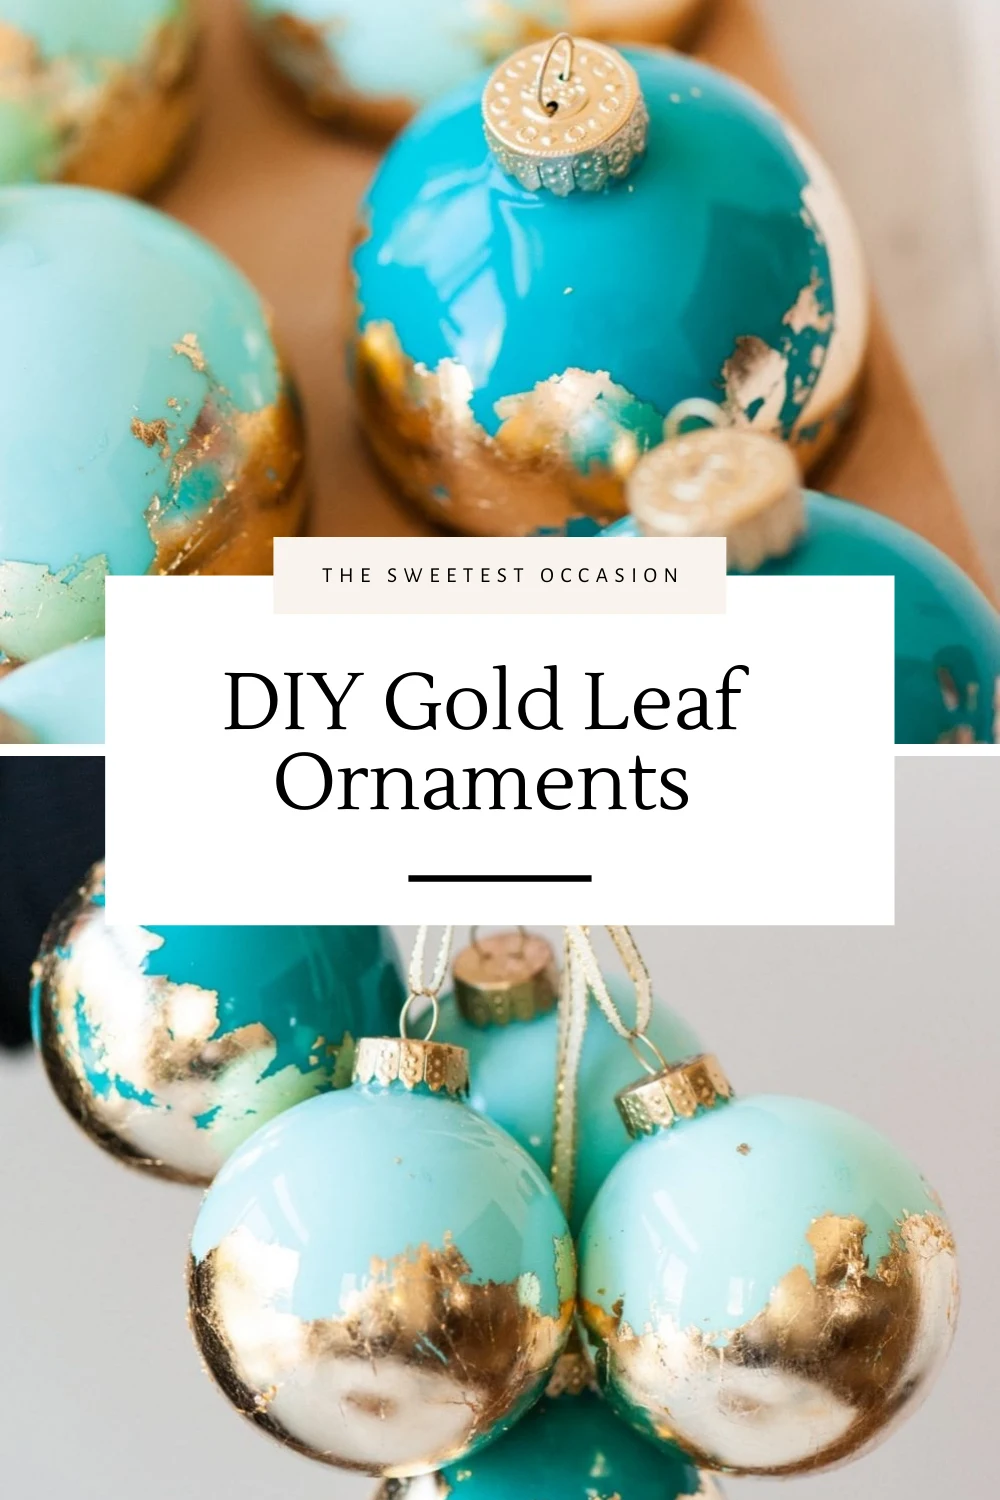
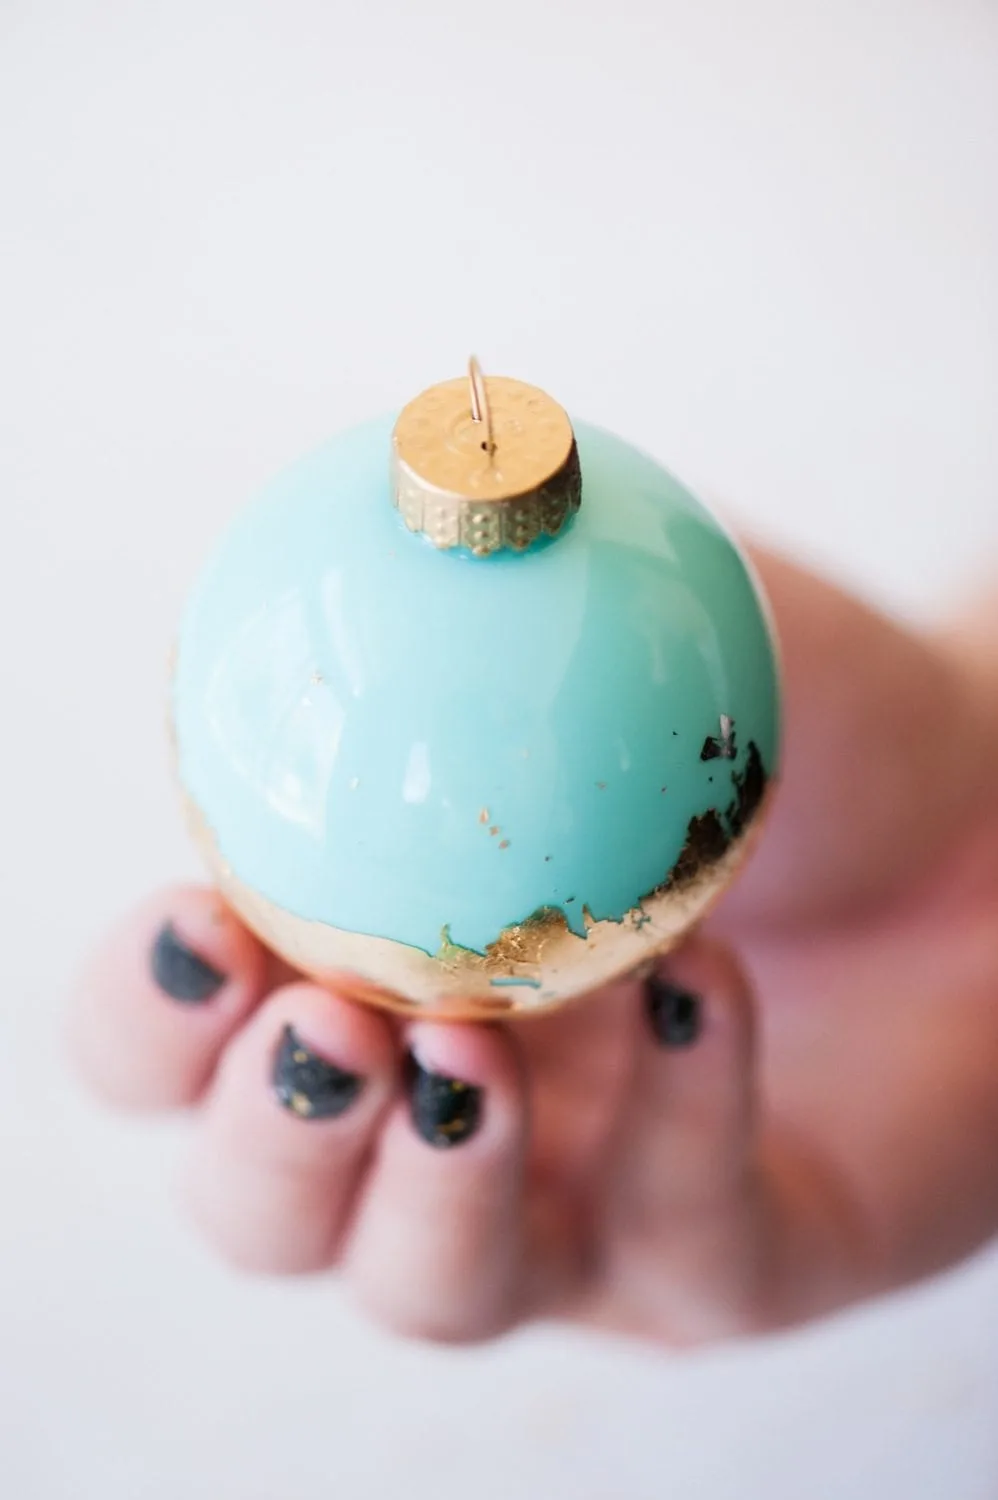
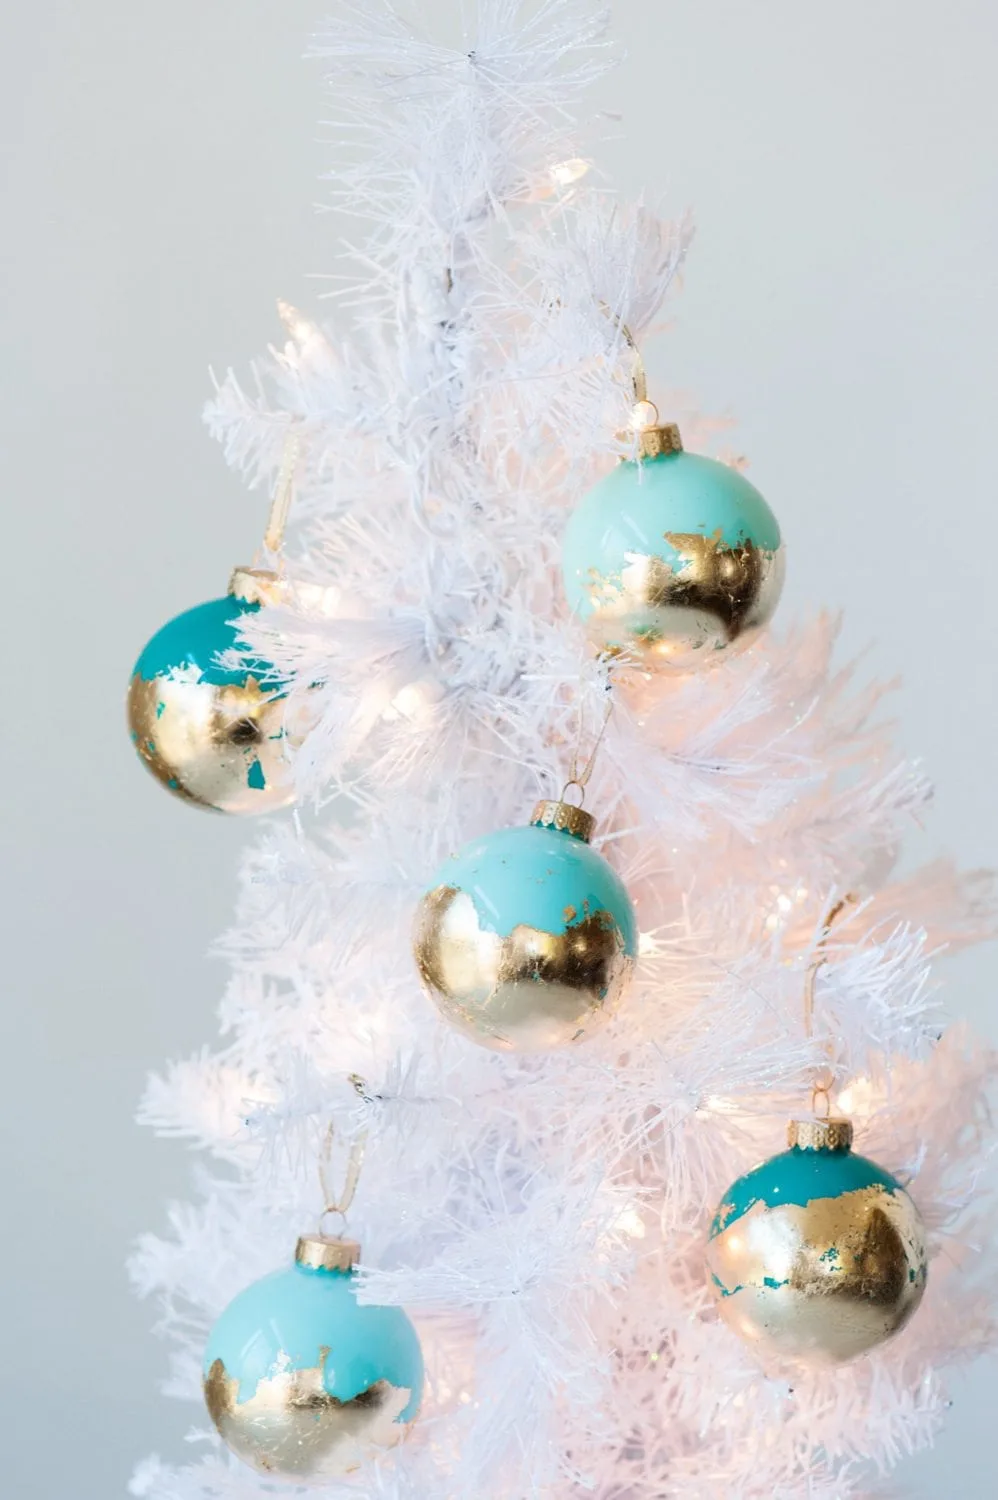
These beautiful DIY painted gold leaf ornaments are one of my most popular posts of all time! These easy DIY ornaments are perfect for tree trimming or gift giving this holiday season. Make them with glass ornaments, paint and gold leaf sheets.
If you were to ask my mother she would tell you that she isn’t the least bit crafty and that she’s not sure where I get it from. That said, I always thought of my mom as crafty.
I remember fondly the times we’d gather around the kitchen table to craft DIY ornaments for the tree each year. Sometimes with clothespins, other times with walnuts still in the shell.
That’s probably why I am so partial to really gorgeous homemade ornaments! And these DIY gold leaf ornaments are so lovely that they totally have my heart.
You know me and my love for all things gold leaf, which is why I wanted to play with it when making these gold leaf ornaments. They are perfect for decking the halls, giving as gifts or exchanging as part of an ornament swap.
They’re made with inexpensive clear glass ornaments and they’re just so darn pretty! I have a full materials list and all the step by step instructions below so you can make one, two or even a few dozen.
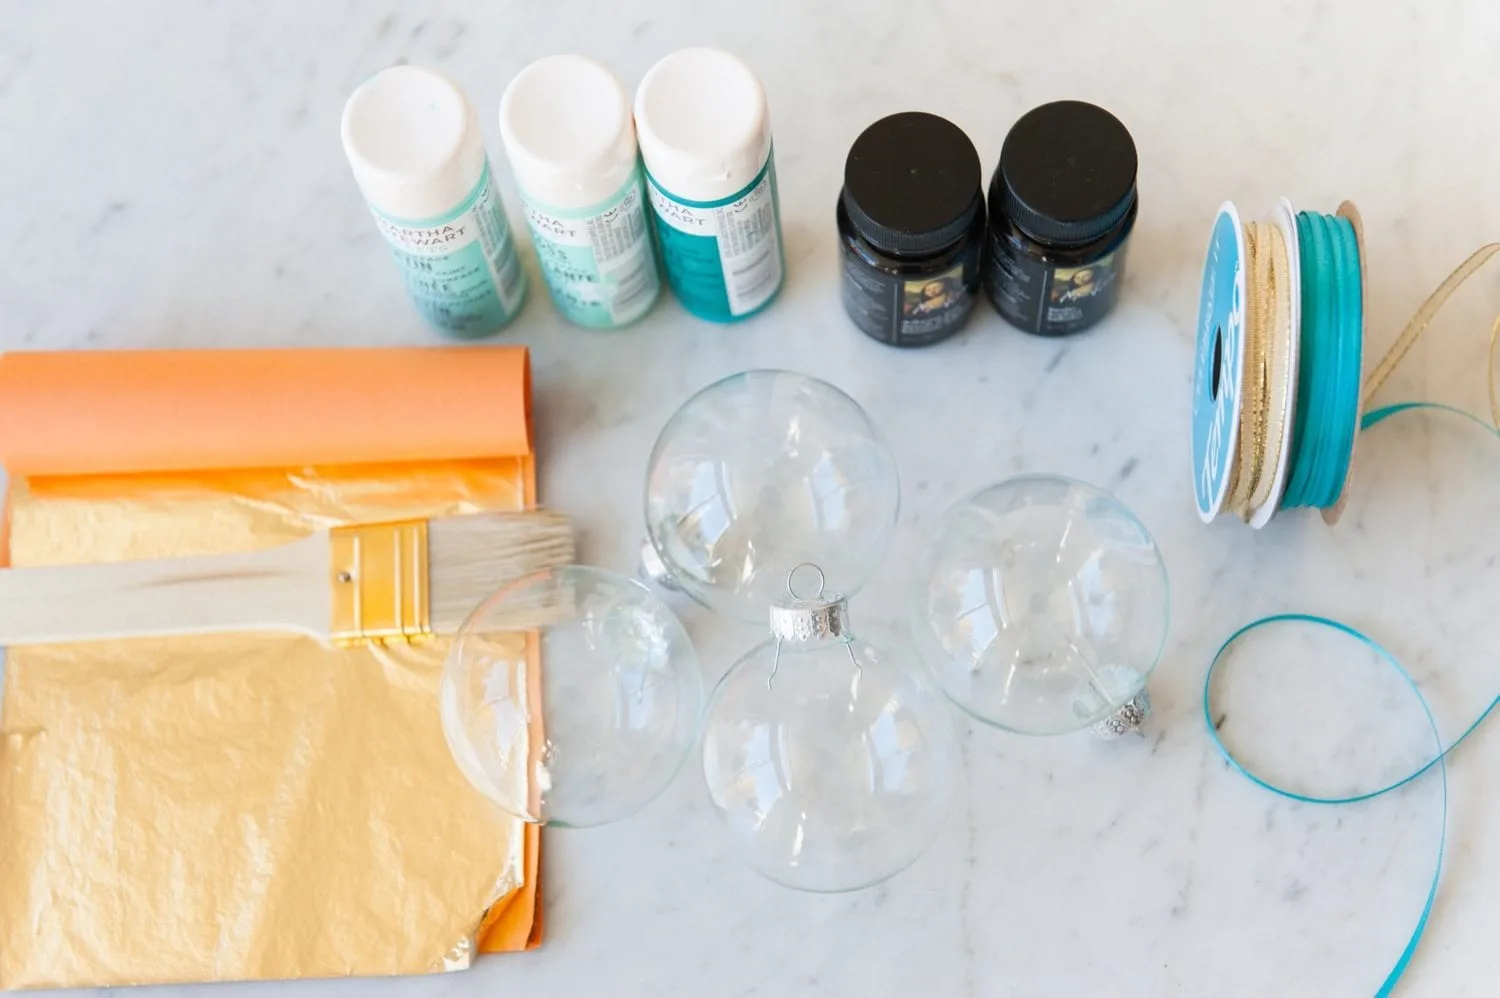
Supplies for Gold Leaf Ornaments
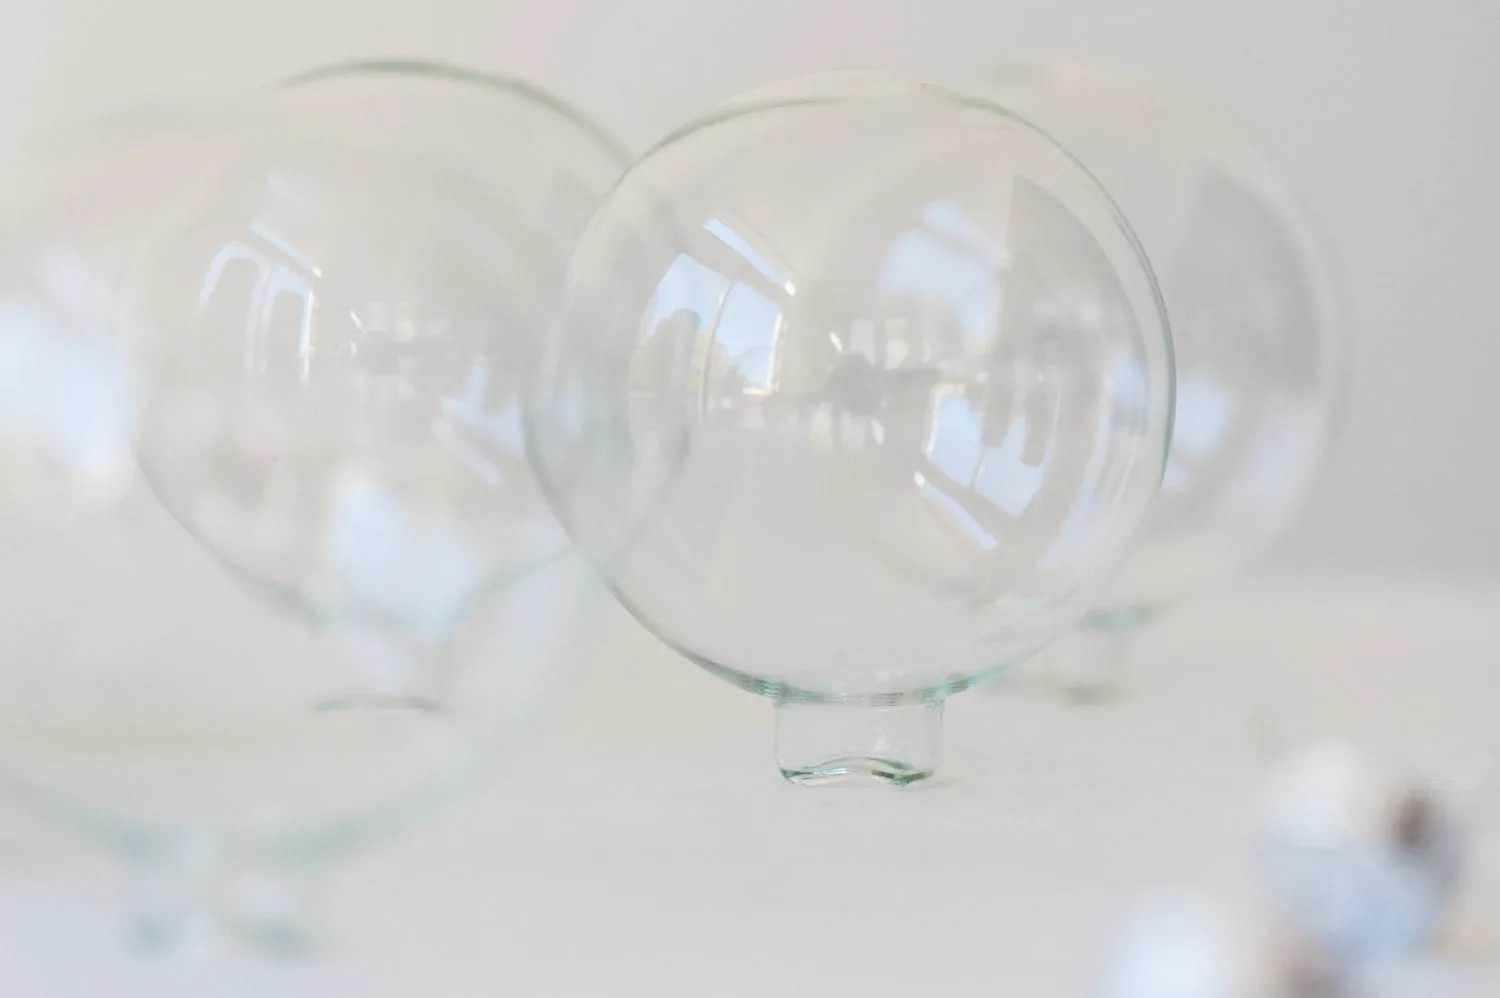
- Clear glass ornaments – You can find packs of inexpensive glass ornaments at any craft store or even Amazon. They also make these clear ornaments in a plastic version, which would likely work for this project although I have never personally tested the gold leaf adhesive with the plastic ornaments.
- Assorted craft paints – Choose a few colors of craft paints in a palette to suit your holiday decor. The basic acrylic craft paints are perfect for this project.
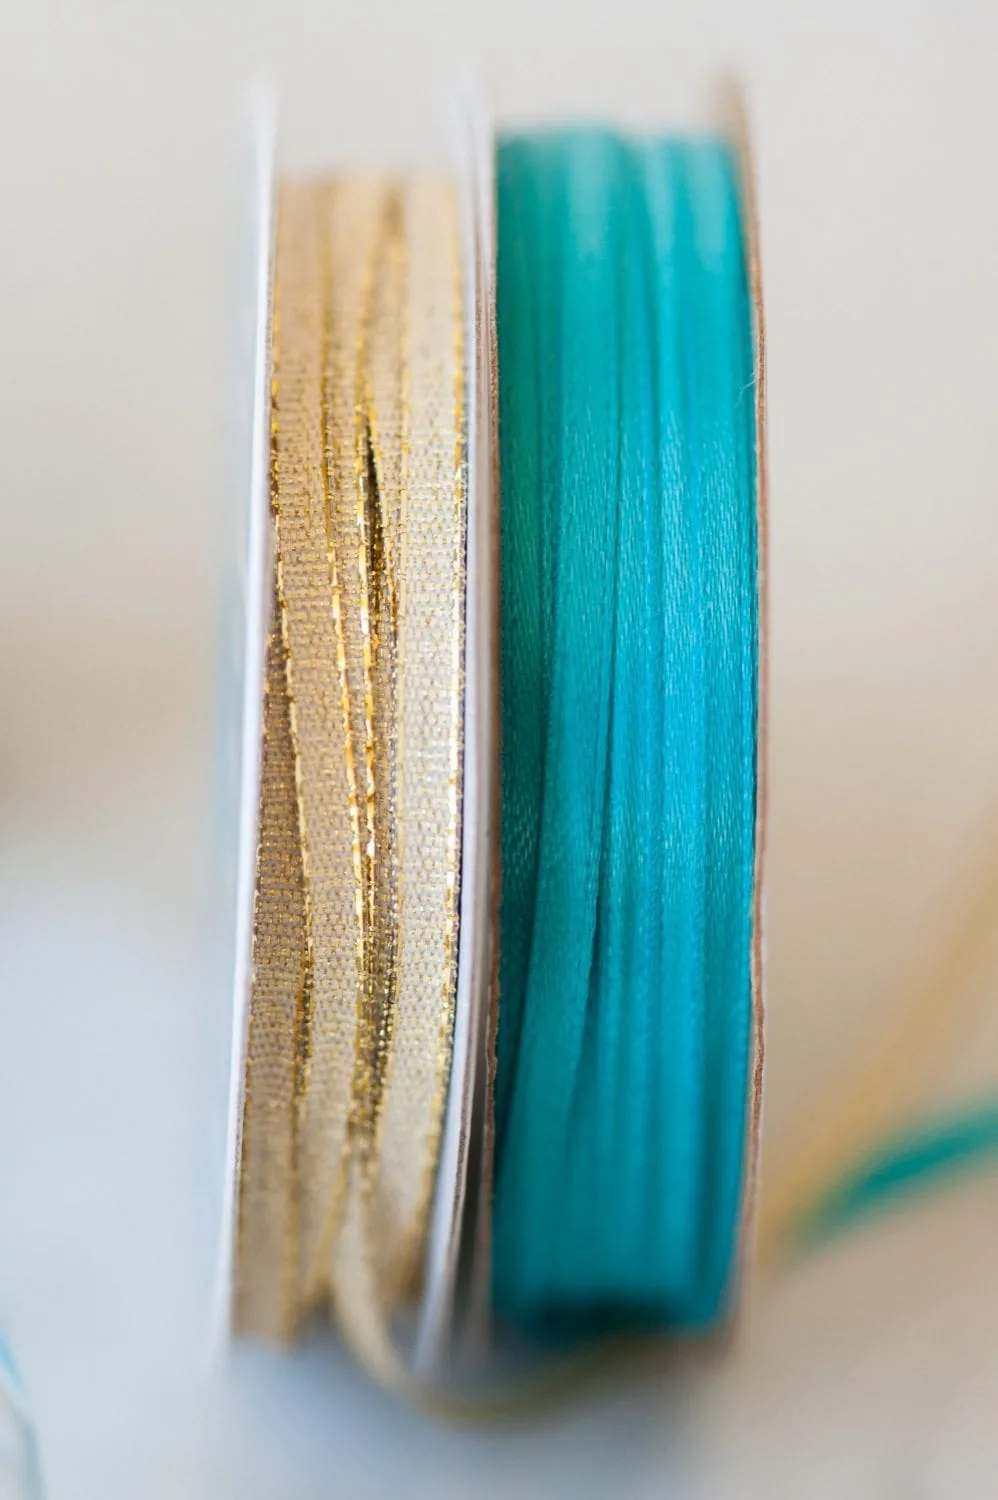
- Thin ribbon – You’ll need thin ribbon, twine or even some kind of chain in order to hang your ornaments. I personally love how the gold edged ribbon I used looks with the gold leaf.
- Spray paint – This is optional, but I painted the tops of my ornaments with metallic gold spray paint so they looked prettier with the gold leaf so you may want to do the same or similar.
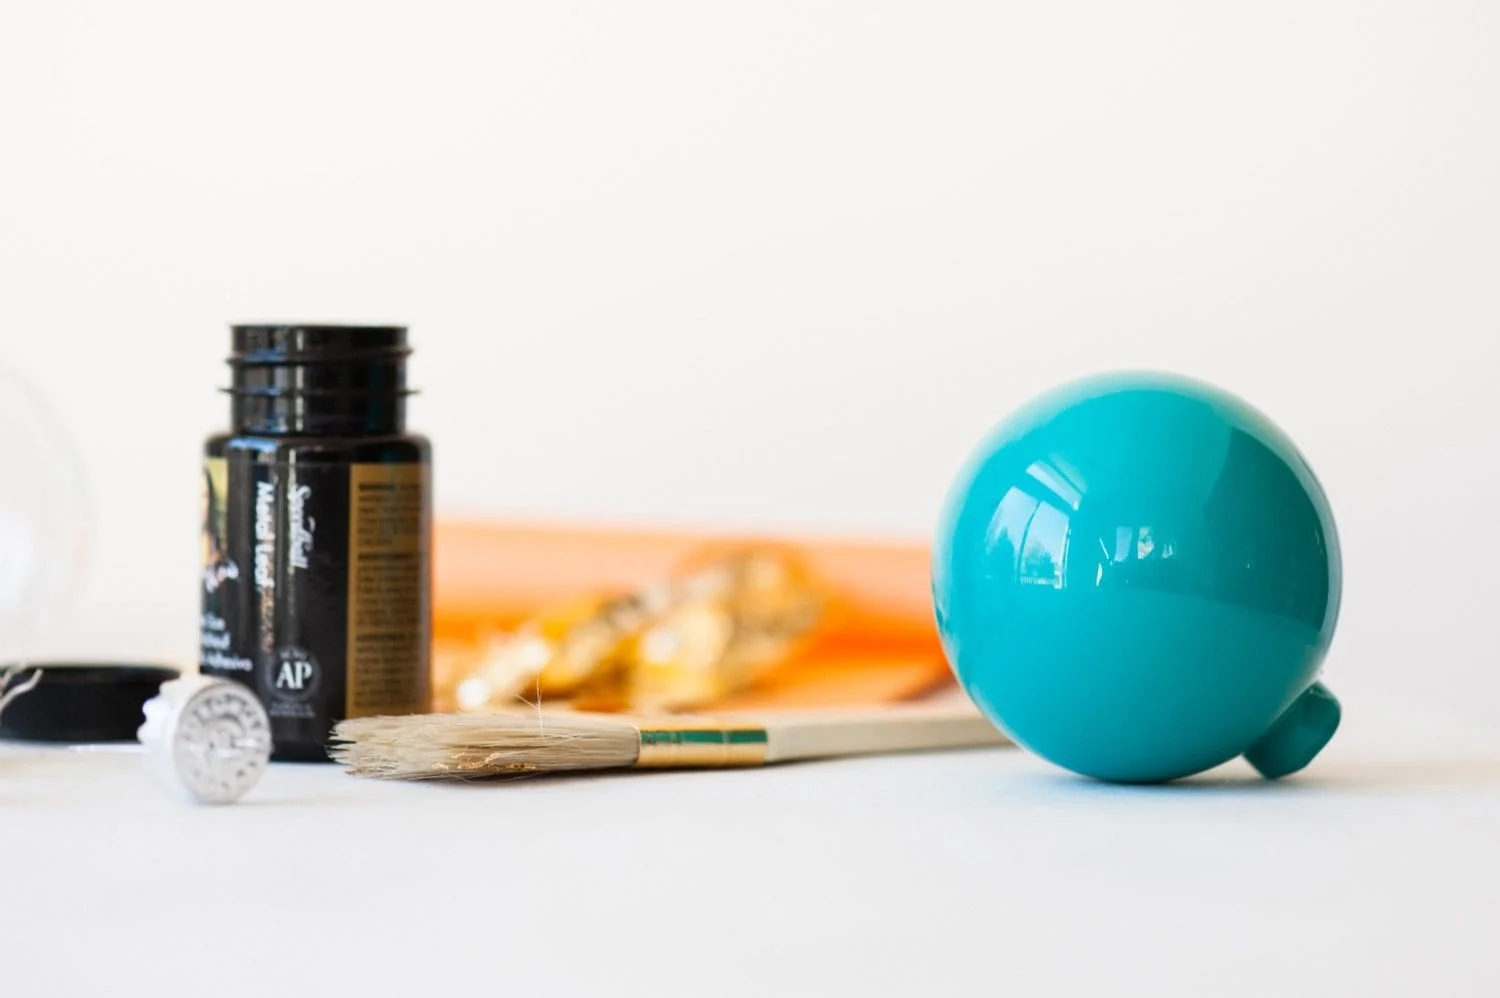
- Paint brushes – Inexpensive craft paint brushes are needed to brush on the gold leaf adhesive. You may prefer the kind with bristles or foam brushes. Either get the job done, but remember you’ll likely want to toss them out afterward so don’t spend too much money.
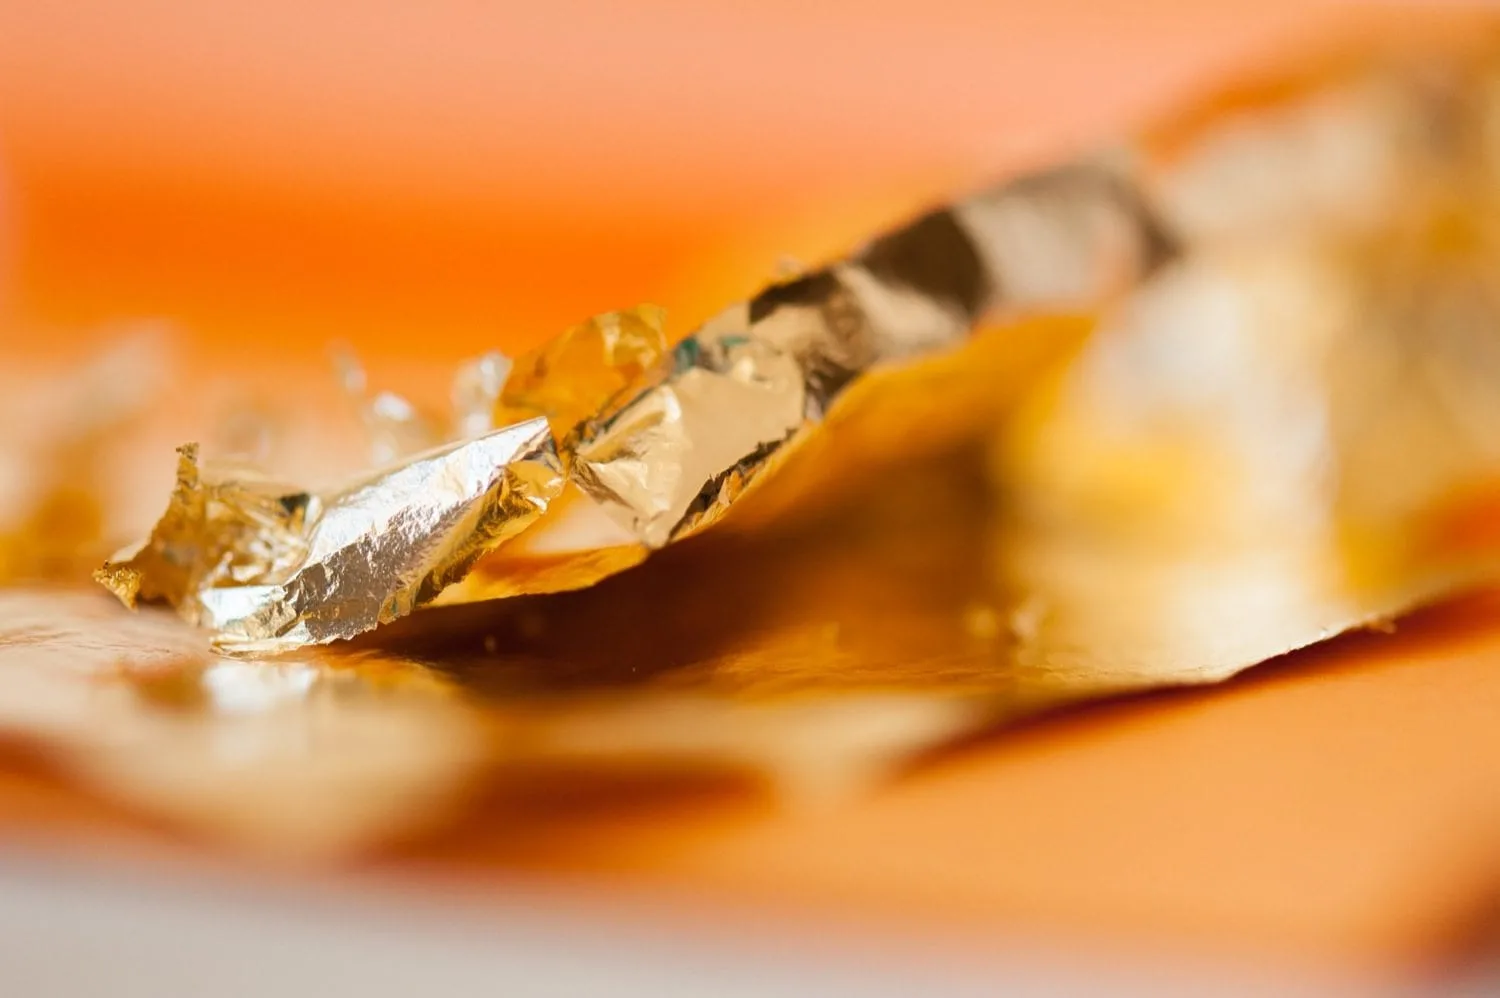
- Gold leaf + adhesive – Finally you’ll need gold leaf, which generally comes in super thin sheets, and adhesive. I recommend using whatever adhesive is suggested by the manufacturer of the gold leaf you purchase.
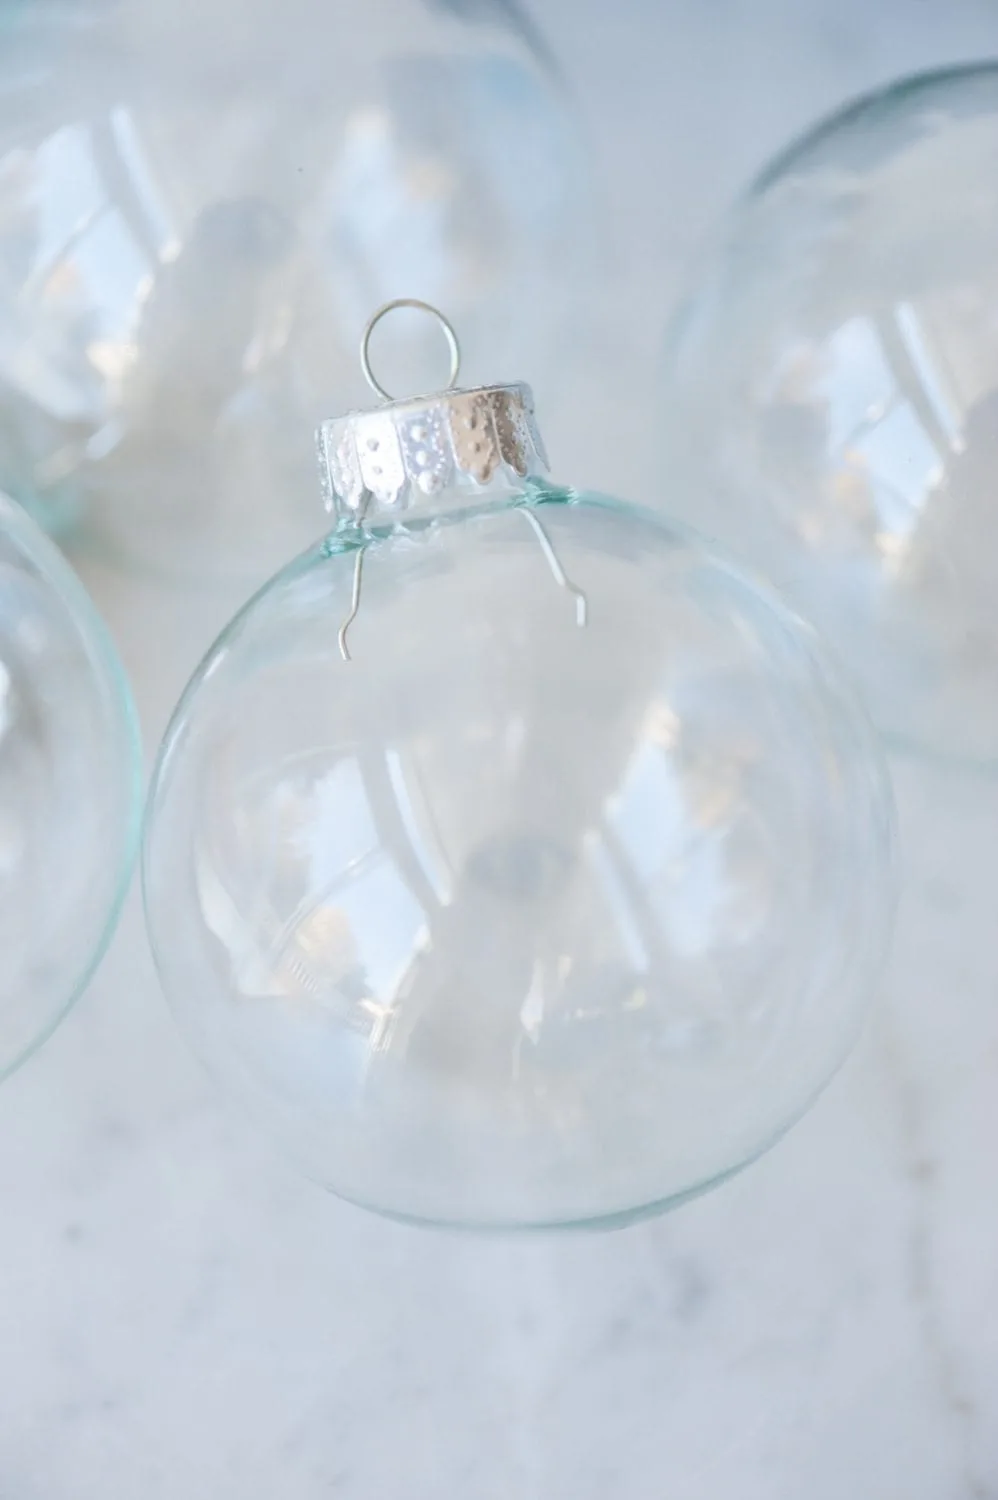
How to Make Gold Leaf Ornaments
You can find printable instructions for this project by scrolling to the bottom of this post. I’ve included lots of step by step photos and details to help make this project as simple as possible for you.
Step 1. Rinse your glass ornaments to remove any dust, then clean them quickly with glass cleaner to remove any grease. You can set them upside down in the packaging to dry out completely.
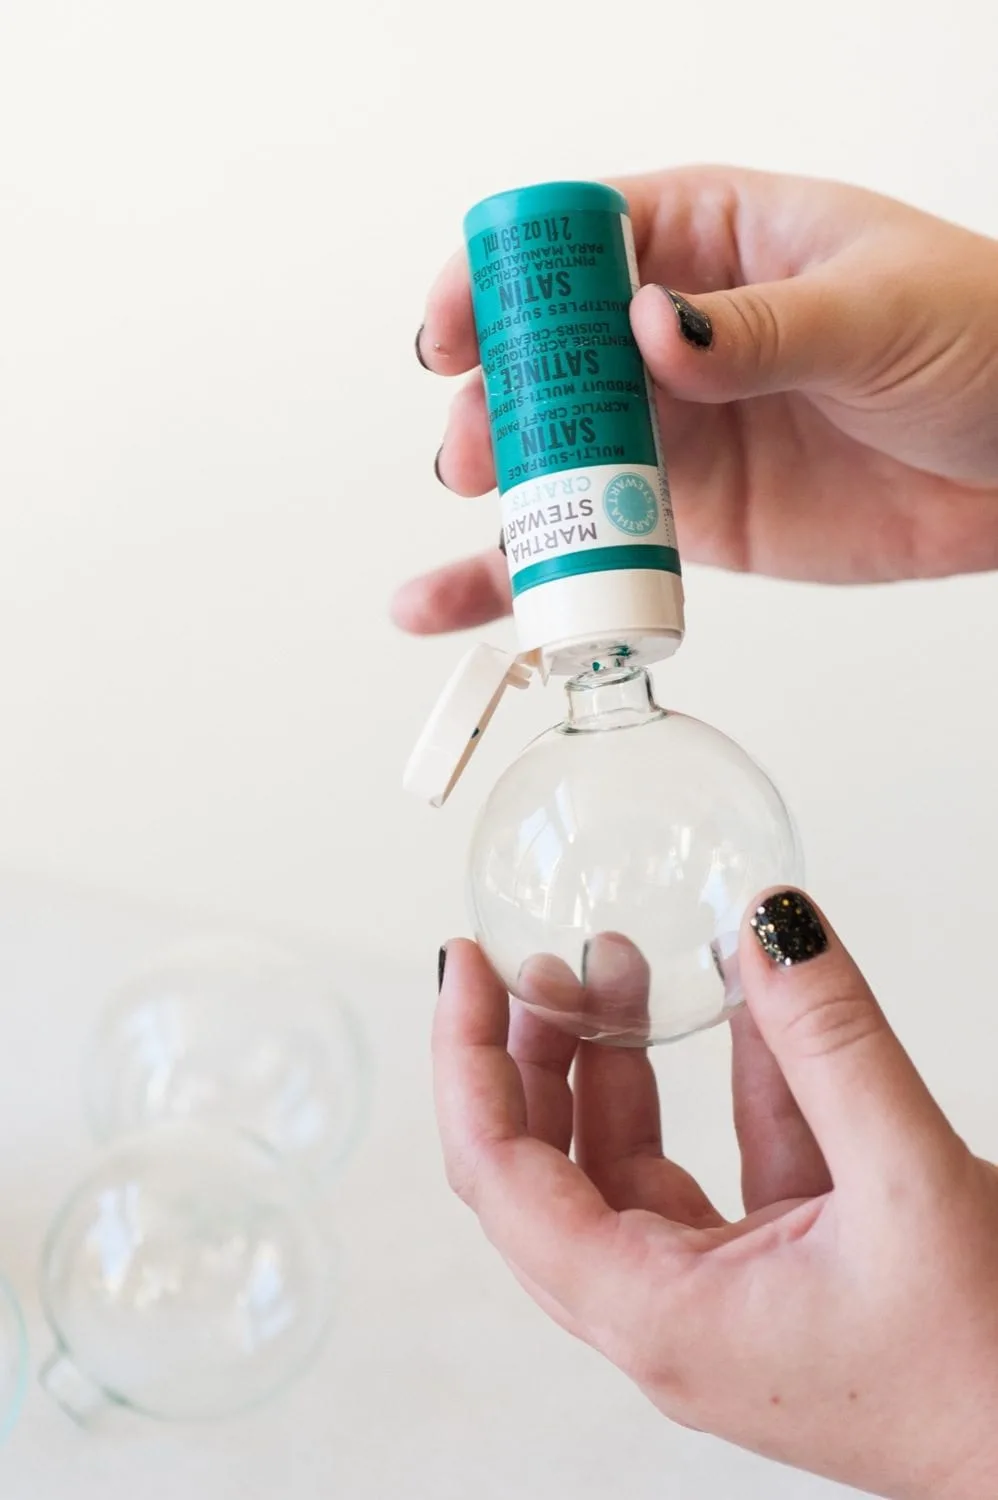
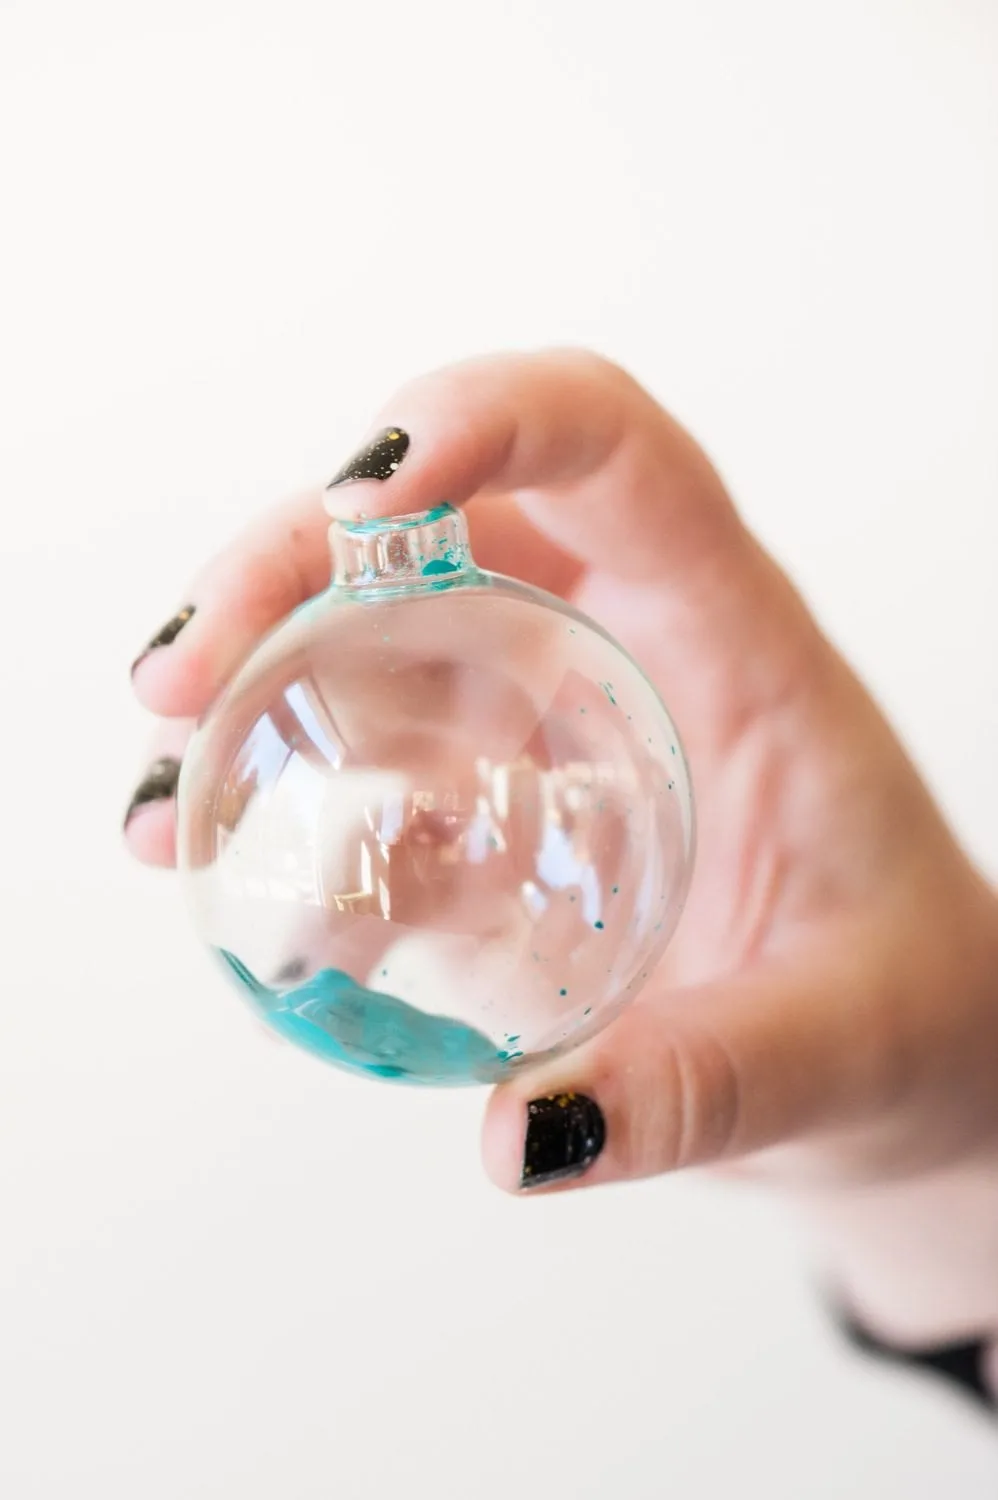
Step 2. Squirt a small amount of paint into each ornament. Keep in mind that too much paint will make it difficult for them to dry – I’d estimate you’ll want roughly a teaspoon of paint per ornament although there’s no need to measure.
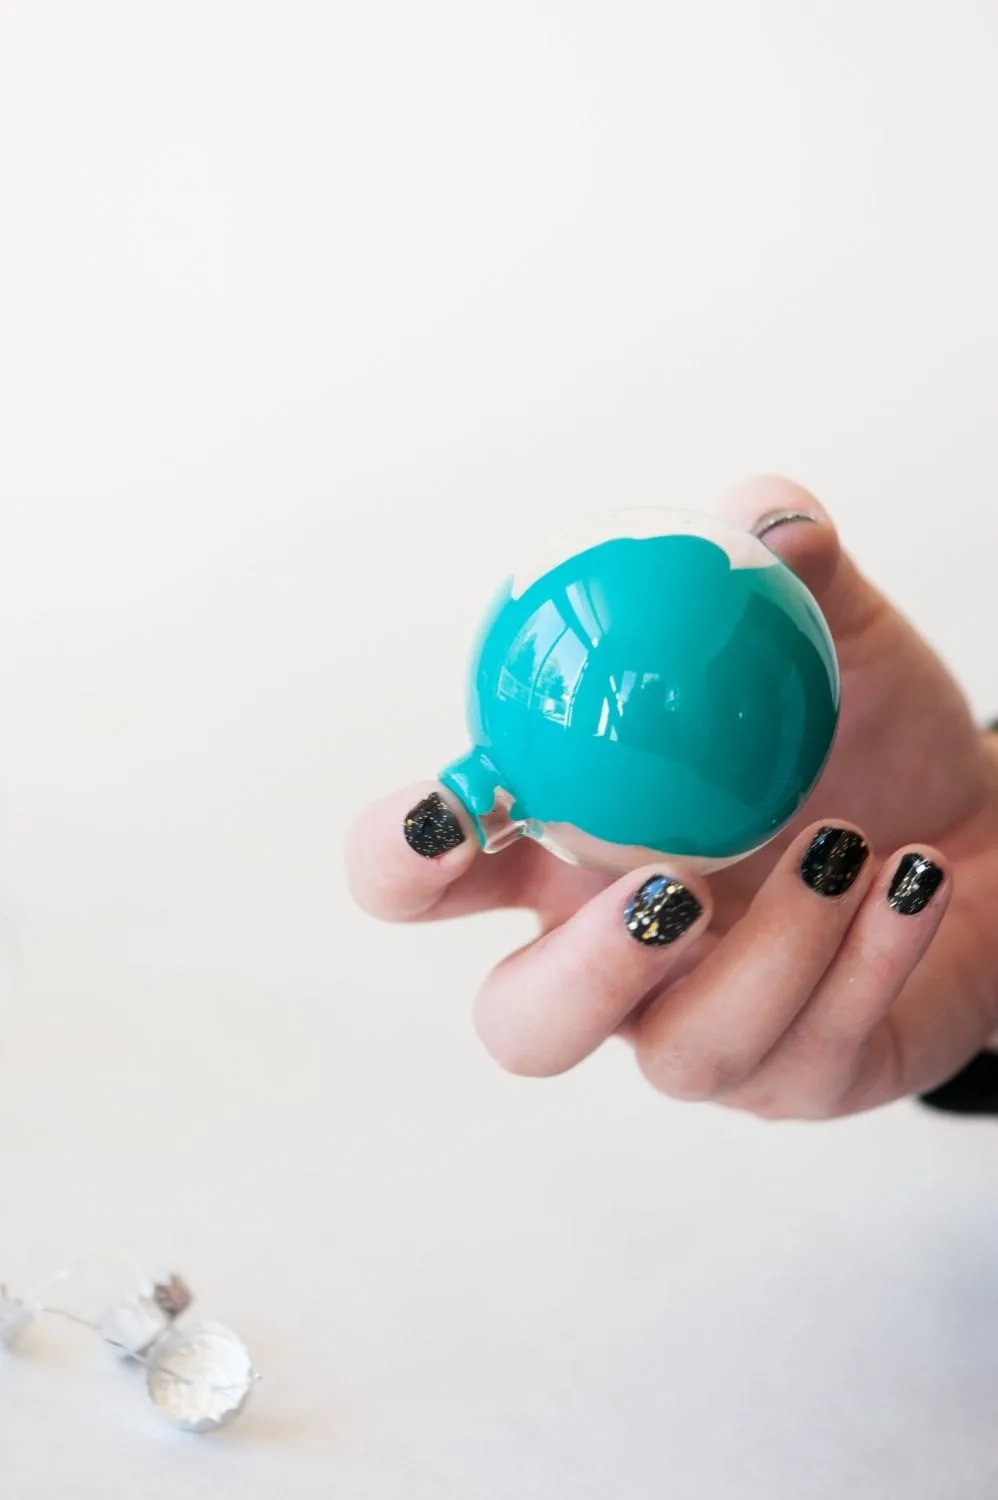
Step 3. Coat the inside of the ornament with the paint by swirling the ornament around to spread out the paint. You may find it works best to close your finger over the open end and shake and swirl vigorously to coat the inside.
Add additional paint as necessary to get a nice even coat covering all the glass. Set the ornament back in the packaging upside down to allow any extra paint to run out before moving on to the next step.
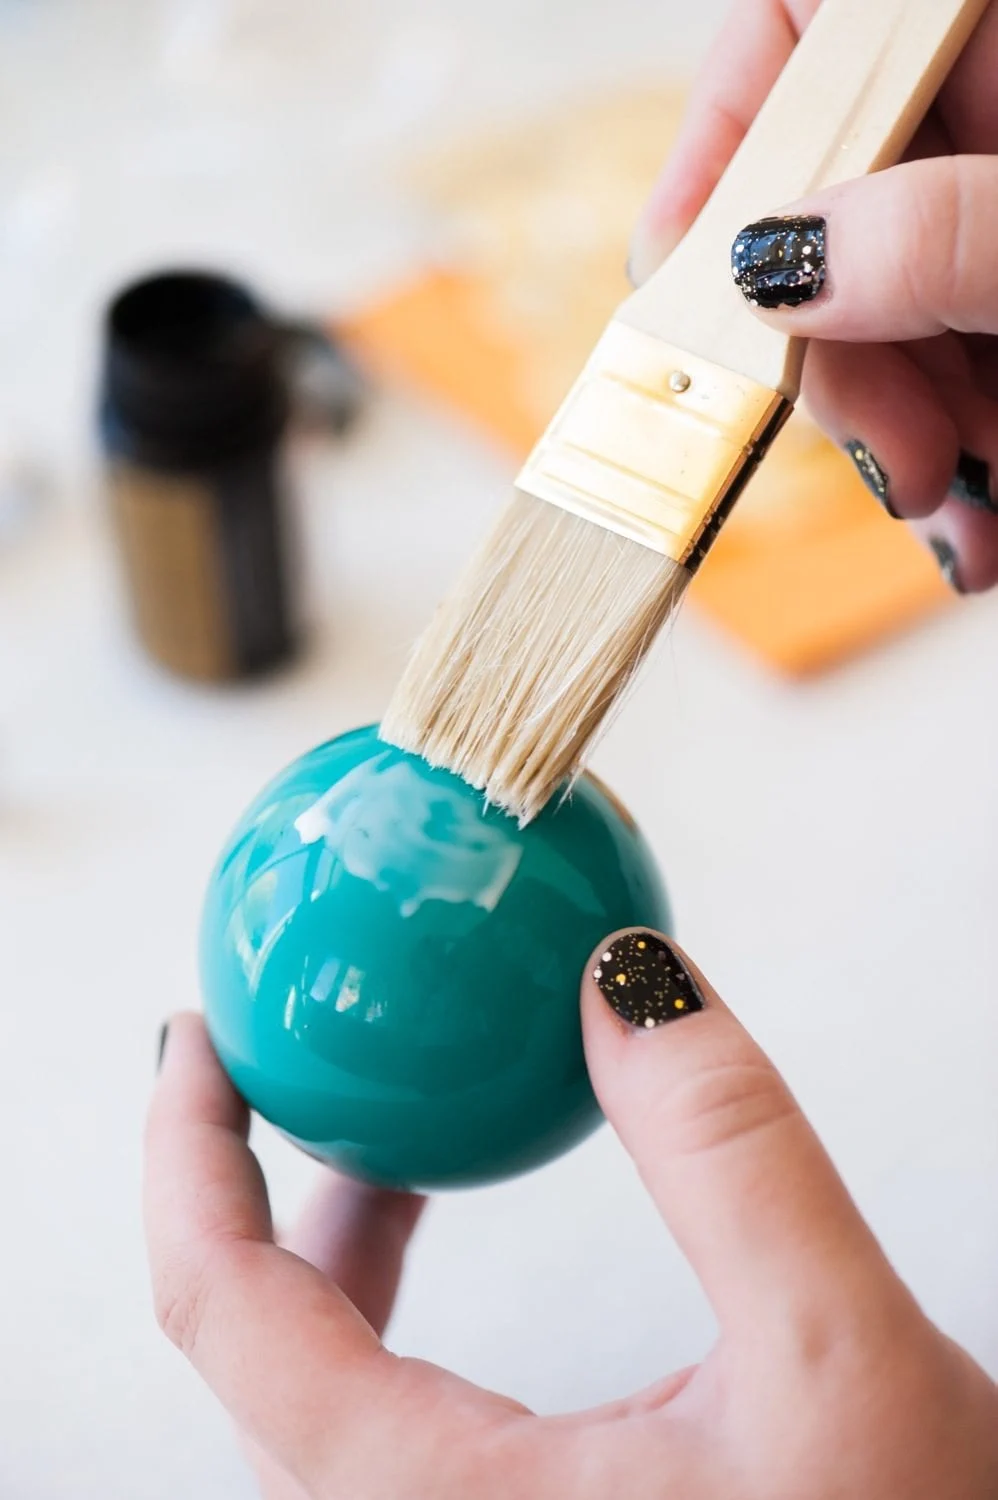
Step 4. Next up, it’s time for the gold leaf! Check the instructions on your gold leaf, then use a clean paint brush to apply a thin coat of sizing to the exterior of your ornament. I chose to concentrate the gold leaf on the bottom half of the ornament, but you could easily gold leaf the entire thing.
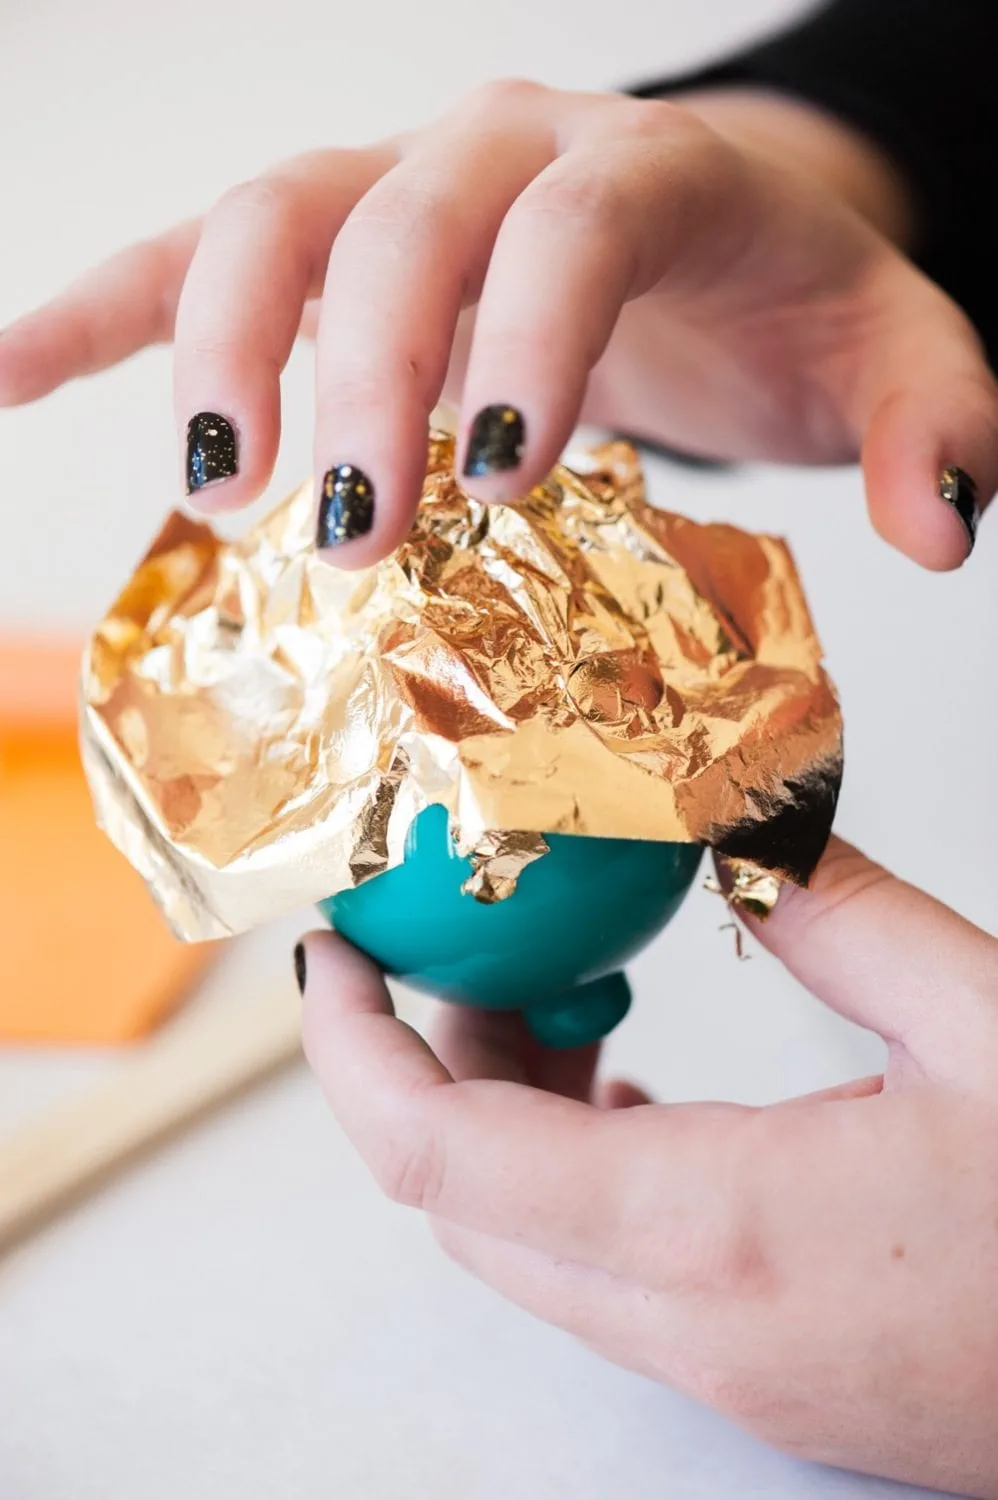
Step 5. Once the sizing is apply, allow it to dry until tacky, usually about 20 minutes. Then carefully place a sheet of gold leaf on the ornament, wrapping it around the ball and pressing it into the adhesive.
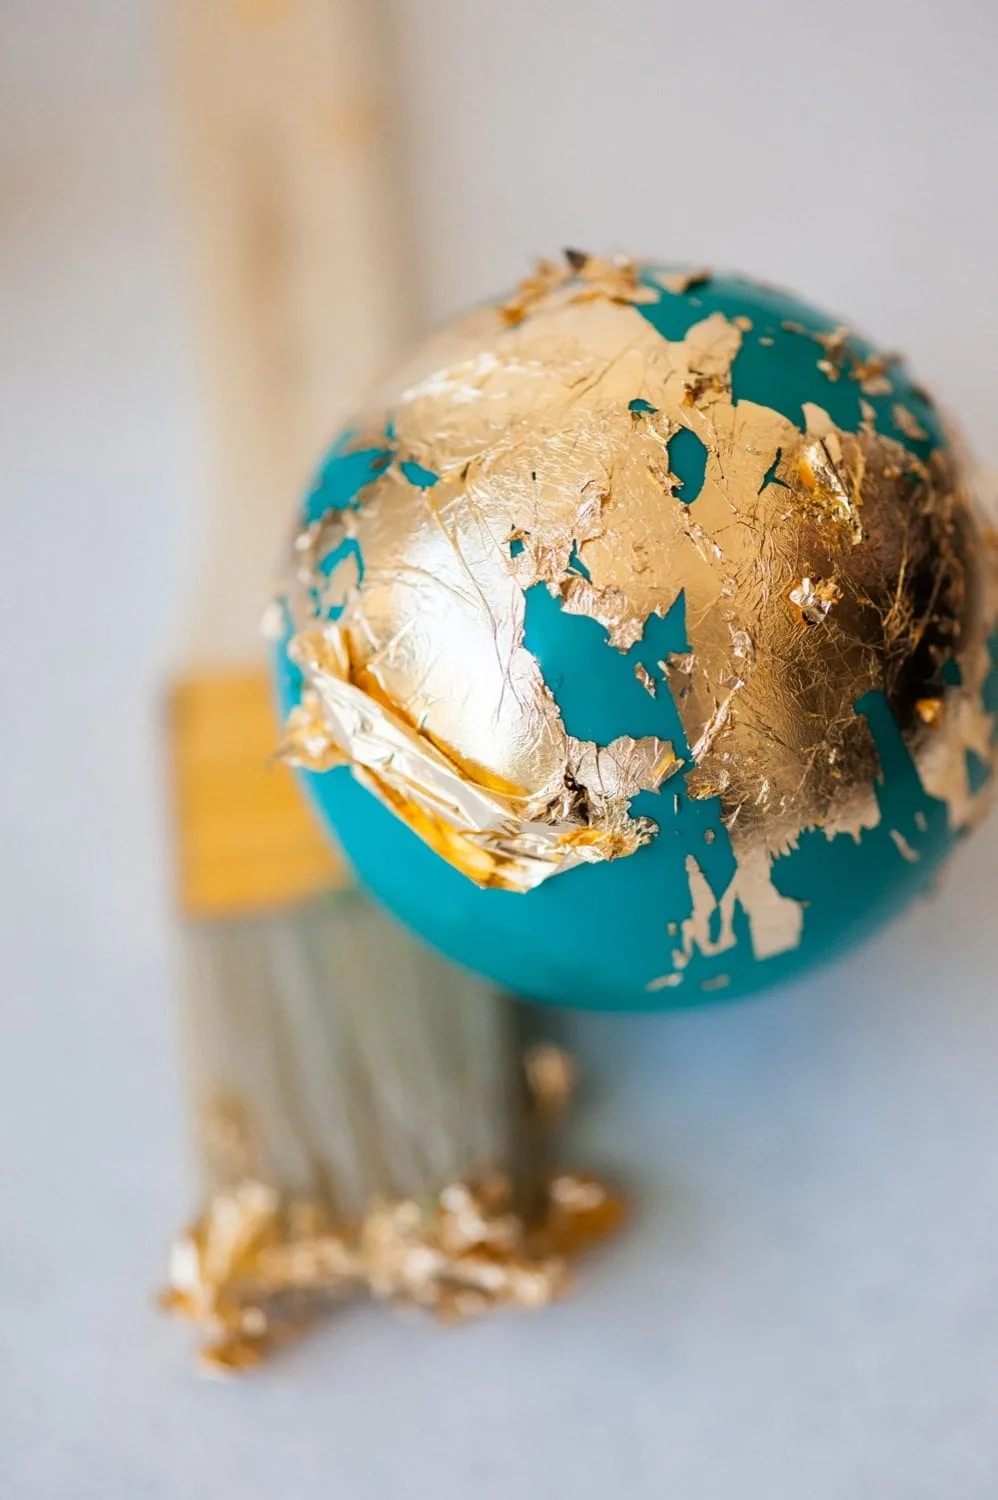
Gold leaf comes in super thin sheets so it will be a bit flakey and may even break apart, but that’s totally fine. You can press the flakes of gold leaf into the sizing and it actually lends to the look and texture of the gold leaf.
Step 6. Grab a second dry, clean paint brush to burnish the gold leaf into the adhesive, then brush to remove the excess. Apply a light coat of sealer over top of the gold leaf per the manufacturer’s instructions, then allow your entire ornament to dry overnight, minus the top of the ornament, to allow both the adhesive and the paint to dry.
Step 7. My ornaments had silver tops so before replacing them, I gave them a quick coat of metallic gold spray paint. Obviously you can’t skip this step if your ornaments come with gold tops or if you don’t mind the silver.
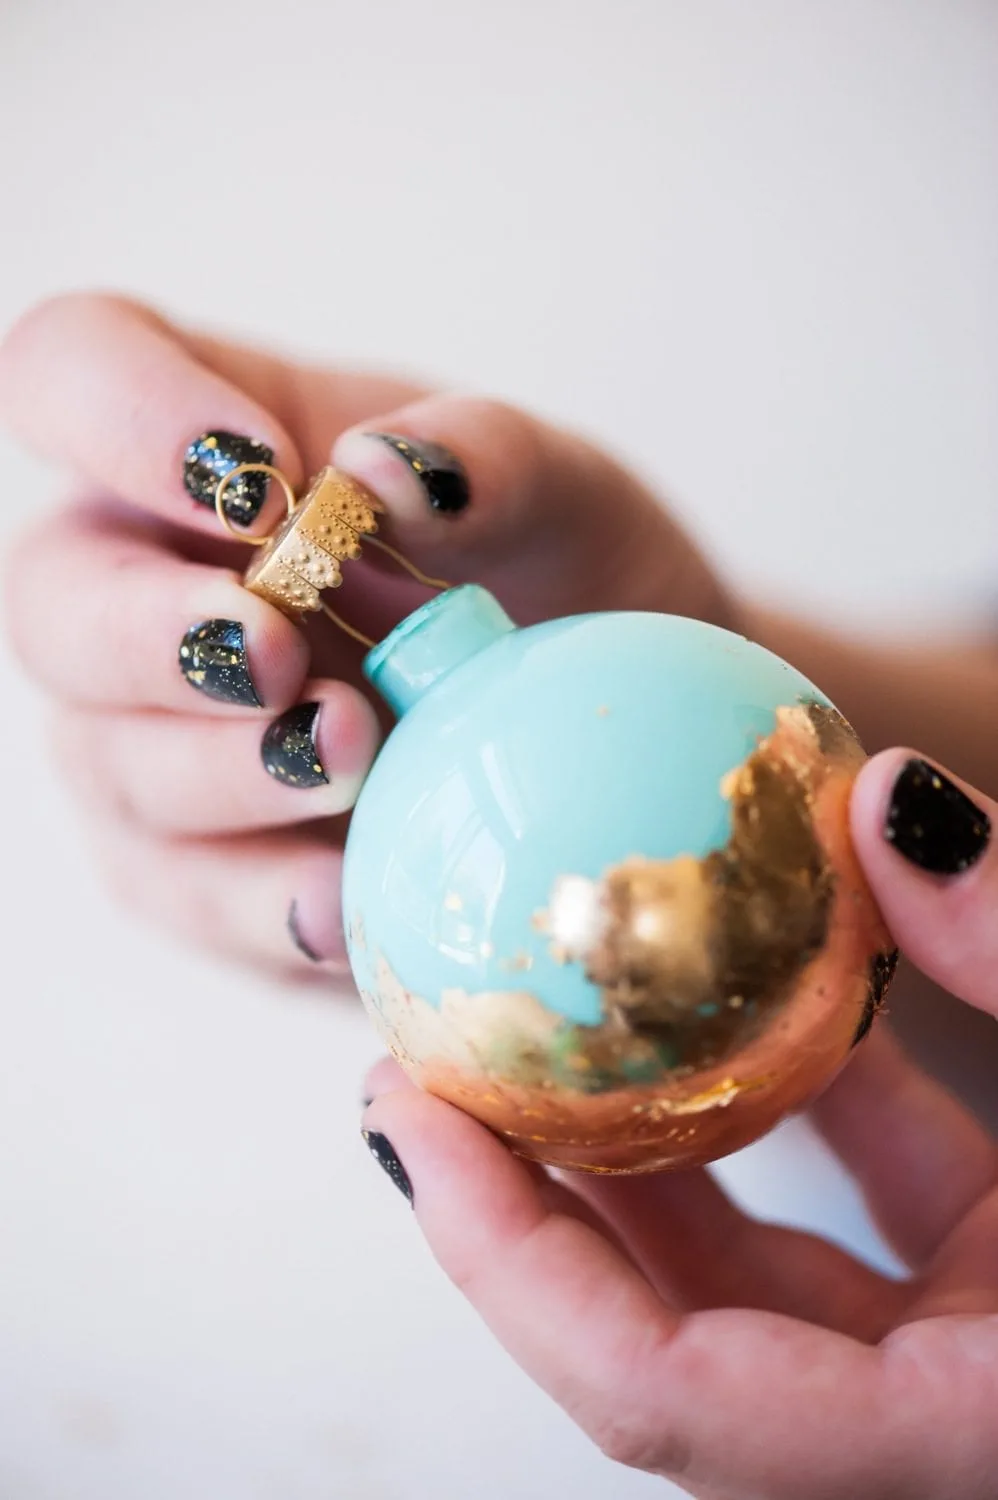
Step 8. Once your ornaments are fully dry, carefully replace the tops onto each ornament. See how pretty the gold tops look with the gold leaf? I love the look!
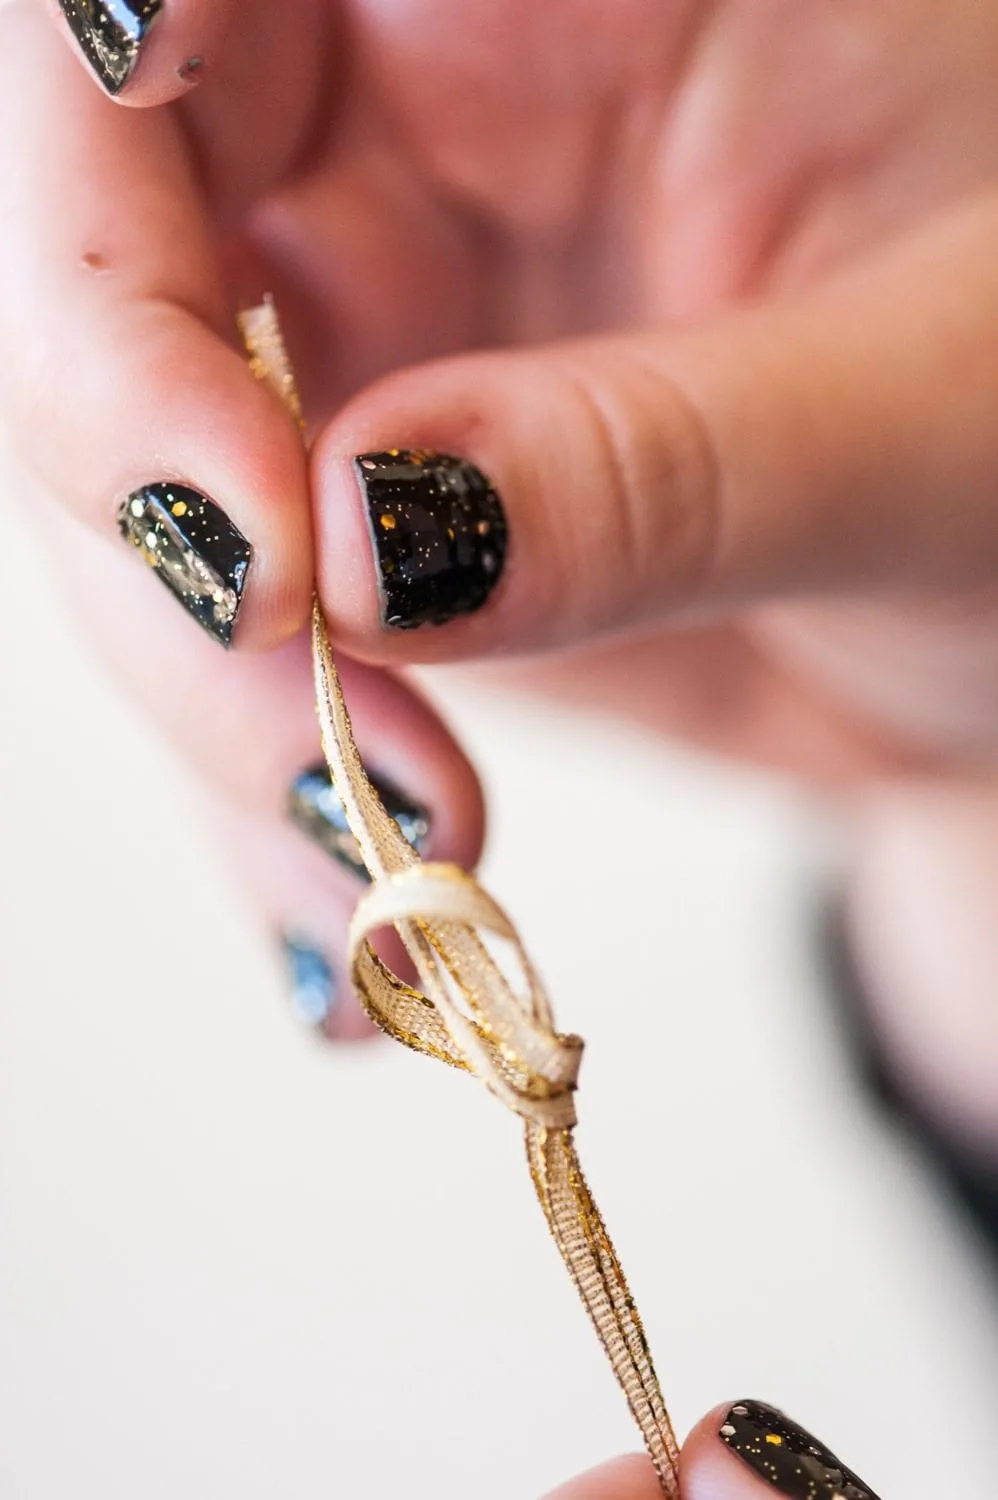
Step 9. The final step is to cut a length of thin ribbon and string it through the ornament to create a hook for hanging. Of course, you could use ornament hooks instead of adding the ribbon, it’s entirely up to whichever you prefer.
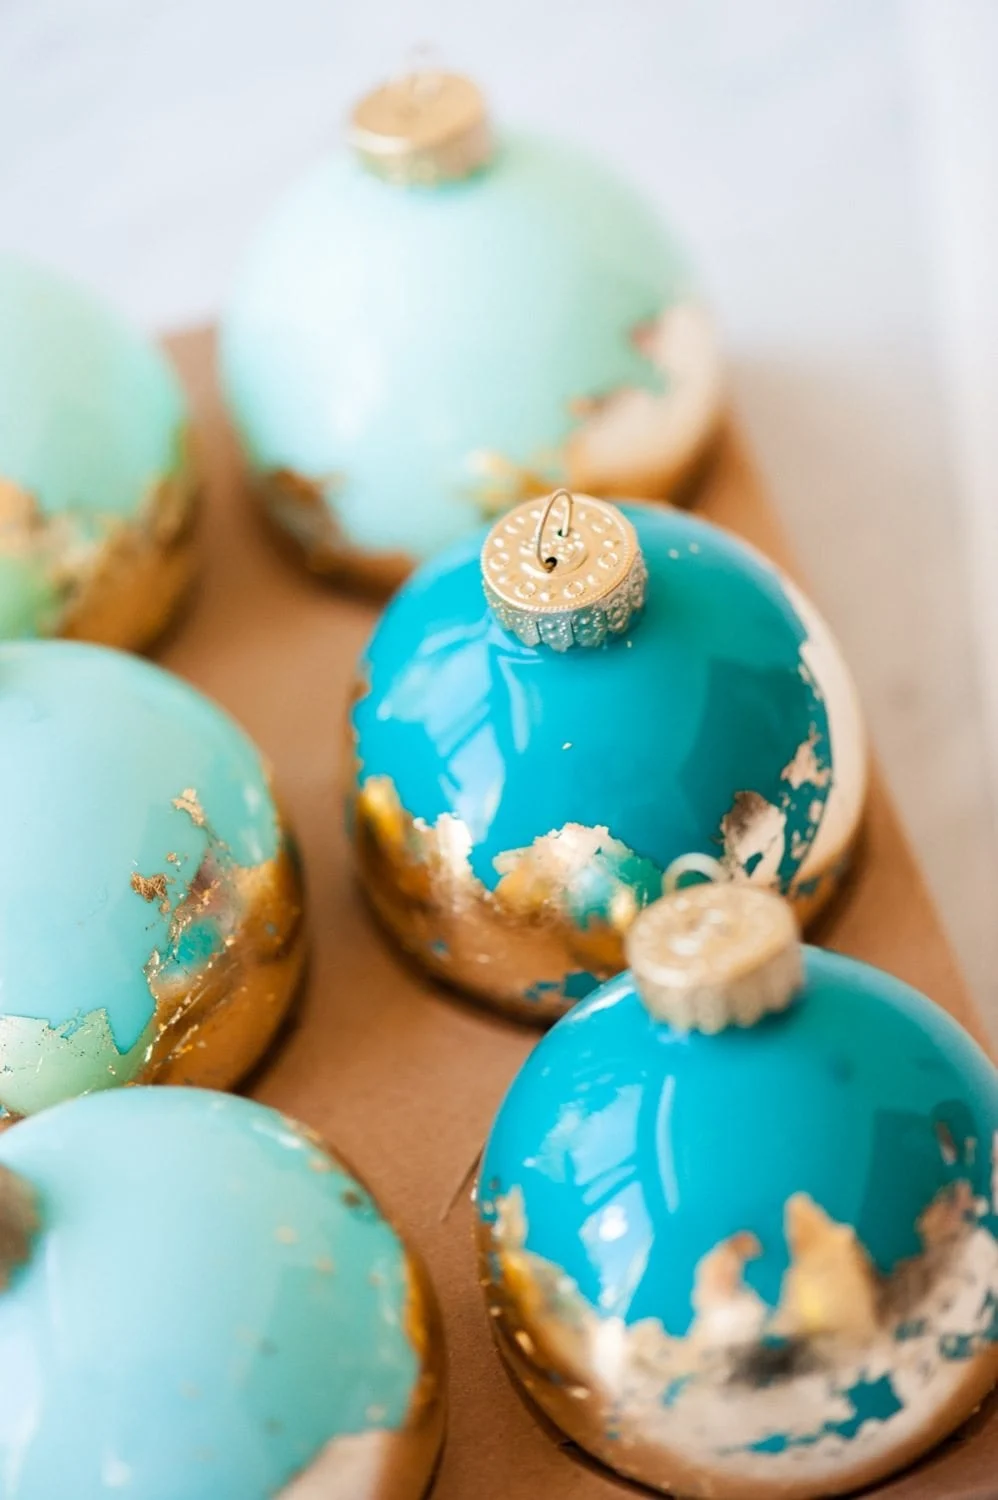
Then just hang them on the tree or tuck them in a cute little box on a bed of tissue paper and they’re ready for gifting or swapping! Aren’t they so lovely?
I just love how these gold leaf ornaments turned out. I realized afterward that the combination of the gold leaf and the green colors I chose makes them resemble little globes, which wasn’t my intention, but I’m not complaining.
Also, you know the drill by now. If you make these or any of my other Christmas DIY ideas, share with me on Instagram using the hashtag #thesweetestholidays! I want to see your craftiness in action.
[Photos by Alice G. Patterson for The Sweetest Occasion.]
The fine print: Please link with love! DIY projects may not be copied, distributed or reproduced without express written permission. If you’d like to share 1 to 2 images from this post, please link to this post directly for the DIY tutorial and do not include the instructions in your own post.
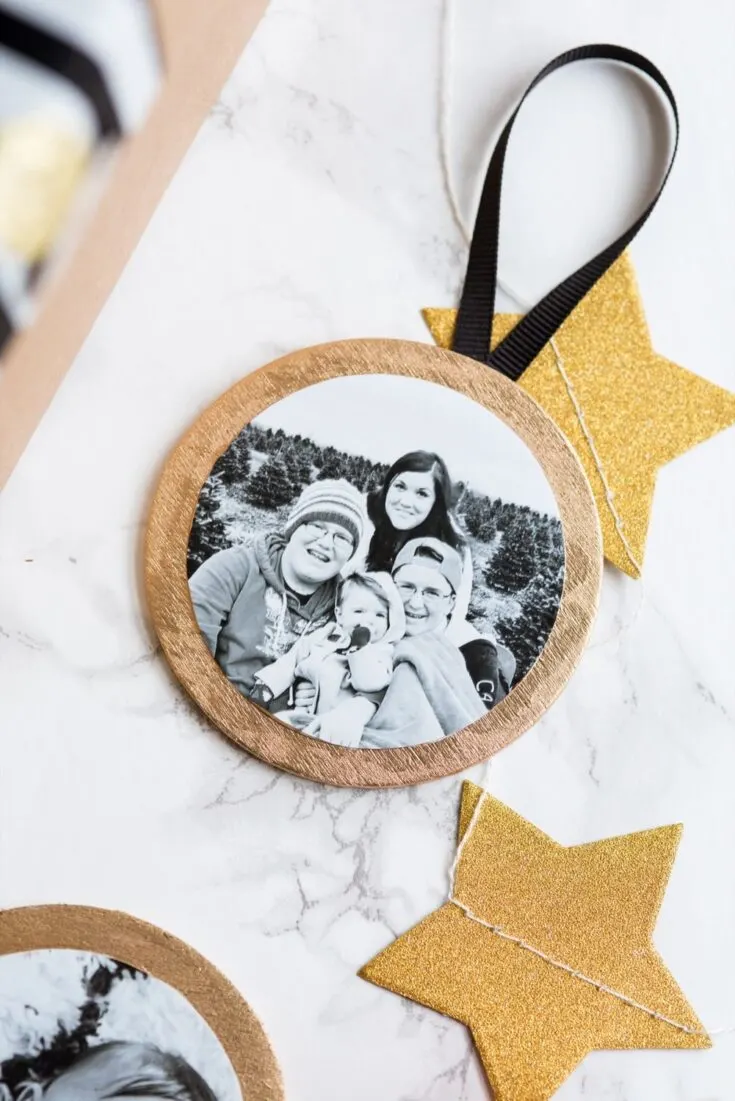
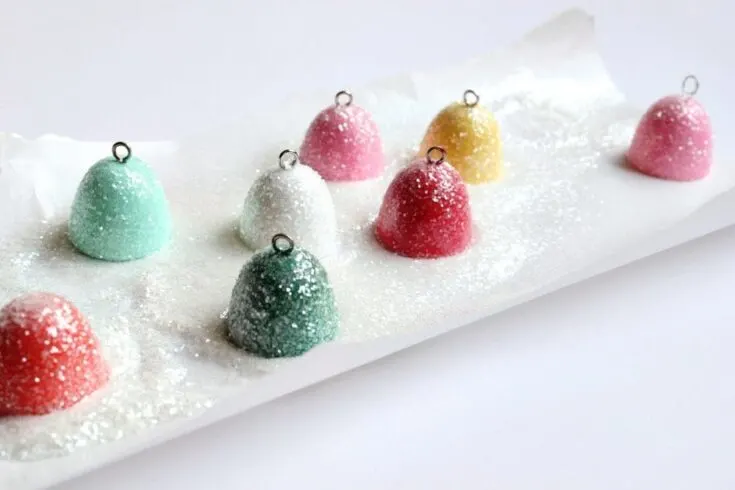
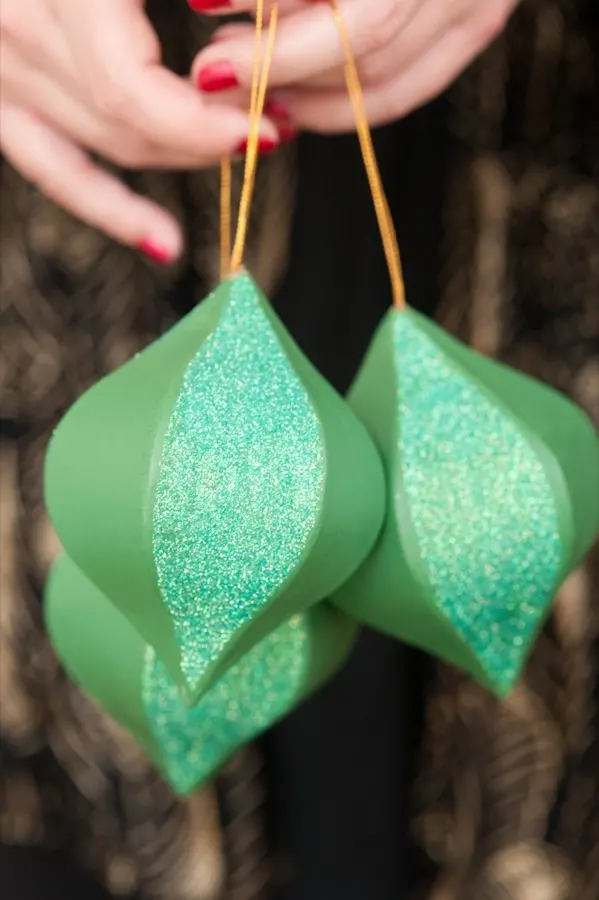
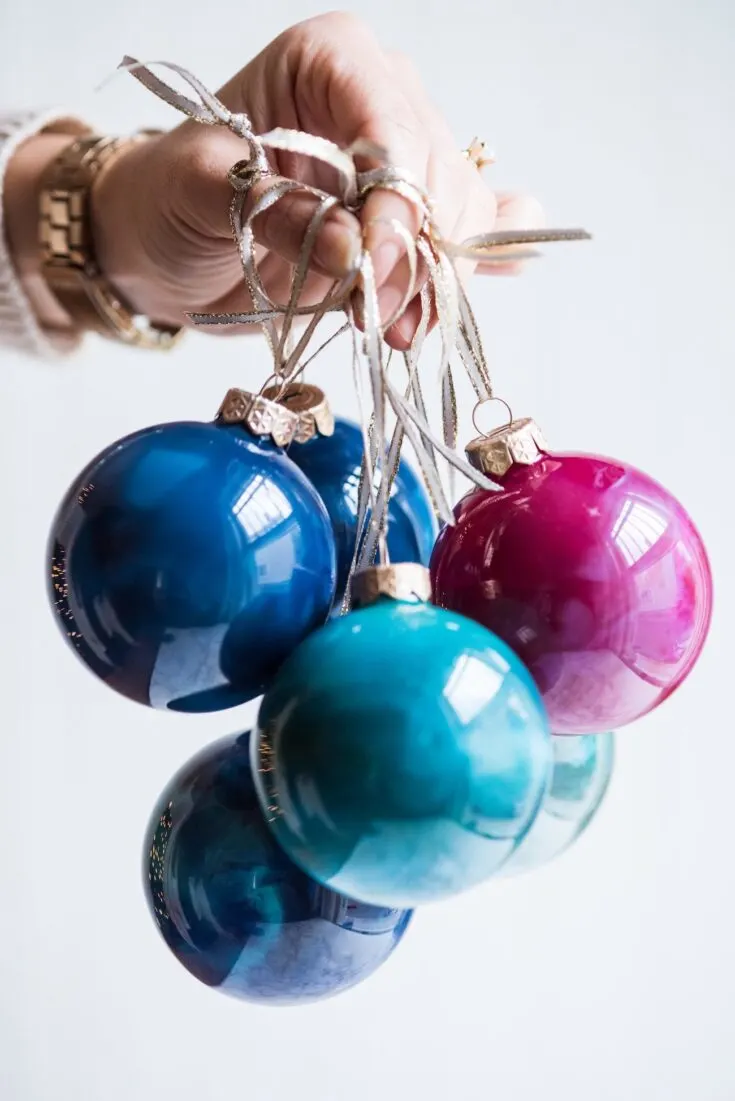
These beautiful DIY painted gold leaf ornaments are one of my most popular posts of all time! These easy DIY ornaments are perfect for tree trimming or gift giving this holiday season. See blog post for further details and instructions. Note that estimated cost is per ornament although glass ornaments mostly come in packs of six. The Sweetest Occasion specializes in beautiful homemade holiday decor. These DIY Christmas ornaments are some of our favorite homemade ornaments and they're all made with simple, inexpensive supplies easily sourced at any local craft store or online. These pretty photo ornaments feature a gilded edge and a simple ribbon hanger, easily customized with family photos. These pretty gold leaf ornaments are one of our simplest DIY ornament projects featuring papier-mâché ornaments. Create these beautiful glitter ornaments using plain glass ornaments and an assortment of tinsel and glitter. These darling gumdrop ornaments are made with plaster and a simple mold - they're super easy to make! Basic papier-mâché ornaments are painted and glittered to create a pretty colorblock effect that's modern yet timeless. Another DIY ornament project made with plain glass ornaments, these ones feature swirls of color from melted crayons! Deck the halls with these glittery galaxy inspired homemade ornaments made with glass ornaments, glitter and paint pen. These precious Christmas village ornaments are made with unfinished miniature birdhouses purchased at the craft store.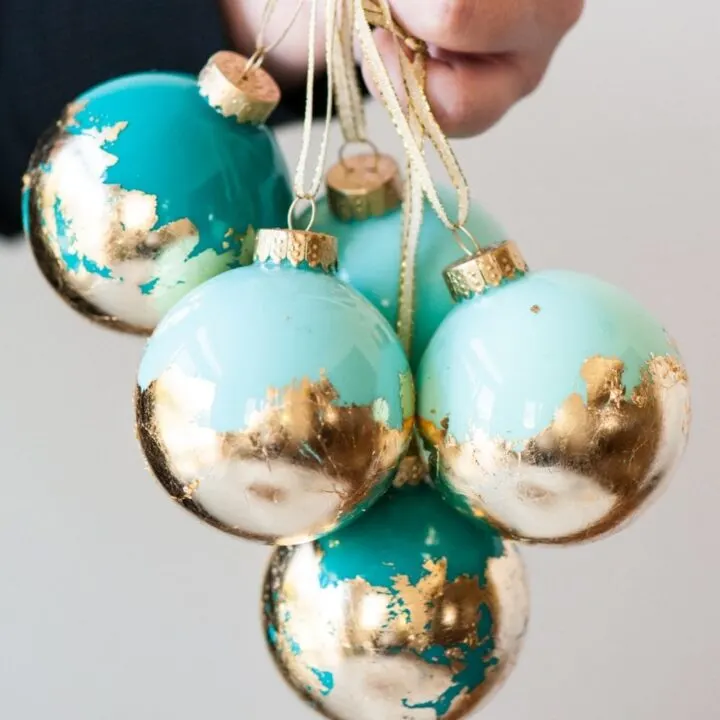
DIY Gold Leaf Ornaments
Materials
Tools
Instructions


Apply a light coat of sealer over top of the gold leaf per the manufacturer’s instructions.
Allow your entire ornament to dry overnight.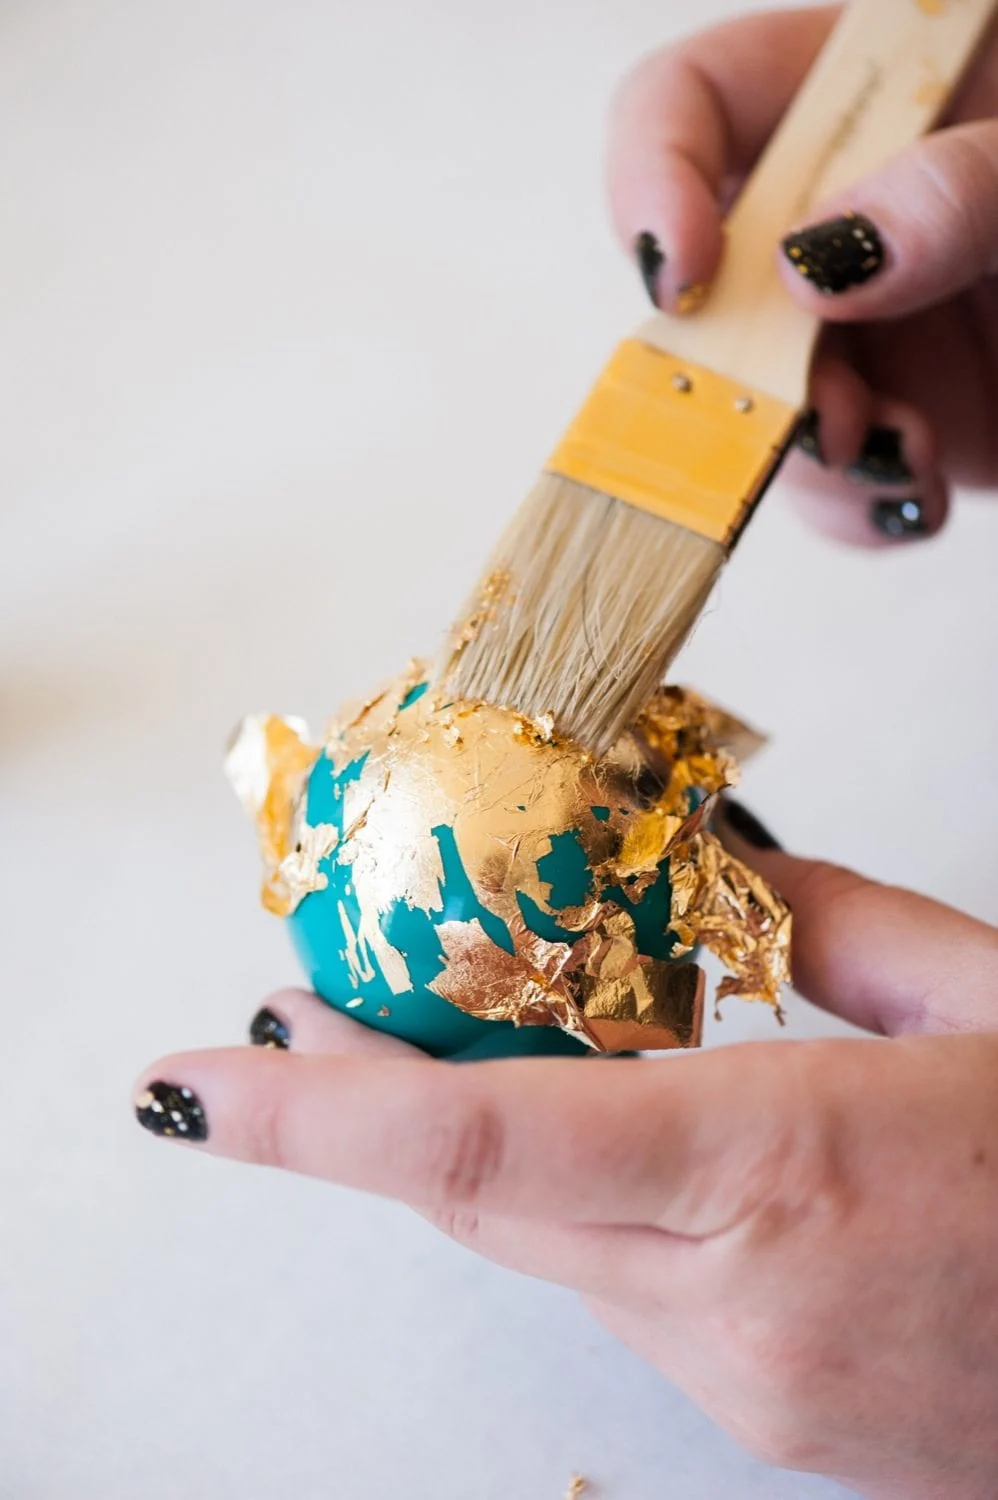
Allow them to dry completely.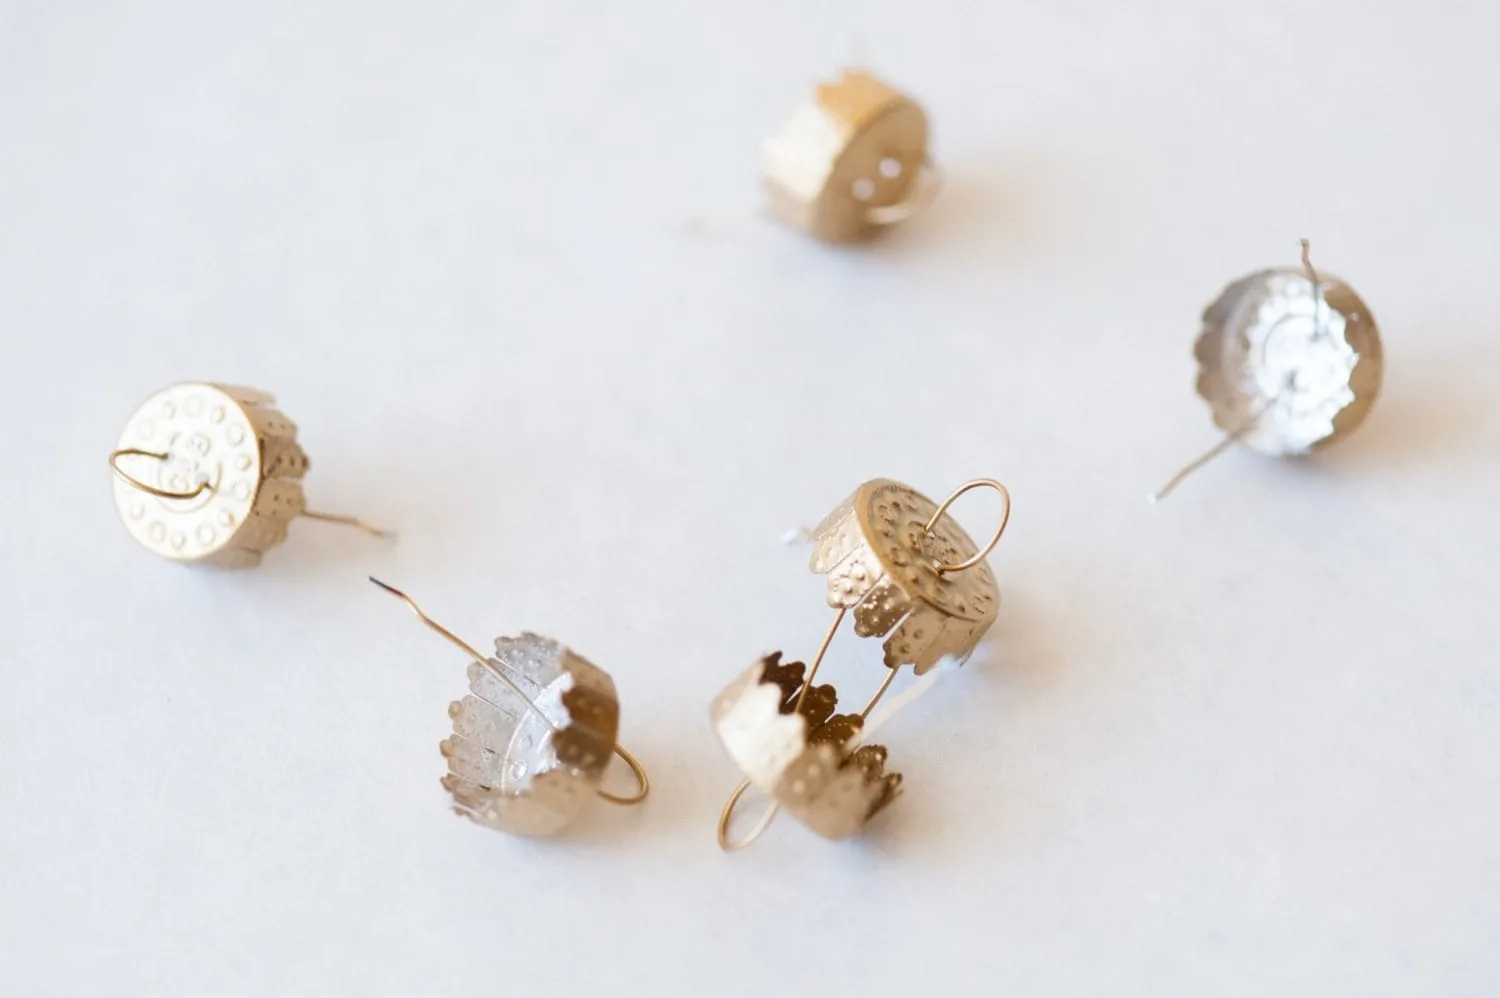


Notes
The Best DIY Christmas Ornaments










Natalie
Thursday 5th of November 2020
How fun & adorable!! Love the colors!! Thanks for the inspiration!
Cyd Converse
Tuesday 10th of November 2020
Thank you so much, Natalie!
Beth
Thursday 5th of November 2020
These are so gorgeous! My kids are going to love making these! Can't wait!
Cyd Converse
Tuesday 10th of November 2020
Yay, I love that! Thanks, Beth!
Kristyn
Thursday 5th of November 2020
So pretty!! I will be making these with my daughters for sure! I love the gold!
Cyd Converse
Tuesday 10th of November 2020
Thanks, Kristyn! They will love them!
How to make wire ornaments | DIY tutorial
Sunday 1st of December 2019
[…] in more DIY ornaments? Here are some other posts you might enjoy: DIY Gold Leaf Ornaments by The Sweetest Occasion | DIY Embroidery Hoop Ornaments by […]
Christmas Ornaments | Grateful Prayer | Thankful Heart
Thursday 21st of November 2019
[…] Painted Gold Leaf Ornaments from The Sweetest Occasion. This aqua color gets me every time but you can make elegant, gold leaf glass balls in any color you wish. Make the all the same color or make a rainbow of colors. […]