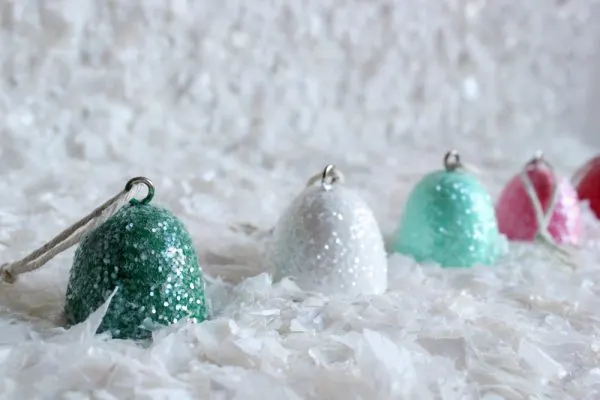
Goody, goody gumdrops do I have a fun DIY project for you! A simple ornament that so fun on your tree or would also make a fabulous hostess gift or little token of affection for anyone you know who is especially sweet. The best part is, except for a few steps in the middle, the little ones can help, too!
Supplies –
- plaster
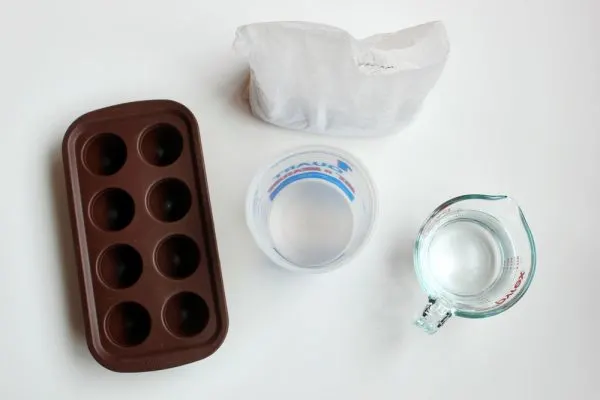
- Wilton brownie pop silicone mold
- 100 grit sandpaper
- drill + small bit
- screw eye hooks
- Gorilla Glue Epoxy
- craft paint
- clear glitter
- white school glue
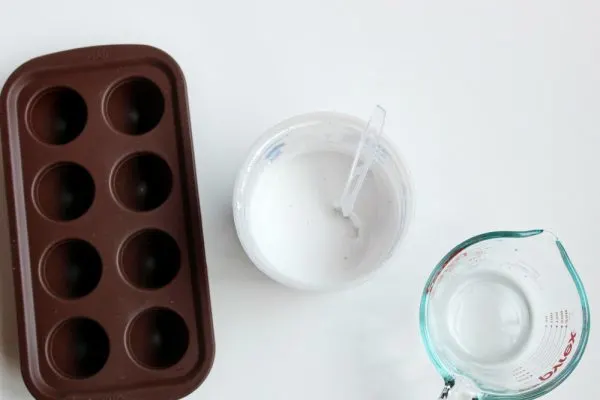
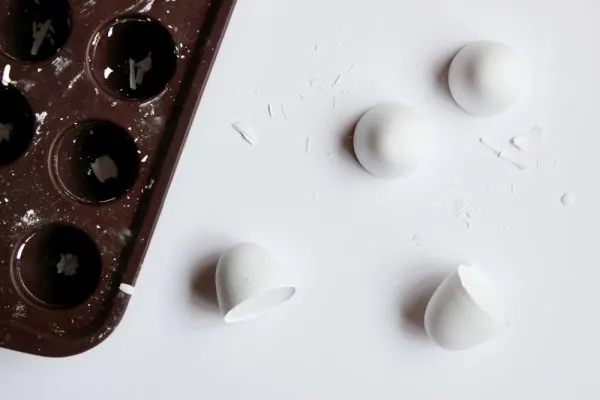
First up, mix the plaster per the directions on the box, usually 2 to 1. I used 12 oz of plaster powder and 6 oz of water. Mix well. Pour into the brownie mold, being careful to stop before the inner ridge, you don’t want to have a line on the side of your gumdrop. Let dry in the mold overnight.
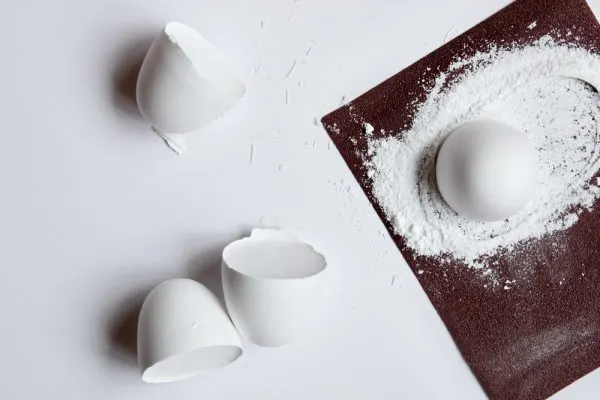
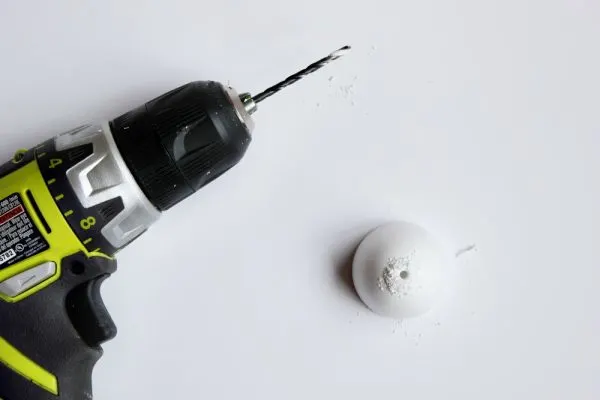
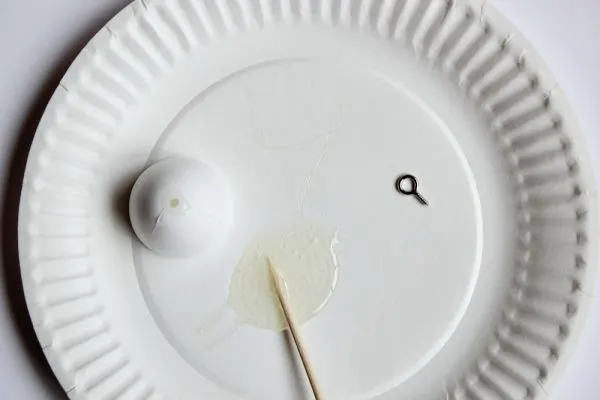
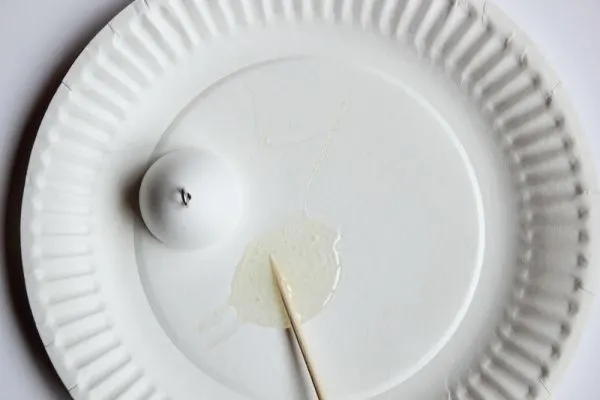
When the plaster is completely dry, pop it out of the mold and using a sheet of sandpaper, rub the bottom flat. Then, drill a hole in the top of each gumdrop. Mix the epoxy according to the directions on the label. Using a bamboo skewer, carefully fill the hole. Work one at a time for this step. Once each hole is full, poke the skewer into the hole to release any air bubbles and to make sure it is full. Wipe away excess with a paper towel. Insert screw eye hook and let it dry overnight to set up completely.
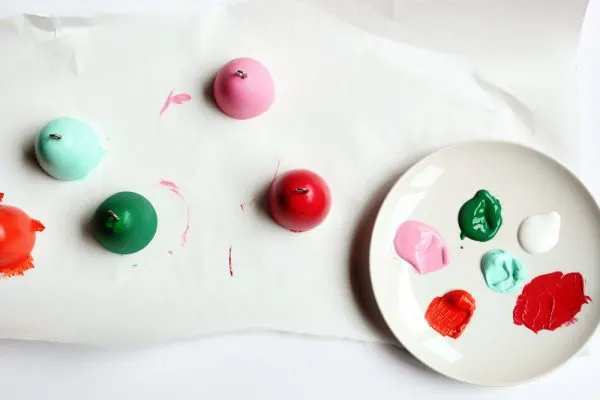
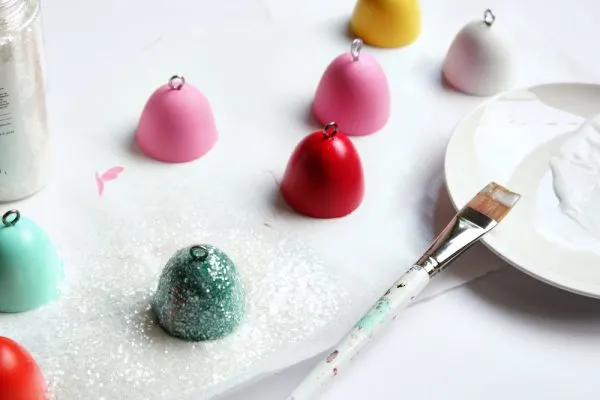
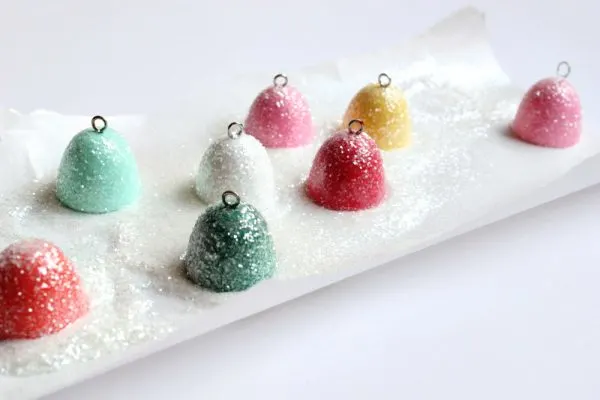
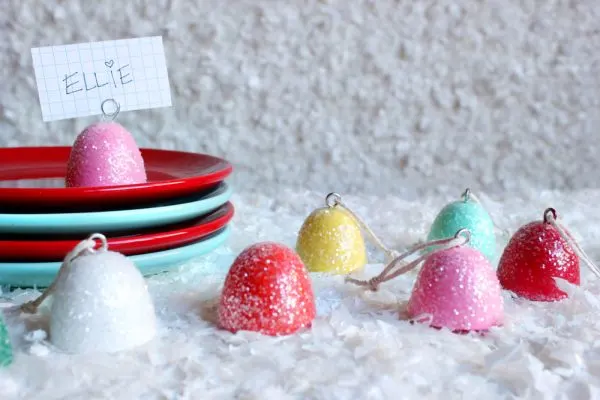
Once the epoxy and screw eye hooks have dried hard, paint each gumdrop a sweet shade with craft paint and allow them to dry. Then, simply paint on a coat of white school glue and sprinkle with clear glitter. Add twine or ribbon and hang!
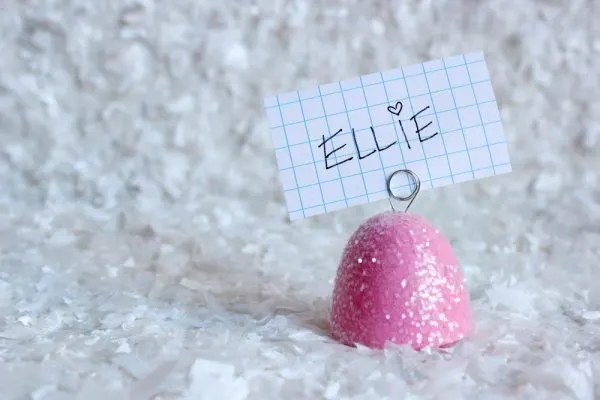
As an equally sweet idea, you could also make these into glittery gumdrop place cards that will absolutely delight your guests! All you have to do is add a small loop of wire instead of the screw eye hooks.
Sweet! (Get it?) All done I told you that was easy! Psst…if you don’t want to make ornaments, just skip the drilling part and decorate them. Use the plain gumdrops to scatter around the mantel or coffee table. They’ll look adorable however you decide to rock them this holiday season!
{Photos by Hank + Hunt for The Sweetest Occasion.}
The fine print: Please link with love! As with all of our posts, DIY projects featured on The Sweetest Occasion may not be copied, distributed or reproduced without express written permission. Love and links are always appreciated! If you’d like to share this post, please link to this post directly for the DIY tutorial and do not include the instructions in your own post. Thanks so much! xoxo



Barbara Casa
Saturday 2nd of November 2019
I make these using plastic Easter eggs! you don't even have to paint them. brush with Mod Podge and sprinkle with epsom salt!
Cyd Converse
Sunday 10th of November 2019
Thanks, Barbara! Such a great idea!
Minted Holiday Inspiration Board: Confetti And Bright Christmas - Revel and Glitter
Thursday 31st of October 2019
[…] cheery ideas from some very clever and crafty peeps. My ornament drink; gumdrop ornaments from The Sweetest Occasion; tablesetting featured on The Pretty Blog; takeout box advent calendar and holiday craft party from […]
Linda
Thursday 27th of December 2012
LOVE! That's all there is to say! I'm starting mine today for next year!!!!!
Chelsea C.
Wednesday 19th of December 2012
I am officially calling this color palette "The Jenny." I'd know it a mile away. :) These are fab!
Stephanie
Wednesday 19th of December 2012
They look good enough to eat!!! Seriously, adorable!!!