


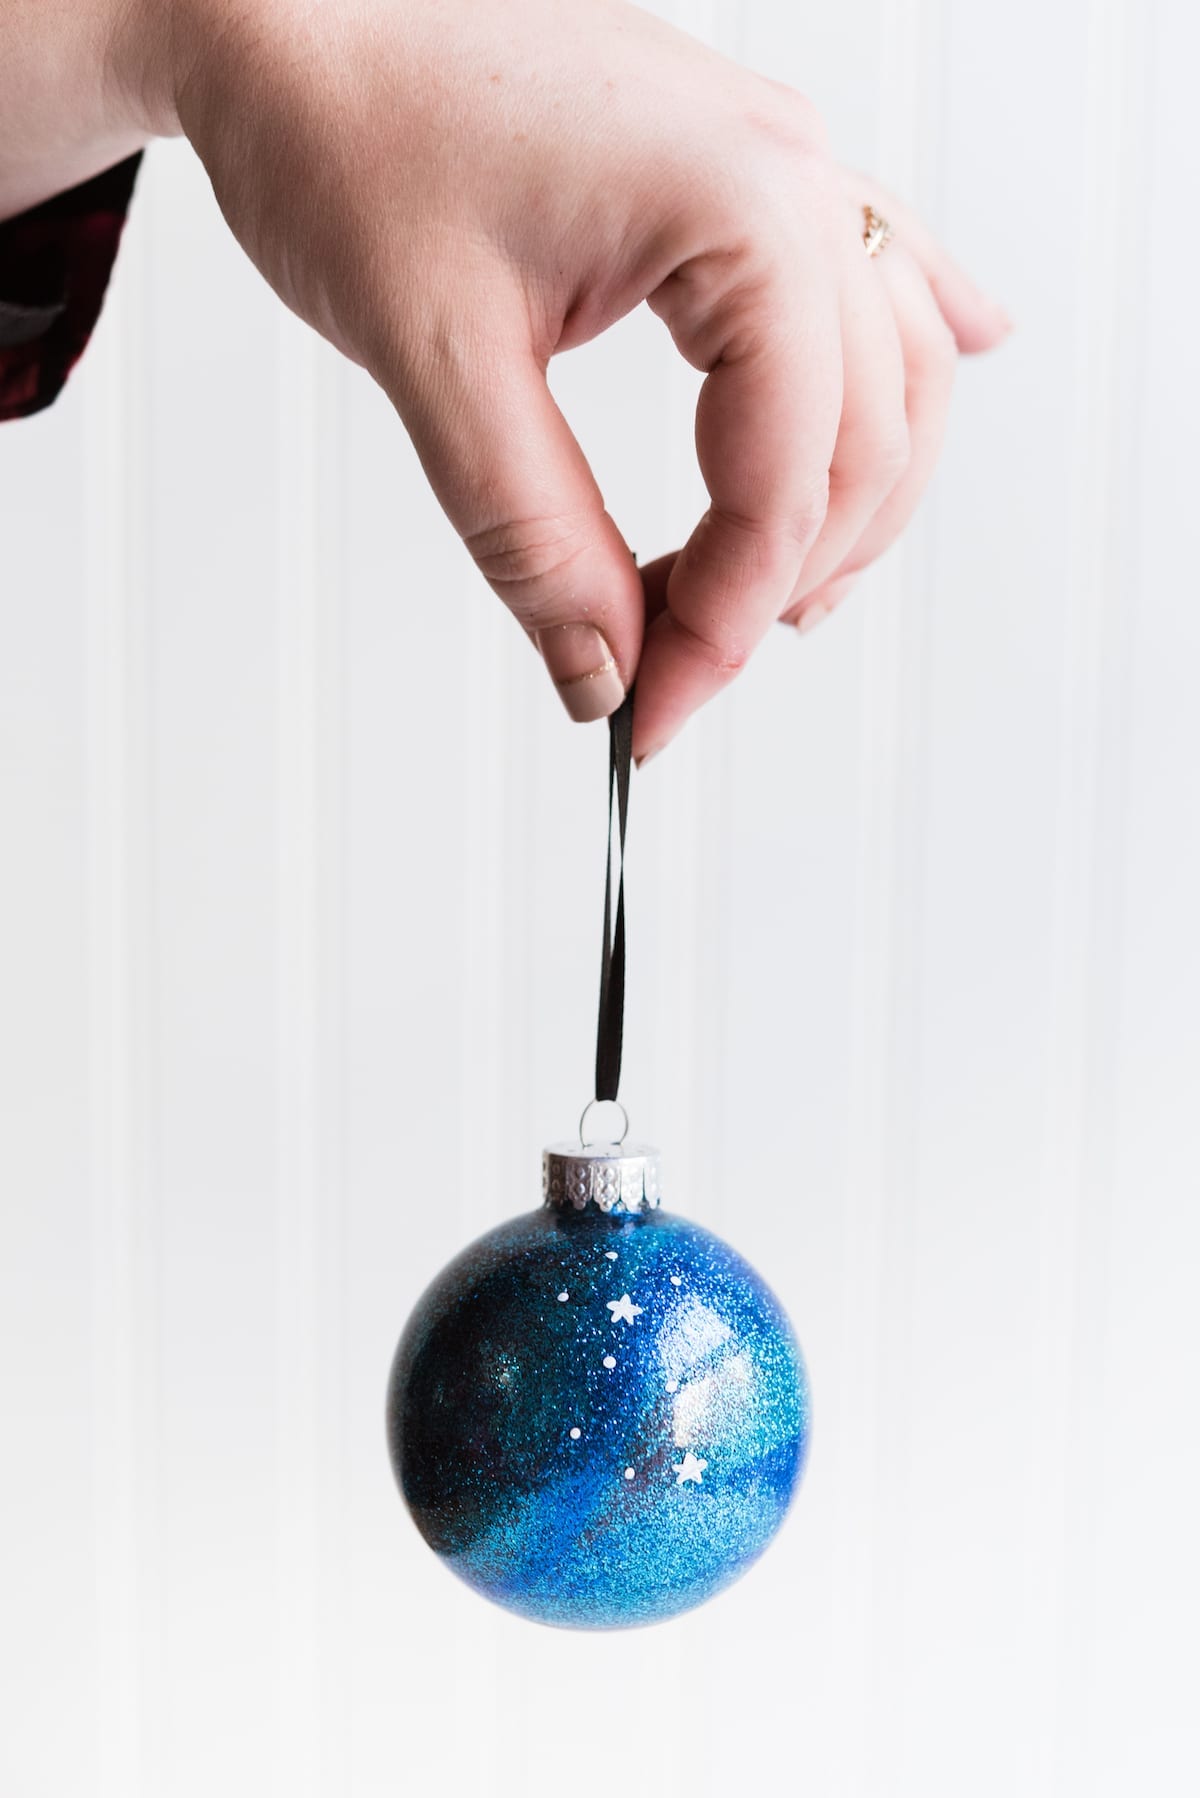
These DIY Christmas ornaments feature swirls of glitter to resemble the night sky. Our galaxy-inspired DIY ornaments will become a keepsake you treasure for years to come.
Because I’ve never met a clear glass ornament I didn’t want to bedazzle, I skipped to the craft store recently and bought loads of glitter. Making homemade ornaments is a passion of mine, and this year was no different.
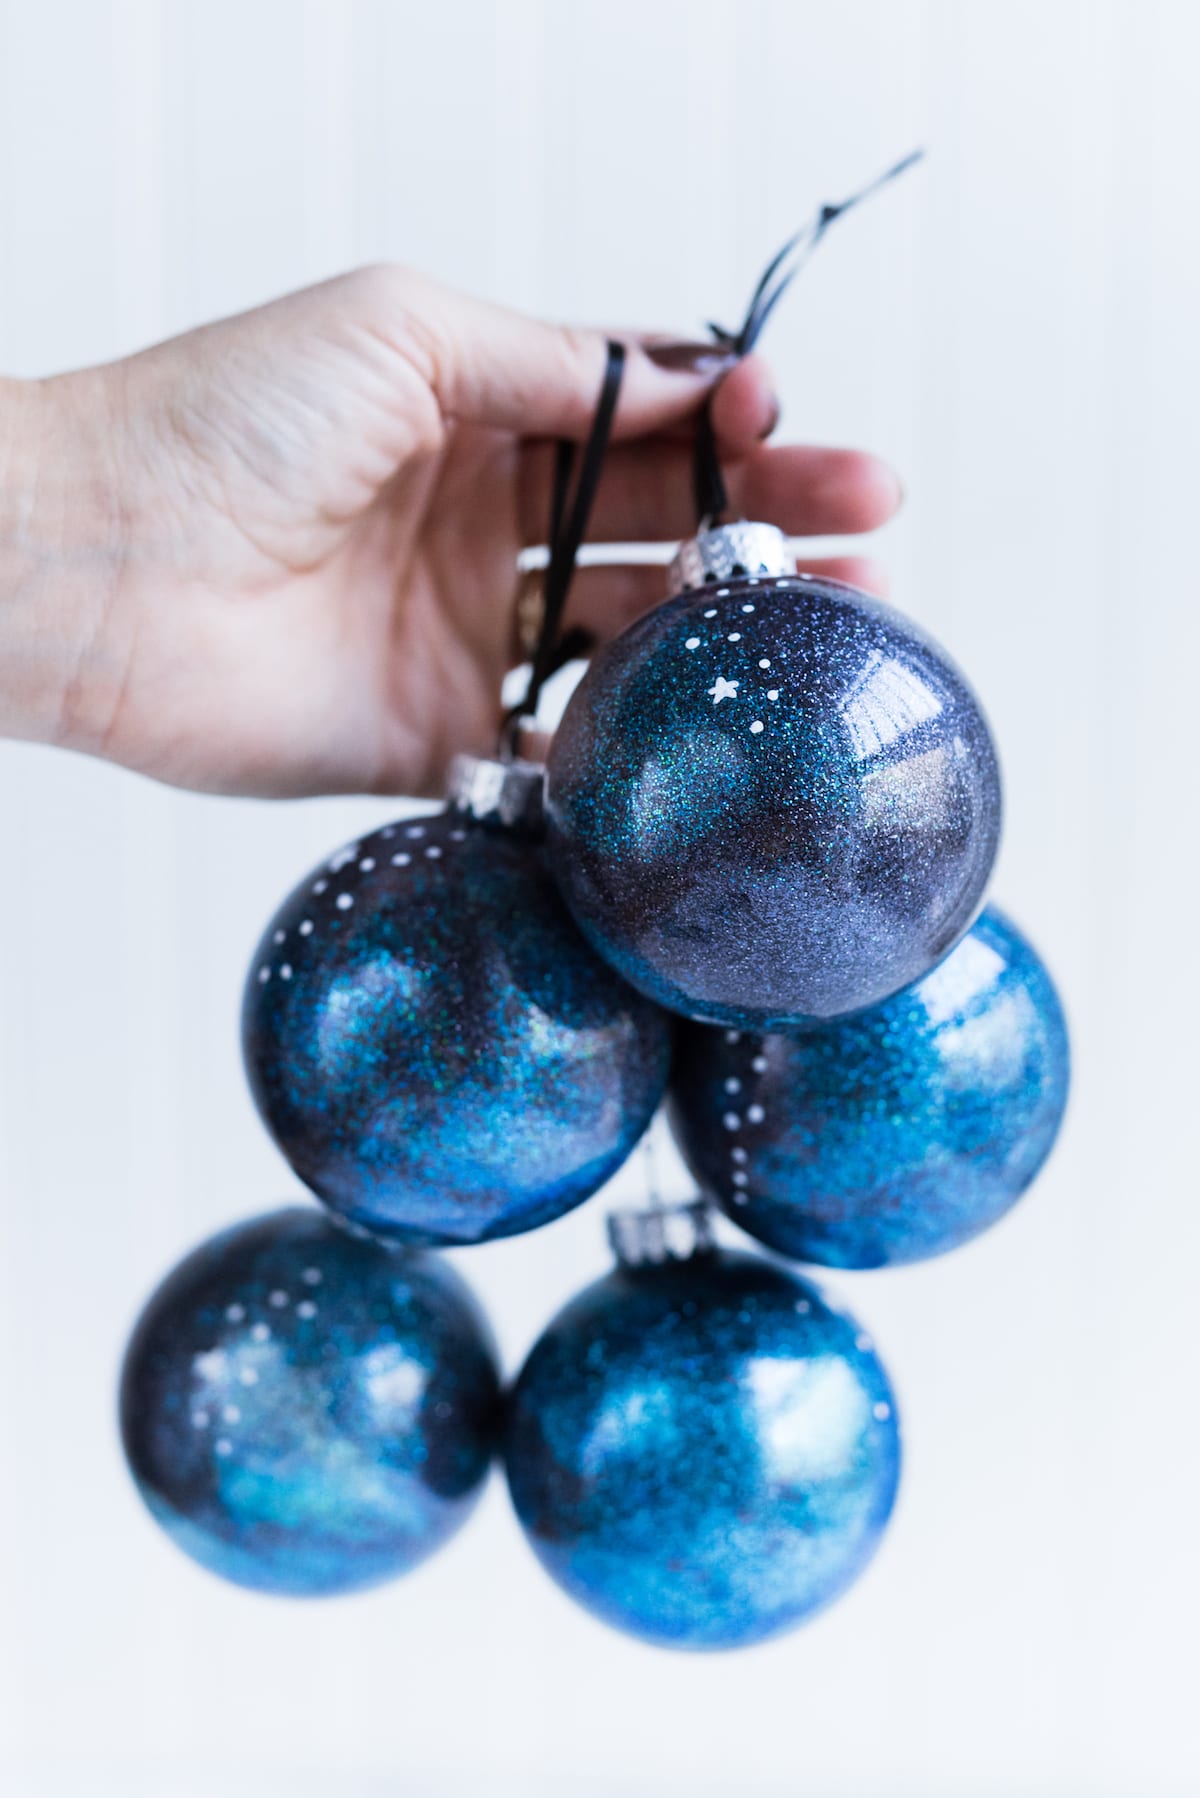
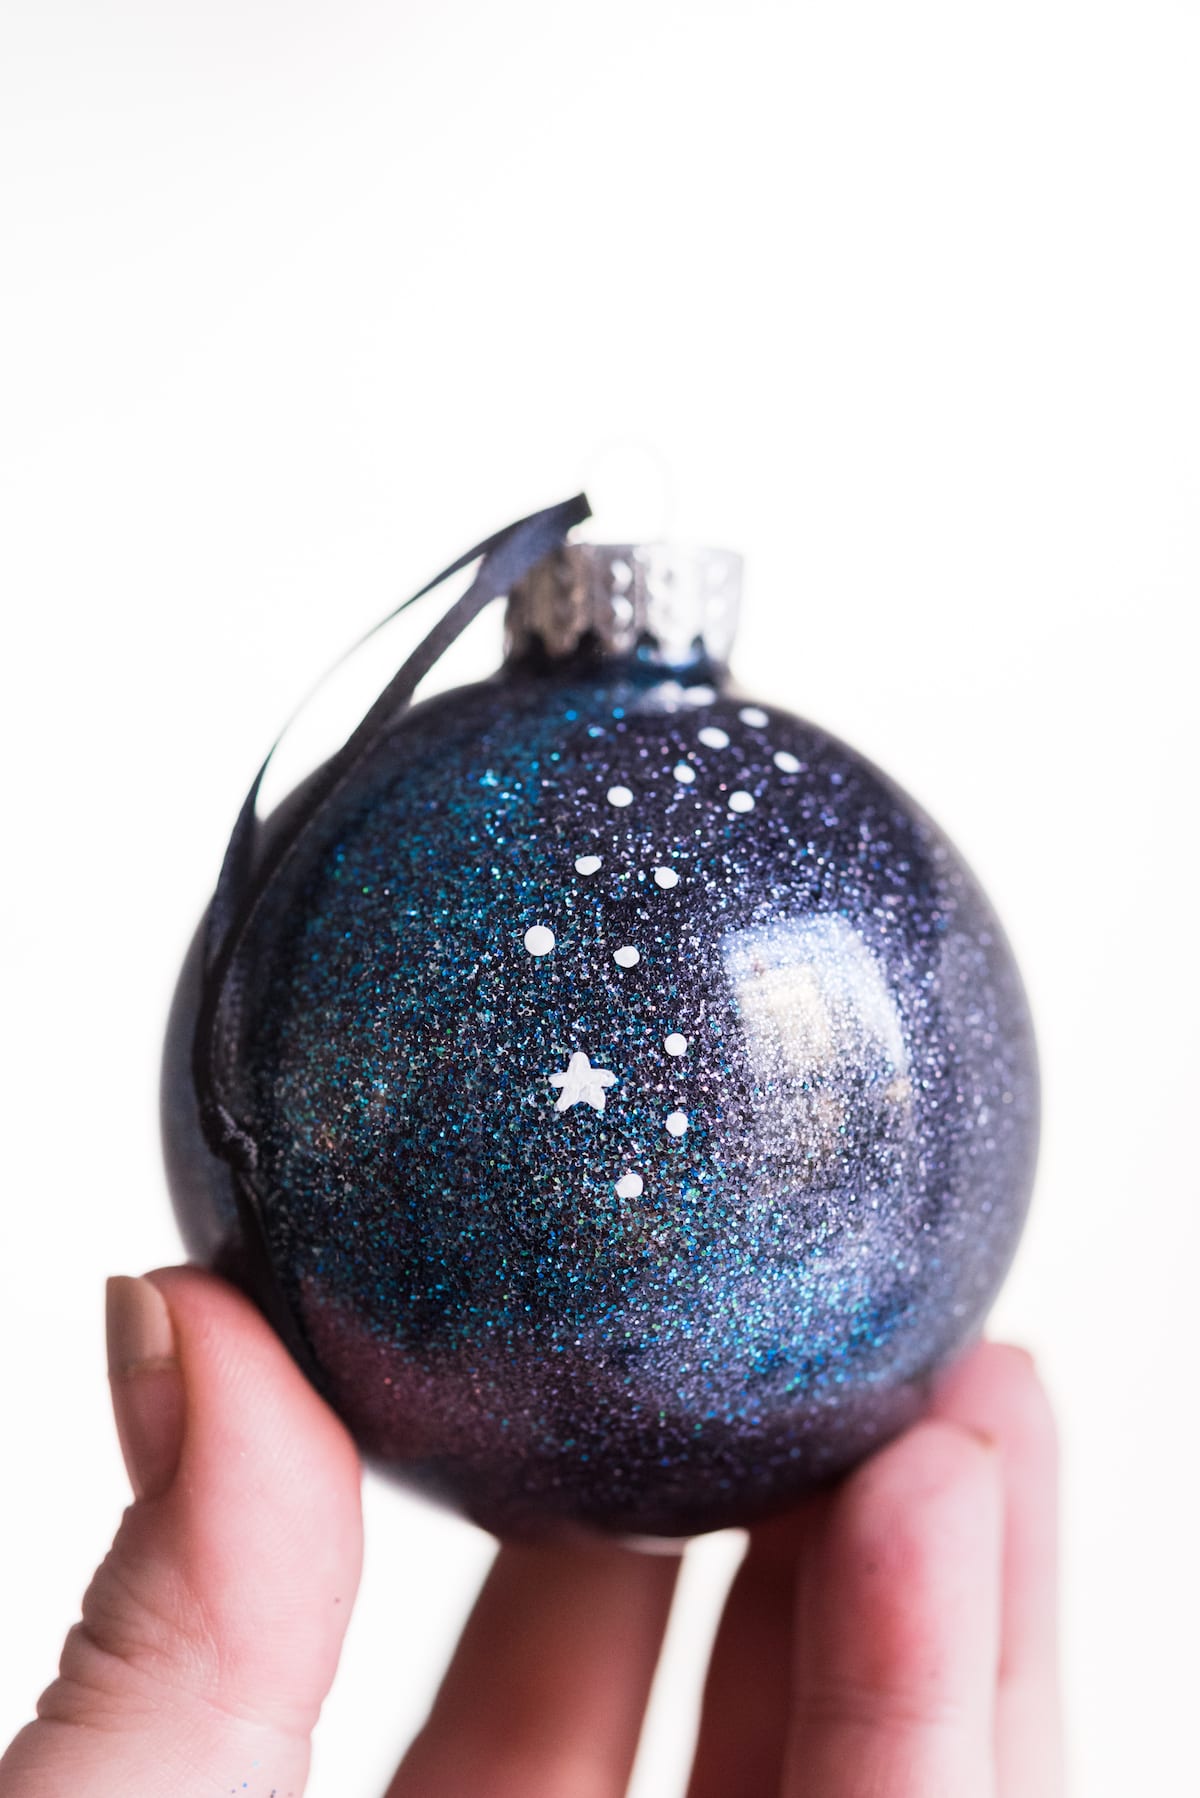
I was feeling a little inspired by the galaxy craze and decided to make glittery galaxy inspired DIY ornaments! They’re really simple to make and the swirls of glitter turned out so pretty.
These are easy enough for even younger kiddos to help with, too, which makes them even more fun in my book!
Keep scrolling for the tutorial on how to make these beauties, but you should also make sure to check out my other gorgeous homemade ornaments made using clear glass ornaments! Reinventing them every year with new materials and new crafting techniques has become a bit of an obsession.
- DIY painted gold leaf ornaments
- DIY glitter confetti ornaments
- DIY swirled melted crayon ornaments
- 10 homemade ornaments made with glass ornaments


Homemade Ornament Supplies
- Clear glass ornaments
- Glitter in 4 – 6 different colors
- Glitter coat adhesive
- White craft paint
- Liner brush
- Ribbon
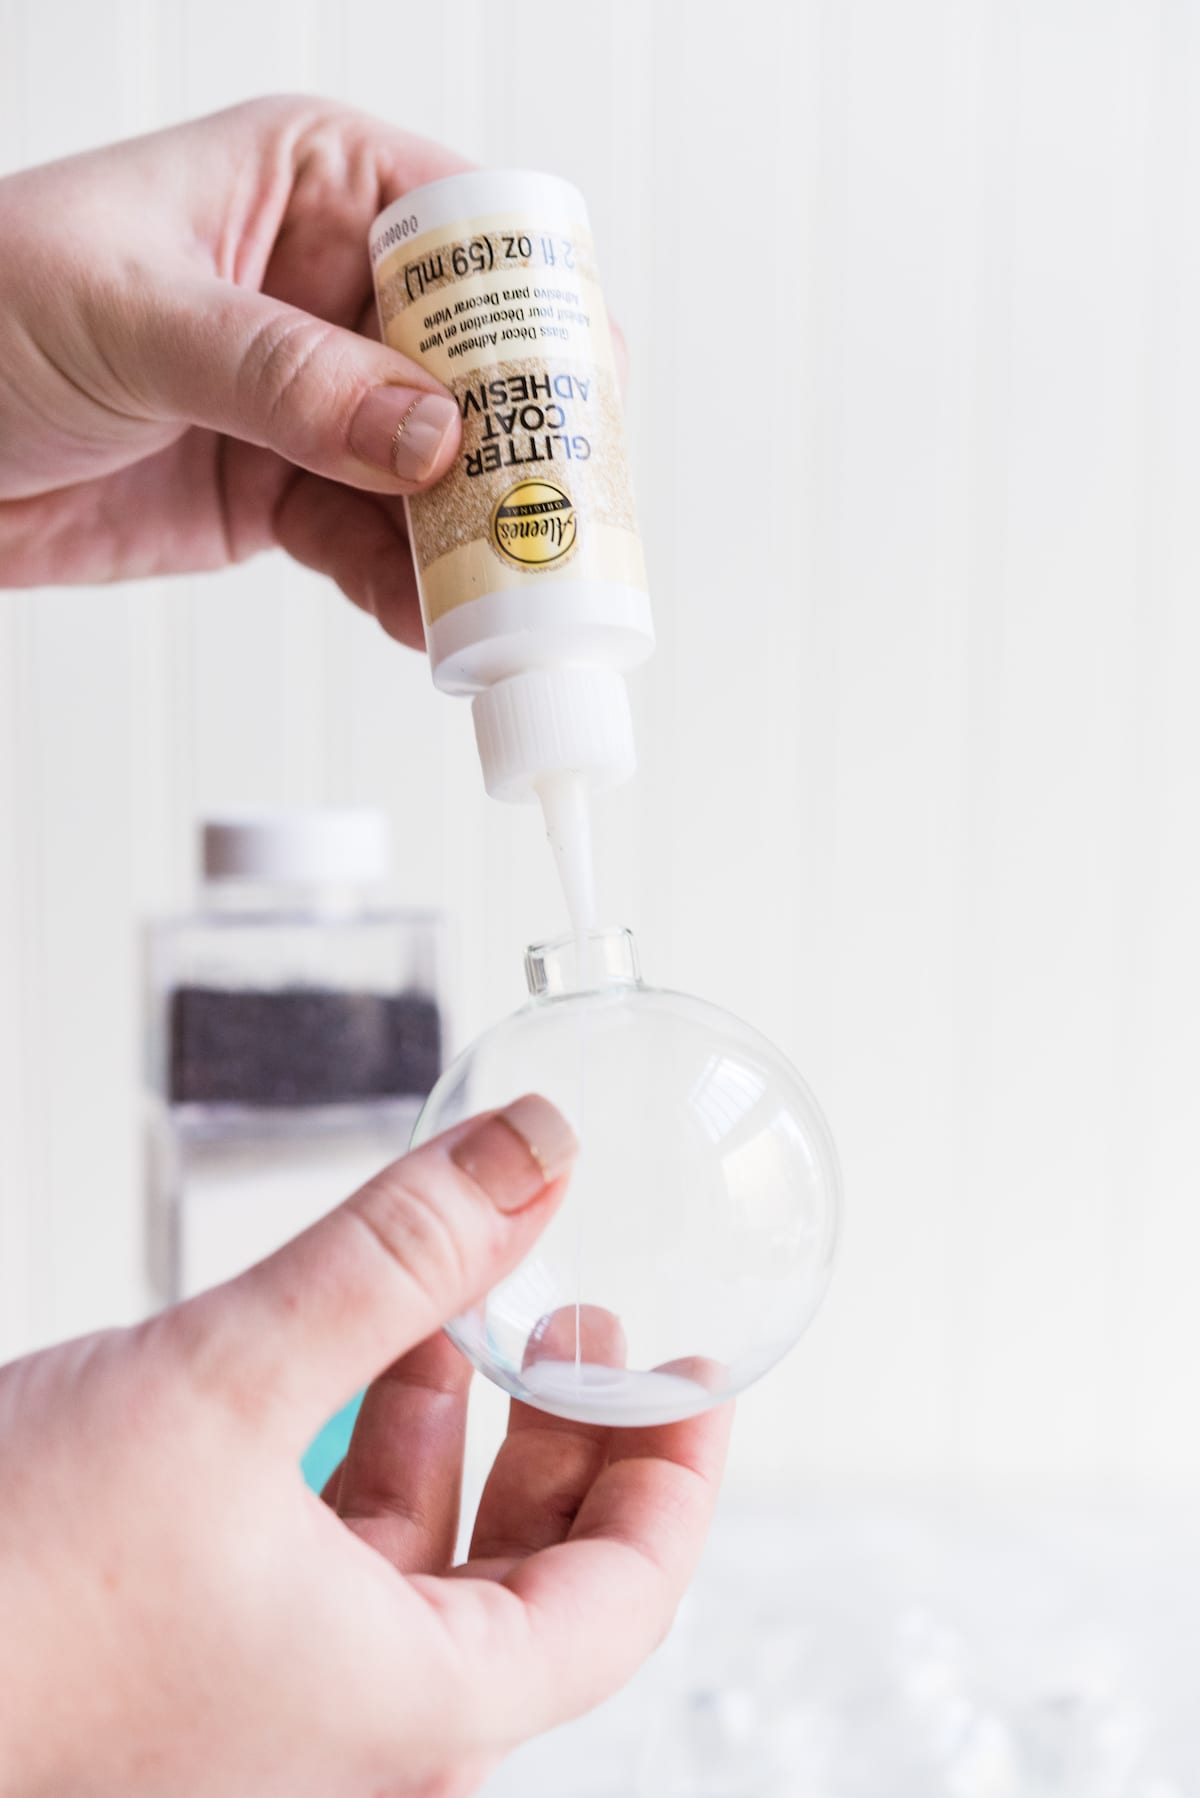
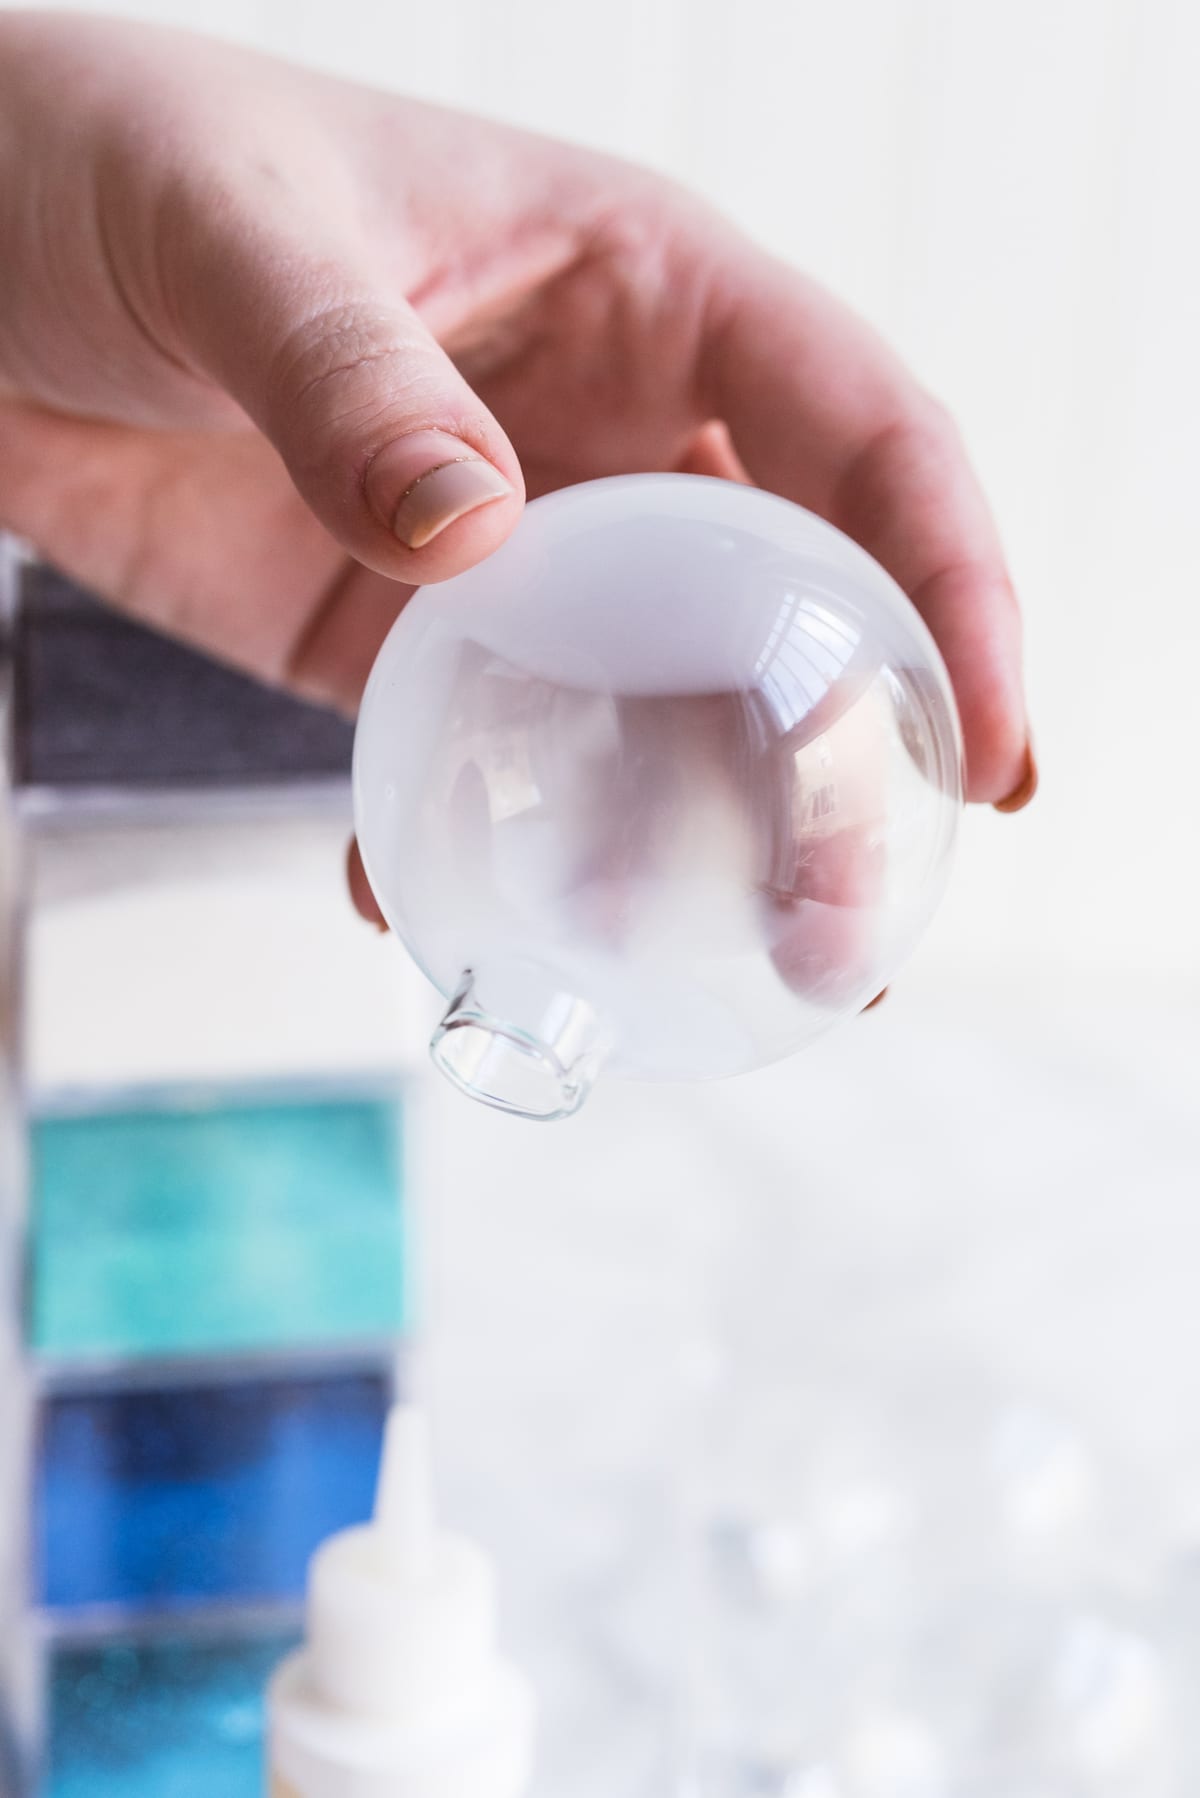

After making sure your ornaments are completely cleaned and dried (I wiped mine down with rubbing alcohol), squeeze a bit of glitter coat adhesive around the inside. Tip upside down to pour out any excess and allow the adhesive to set up for 20 – 30 seconds, or as recommended by the manufacturer’s instructions.
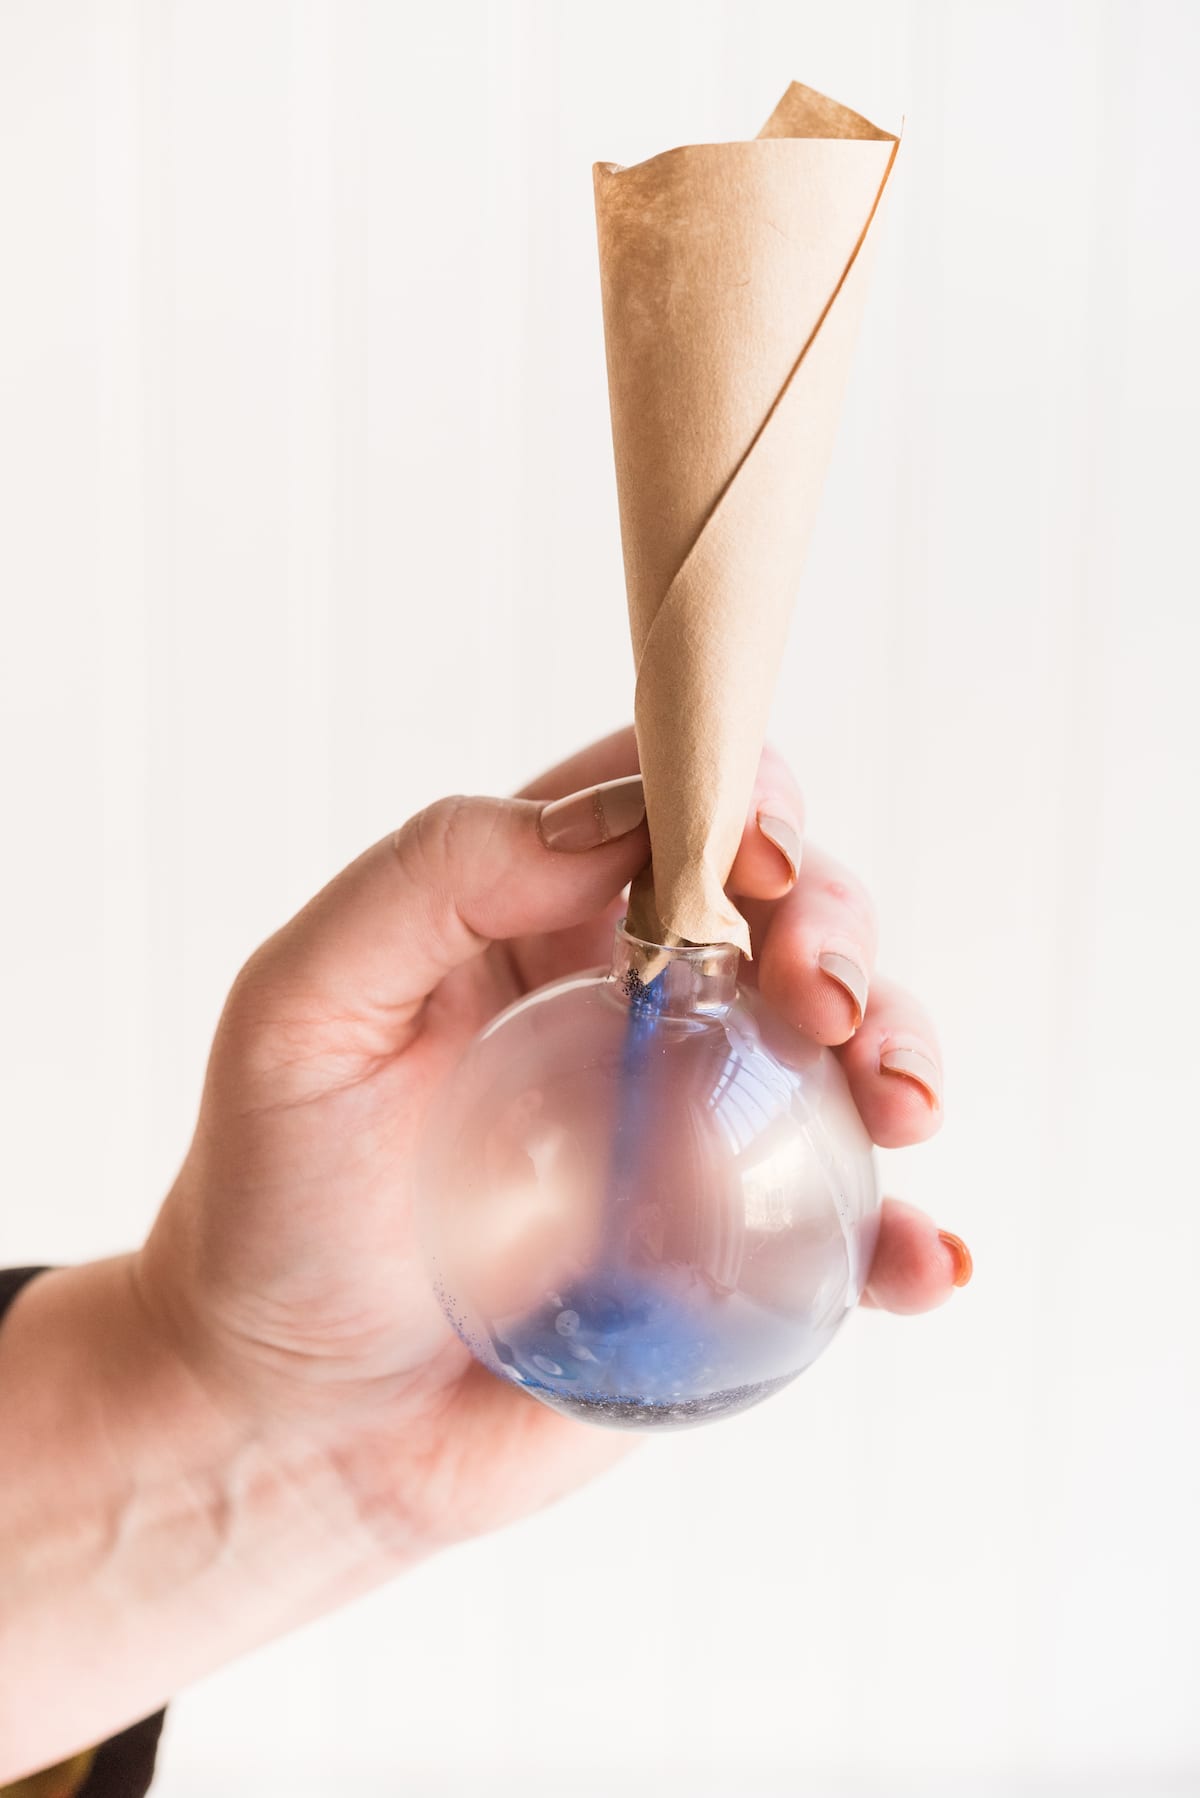
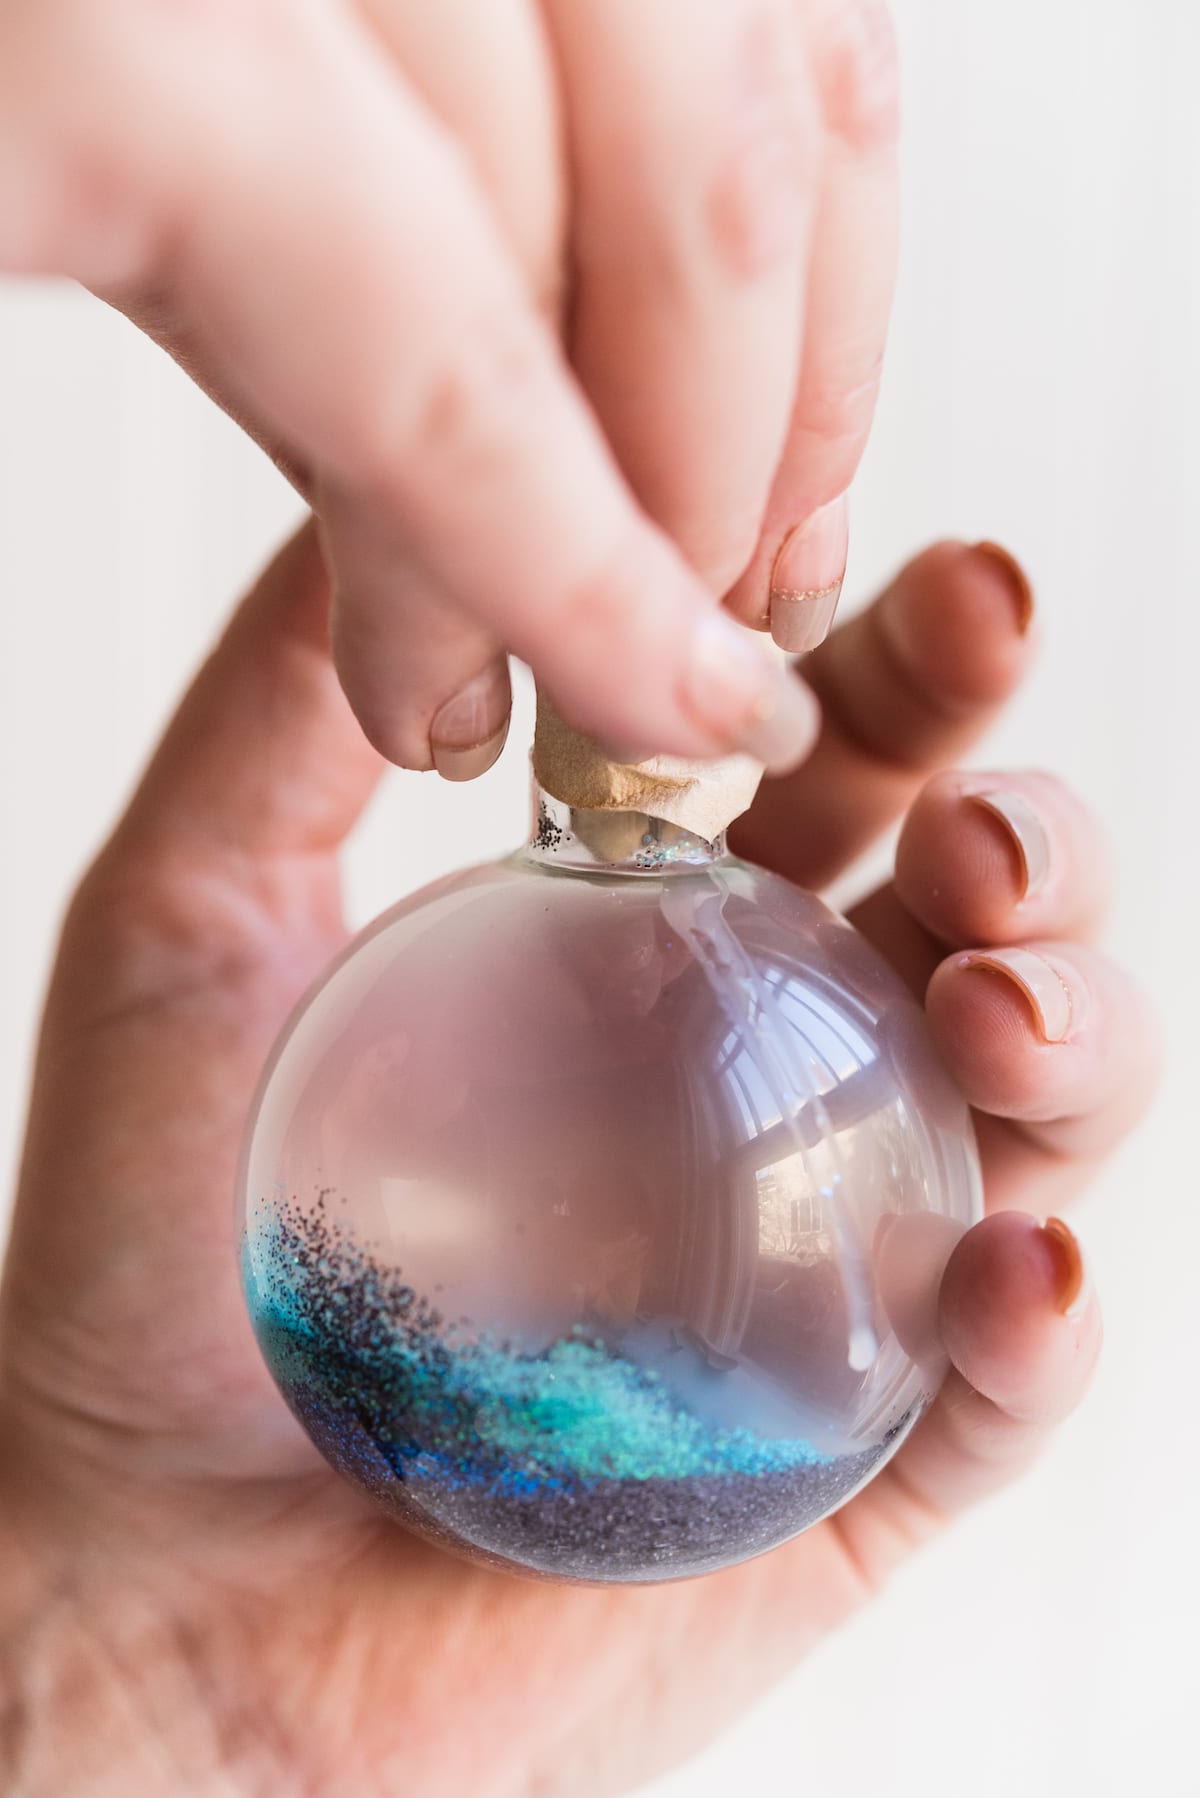

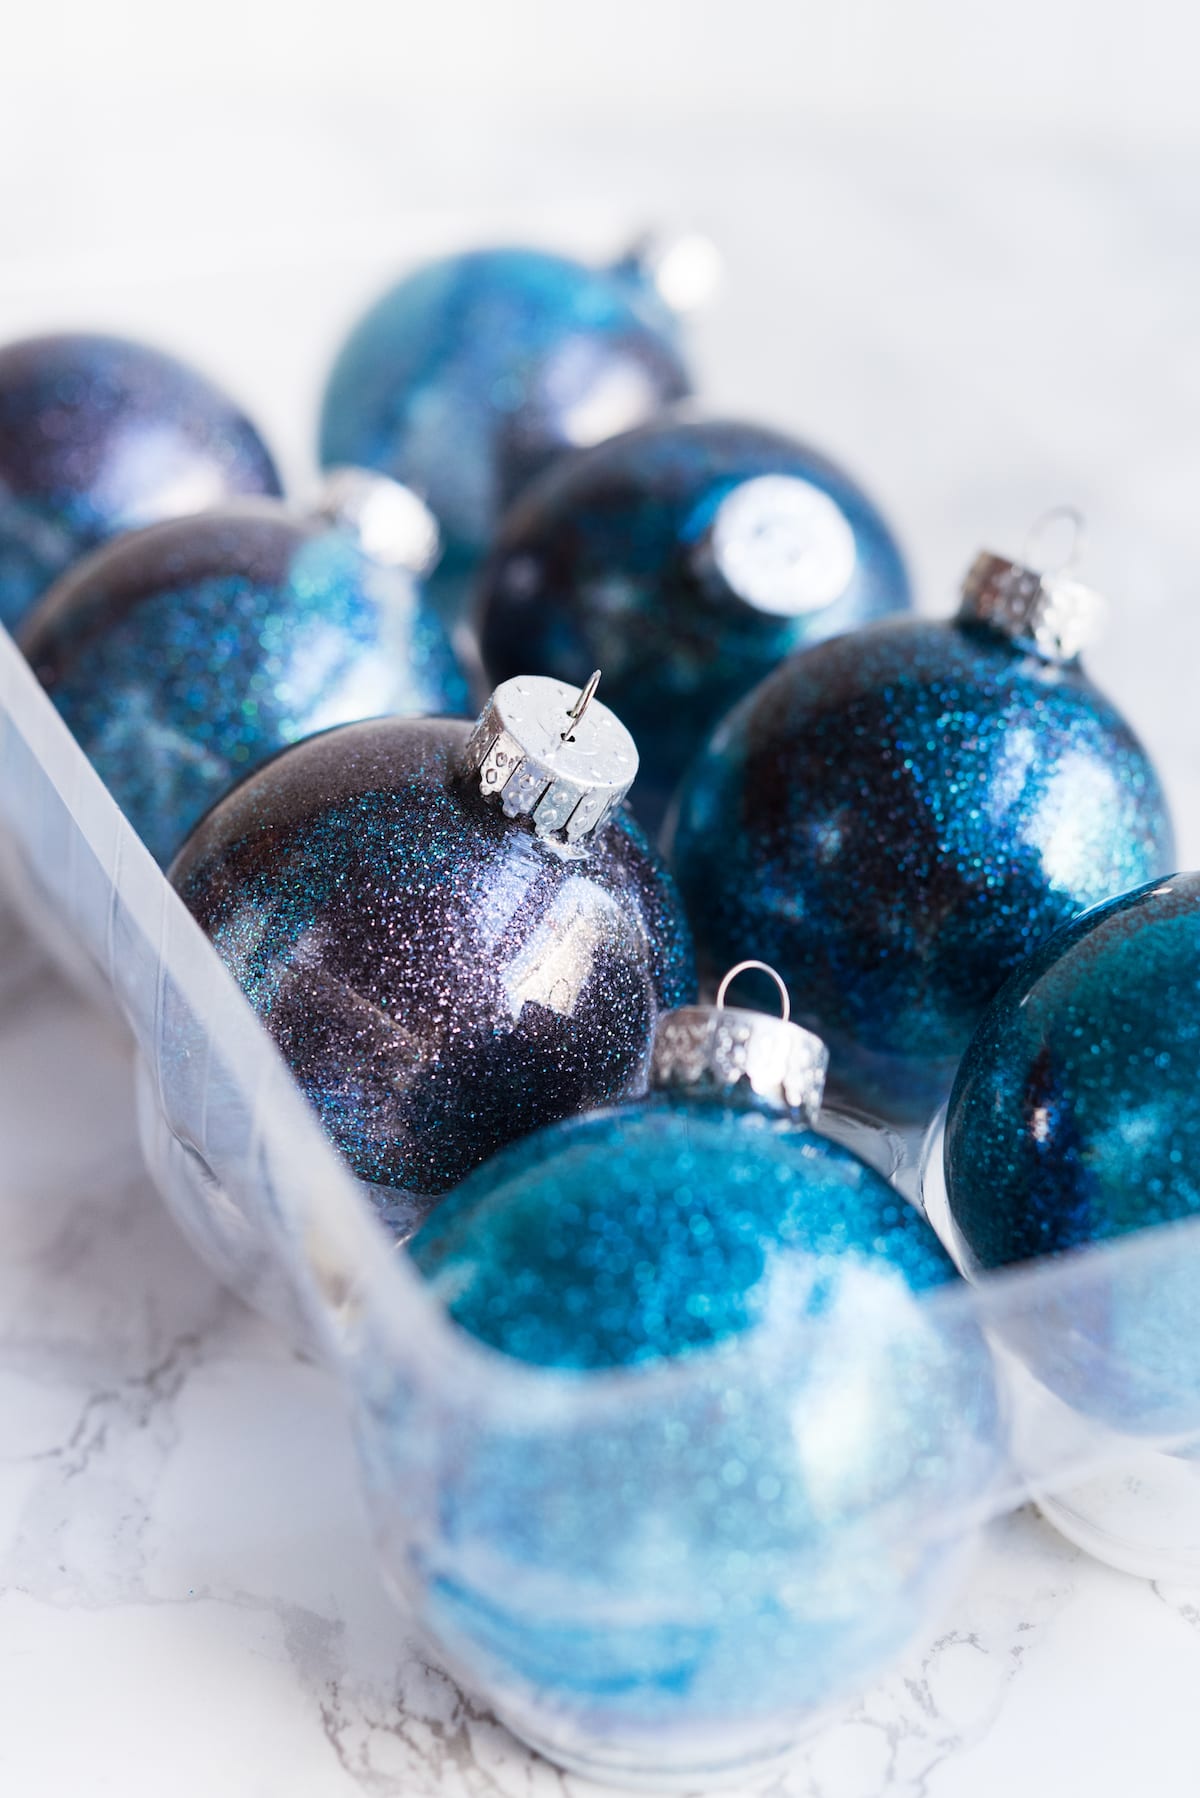
Use a small funnel to add a bit of several colors of glitter to each ornament. Or, misplace your funnel like I did and make one using a rolled piece of kraft paper! Either option works. Ha! I used a combination of blues, teals, black and white to mimic the sky but you could use any colors you like. Add them all, then rotate the ornament around, turning it every which way to swirl the glitter around inside.
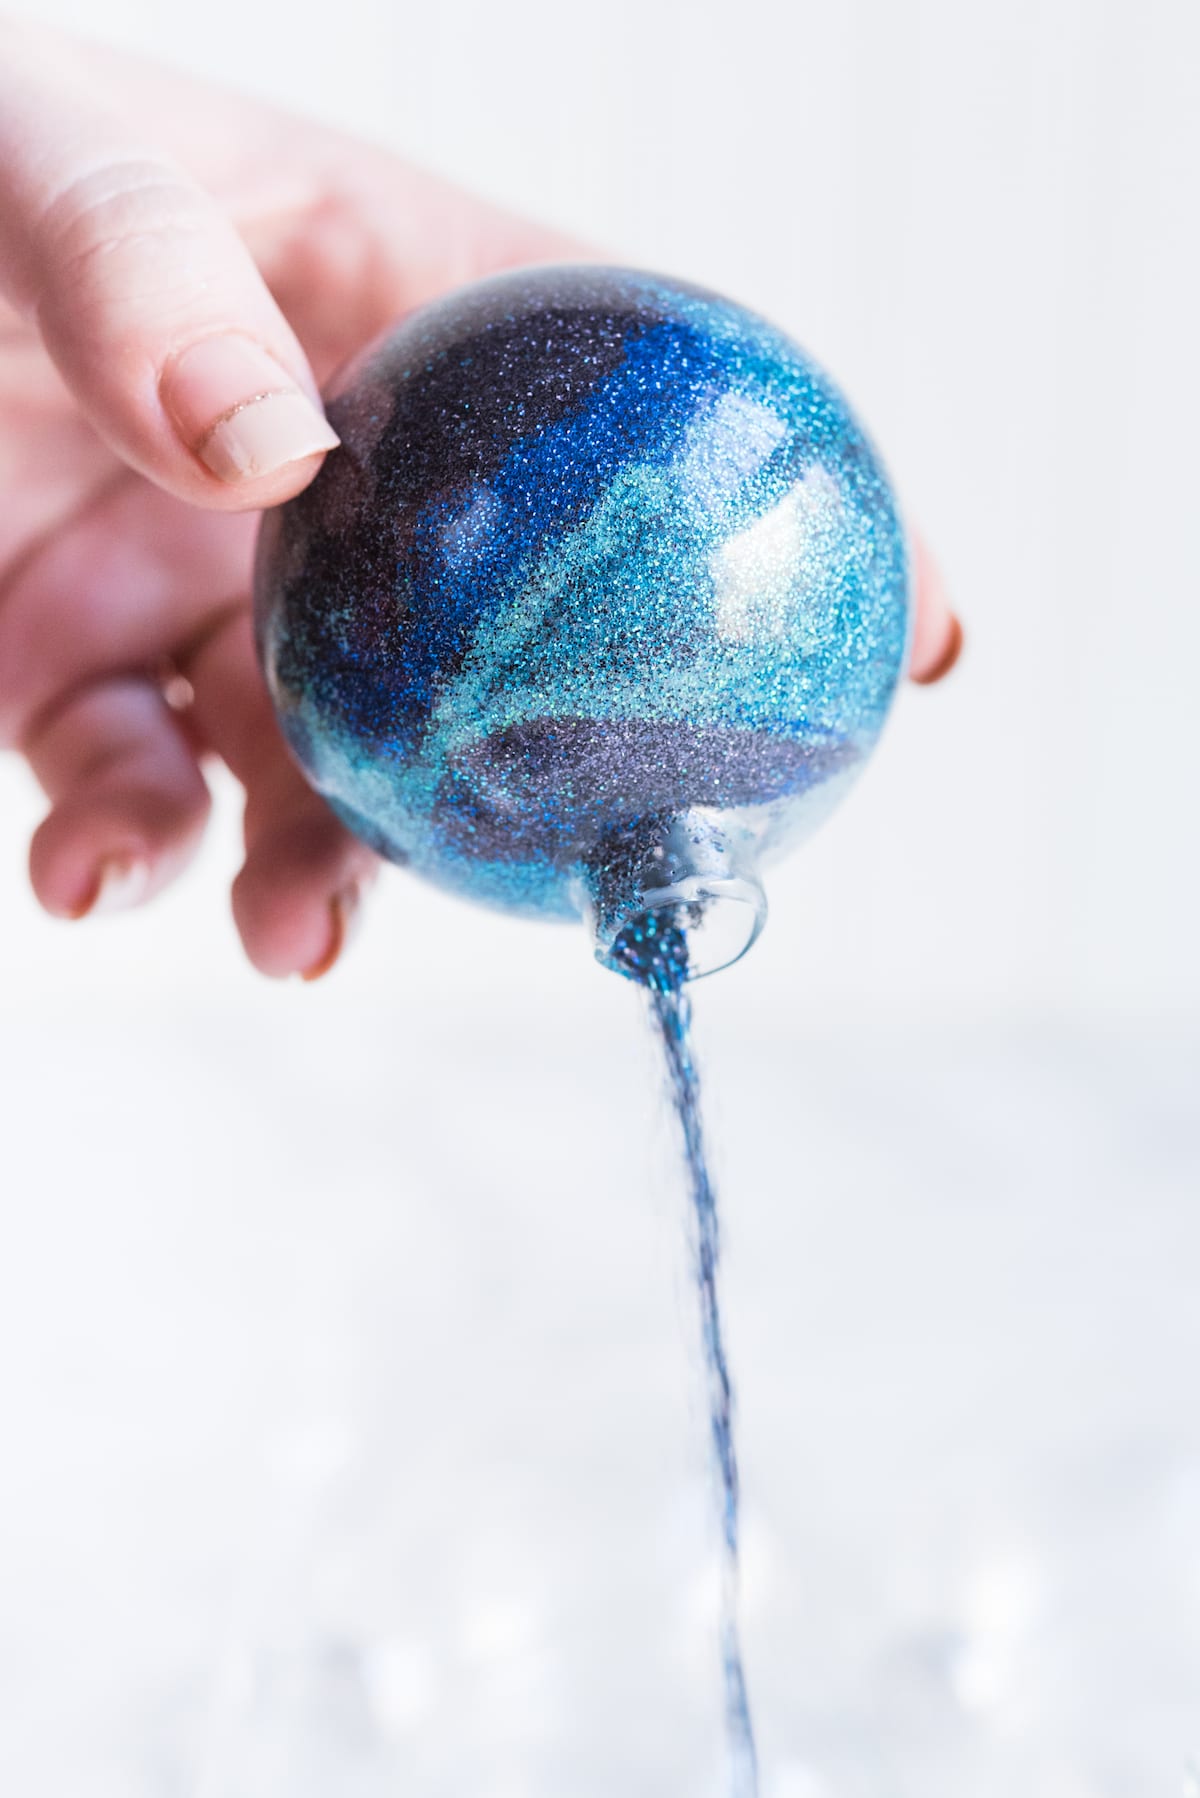
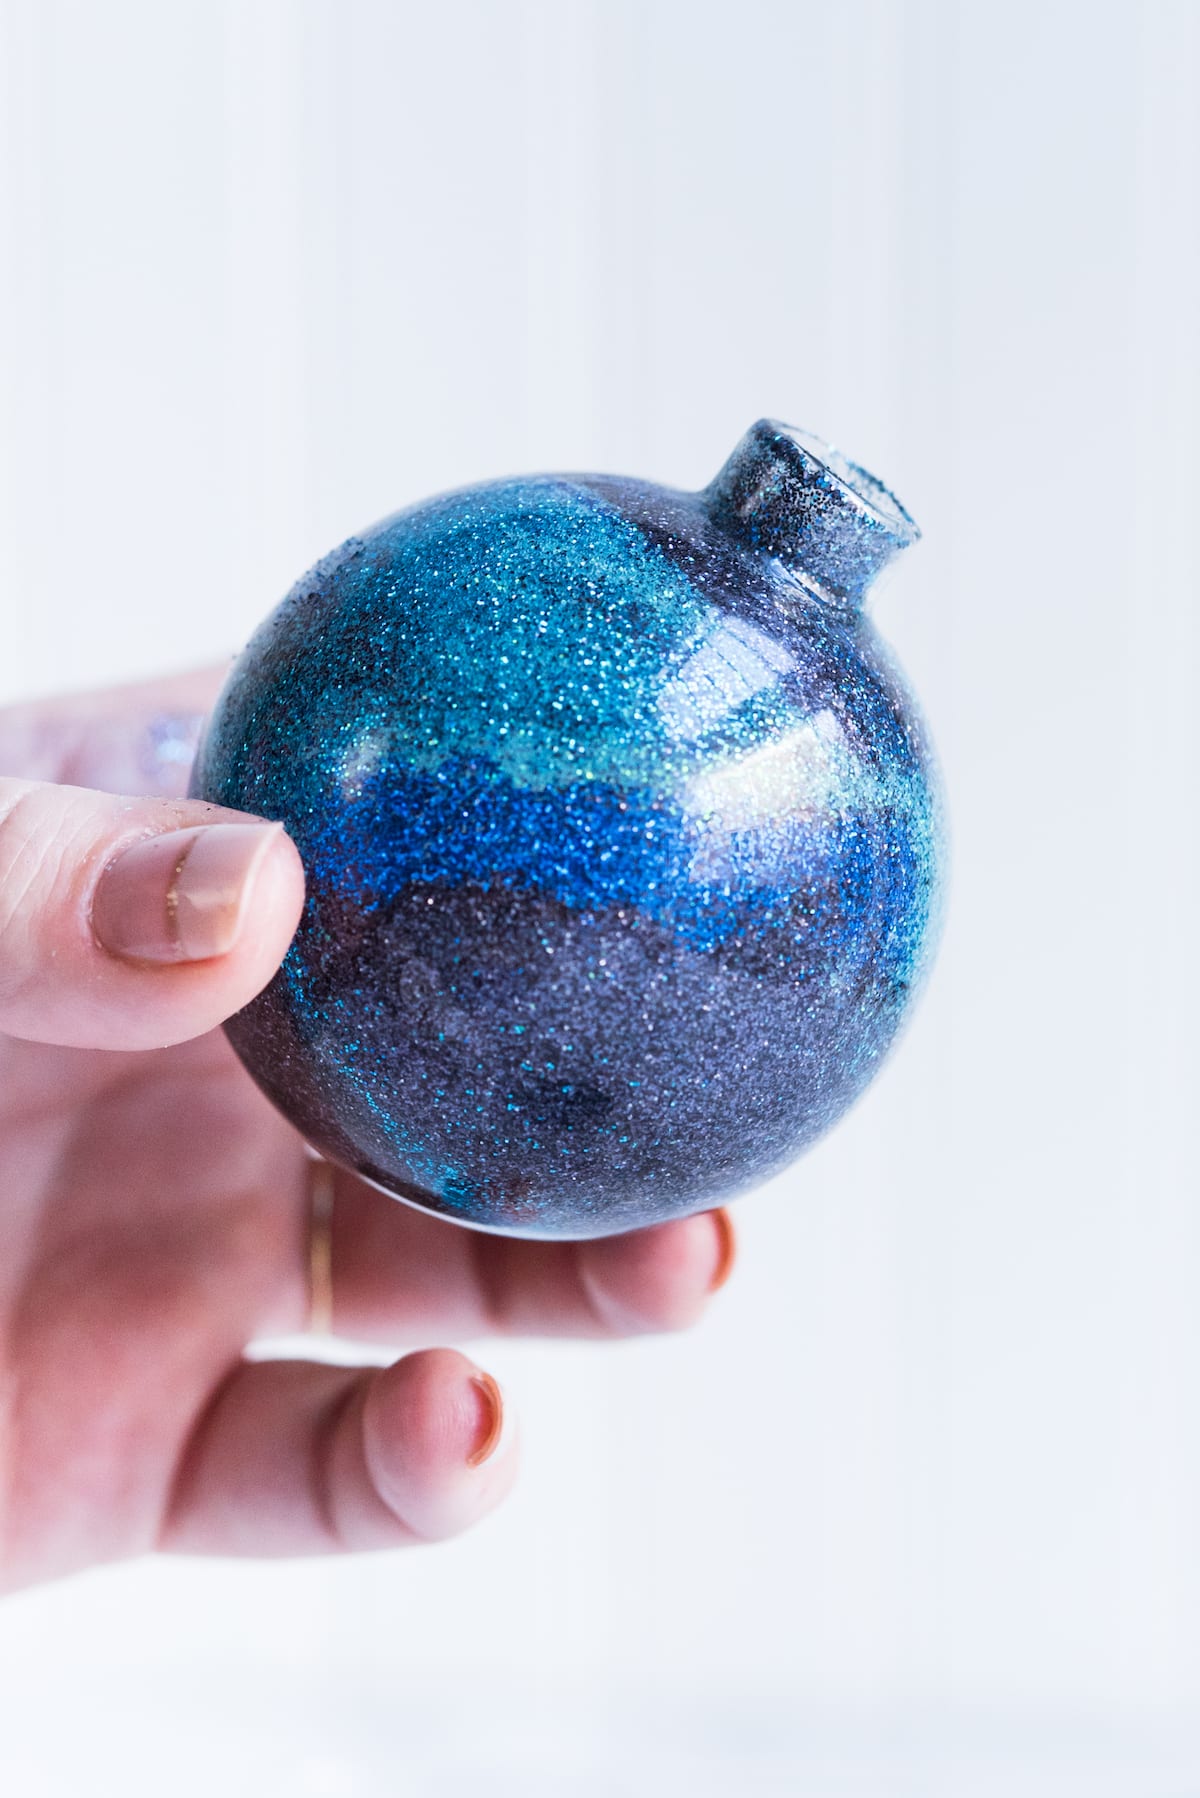
Pour out any excess glitter, giving it a good shake upside down. Replace the cap and you’re ready for the last step!

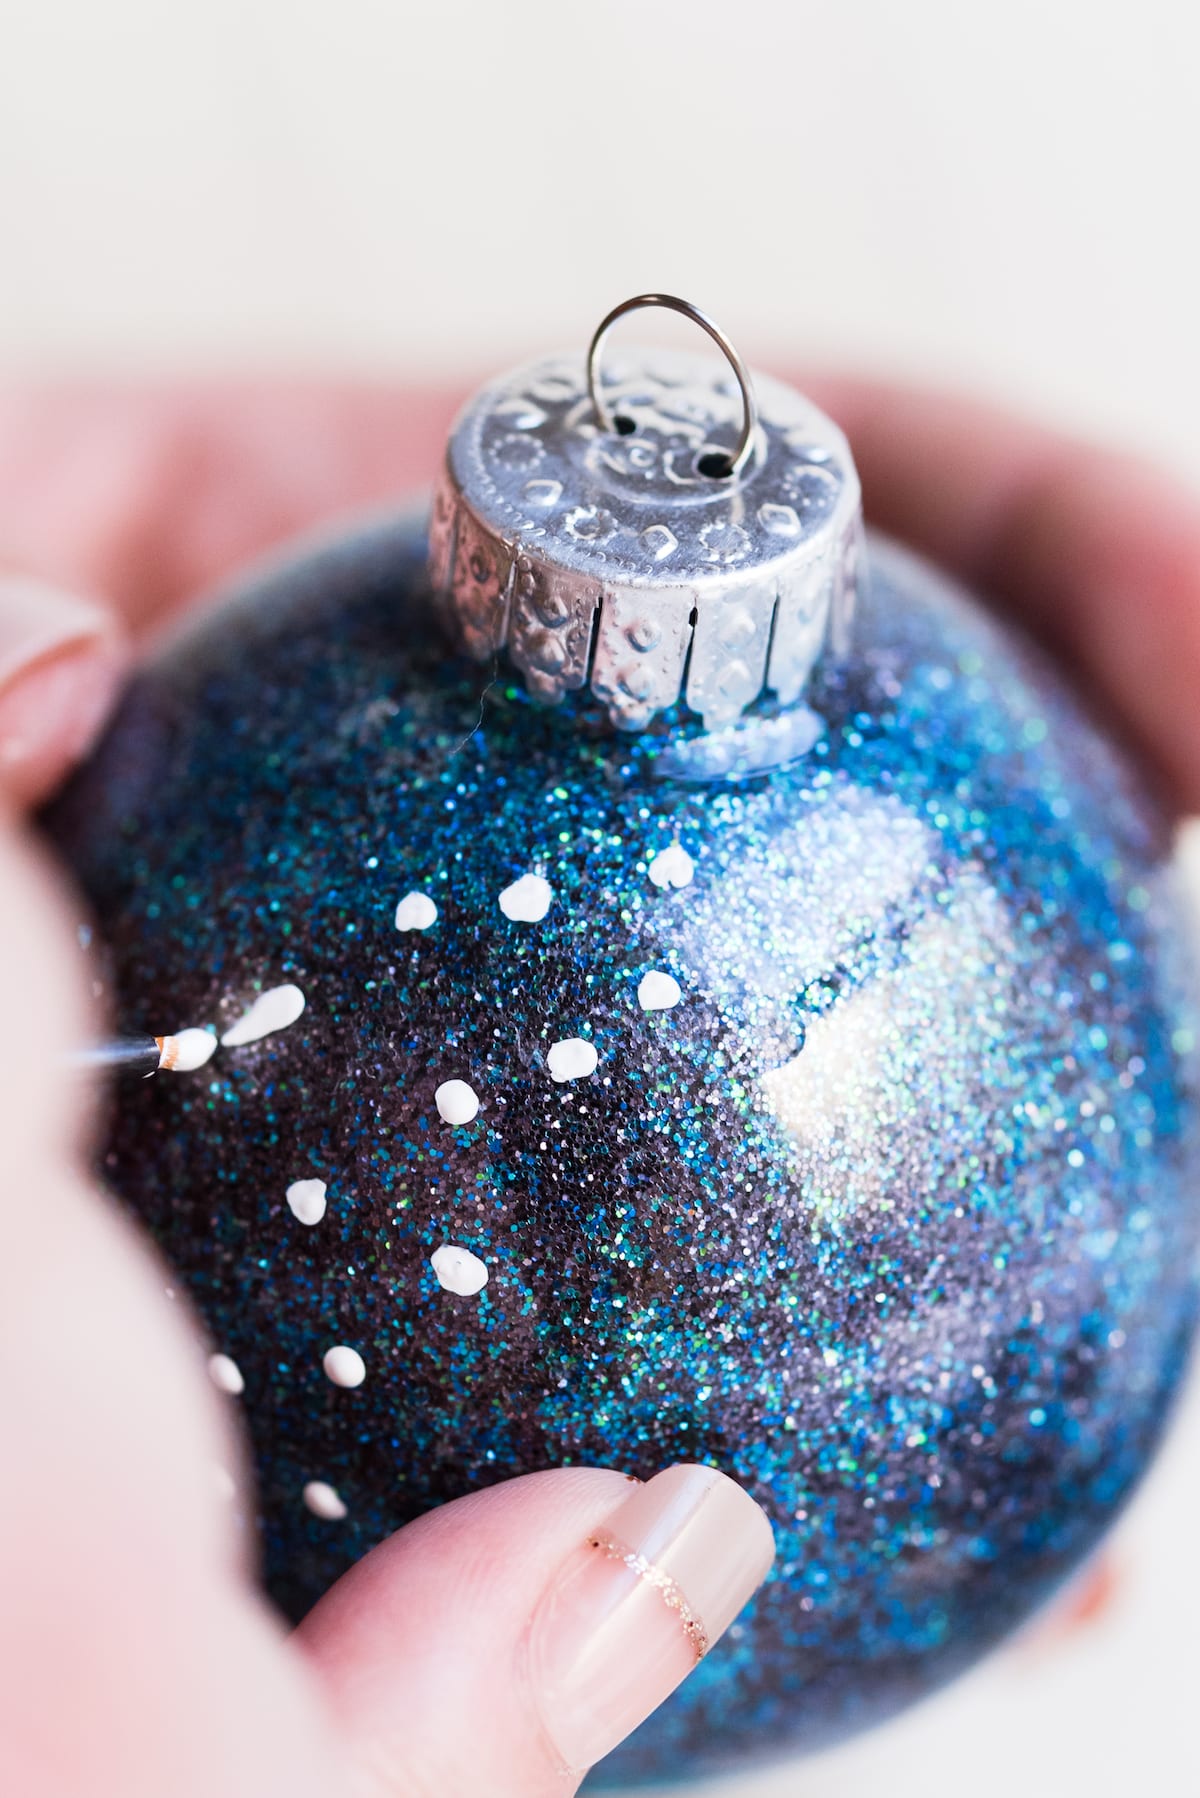
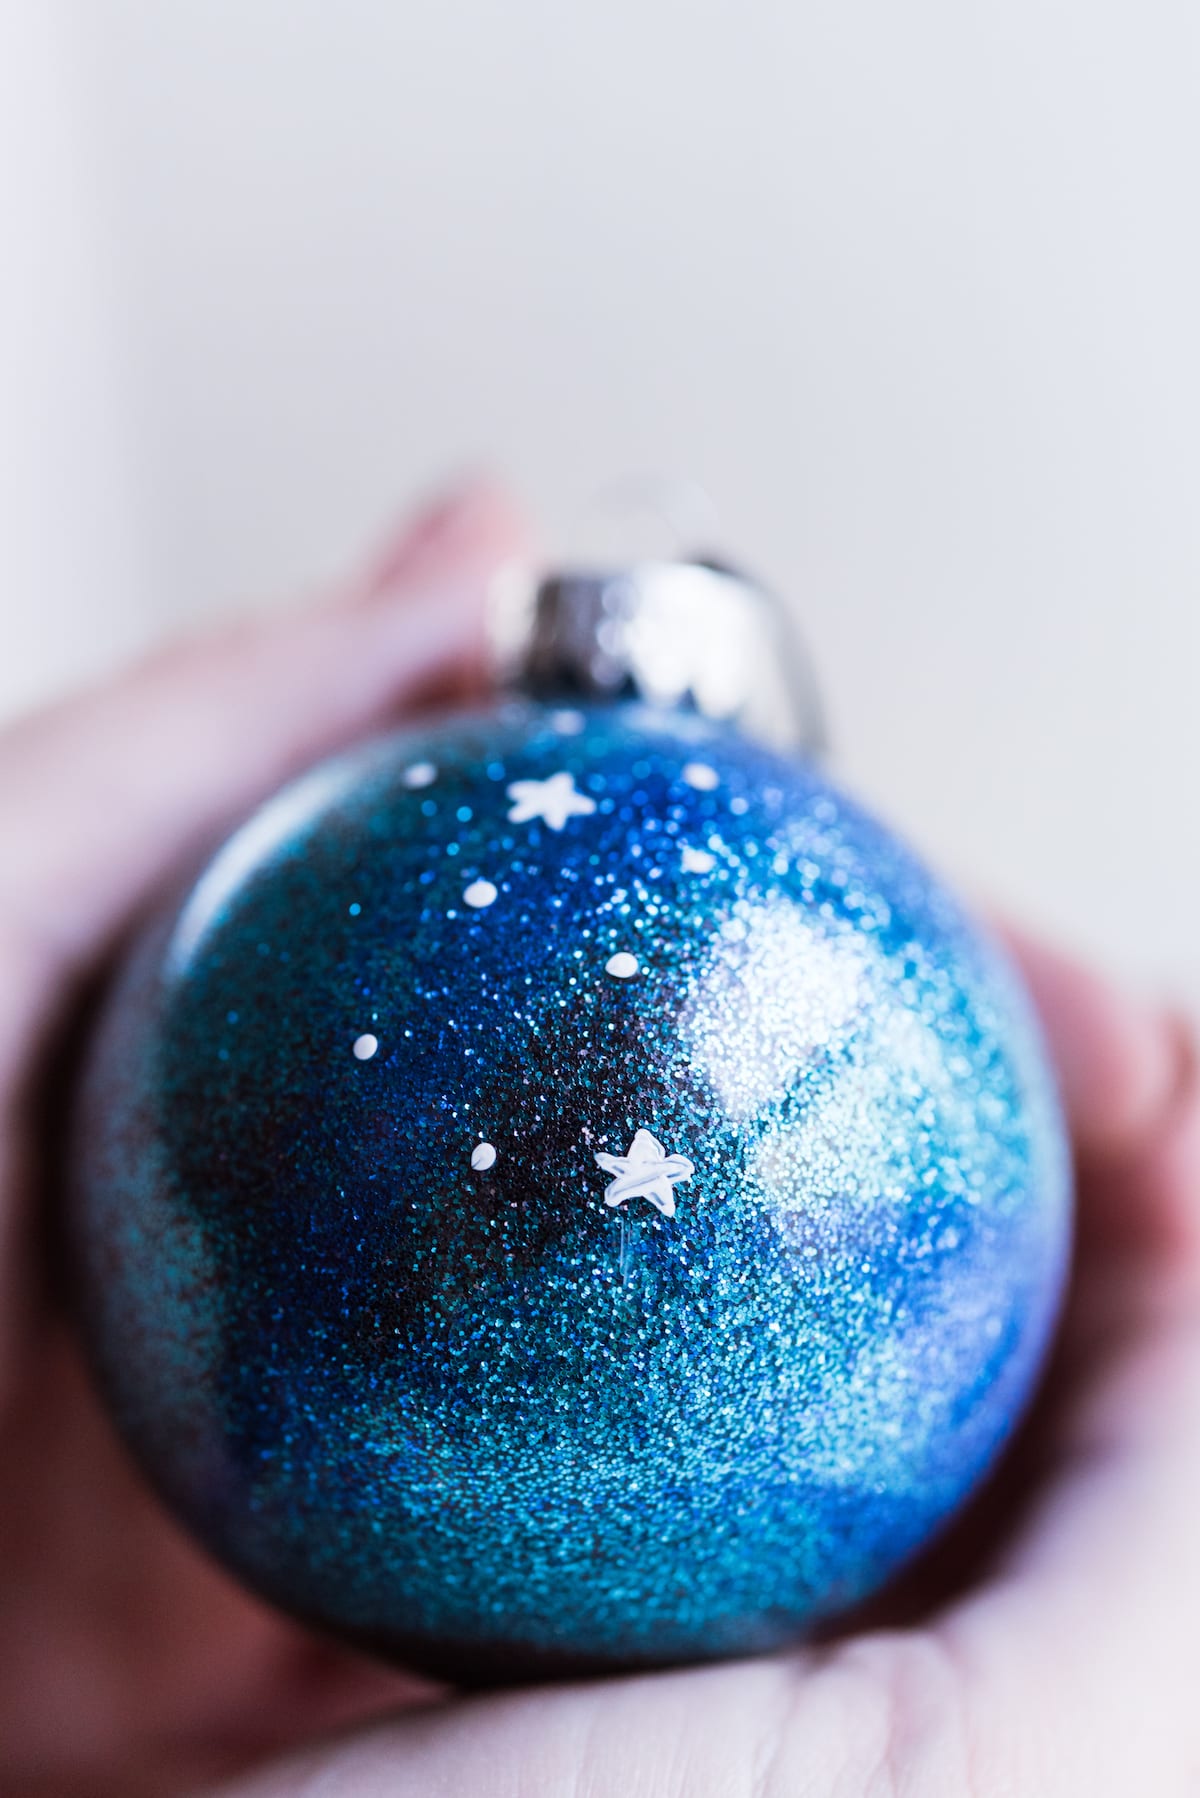
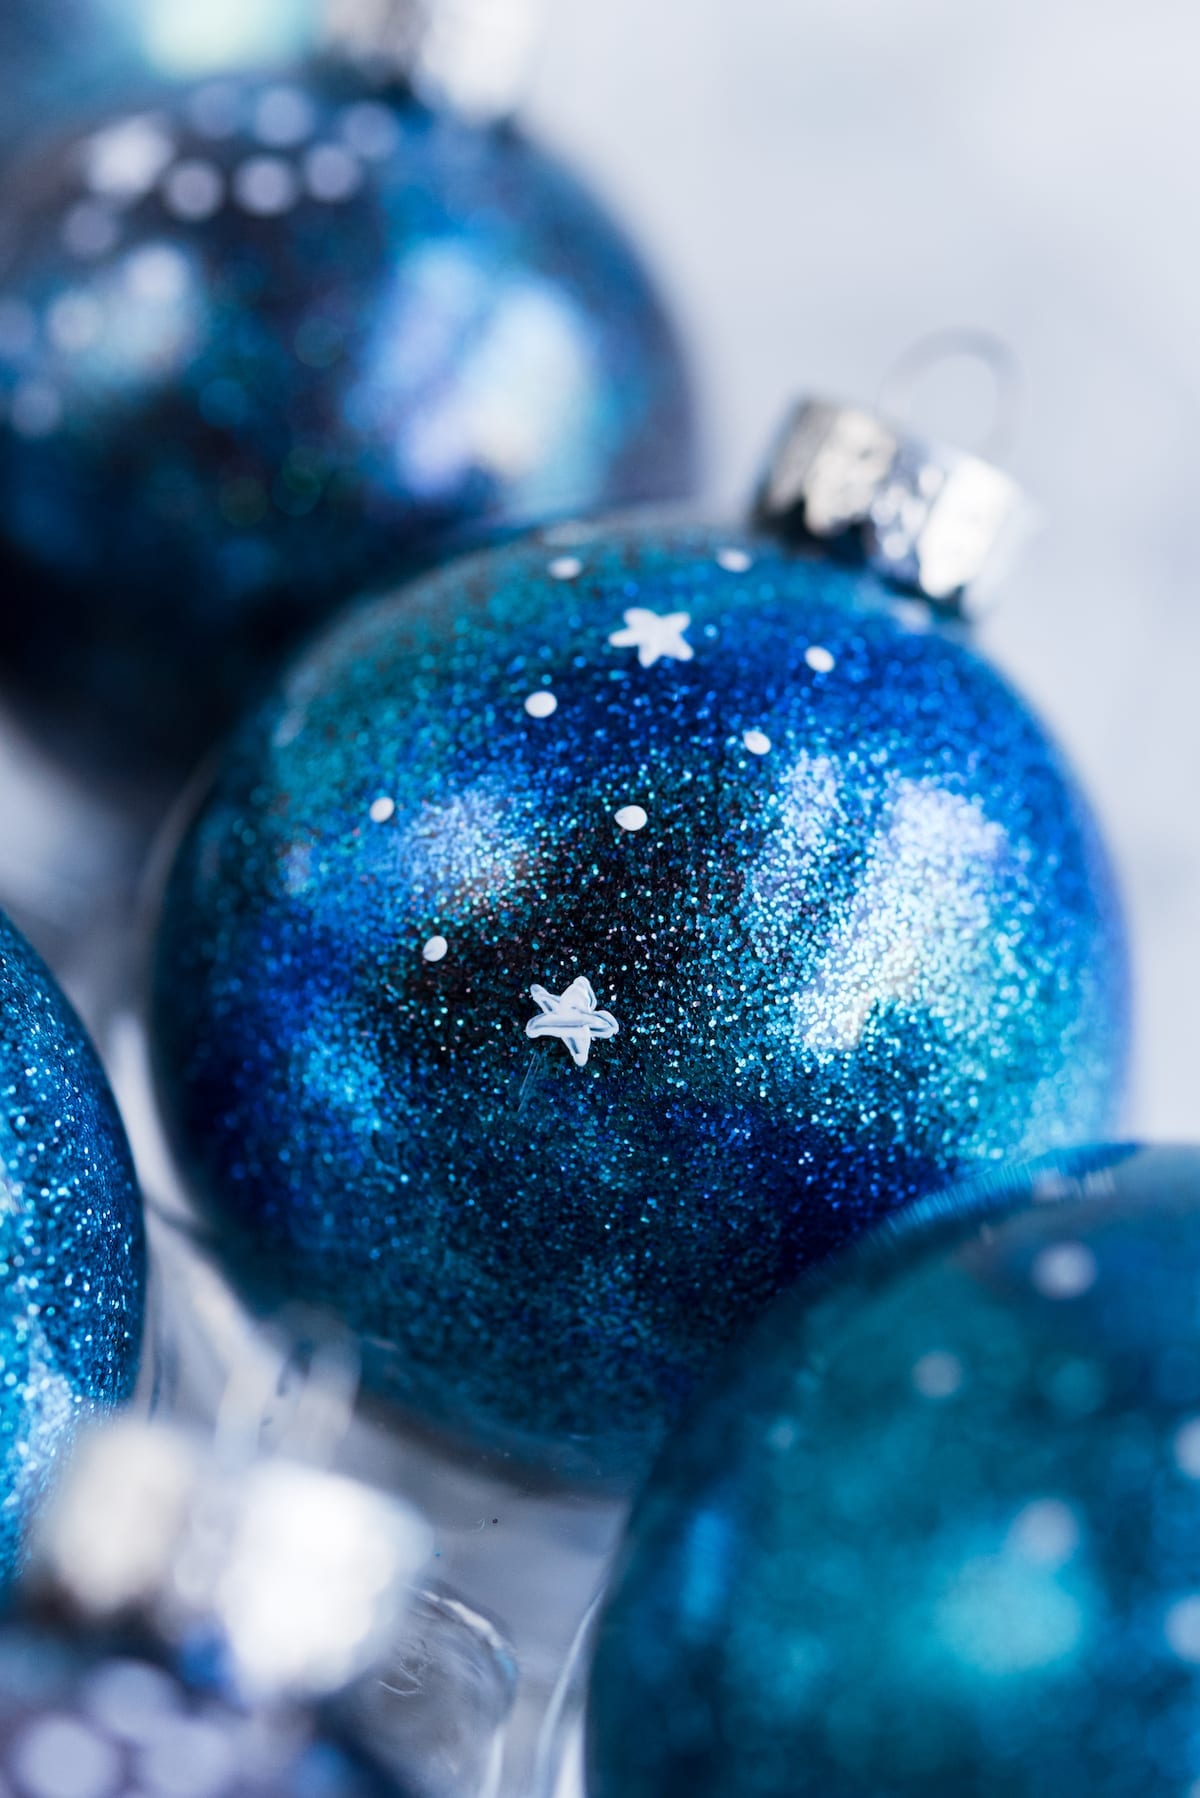
Using a thin liner brush, create a pattern of stars and constellations randomly on each ornament. I painted tiny little stars and a bunch of constellation inspired dots, keeping it simple and trying really hard not to overthink the patterns I was creating. Then just let everything dry completely, add a bit of ribbon and you’re ready to hang your ornaments!


[Art direction + styling by Cyd Converse | Photos by Alice G. Patterson.]


 Back to Top
gorgeous!