I’ve mentioned before that I love crafting this time of year more than other. Maybe it’s the excuse to go all out with gold leaf and confetti and glitter? That may very well have a little or a lot to do with it, admittedly. Specifically, creating really pretty homemade ornaments feels like it’s becoming a bit of an obsession. The painted gold leaf ornaments I made last year are some of my favorite ornaments on our tree and, coincidentally, the tutorial is one of the most popular posts I’ve shared in the last 8+ years of blogging! These gold leaf star ornaments from last week are also proving to be a hit. So, obviously you guys love some pretty ornaments, too. Consider these glitter confetti ornaments 2016’s answer to the gold leaf ornaments that set the world on fire. I wanted to make something just as easy, just as beautiful and hopefully just as fun for you to replicate. So let’s hope to it, shall we? These are quick and easy to make, and would be a great project for kids to help with, too!
Supplies
- Clear glass or plastic ornaments
- Metallic confetti
- Large glitter in assorted sizes/colors
- Ribbon or twine
- Spray adhesive
- Glossy spray sealer
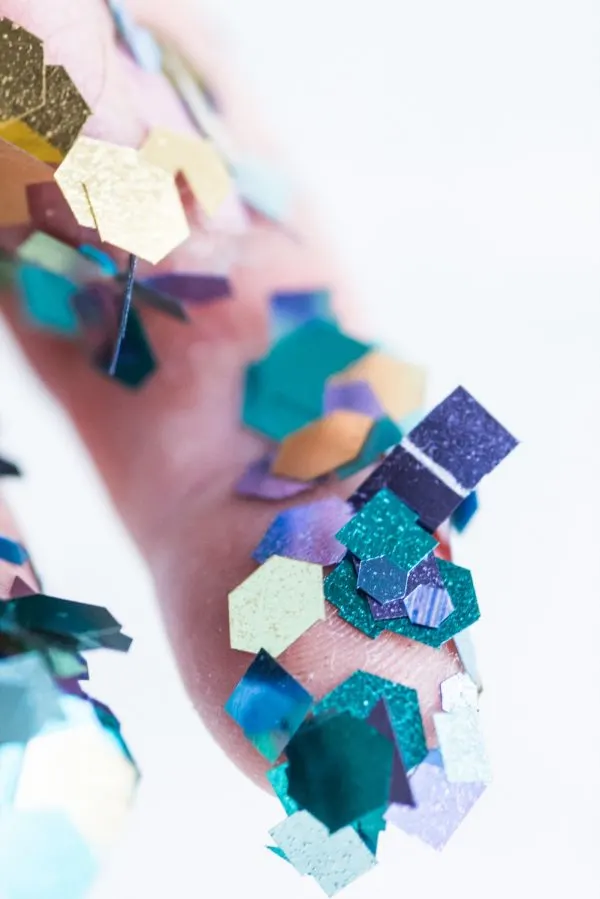
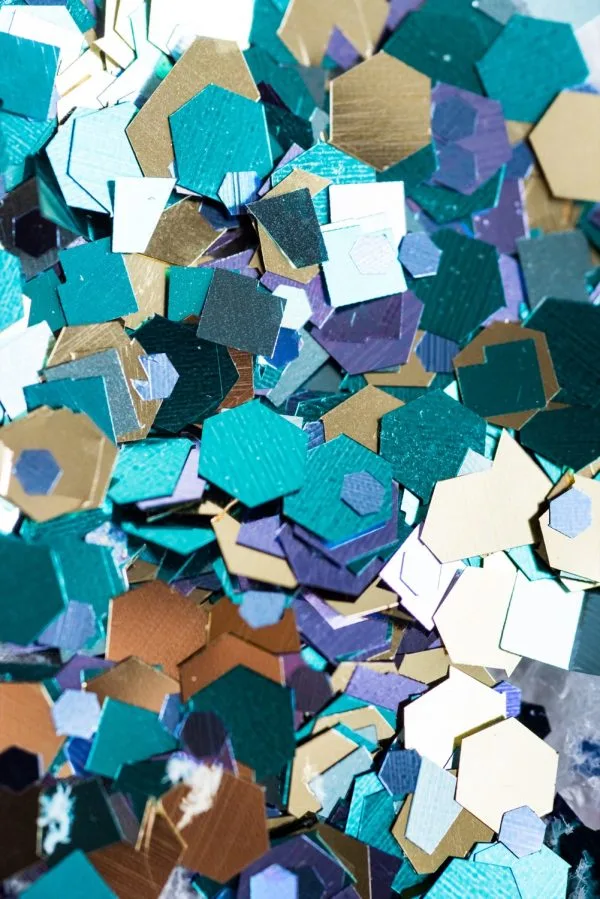
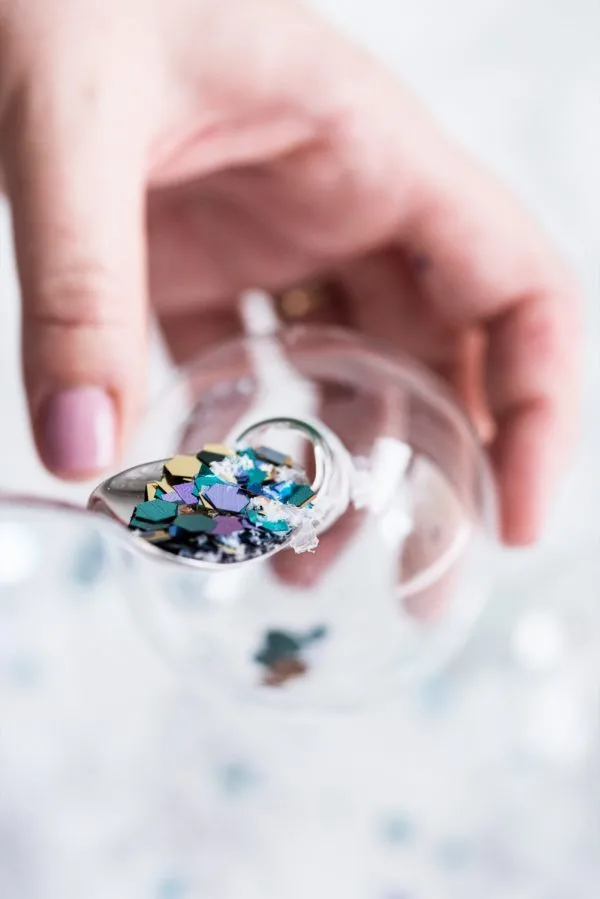
I found this super pretty jumbo glitter at Michaels and picked out a variety of colors and sizes that I thought looked beautiful together. Once home, I mixed some of each in a mixing bowl and then tossed in some metallic confetti that I’d also picked up at Michaels. Using a lemonade spoon I carefully spooned the mixture into each ornament until they were roughly 1/3 full. If you have a small funnel it will be even easier!
For the next step you’ll want to work in a well ventilated area (outdoors is best) and thoroughly protect your work area with newspaper or craft paper. Then use your spray glue to give the ornament a thin, light coat of adhesive. I wanted my glitter concentrated at the top of the ornament, so I applied the spray glue from the top down, intentionally making sure not to coat the entire bulb. Then it’s time to shake on the glitter! I shook glitter all over the ornament, gently shook over the excess, then repeated the steps. With the second coat of glitter I used my fingers to press it more firmly against the adhesive. Once you achieve the look you like, finish up with a quick coat of clear, glossy spray sealer to help lock the glitter into place and allow everything to dry for at least a few hours or overnight.
To top everything off, use a bit of pretty ribbon or twine to create a loop and a bow for hanging your ornaments. Or you can skip this part entirely and use traditional ornament hangers. It’s completely up to whatever look you prefer. And that’s it! If you love these ornaments, be sure to check out this pretty DIY glitter vase, which uses a similar technique. And don’t forget! If you give these ornaments or any of my other craft projects or recipes a try, share it with me on Instagram using the hashtag #thesweetestholidays so I can take a look and leave you a little love!
[Art direction + styling by Cyd Converse | Photos by Alice G. Patterson for The Sweetest Occasion.]












Jonna
Saturday 28th of November 2020
You are brilliant, thank you!
Cyd Converse
Thursday 3rd of December 2020
Hahaha thanks, Jonna!
Rae
Thursday 22nd of December 2016
This is such an awesome DIY! I have pinned these photos and will definitely be trying to make these next year!
Cyd Converse
Monday 26th of December 2016
Thanks so much, Rae! They're so pretty and really easy to make. xo
Ariona
Thursday 22nd of December 2016
This is so pretty! It makes me think of snowflakes. Great DIY!
Cyd Converse
Thursday 22nd of December 2016
Thanks so much, Ariona! They do definitely have that pretty sparkly quality of snowflakes.