


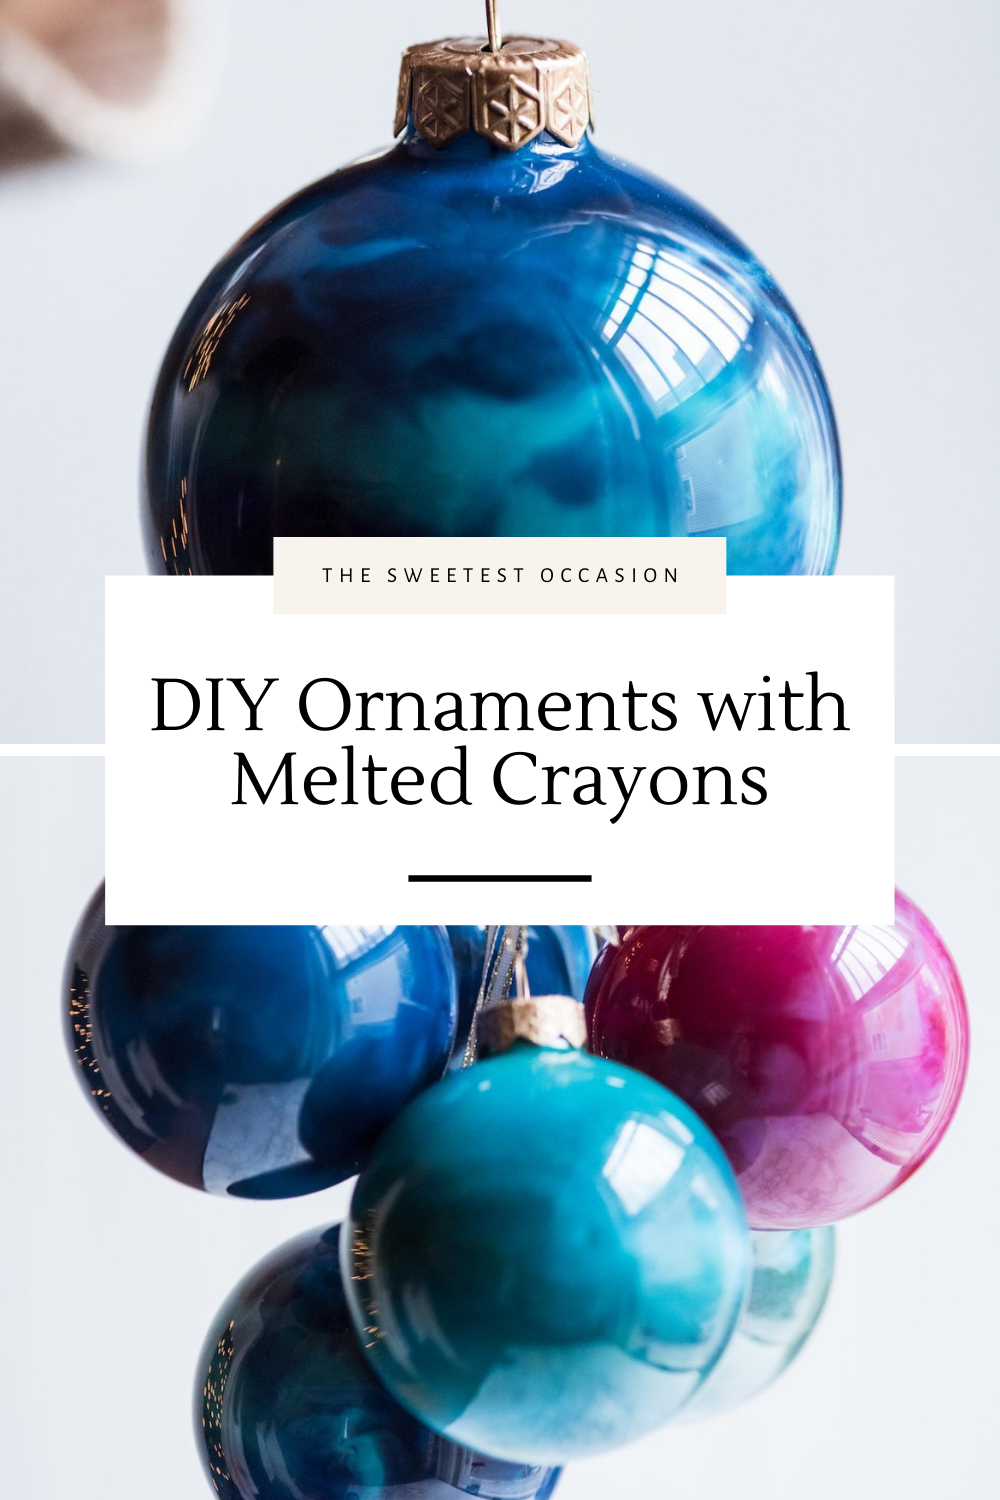
These DIY Christmas ornaments are made with clear glass ornaments and discarded crayons. They are a super easy DIY ornament project that the you can customize with your favorite colors.
Making homemade ornaments is one of my favorite holiday traditions and every year my DIY Christmas ornament posts are some of the most popular that I share all year!
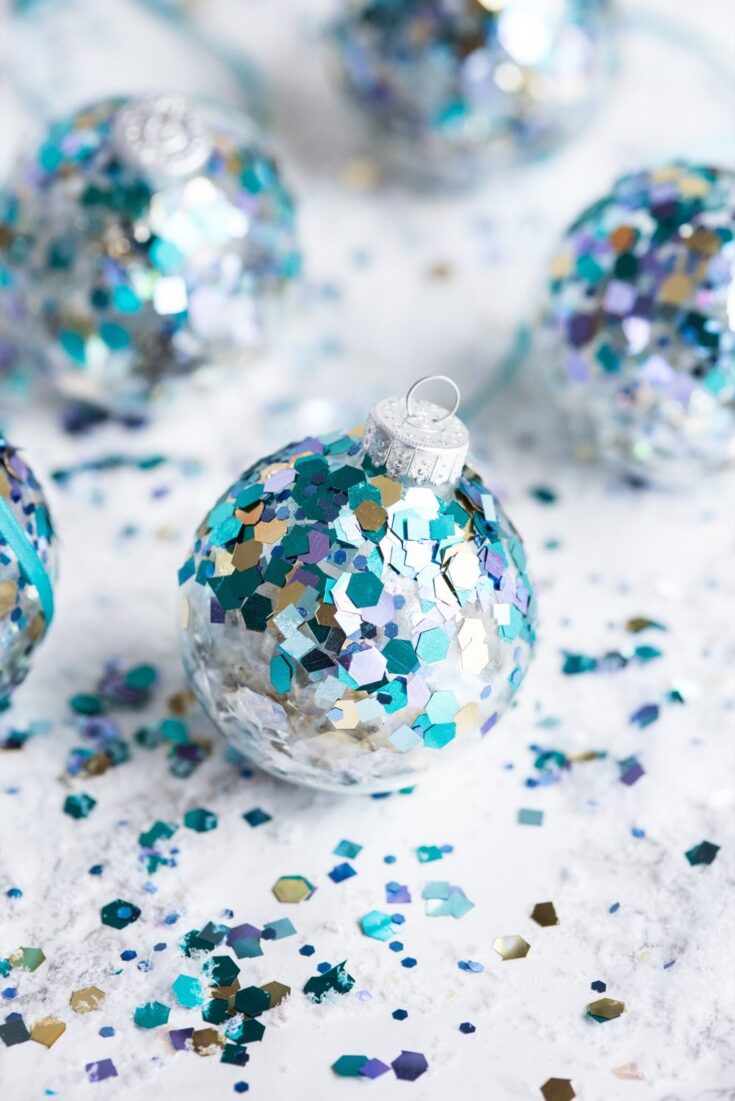
These gold leaf ornaments and these glitter confetti ornaments from year’s past are a couple of the top ranking posts I’ve ever shared in over a decade of blogging. I love that!
Obviously that ups the ante though, because each year I love to bring you easy, DIY ornament ideas that add a little joy to your holiday season and a little beauty to your tree.
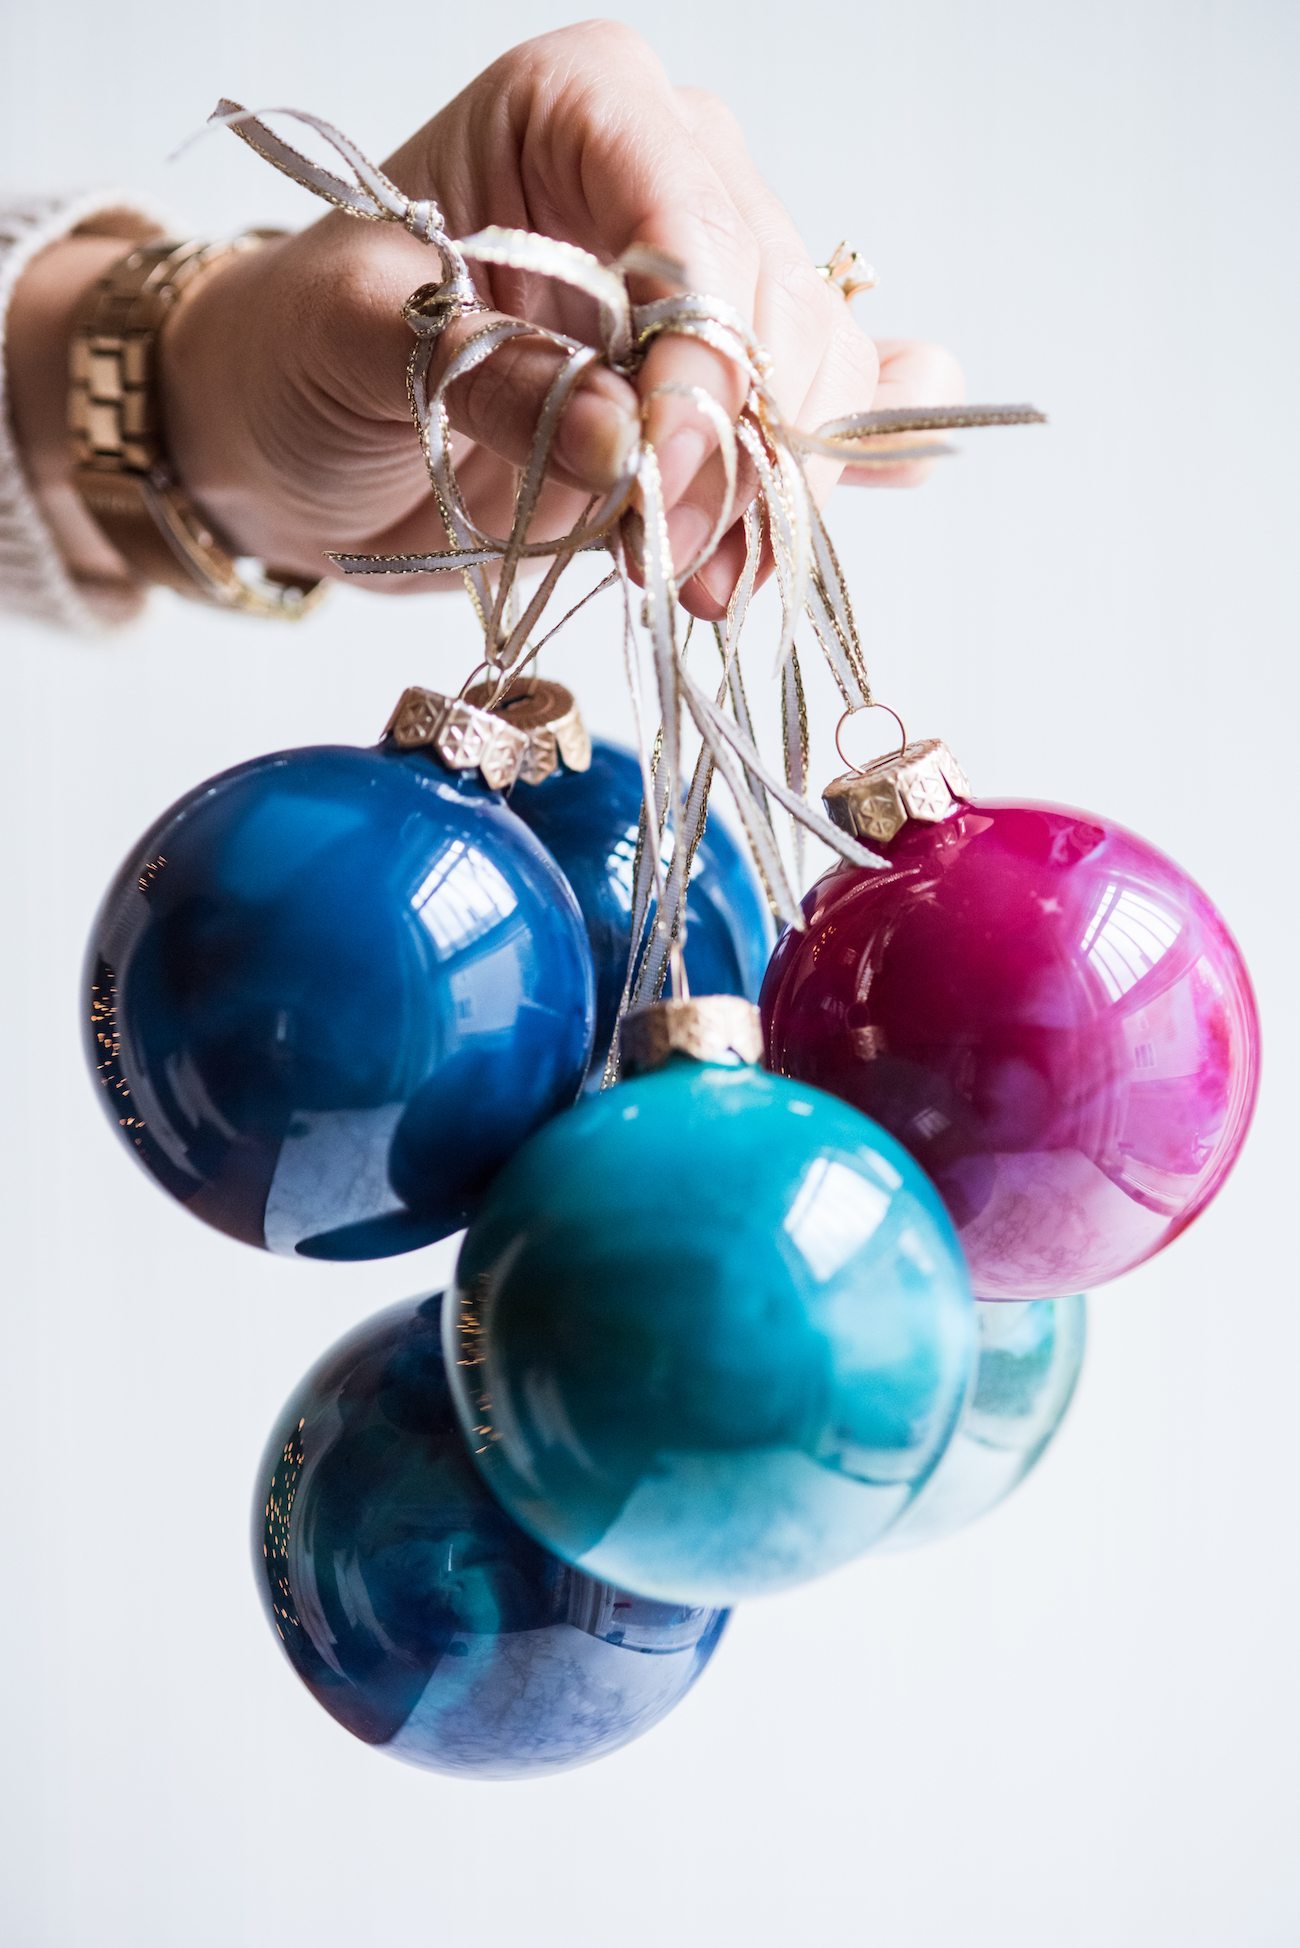
Inspired by elementary school melted crayon craft projects, but with a decidedly elegant touch, I bring you these stunning melted crayon ornaments!
They may just be one of the easiest ornaments I’ve ever made, easy enough for the kids to help if you them, but they are absolutely gorgeous.
Inexpensive, chic and homemade? Now that is my kind of holiday craft!
Supplies to Make DIY Christmas Ornaments
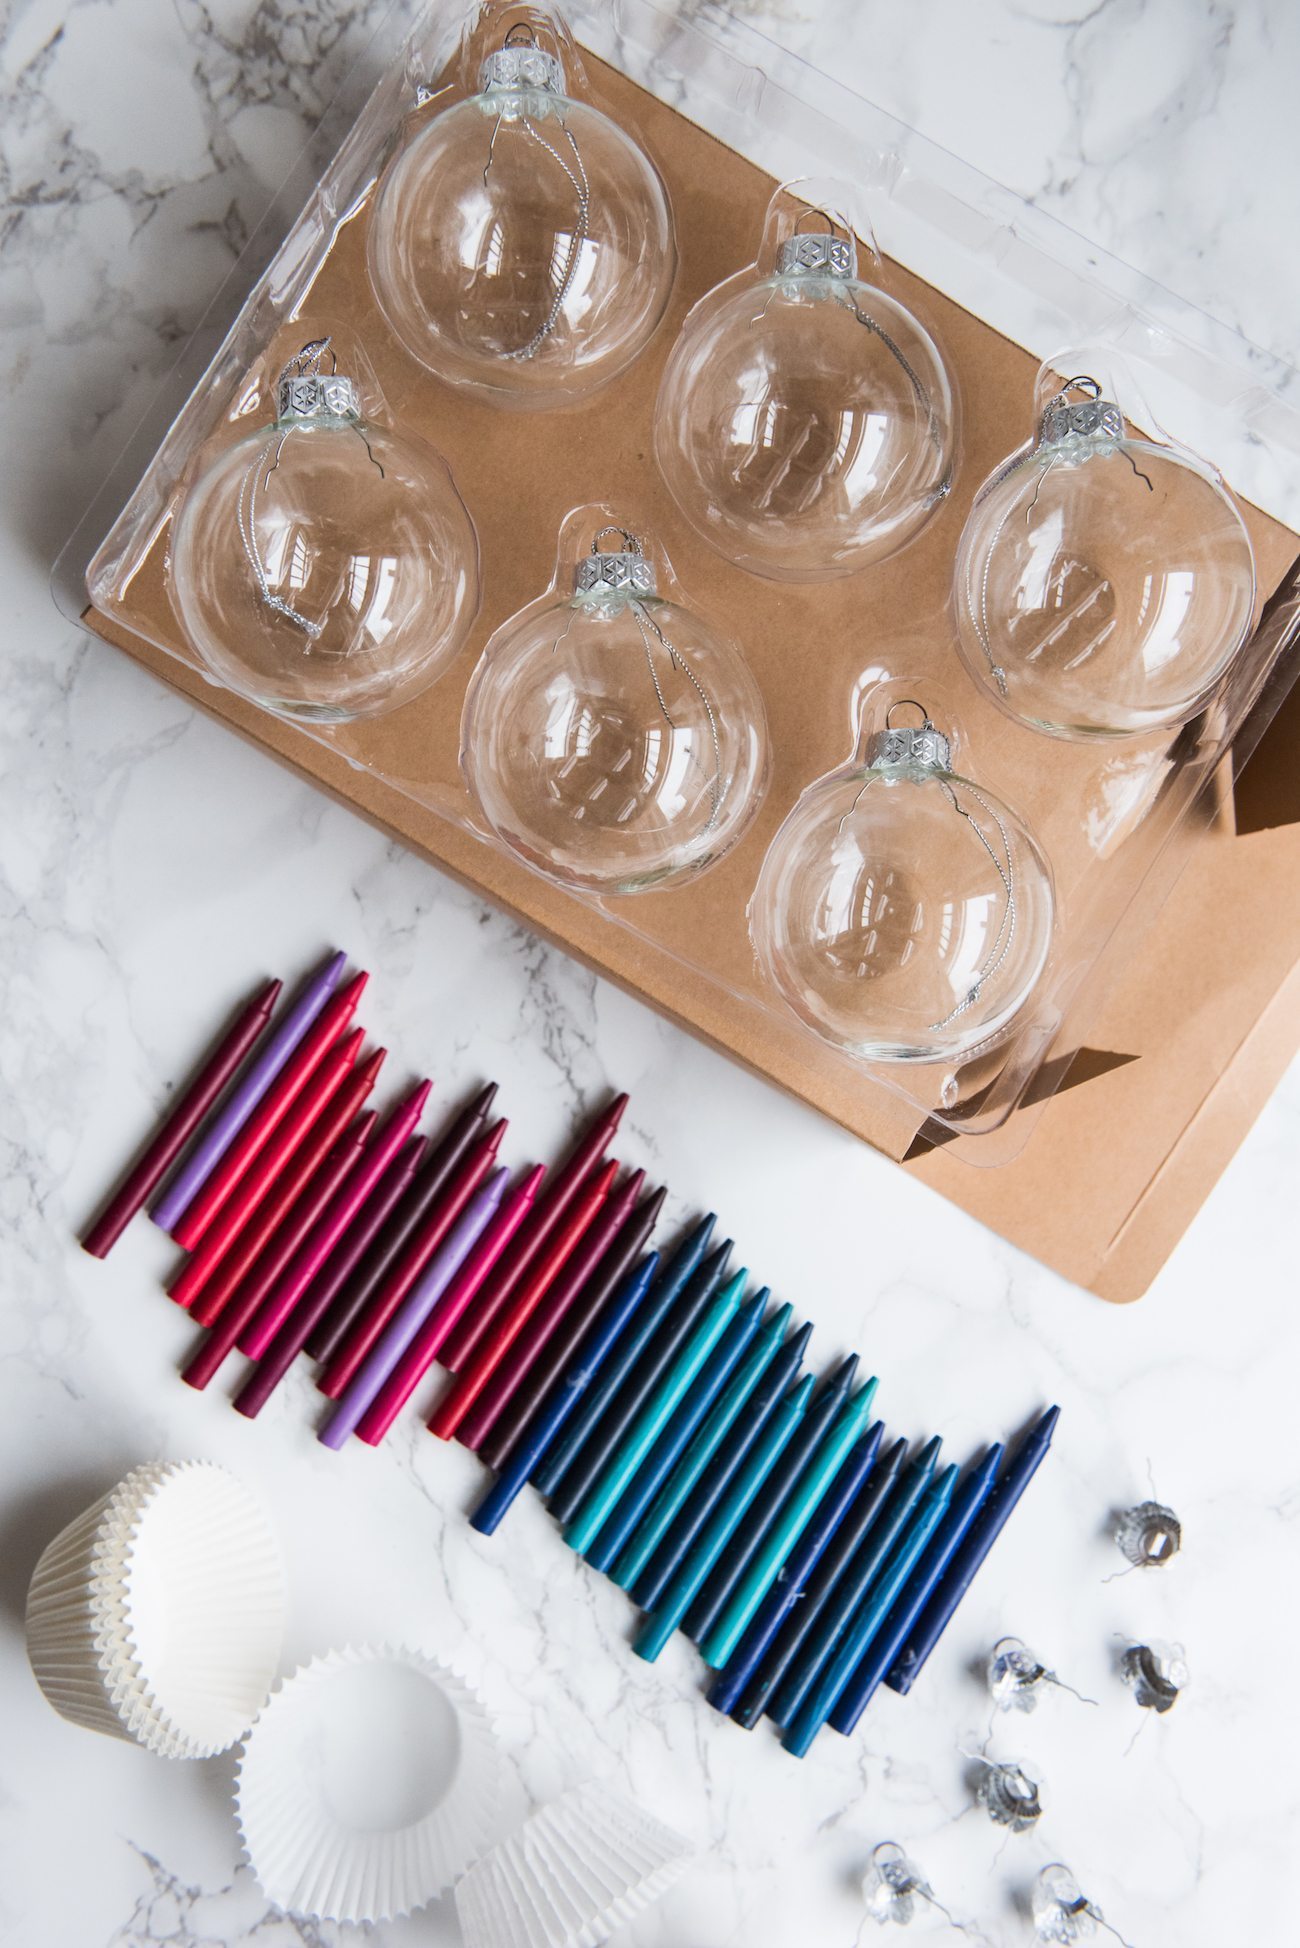
- Clear glass ornaments – For this project make sure you pick up clear glass ornaments. The plastic ones that look similar will not work for this project.
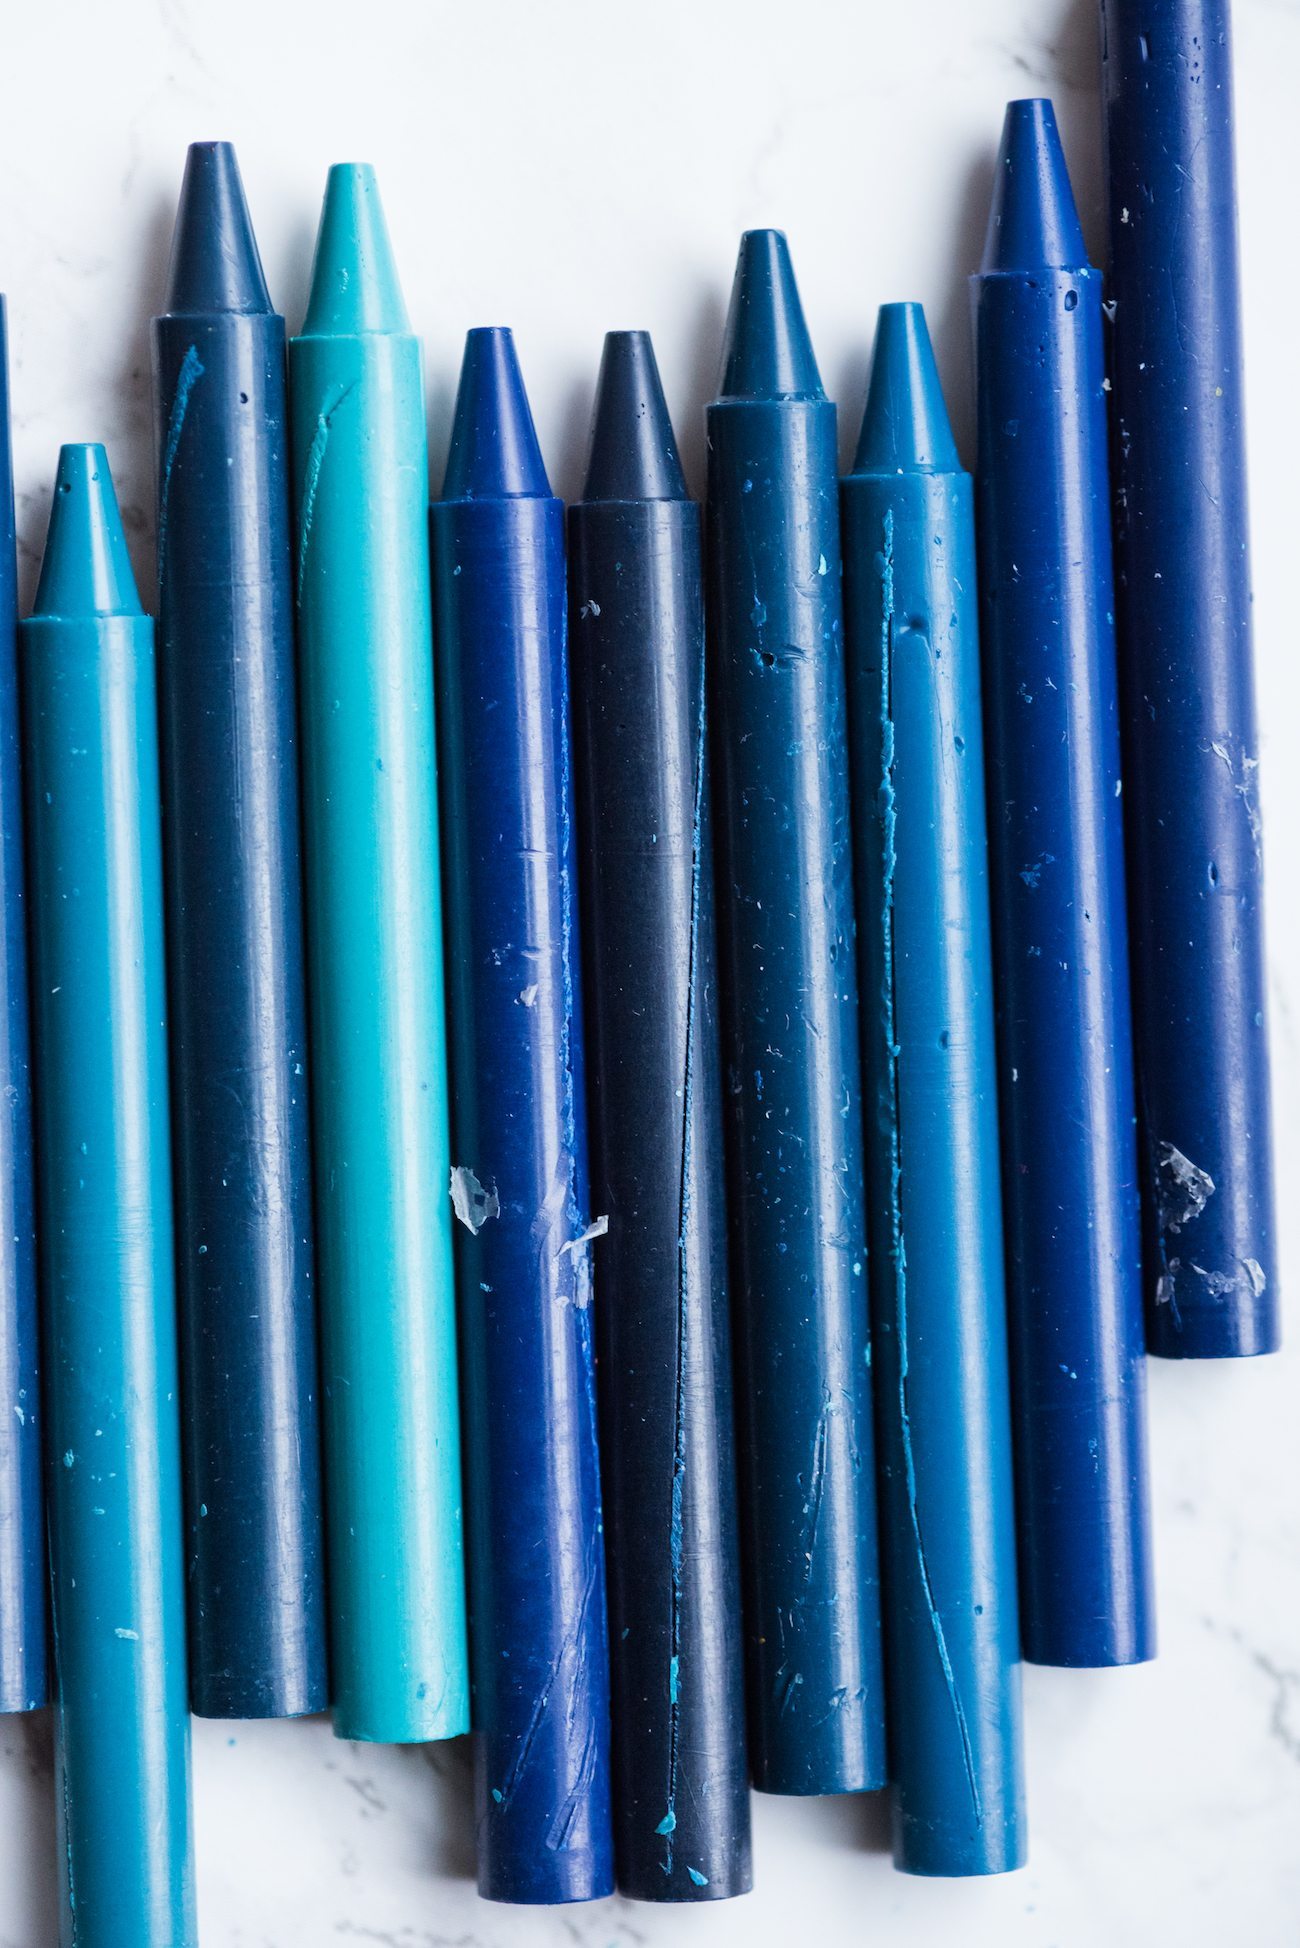
- Crayons in assorted colors – Choose any colors you like – it’s totally ok to use old broken crayons!
- Muffin tin with liners – Each ornament will be placed in a muffin liner and then into a muffin tin for baking. That’s how the crayons get warmed and melted.
- Gold spray paint (optional) – Depending on your color palette and preference, you may wish to spray paint the tops of your ornaments.
- Ribbon or ornament hangers – Choose a ribbon you love or pick up inexpensive ornament hangers to hang your ornaments when finished.
How to Make DIY Christmas Ornaments with Crayons
Step 1. Begin by determining what colors you prefer for your ornaments. Virtually any colors you love will work, keeping in mind you’ll want a variety of three to four colors per ornament.
You’ll also want to avoid pairing colors that will meld together and look icky together such as purple and yellow, which are going to result in a very unfavorable shade of brown.
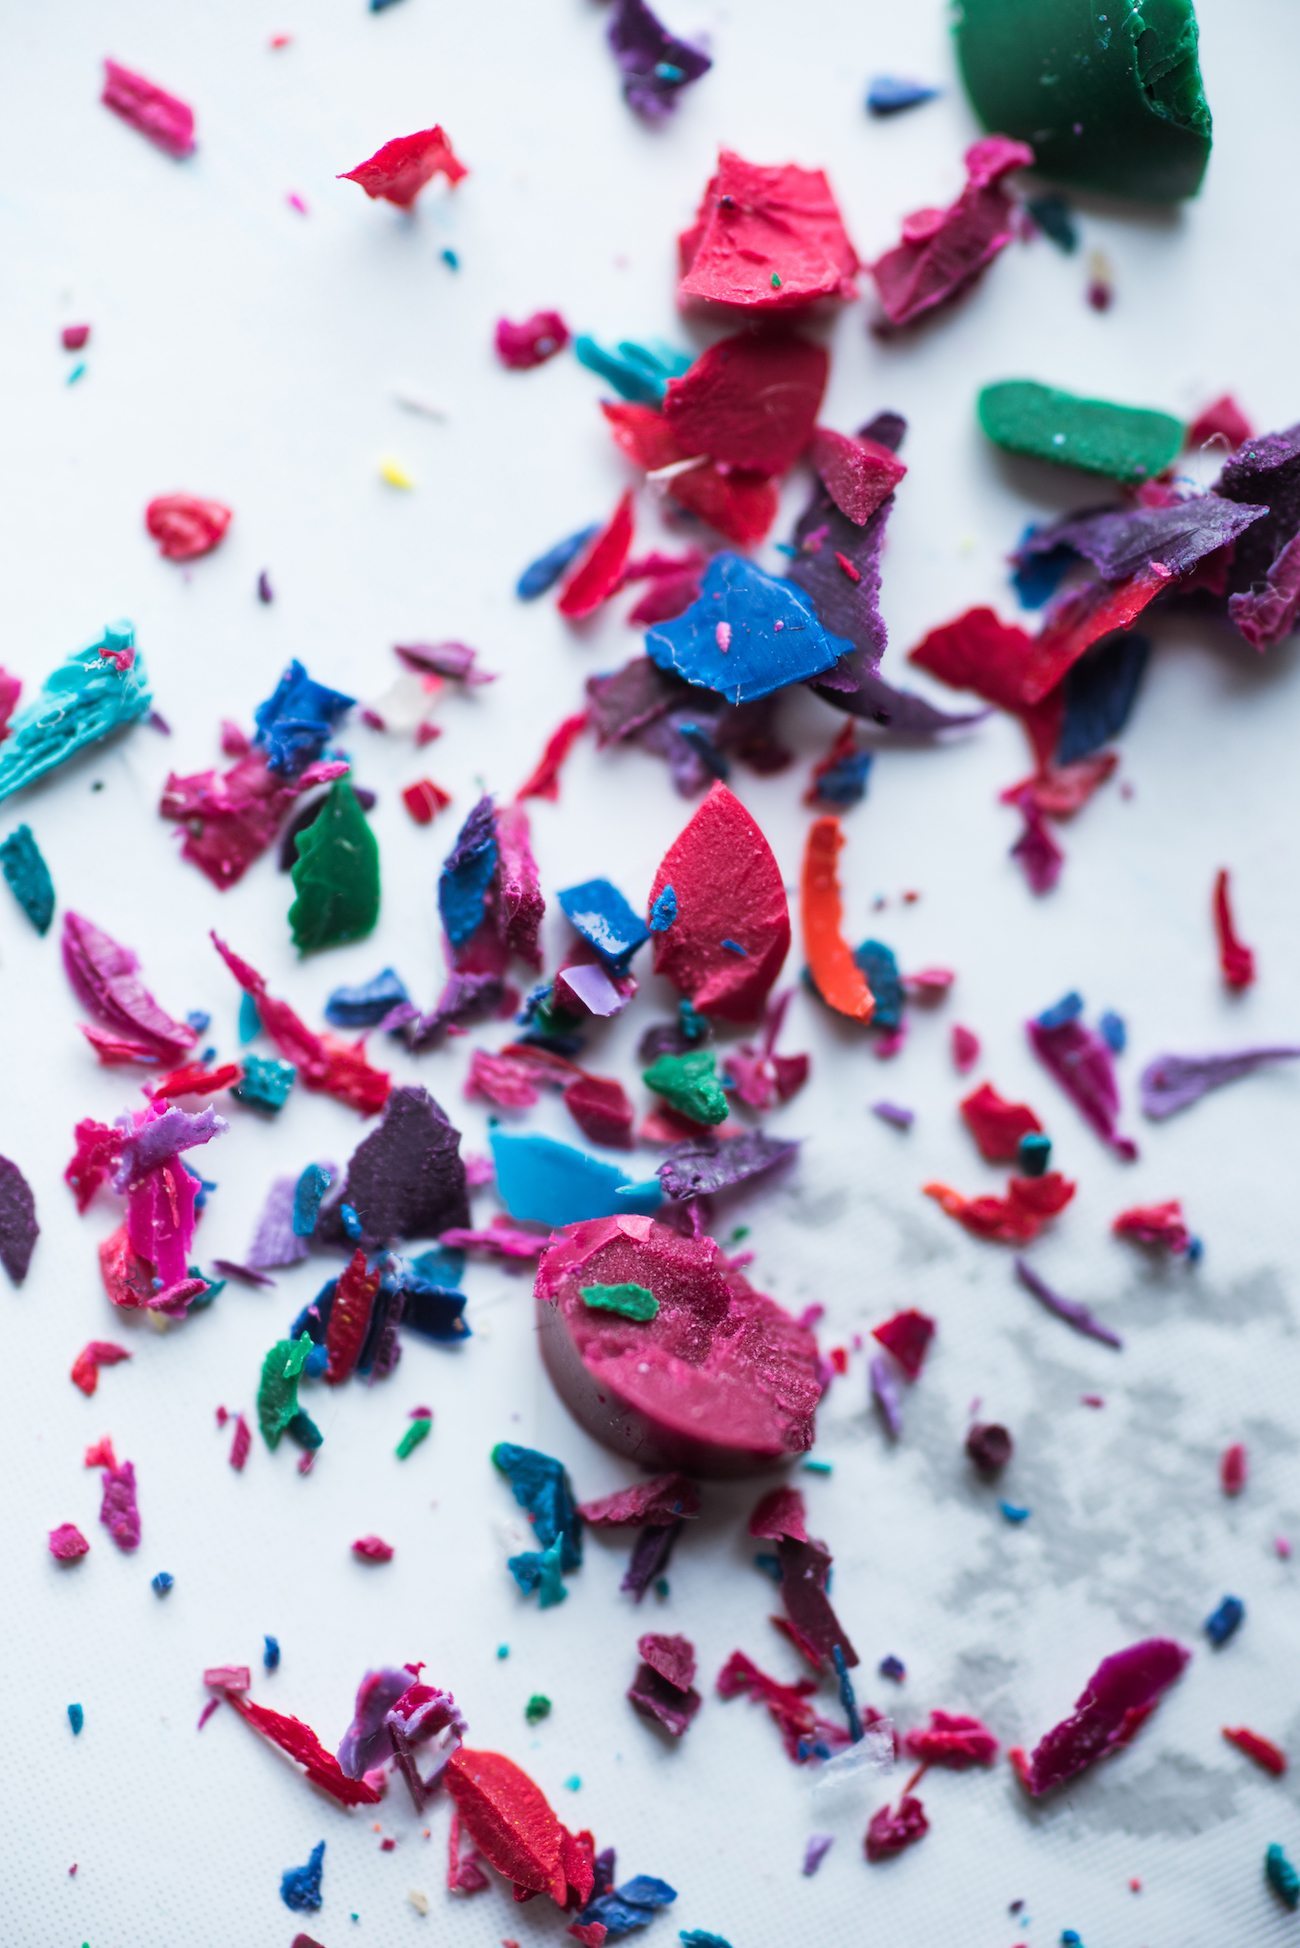
Step 2. Once you have your colors selected you’ll need to peel the wrapper from each crayon. Used or broken crayons also work fine as long as the paper wrapped is removed.
I found it removed easiest by slicing along the length of the paper with a craft knife before unwrapping it, but simply peeling off the paper also works fine.
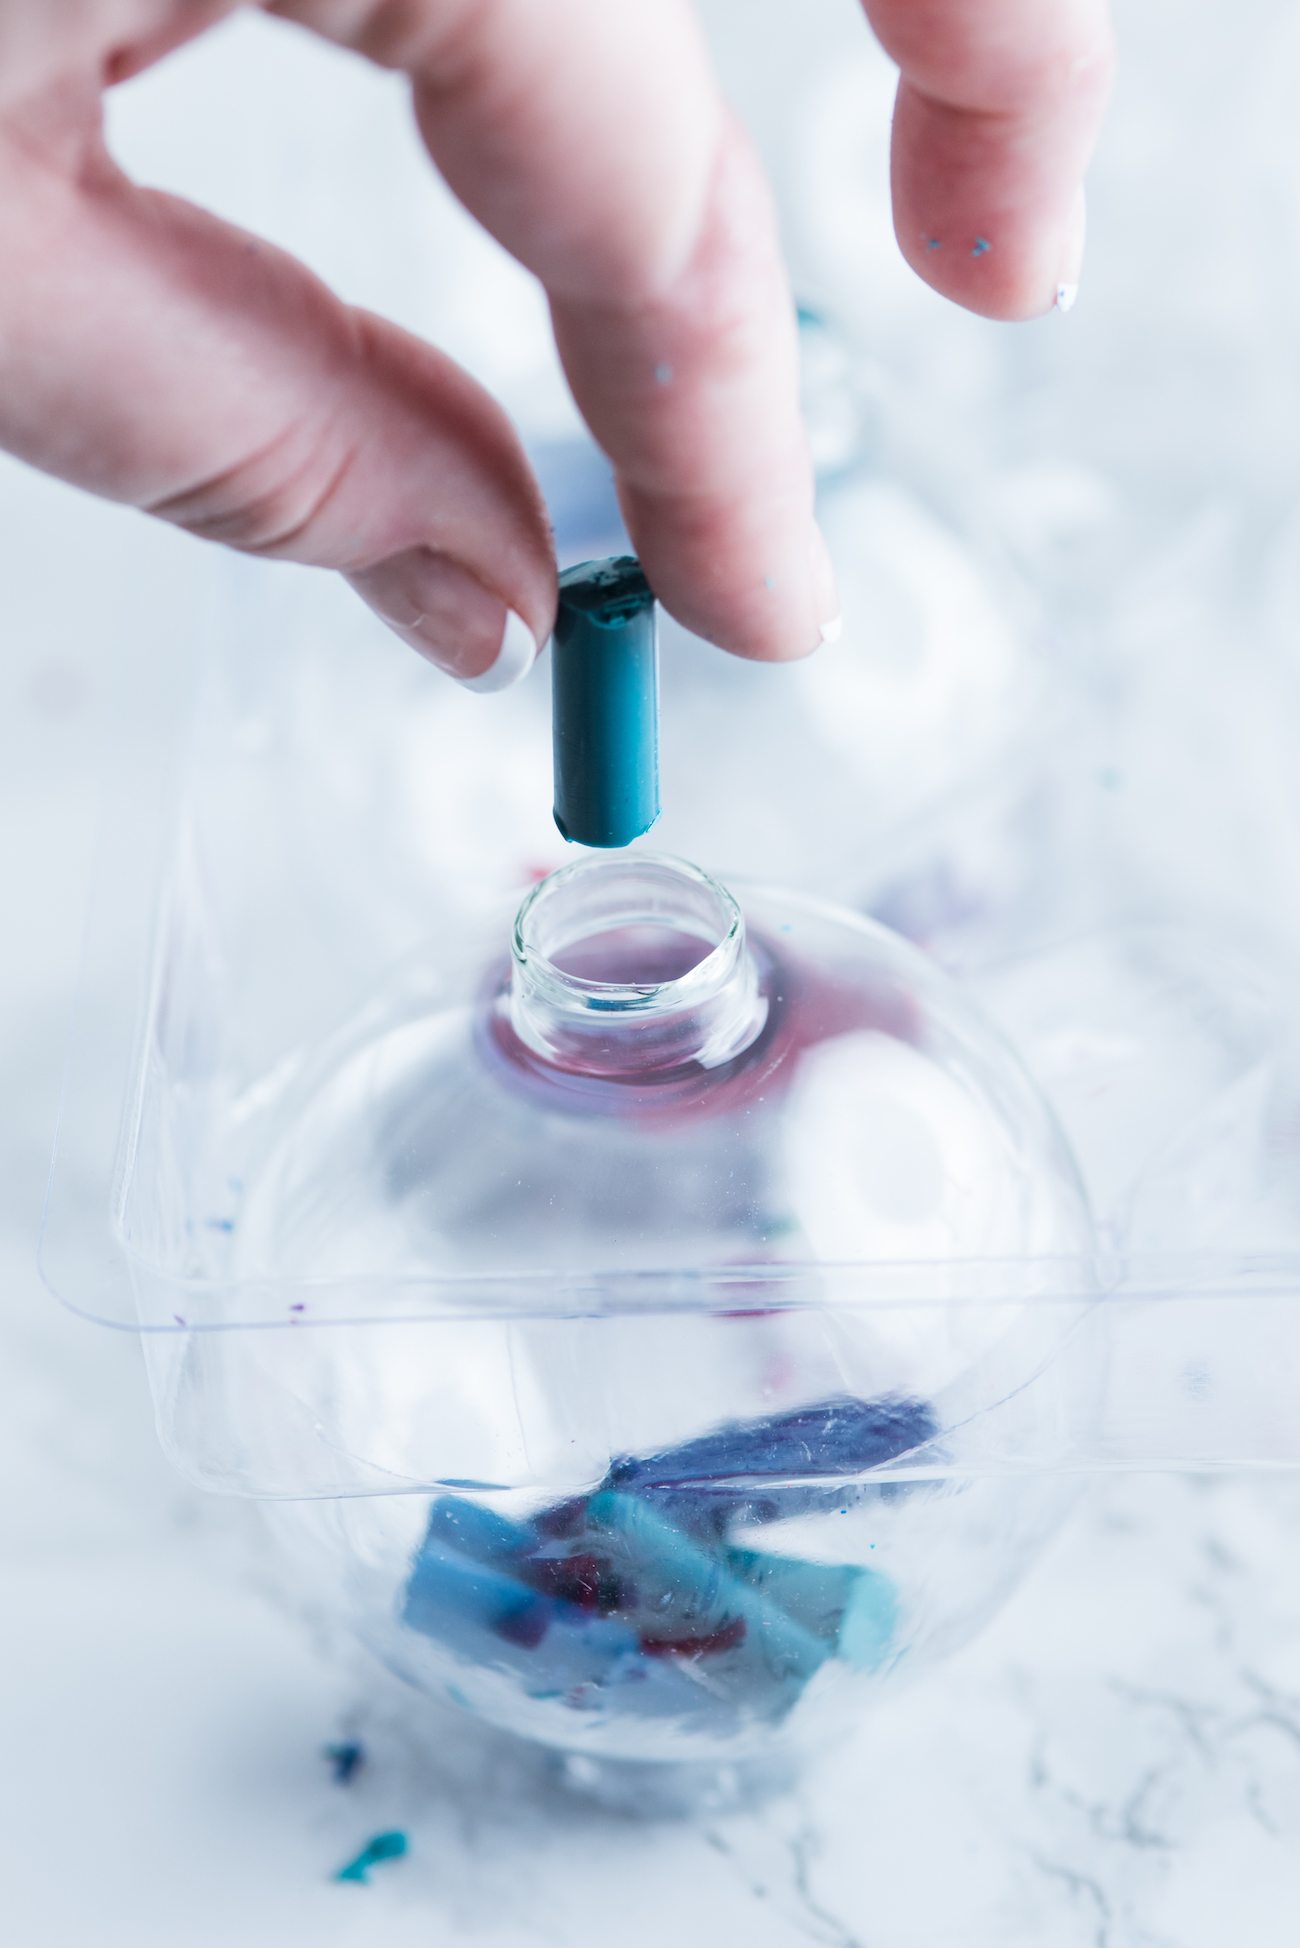
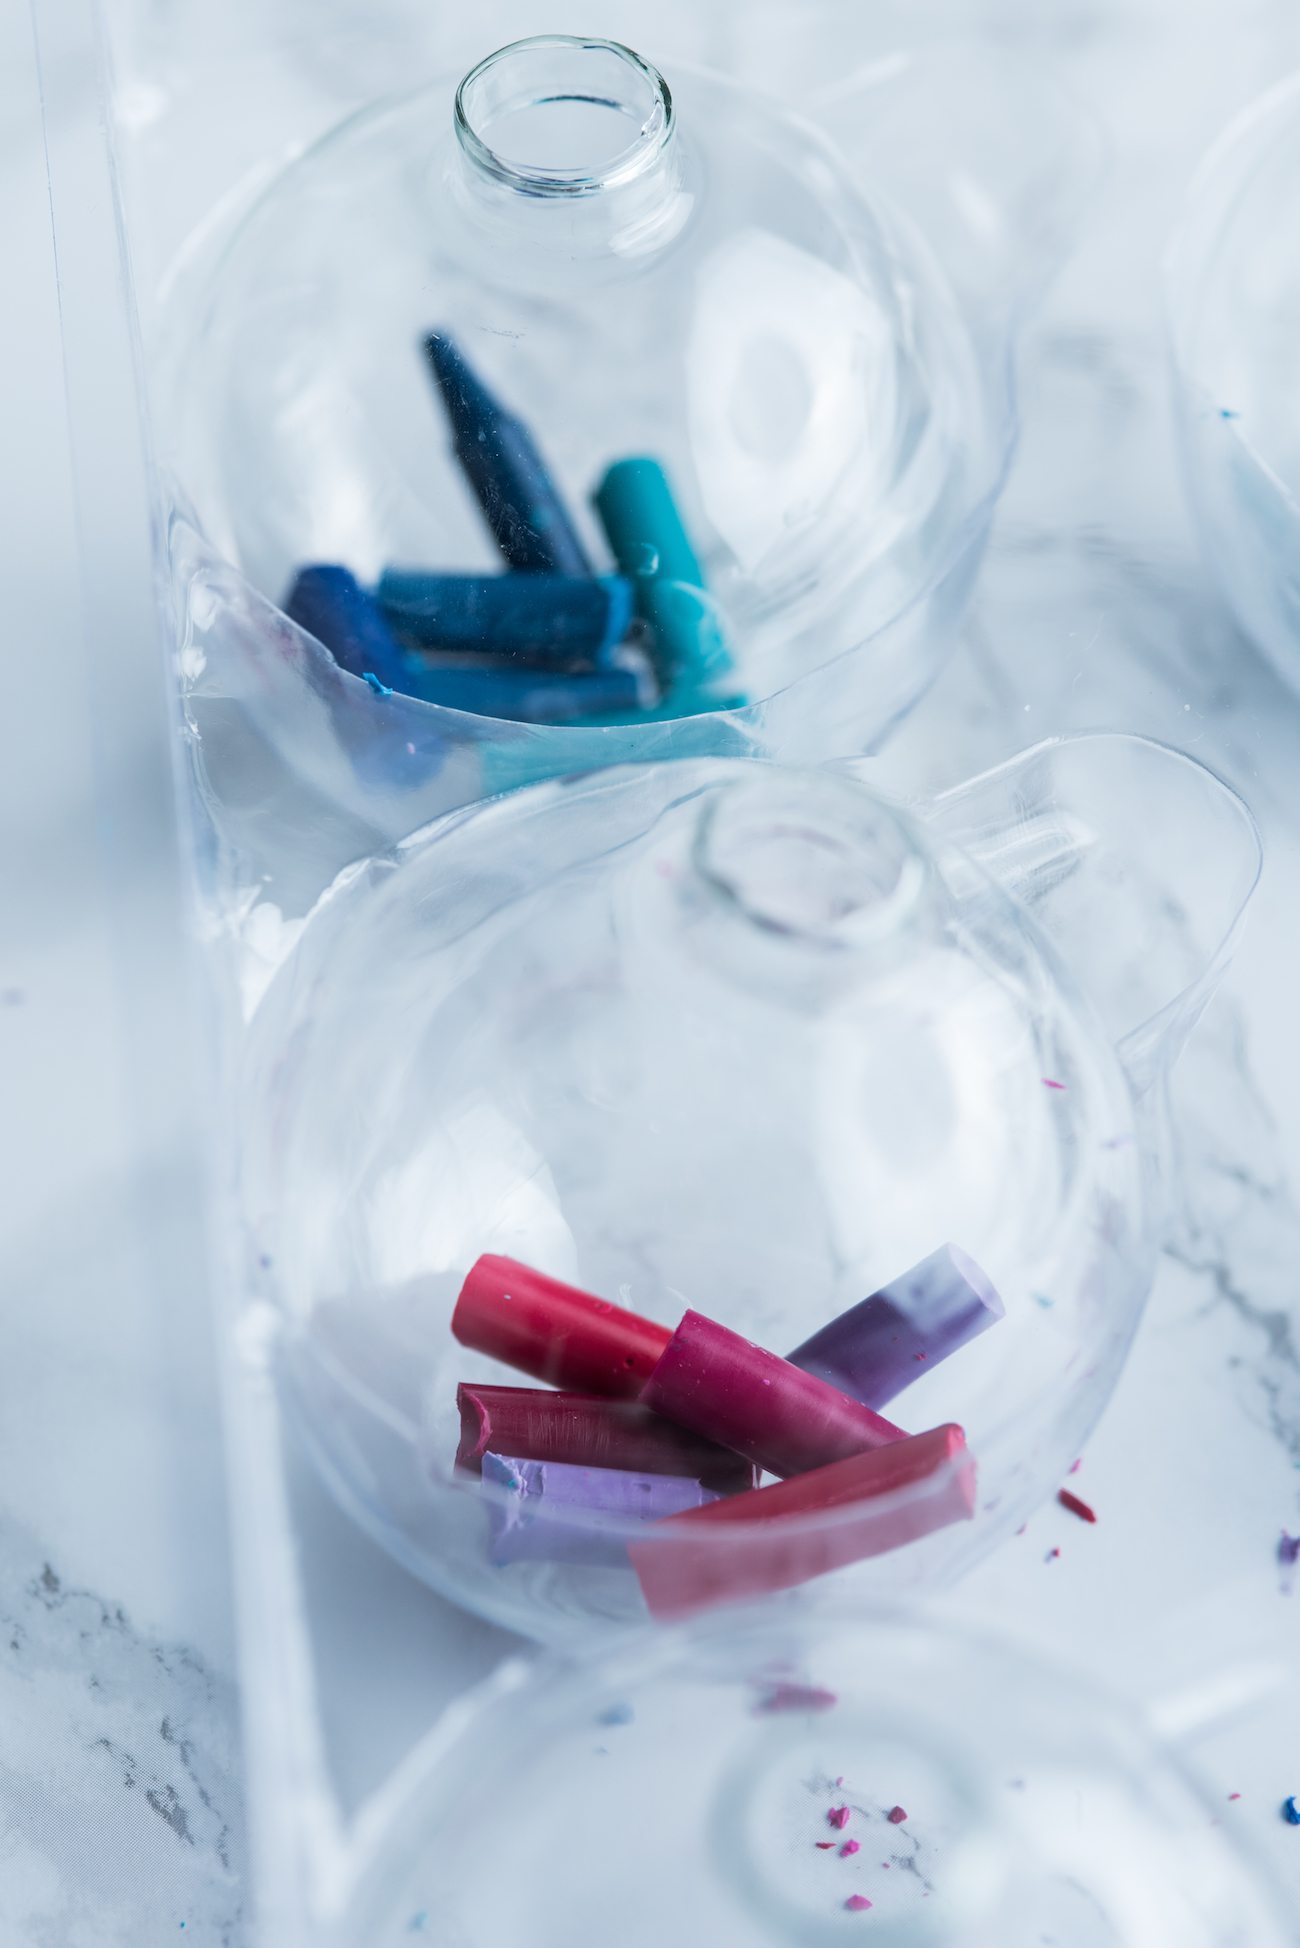
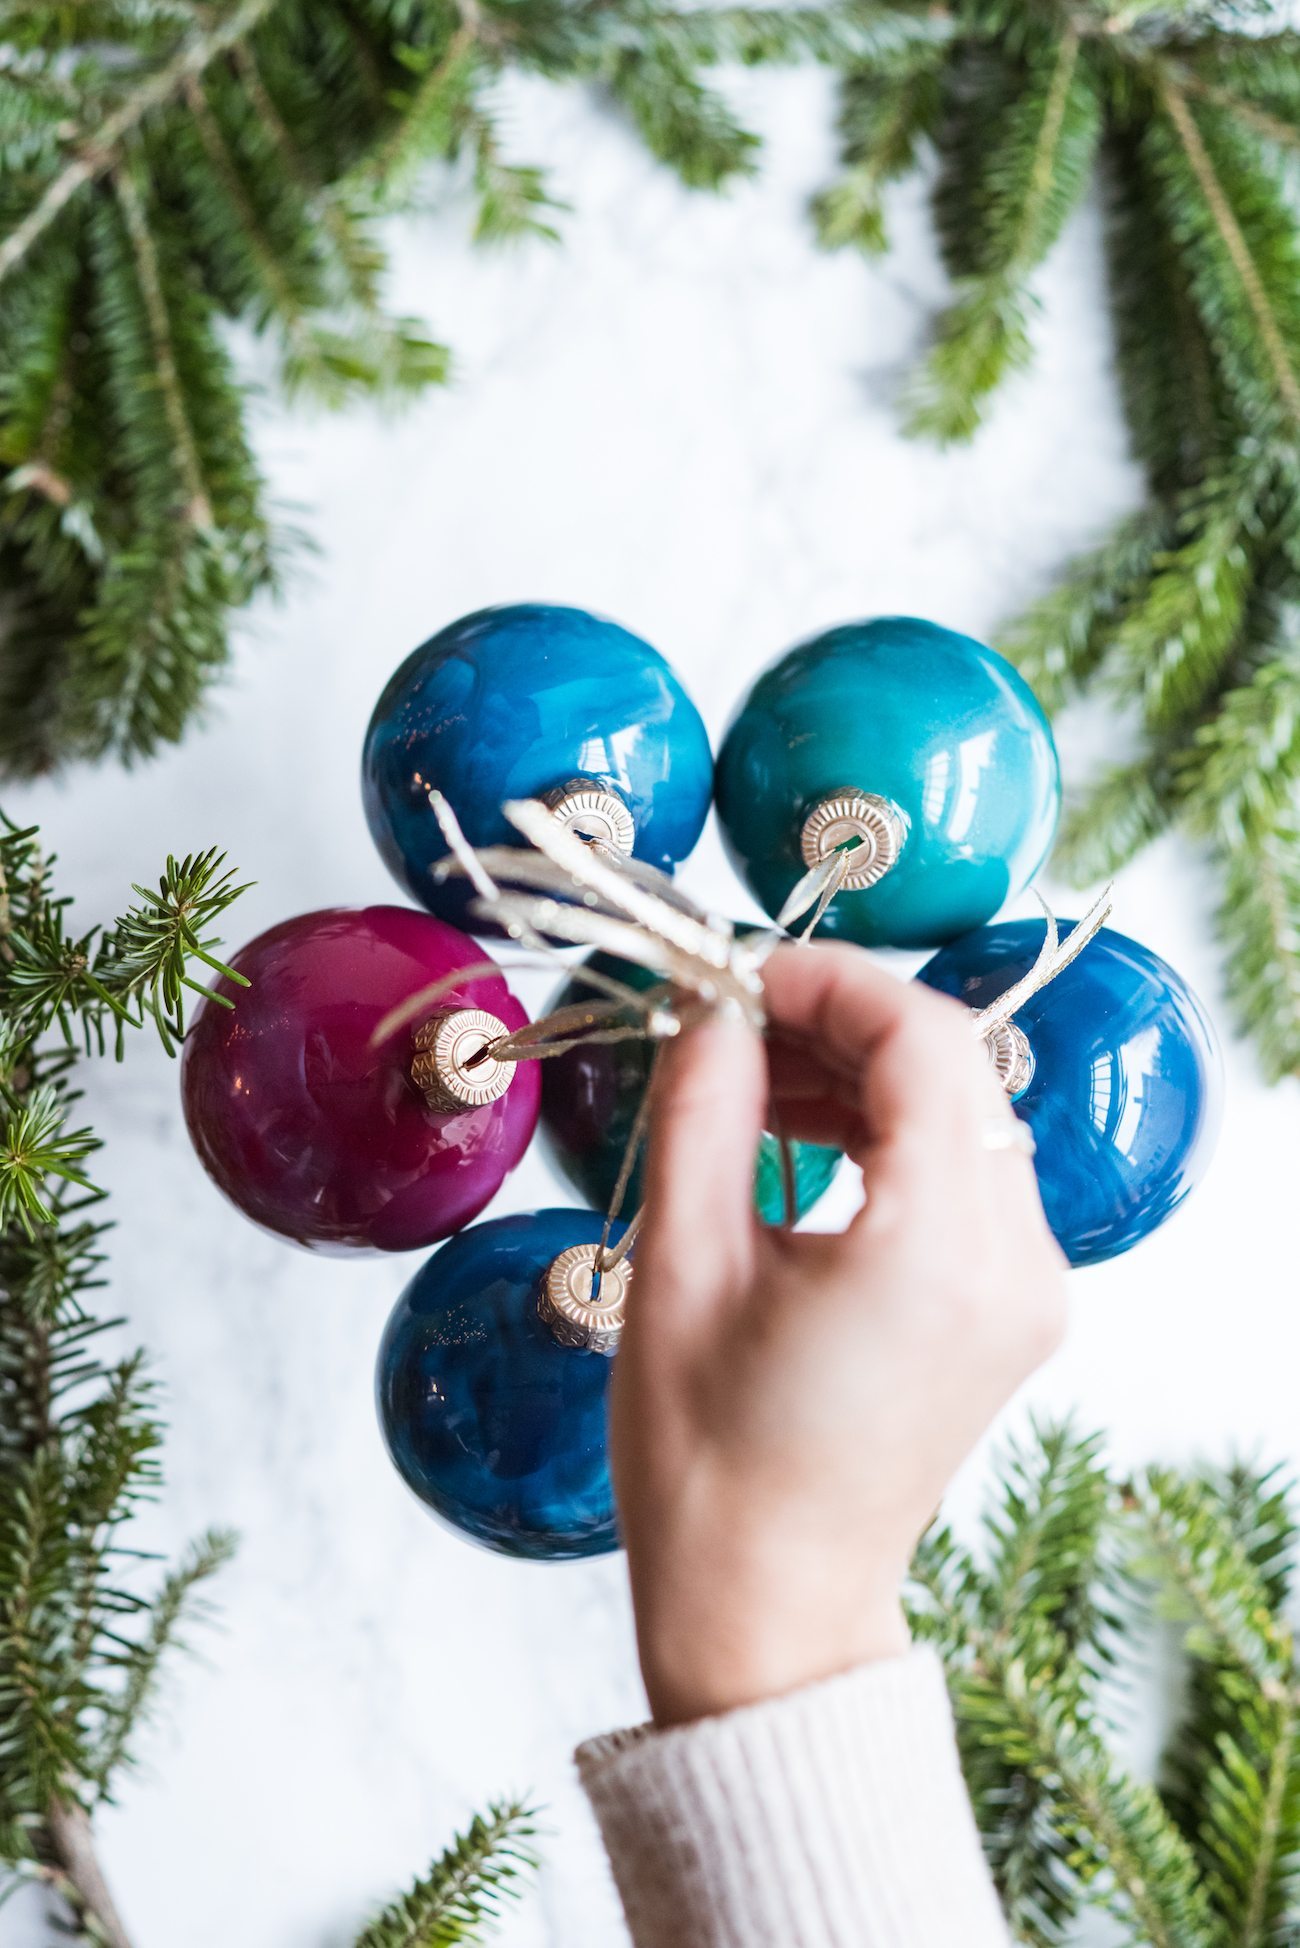
Step 3. Preheat your oven to 170° F. While it’s heating, cut or break each crayon into roughly half inch pieces and drop six to eight crayon chunks into the bottom of each ornament.
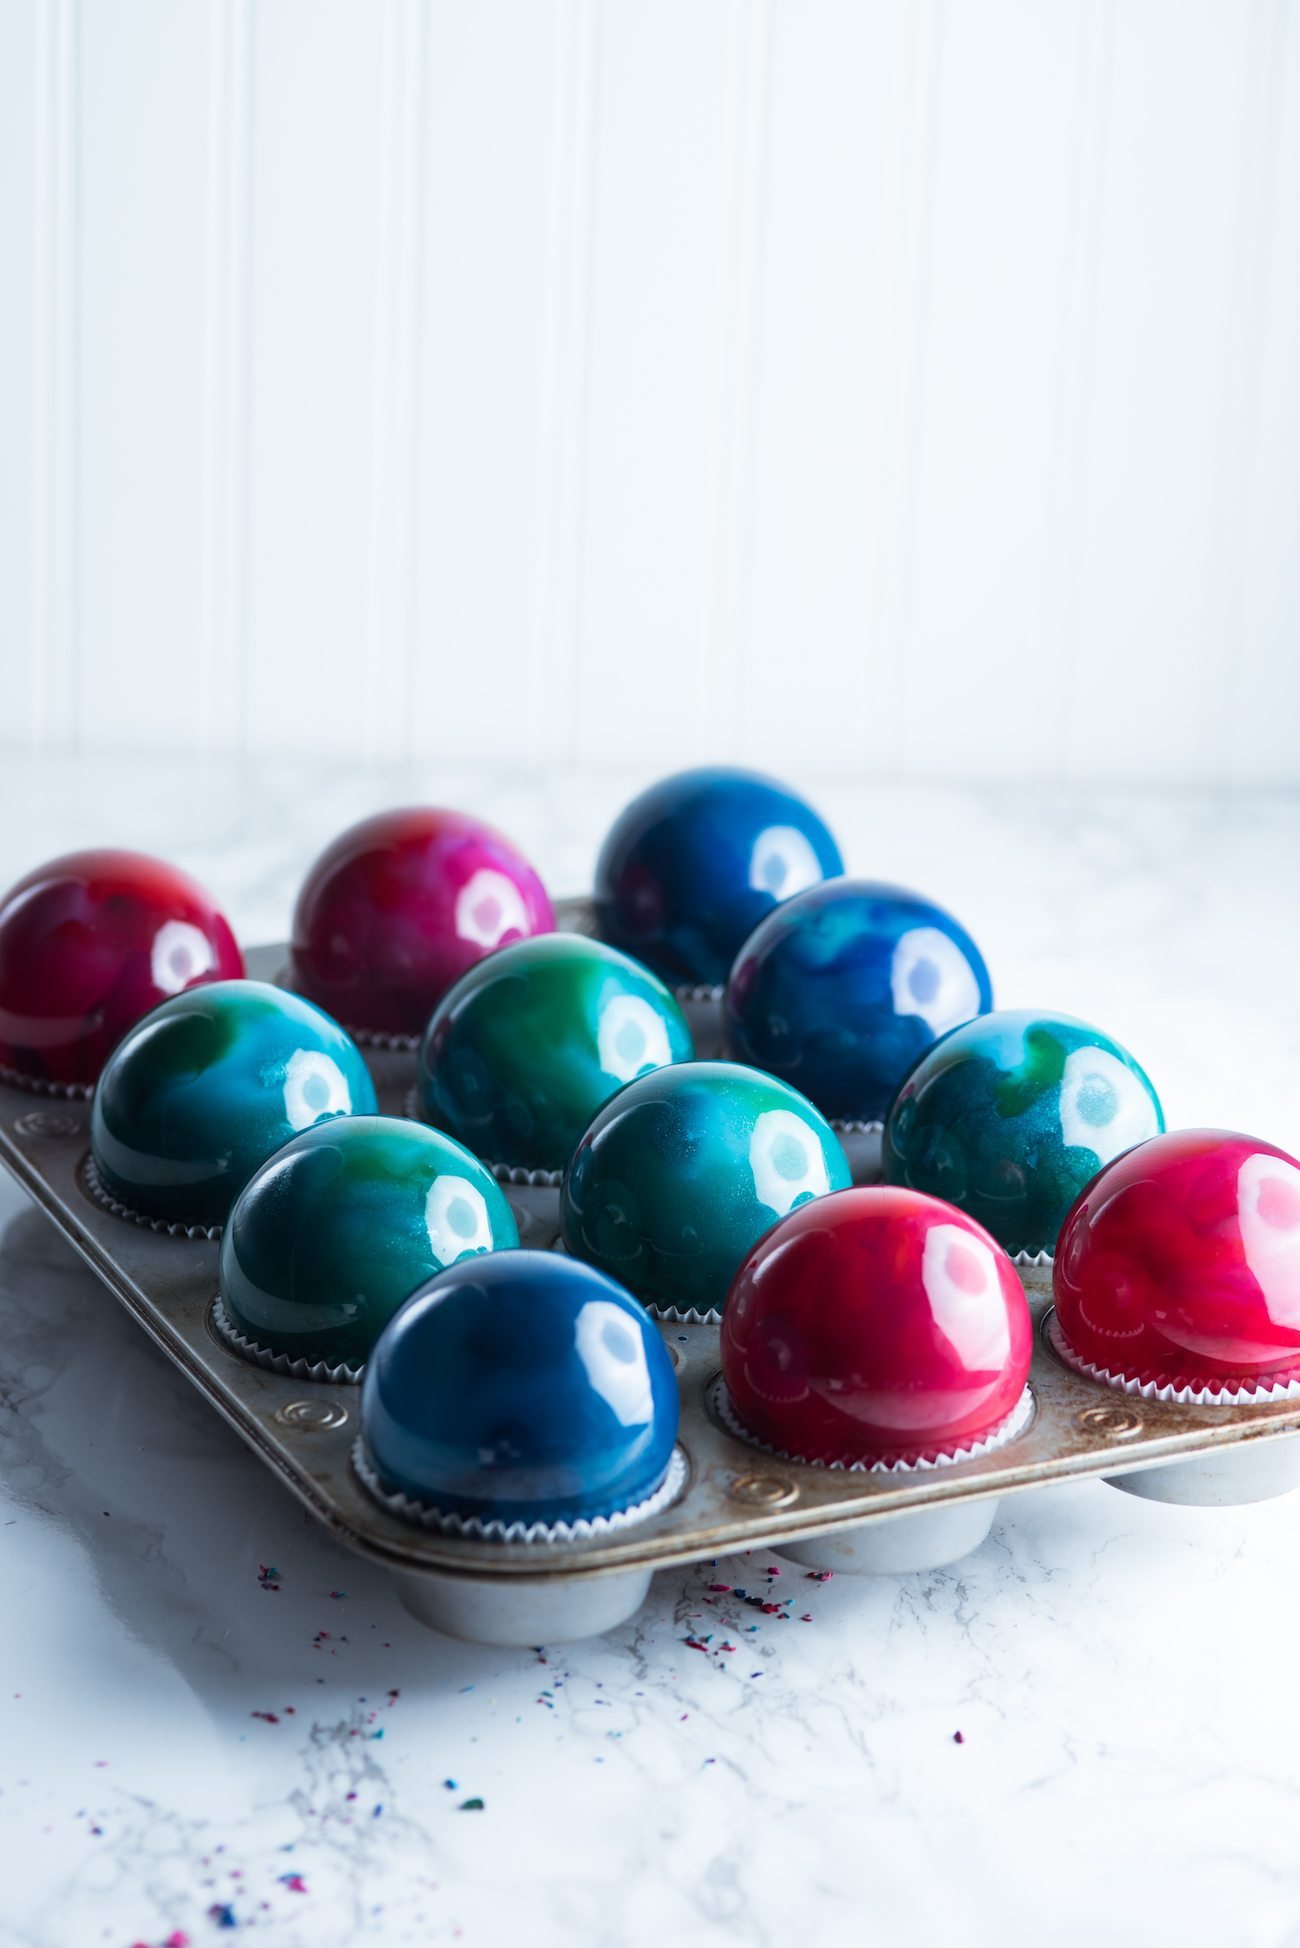
Step 4. Place the ornaments in a muffin tin lined with paper muffin liners, with the open end facing up.
Step 5. Place the muffin pan in the oven for 20 – 25 minutes and in the meantime you can spray paint the tops of your ornaments with several light, thin coats of gold spay paint if you prefer, or you can skip this step and leave them as is.
Step 6. After 20 minutes, start peeking in the oven to see how the crayons are melting. Add more time as necessary, but you want the crayons to be completely melted before you start swirling.
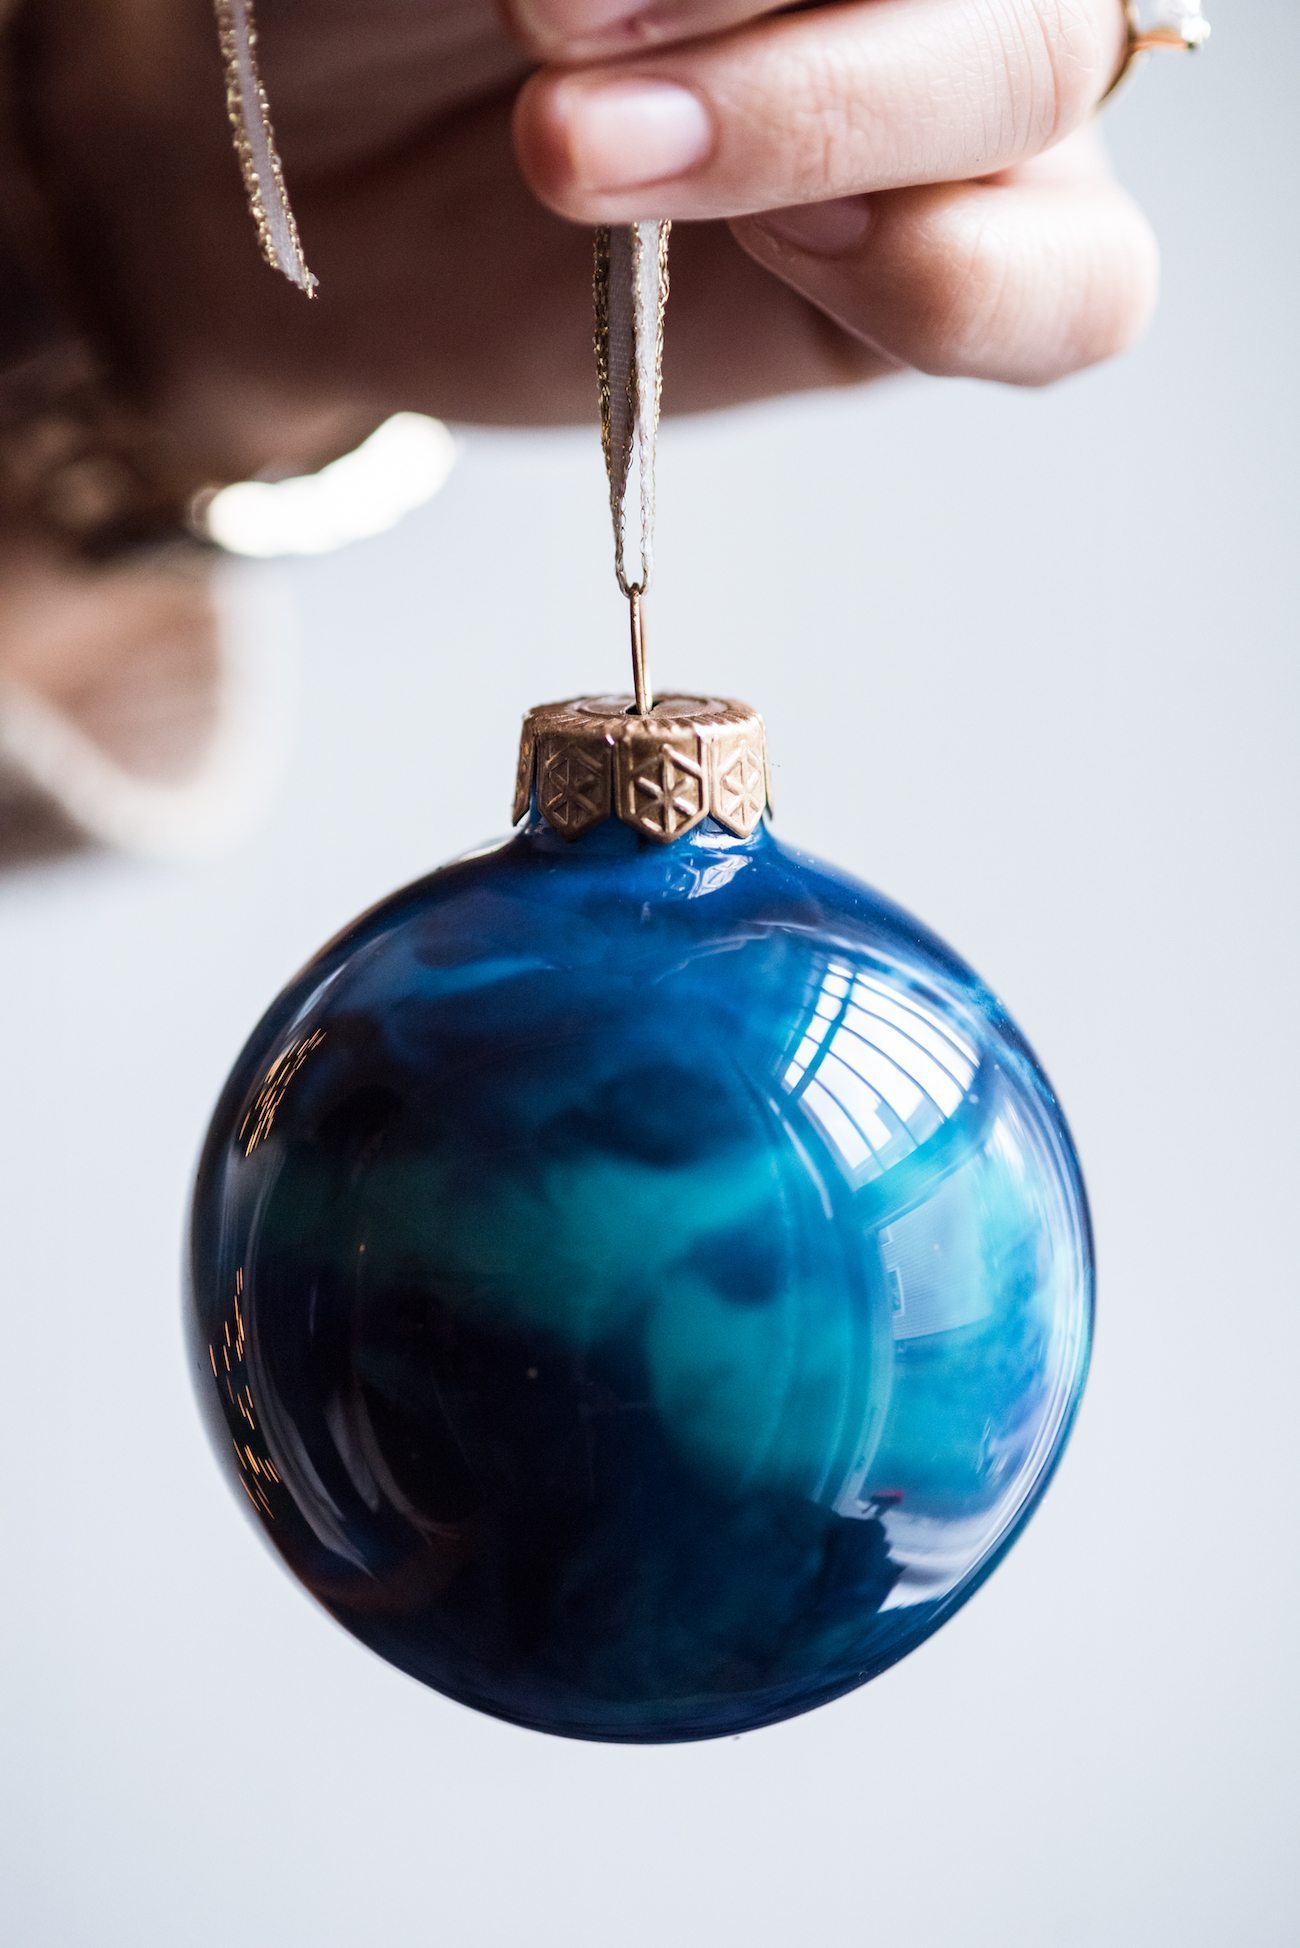
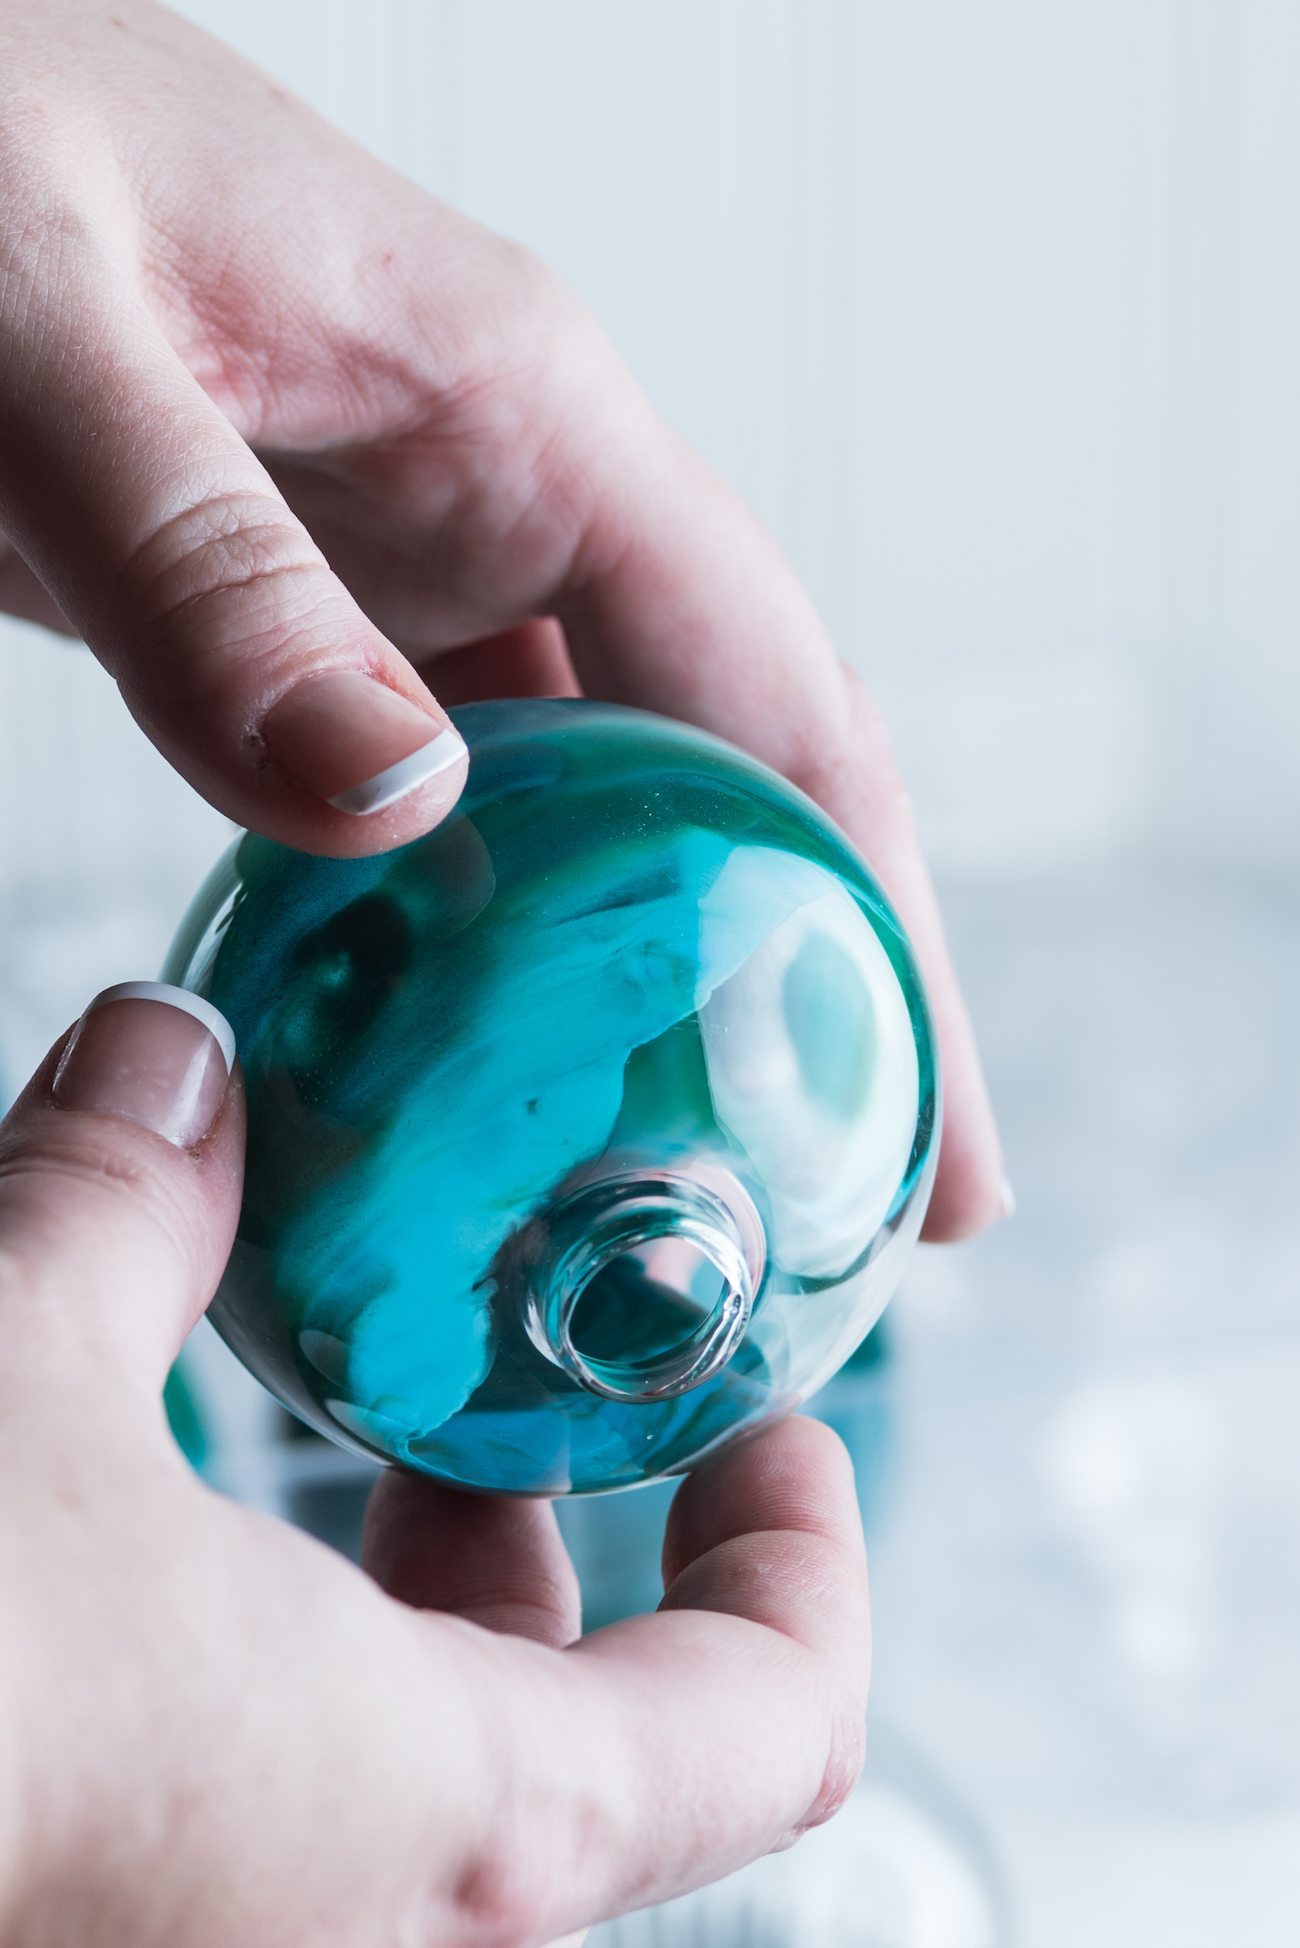
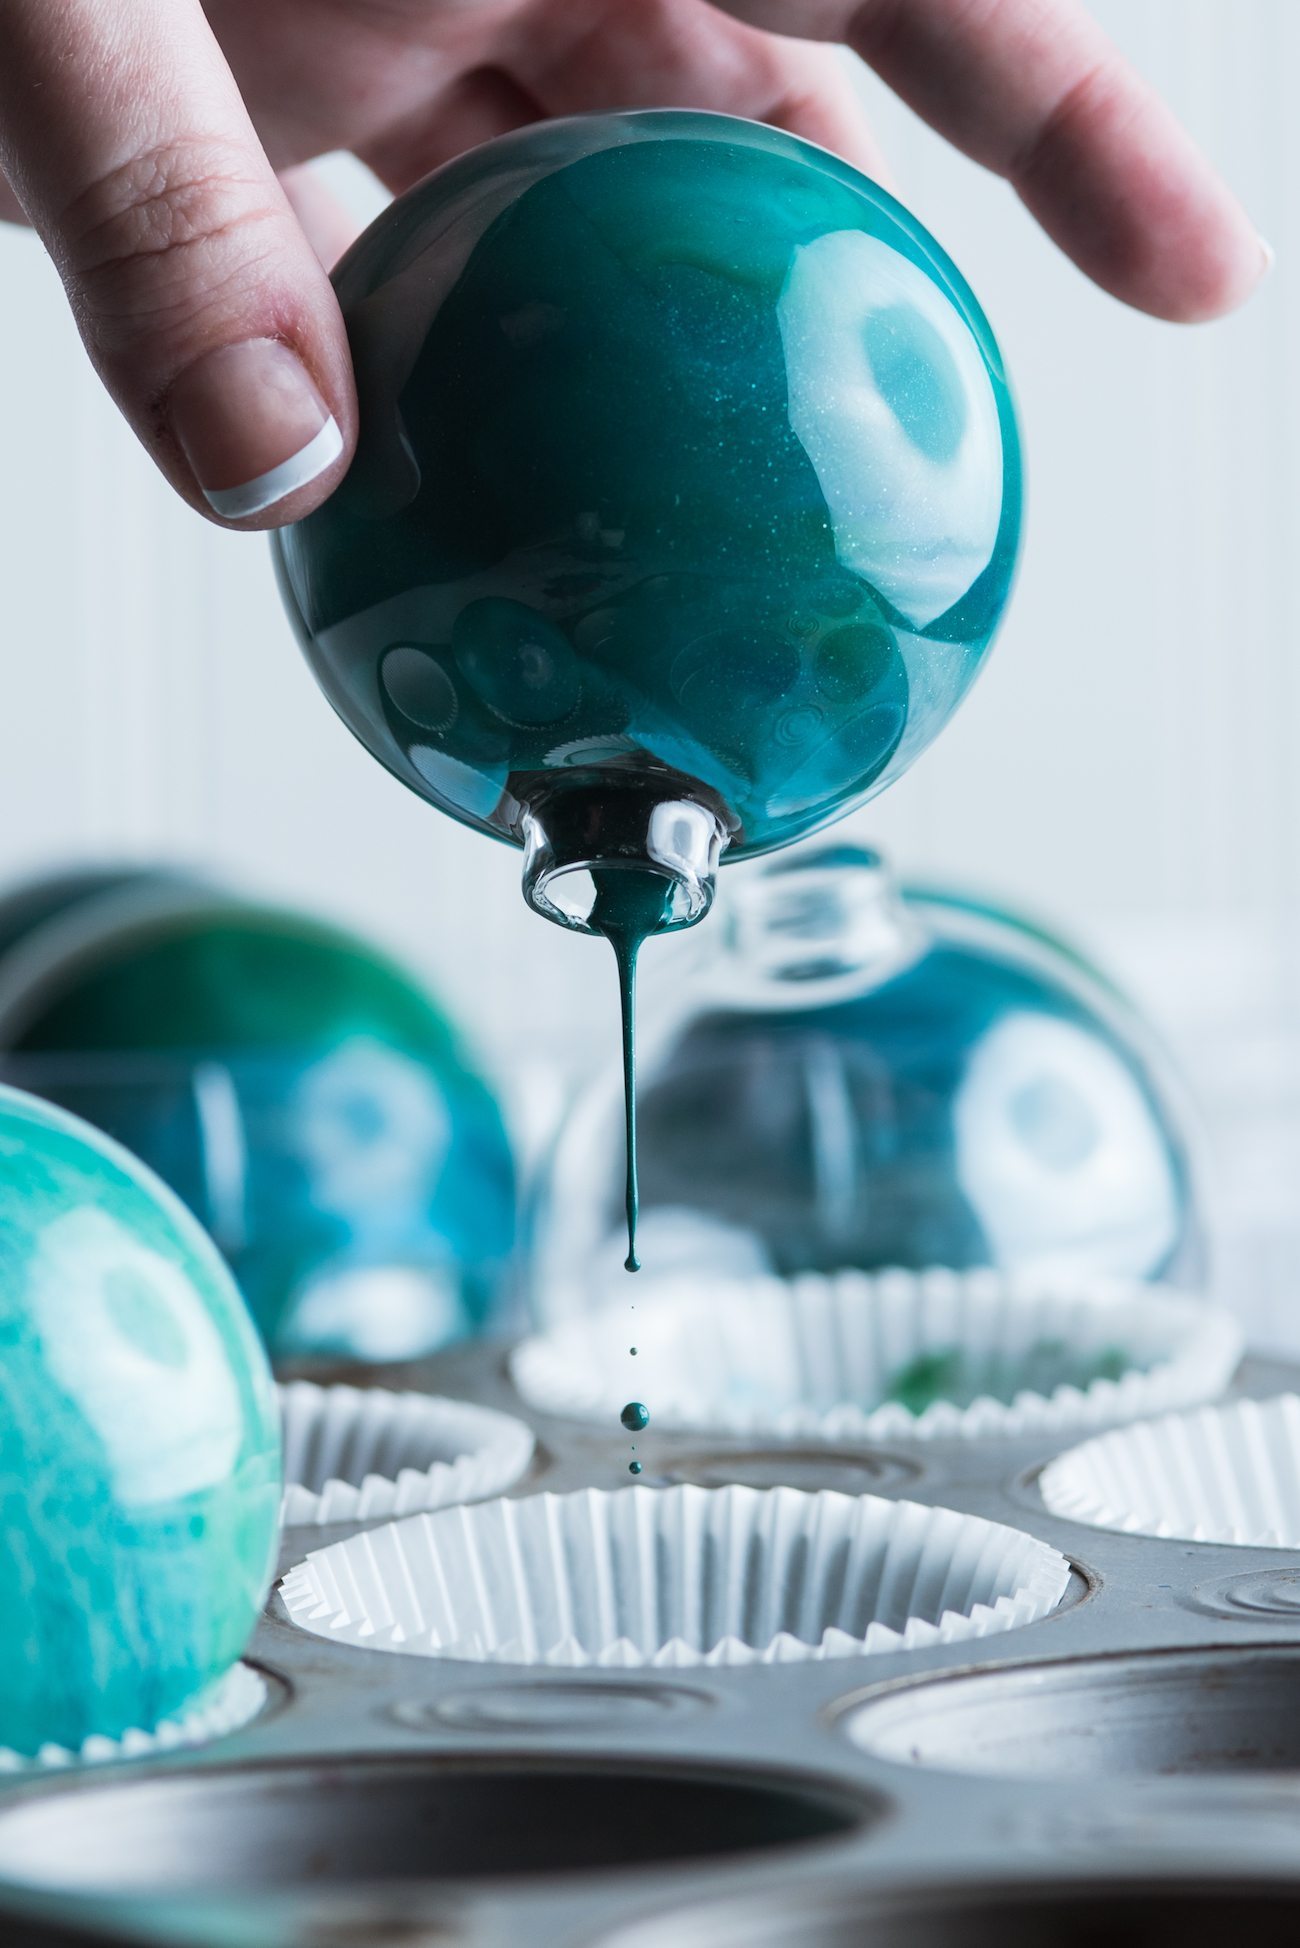
Once they’ve reached the melted point, carefully remove one ornament from the muffin tin, leaving the pan behind in the oven to keep the others warm.
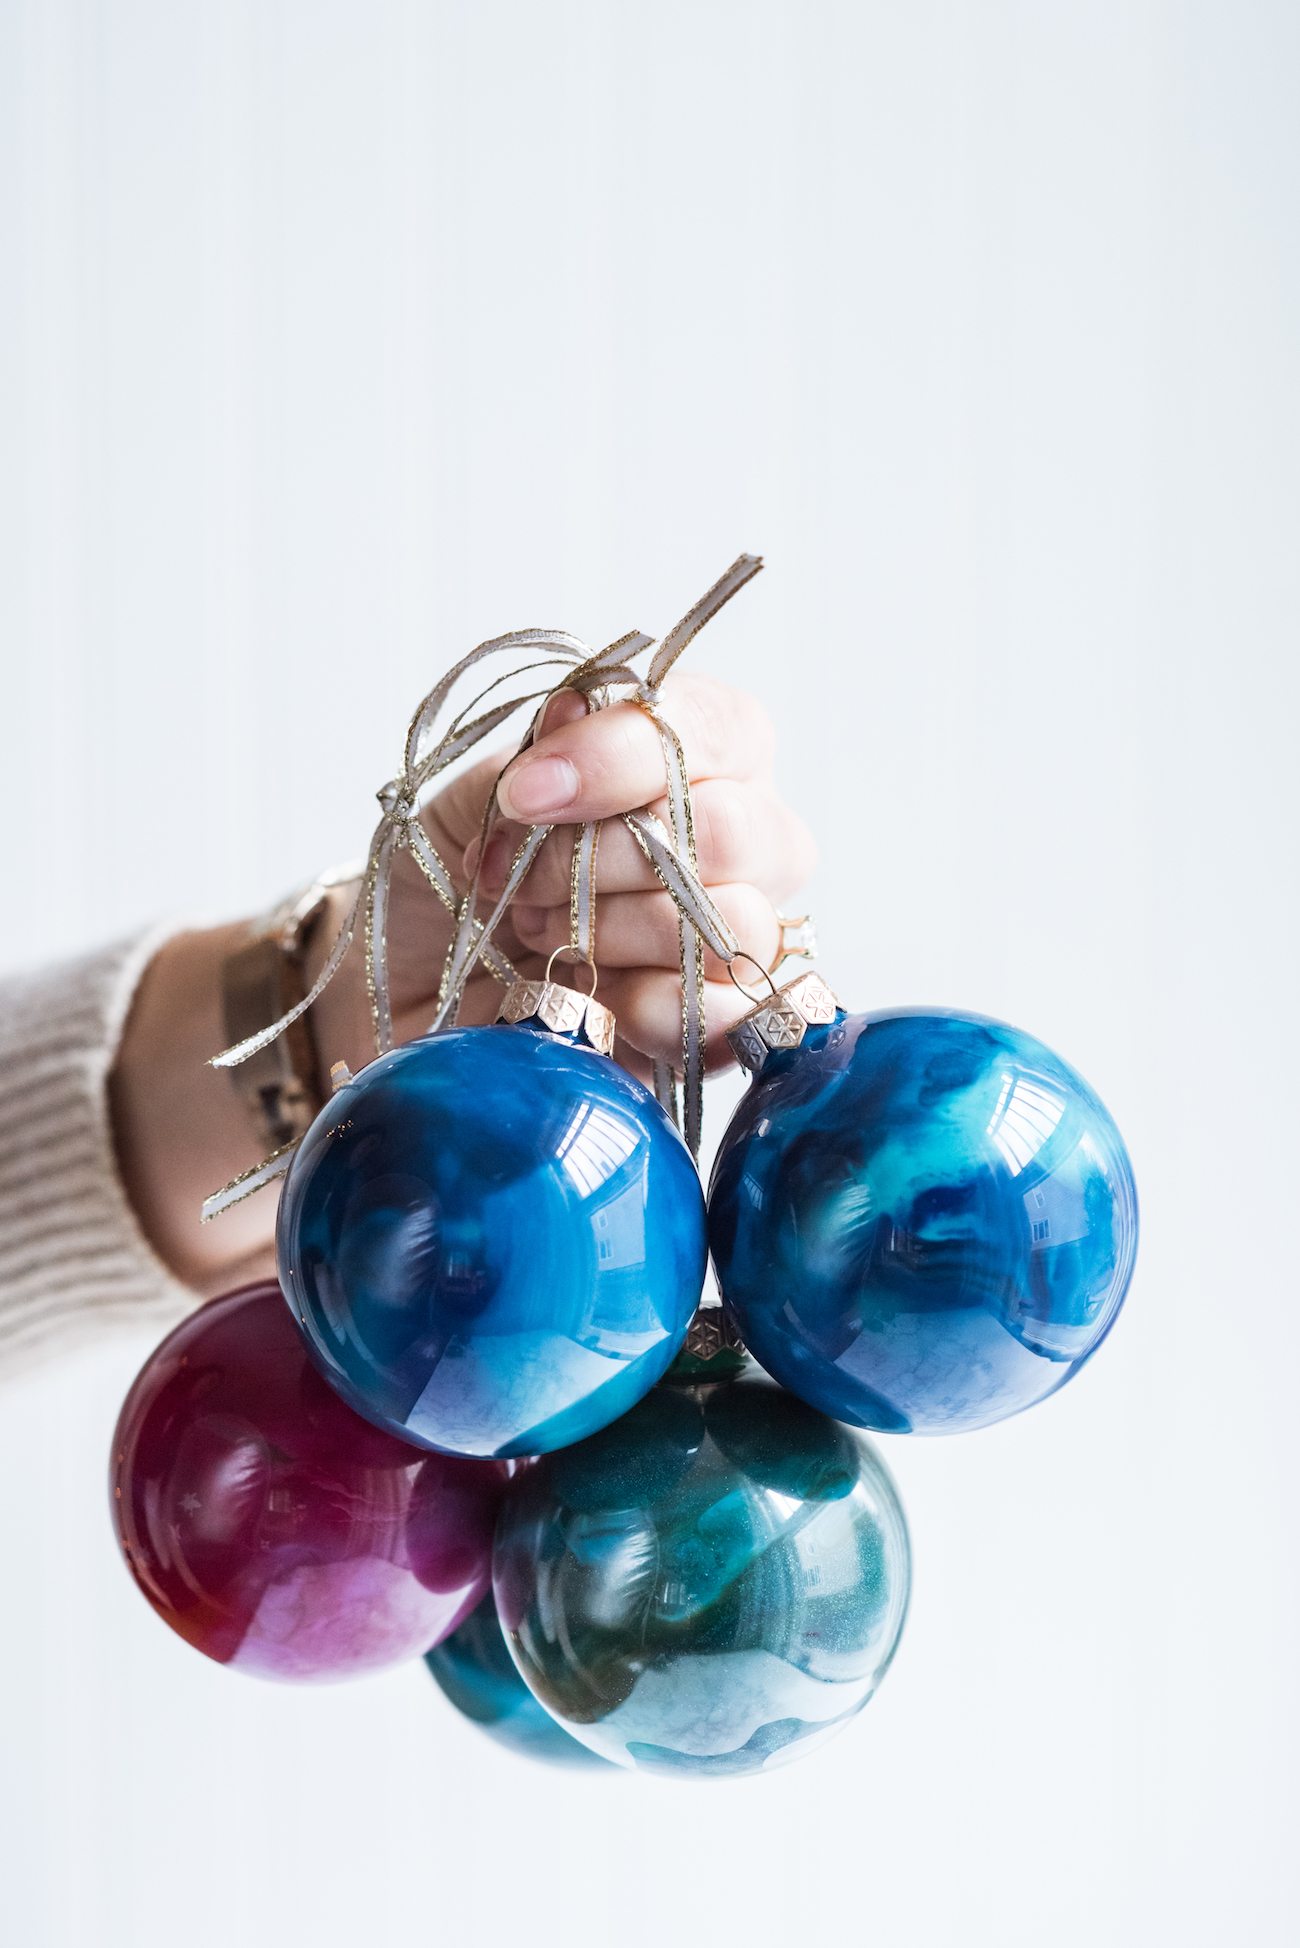
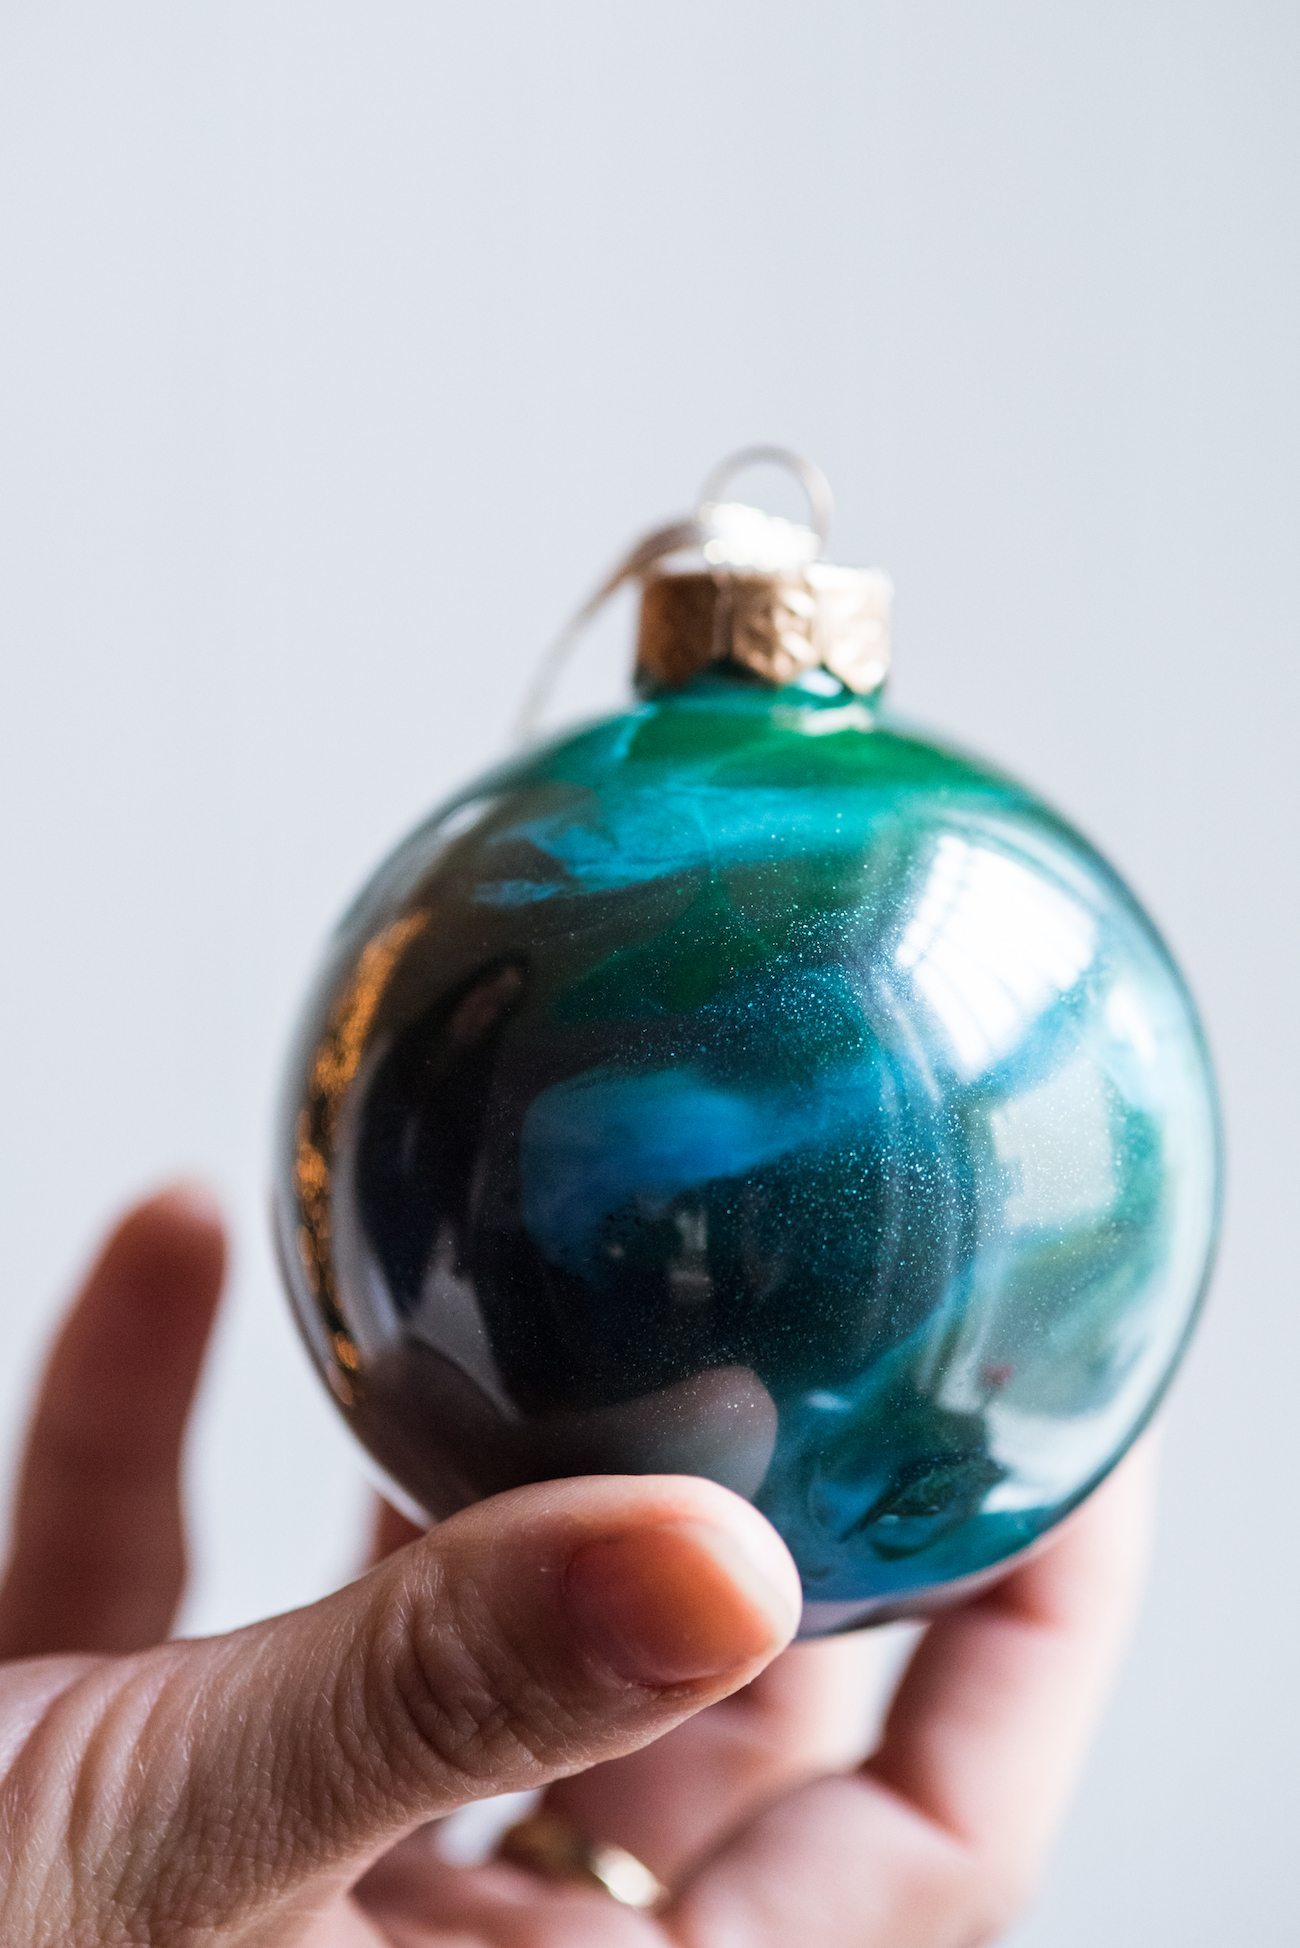
Wearing an oven mitt, carefully handle the ornament as you swirl the melted wax around the inside of the ornament. You’ll have to work fairly quickly as the wax will cool and harden. Pour off the excess wax and set aside to cool before moving onto the next ornament.
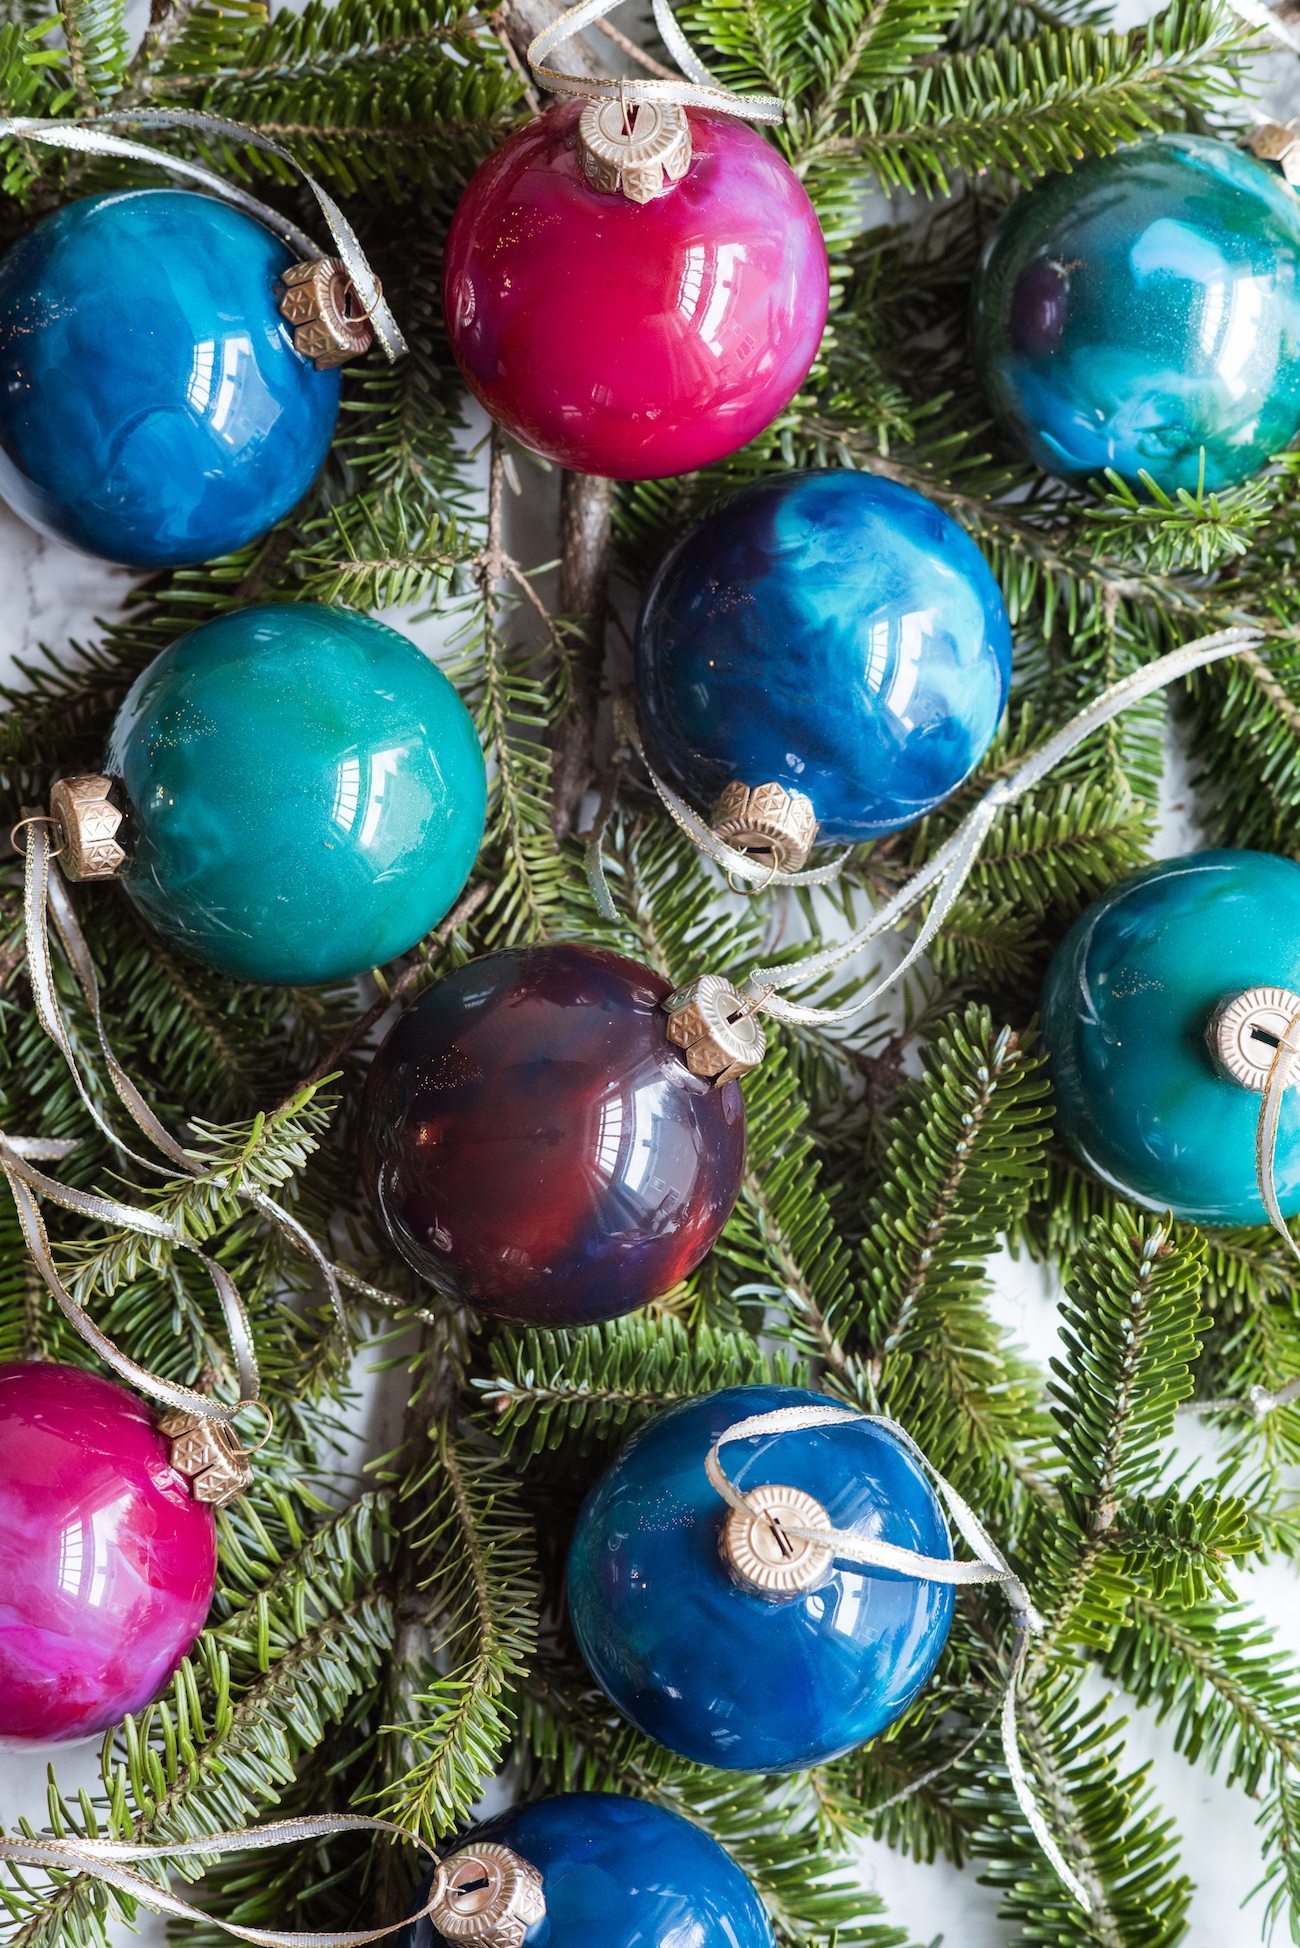
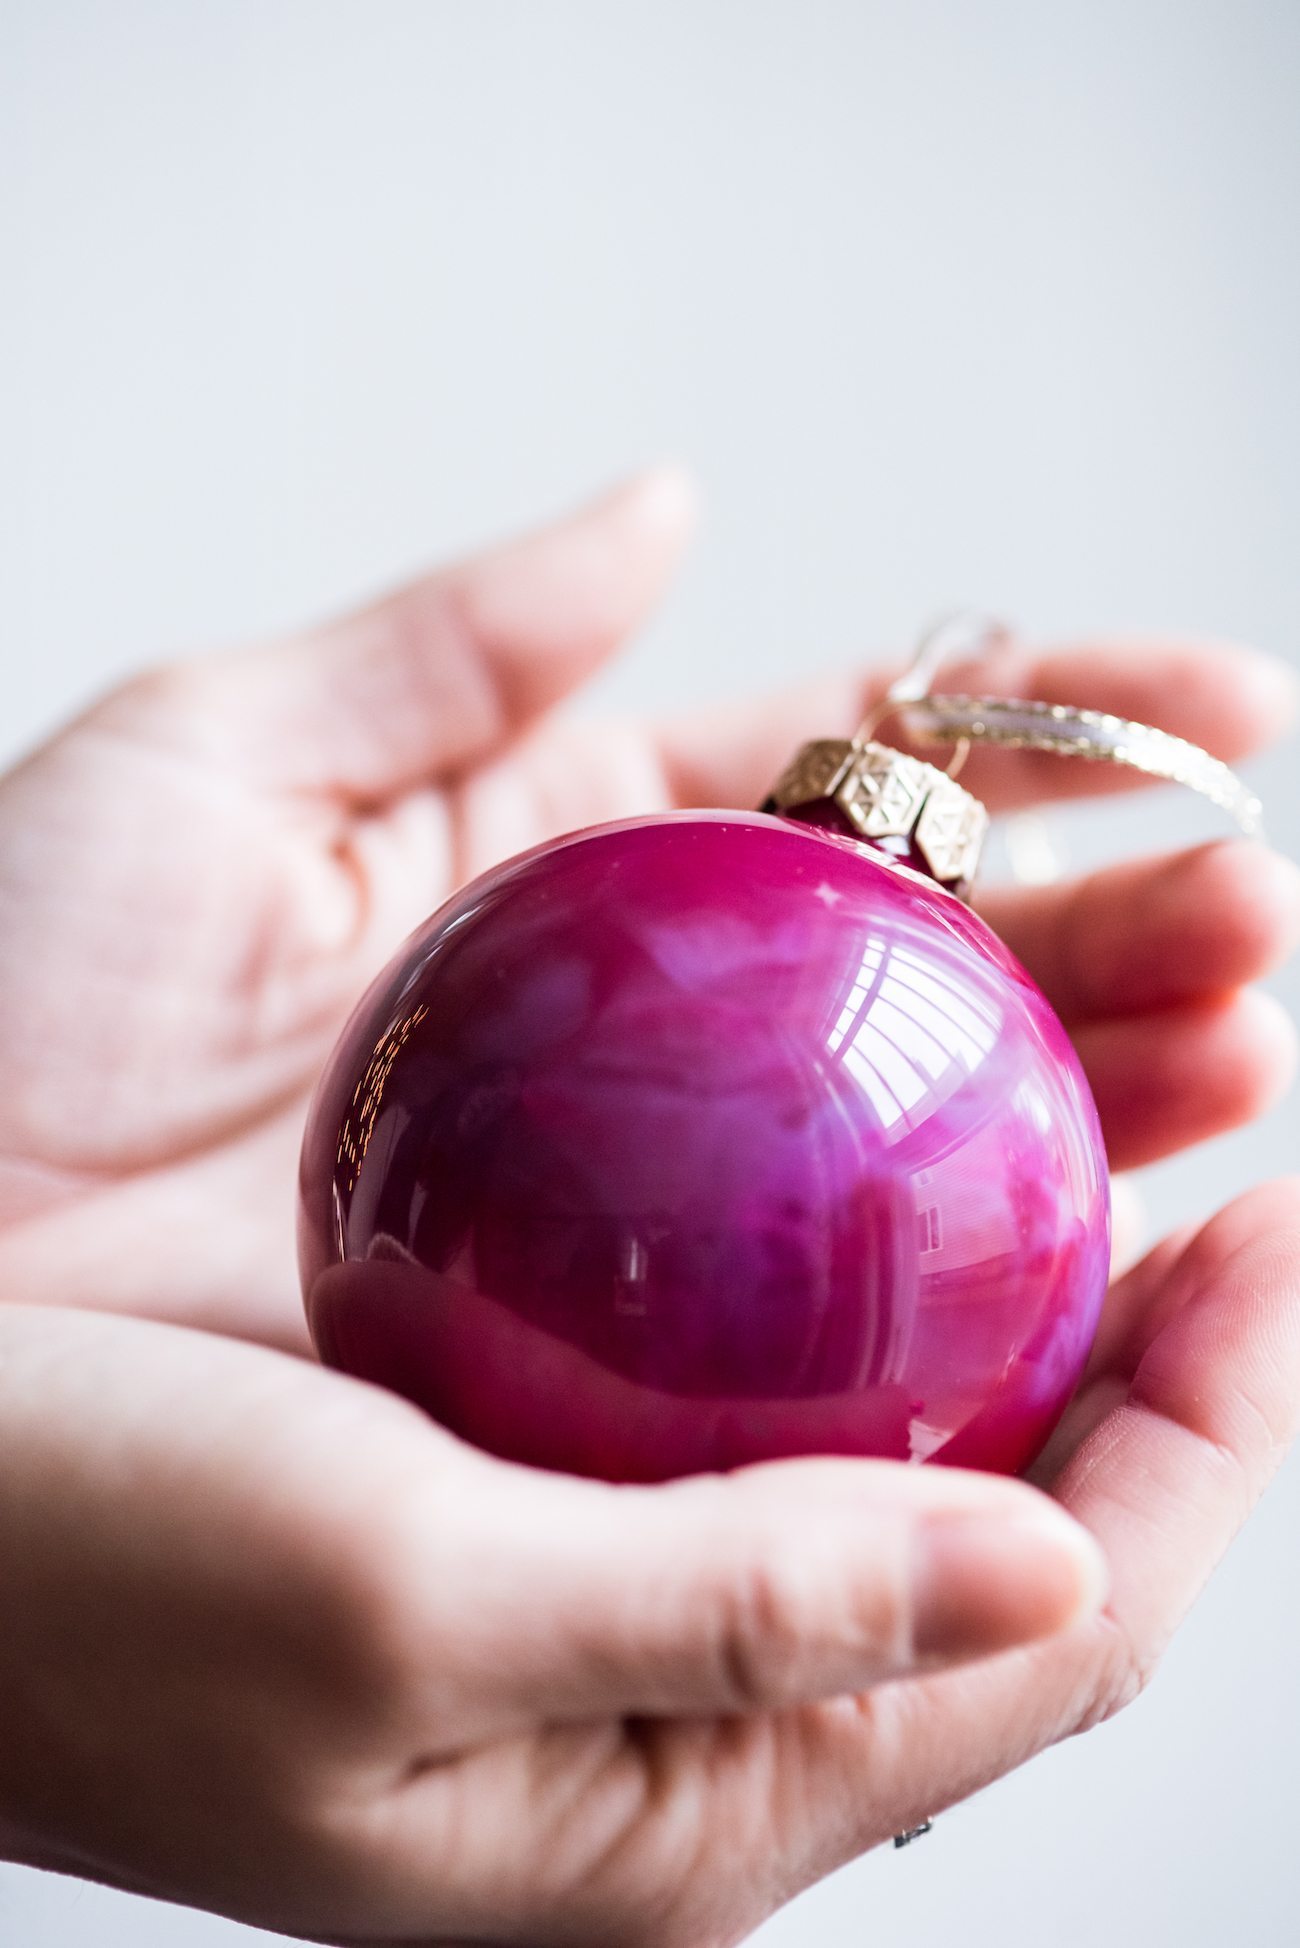
Step 7. Once the ornaments have cooled, simply attach an ornament hanger or a length of ribbon to each one and then hang them on your tree!
These beauties would also make gorgeous gifts. Hostess gifts, teacher gifts, you name it! Everyone loves a beautiful homemade ornament this time of year and these are so lovely that hardly anyone would guess they were homemade.
Making DIY Ornaments with Kids
These homemade ornament are perfect to make with kids! They’ll love hanging them on the tree year after year knowing they helped make them.
With this project, remember that the oven will be hot so kids shouldn’t handle the hot ornaments out of the oven. An adult should be the one to swirl the melted crayons and pour out the extra wax.
Kids can help you pick out colors, peel the wrappers and drop the crayon chunks in each ornament. My little one loved helping with this part!
Looking for More DIY Christmas Ornaments?
Check out these other homemade Christmas ornaments and DIY glass ornaments. Make one, two or a few to add a sweet touch to your holiday home decor.
- DIY gold leaf ornaments
- DIY glitter confetti ornaments
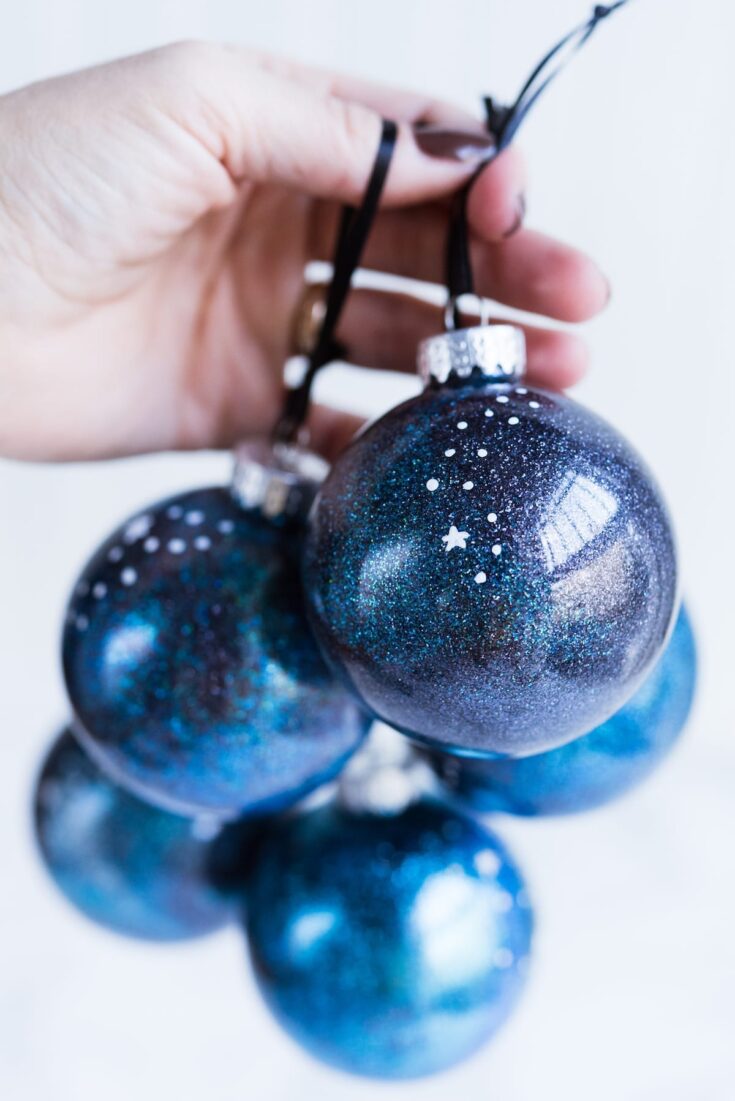
- DIY galaxy inspired glitter ornaments
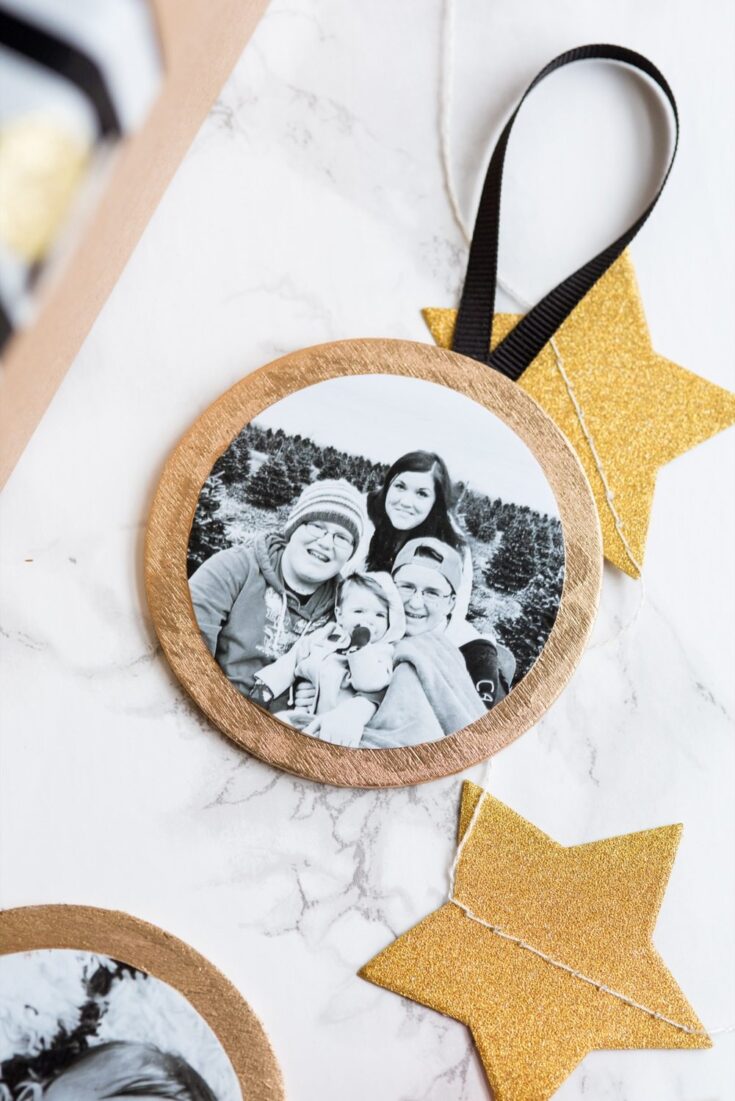
- DIY gilded photo ornaments
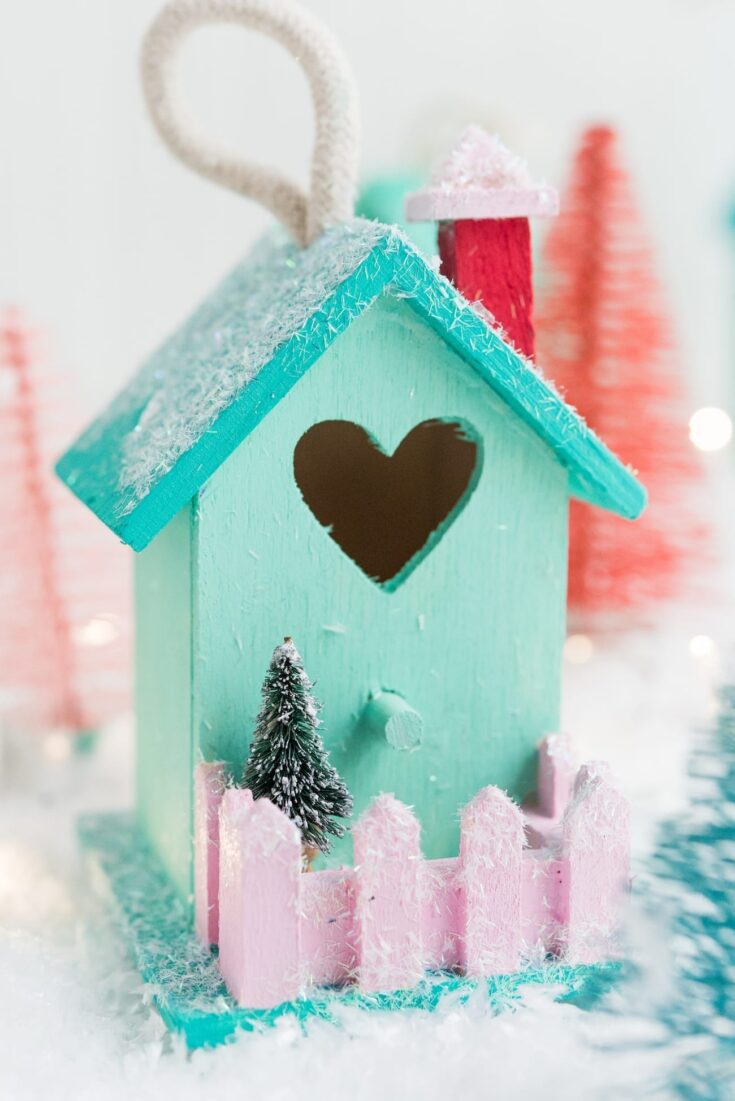
- DIY mini Christmas village ornaments
- DIY gold leaf star ornaments
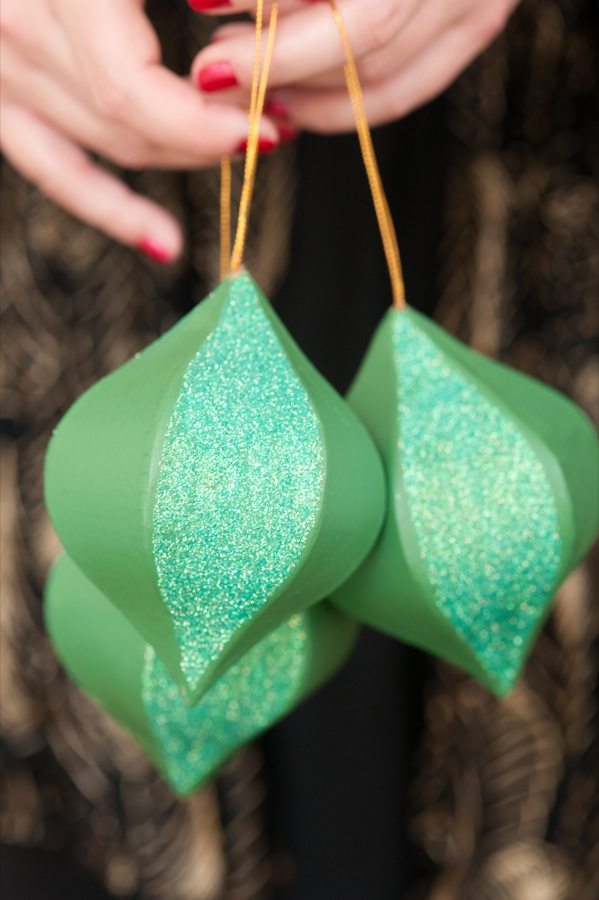
- DIY colorblock glitter ornaments
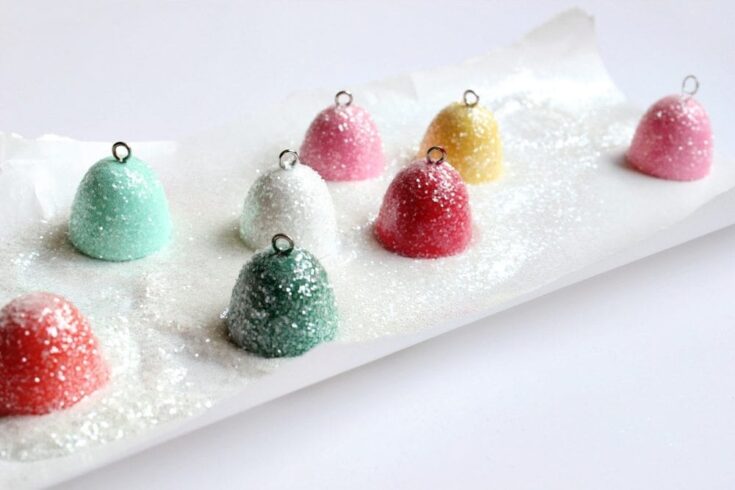
- DIY glittery gumdrop ornaments
Tips and Tricks for Making Crayon Ornaments
If you’re looking to make these festive chic crayon ornaments, be sure to read through these easy tip. While the process of making these crayon ornaments is very simple, these tricks should make the process foolproof.
- The crayon will cool and harden so moving quickly when swirling the ornaments is key.
- Be sure to keep the muffin tray with the other ornaments in the oven while you’re working and just pull out one ornament at a time to keep the crayon wax fully melted.
- If you find that your ornaments are not completely covered when you’re done swirling, add more crayons! You need enough wax to completely swirl and coat the inside of the ornament.
- Use care when handling the ornaments as they will be warm at first!
[Art direction by Cyd Converse | Photos by Alice G. Patterson.]
These DIY Christmas ornaments are made with clear glass ornaments and crayons. They are a super easy DIY ornament project that the you can customize with your favorite colors. The Sweetest Occasion specializes in beautiful homemade holiday decor. These DIY Christmas ornaments are some of our favorite homemade ornaments and they're all made with simple, inexpensive supplies easily sourced at any local craft store or online. These pretty photo ornaments feature a gilded edge and a simple ribbon hanger, easily customized with family photos. These pretty gold leaf ornaments are one of our simplest DIY ornament projects featuring papier-mâché ornaments. Create these beautiful glitter ornaments using plain glass ornaments and an assortment of tinsel and glitter. These darling gumdrop ornaments are made with plaster and a simple mold - they're super easy to make! Our world famous gold leaf ornaments use clear glass ornaments and craft paint to create gorgeous keepsake ornaments. Basic papier-mâché ornaments are painted and glittered to create a pretty colorblock effect that's modern yet timeless. Deck the halls with these glittery galaxy inspired homemade ornaments made with glass ornaments, glitter and paint pen. These precious Christmas village ornaments are made with unfinished miniature birdhouses purchased at the craft store.
DIY Christmas Ornaments with Melted Crayons
Materials
Instructions
You’ll have to work fairly quickly as the wax will cool and harden. Pour off the excess wax and set aside to cool before moving onto the next ornament. The Best DIY Christmas Ornaments


 Back to Top
I can’t get it to work, it leaves an area that doesn’t show the paint it looks glossy. So is it that it didn’t melt or it cool down. I don’t understand and I have dumped it out and started again and same thing. I know should be easy but I don’t understand what I am doing wrong.
Hey Disney! I’d add a few more crayons, maybe you don’t have enough wax? And I try to swirl each ornament pretty quickly and leave the rest in the oven to keep the wax warm. I hope this helps!
This is such a great craft idea. The ornaments turned out fantastic too!
I love this idea! So much fun to make!
Thanks so much, Melissa! xoxo
Looking for something to give that’s meaningful and fun. These are just gorgeous! Thank you for the inspiration !
Aww thanks, Peilin! I appreciate that so much!
Hello! These look like so much fun and the end product is simply beautiful. May I ask how they’re holding up? Is any of the wax falling or chipping off inside of the ornaments?
Hi Erica! They are still holding up really well for me! They are really beautiful.
Hi!
I know you used glass ornaments, but I was wondering if plastic ones would work or if they will melt in the oven? I only ask because I already have a bunch of clear plastic ones,🤣 and would love to try this!!
Hi April! I’ve only ever used glass, but I would imagine the plastic ones would melt!
Do you use something in addition to the crayons to give the ornaments a shimmering effect? Can’t wait to try this! Thank you for sharing!!
Hi Tiffany! The ones with the sparkle look just happened to be shimmery crayons! All I used with crayons in any of these. I hope this helps!
Hi! This looks amazing. Just wondering if you use plastic or glass or ornaments? Because you have to put it in the oven, I’m afraid they might breakbir melt.
Thanks!
Hi Angelica! I use glass ornaments. They don’t break in the oven!
These are incredible! I have a bunch of old crayons and now I know what to do with them.
Isn’t that amazing? Perfect for using up old crayons!
This is truly the most genius DIY ornament tutorial I have ever seen! I love this so much and have TONS of broken crayons to try this with.
Thank you, Leah! I appreciate that so much. I always try to come up with ornament ideas that are beautiful and simple, and this year I was definitely inspired by all the crafty little people in our neighborhood who have been HARD on the melted crayon and slime trains this year! lol Thanks again, friend!