Historically speaking, I tend to be the type who buys an iPhone case and keeps the same one for months or even years, until it’s completely beat up. Lately though I’ve been into changing my chase up more often and kind of feel a little, “Duh, why wasn’t I doing this before?” about the whole situation. At the moment I’m loving a clear case that shows off the back metallic panel on my phone, but decided to jazz mine up with a bit of metallic rose gold foil, because, why not? Today I am sharing the crazy easy DIY tutorial with you so can rock a pretty DIY iPhone case, too. Of course, this will work for you Android lovers, too. No discrimination here!
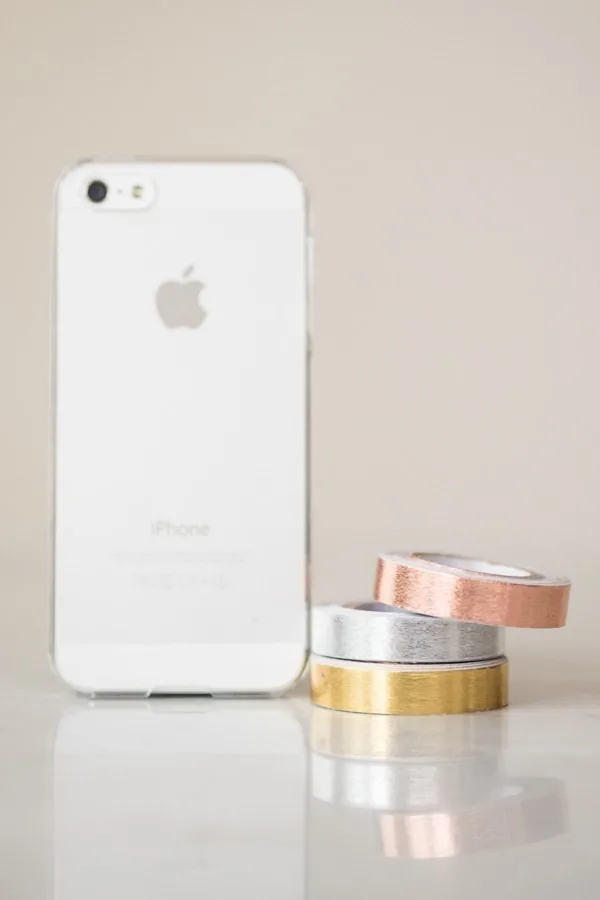
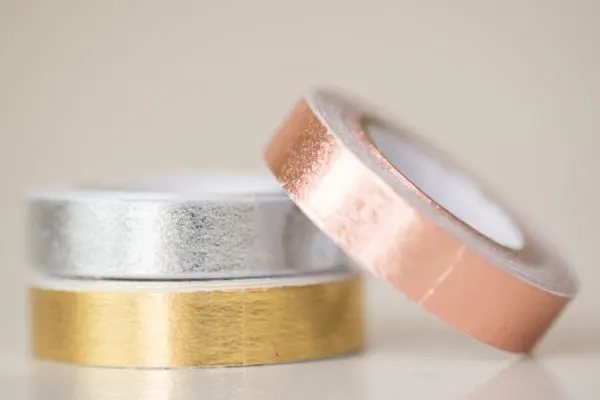
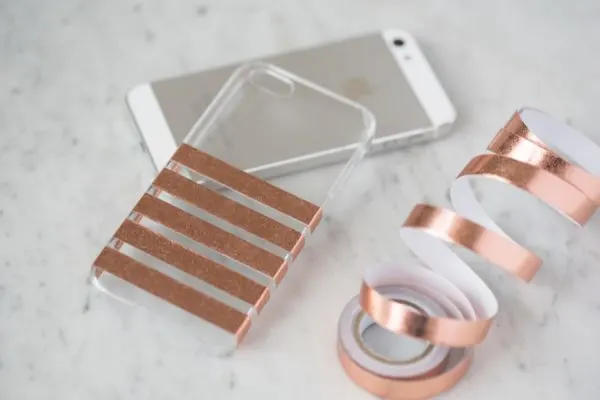
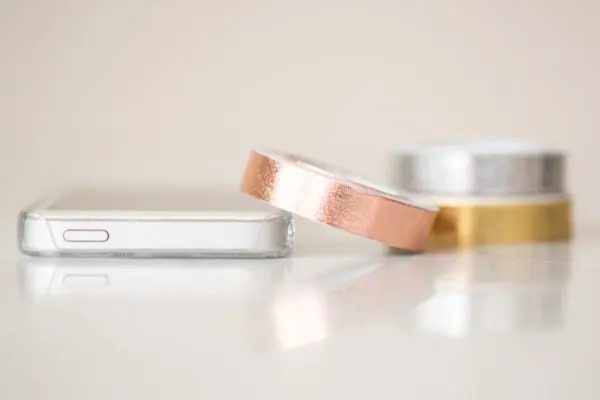
To get started, all you need is a clear phone case and metallic foil washi tape. I picked up this 3-pack in the scrapbook/washi tape aisle at Michael’s. Actually, I picked up about three 3-packs, because I have a feeling I’ll be putting this stuff on everything, but I digress. Give your case a good cleaning with Windex (which helps break down any fingerprints or oils leftover from your hands) and let it dry and then you’re ready to go.
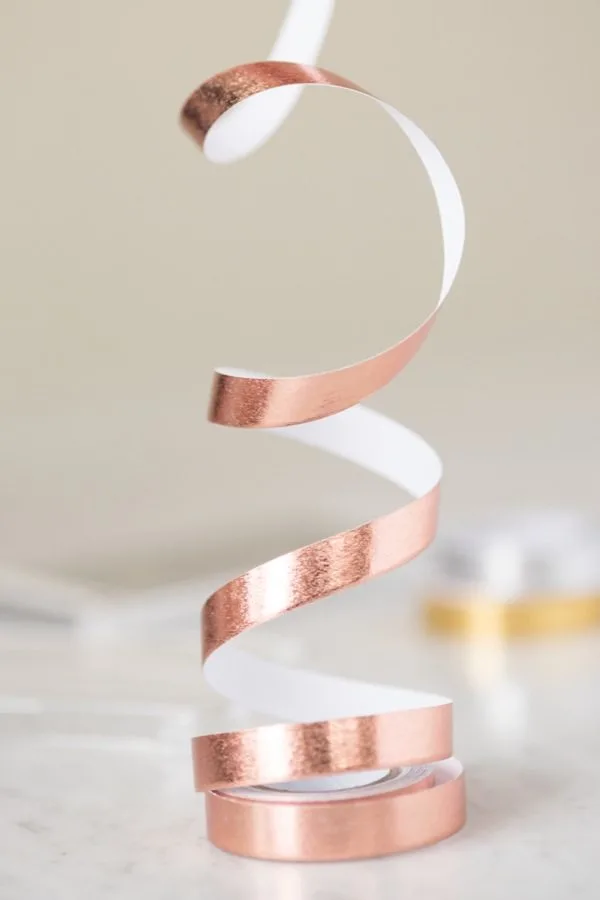
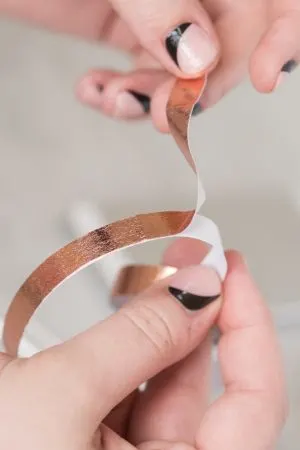
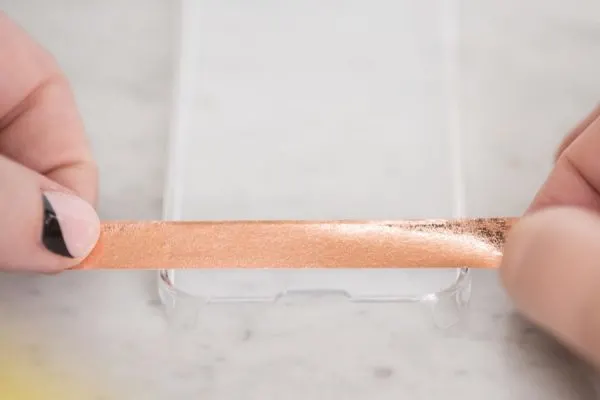
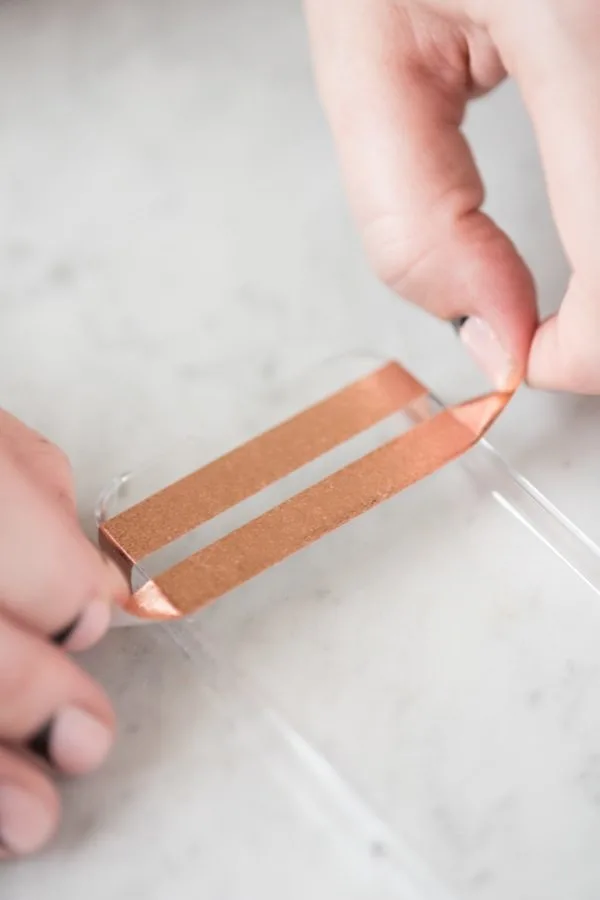
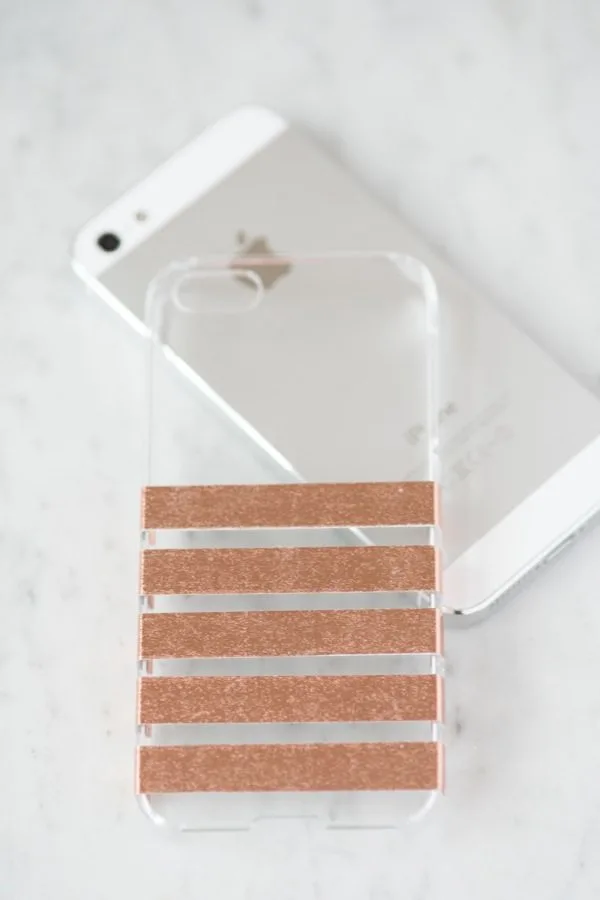
You’ll need to decide on the number of stripes you’d like and your placement. I did that by doing just unrolling some of the tape and playing around with it a bit. The tape is paper-backed so you don’t have to worry about it sticking prematurely. When you’ve roughed out a plan of action, cut strips of the tape slightly longer than the width of your phone, with enough room to wrap up and around the sides. I chose five stripes, you do what works for you. Then you can remove the paper backing from the first strip of tape.
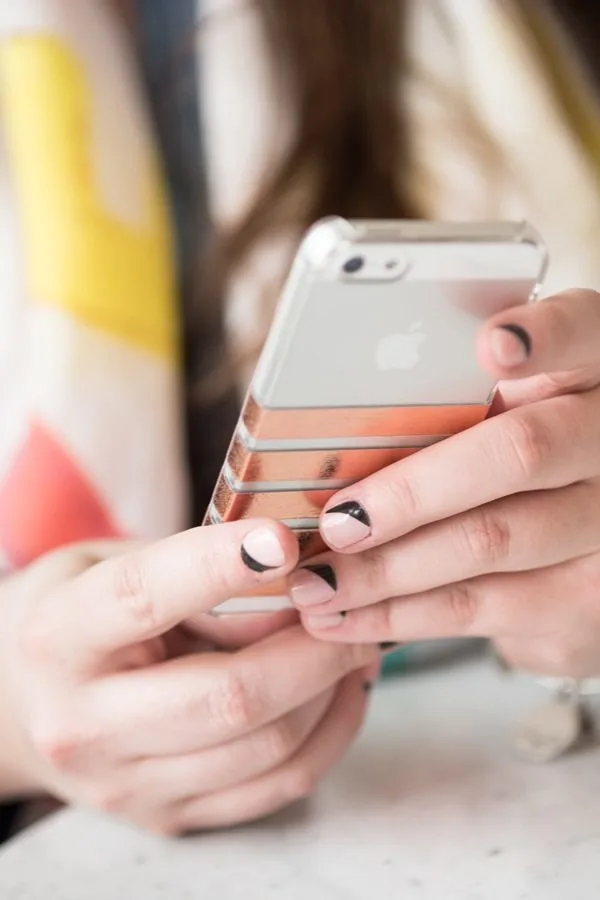
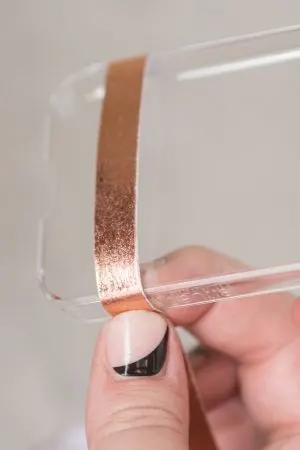
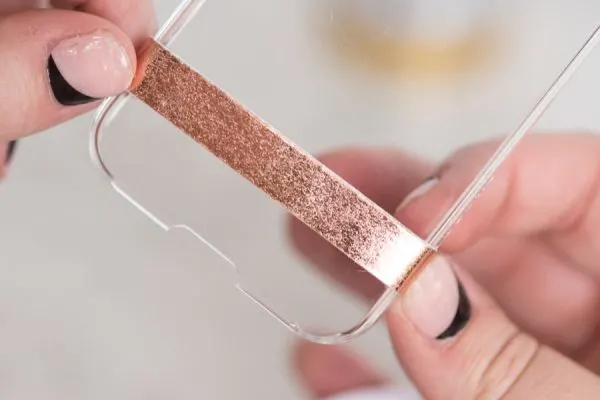
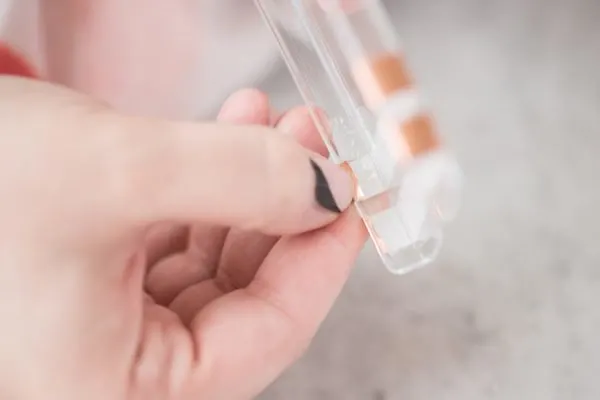
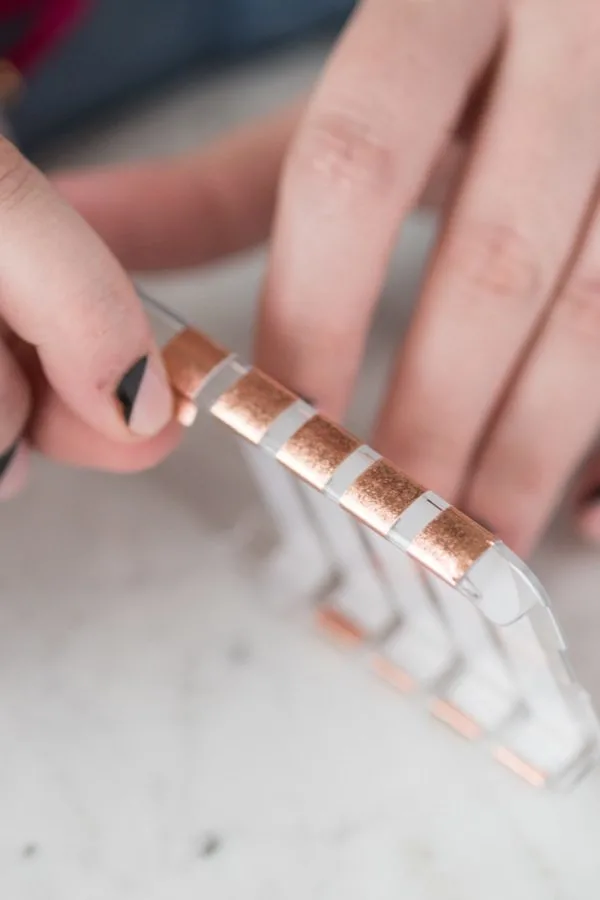
Then it’s time to start sticking down your stripes! I did so just by eyeballing the placement and tapping down the center of the piece of tape before smoothing toward the outside edges. When you reach the edge, wrap it around and over the front lip so that your stripes will continue around the front edge and give it a really clean and professional look. Repeat the process for as many stripes as you like and you’re all set!
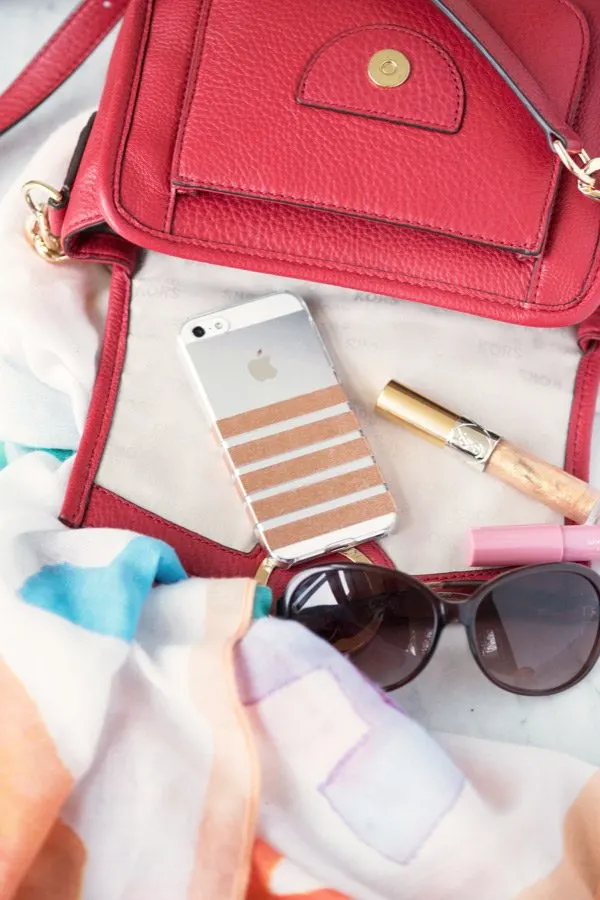
Ahhh isn’t it so fun? I seriously love it! Now, a disclaimer to wrap things up. As this is washi tape and washi tape is thin, this embellishment is by no means permanent. That said, it does no damage to your phone case and it’s kind of fun to be able to switch things up and play with different colors of tape or different patterns, too. For me and how I use my phone, the tape generally holds up for about two weeks, which isn’t too shabby for a quick and inexpensive iPhone case makeover!
[Design + styling by Cyd Converse | Photos by Alice G. Patterson for The Sweetest Occasion.]
The fine print: Please link with love! As with all of our posts, DIY projects featured on The Sweetest Occasion may not be copied, distributed or reproduced without express written permission. Love and links are always appreciated! If you’d like to share this post, please link to this post directly for the DIY tutorial and do not include the instructions in your own post. Thanks so much! xoxo


Georgia @ Silver Spiral Studio
Saturday 11th of July 2015
This is so pretty - classy and sophisticated looking. We've designed a few iPhone wallpapers that would compliment this perfectly: http://www.silverspiralstudio.com/free-metallic-stripes-iphone-wallpaper/ Thanks for sharing! :)
6 DIYs to Try This Weekend | Paper and Stitch
Friday 10th of July 2015
[…] fries recipe 3. copper punched DIY votives from Design Sponge 4. striped DIY iPhone case from The Sweetest Occasion 5. spicy grilled watermelon from Floating Kitchen 6. DIY hanging planter shelf from […]
Ashley
Wednesday 1st of July 2015
These look so chic and I can't believe how easy they are! I love that it's not permanent too so you could easily change out the colors anytime!
Genius!
Jenn @ EngineerMommy
Friday 26th of June 2015
Such a simple idea, but it looks gorgeous! Love washi tape!
Made With Pink
Thursday 7th of May 2015
I absolutely love this! Now all I have to do is find the rose gold washi tape in the UK!