


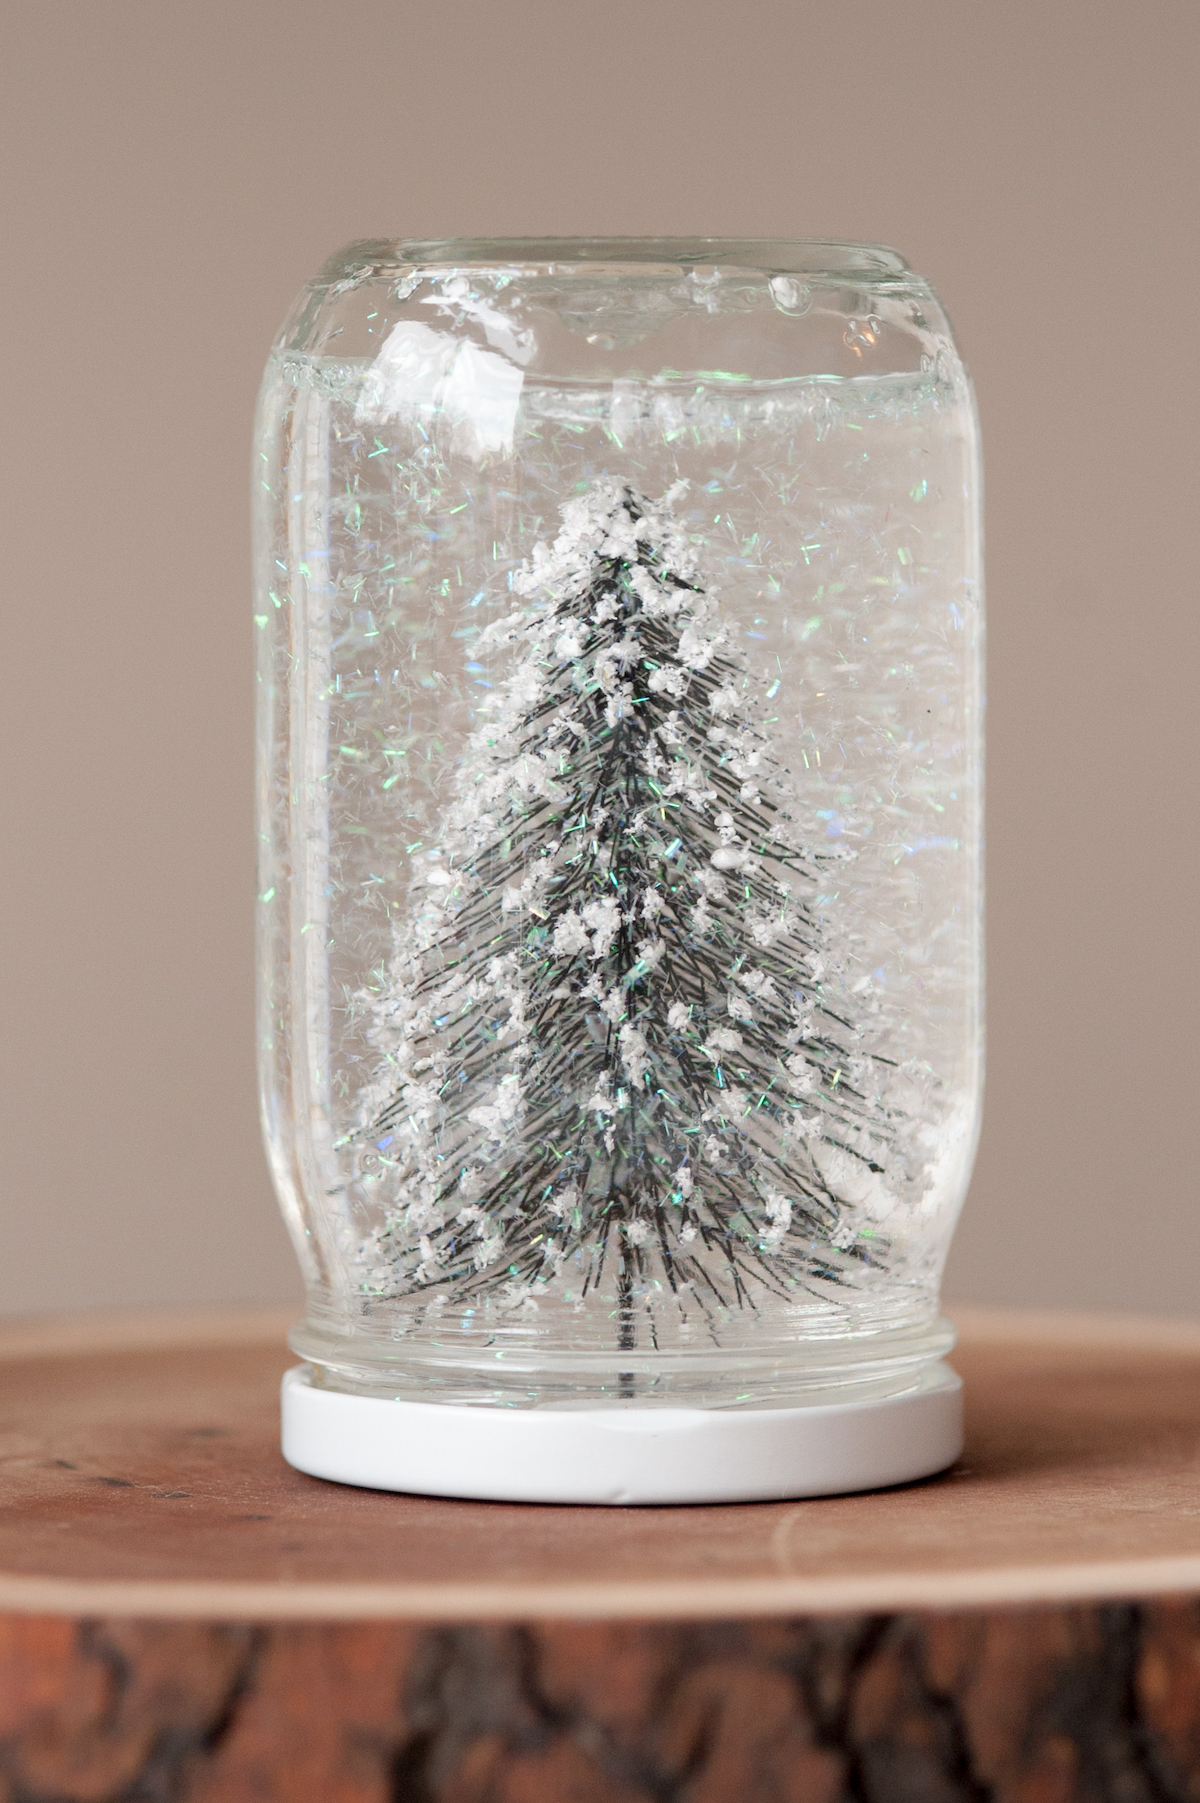
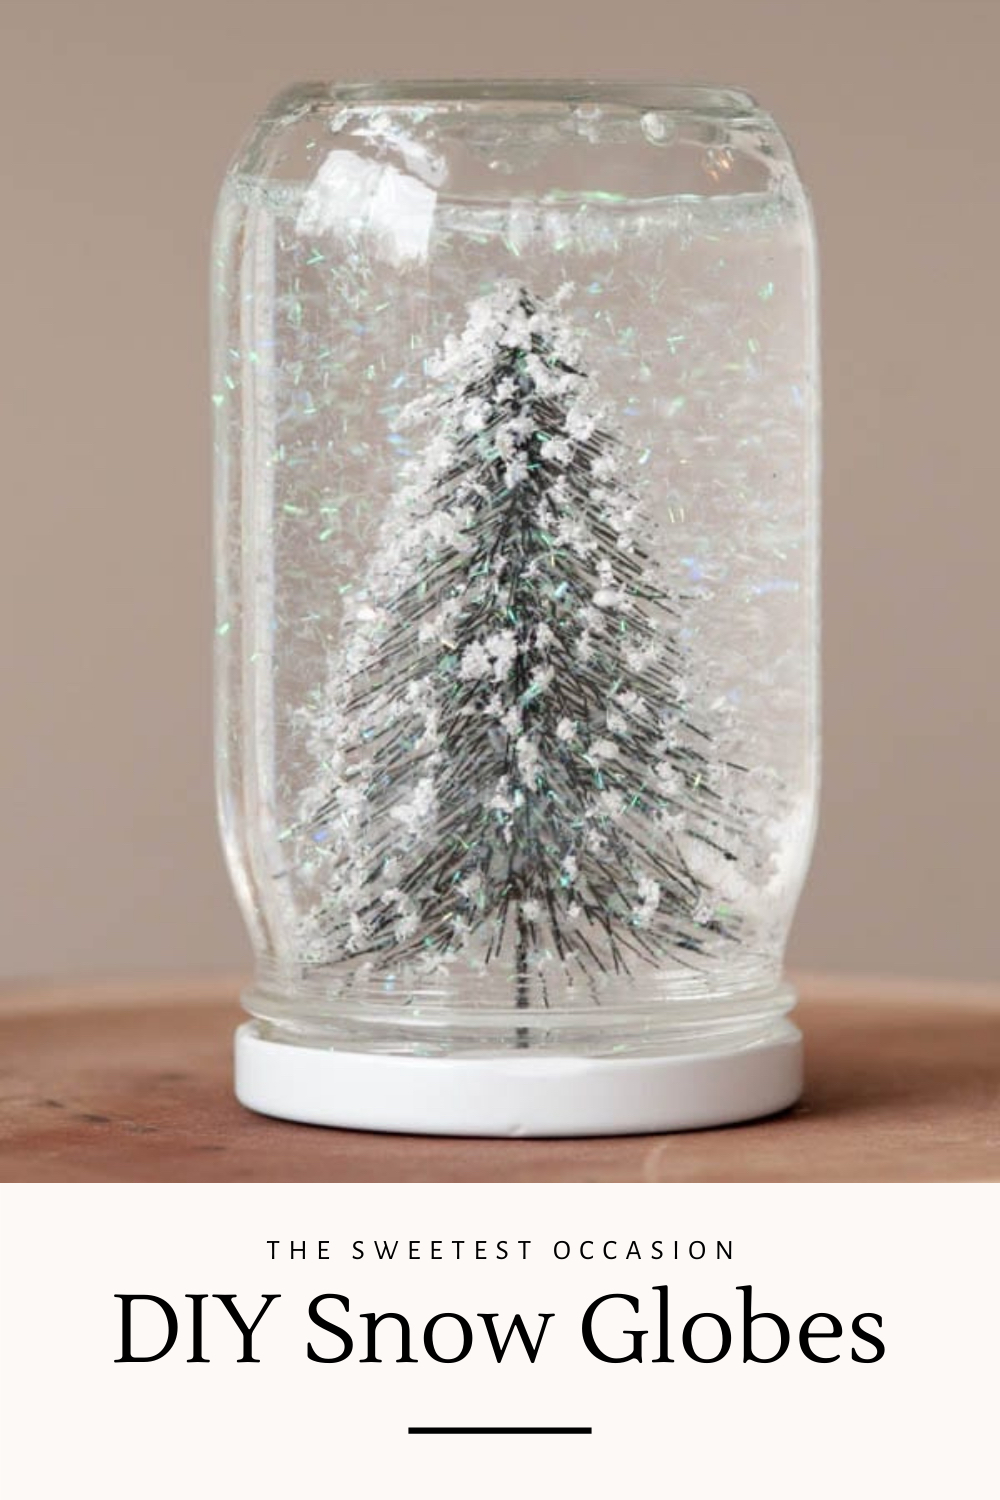
Make these easy DIY snow globes with jars, glitter, glue and water in under 10 minutes! Add a fun DIY touch to the classic Christmas snow globe with this homemade version you’ll treasure for years.
These DIY snow globes are one of my favorite Christmas projects! They’re so sweet and nostalgic and they’re also a cinch to make so this is a great project for the kids to help with if you have little ones.
If you’re wondering how to make a snow globe, this tutorial is for you!
I know I’m not alone in being completely charmed by a pretty homemade snow globe – they’ve been all over Pinterest the past several holiday seasons.
There’s just about nothing as charming as a pretty Christmas snow globe! I have loved them since I was a kid and I love them more now.
Several years ago I decided to try my hand at making my own DIY snow globes and I was surprised at just how easy they are to make.
Here I’m sharing all of my tips and tricks I’ve learned along the way when it comes to how to make a Christmas snow globe.

DIY Snow Globe Supplies
To make these easy DIY snow globes you’ll need a few basic supplies. Snow globe supplies are pretty affordable and you may even already have many of them at home!
- Clean jars with lids – You can either use recycled jars or mason jars, you just want to be sure to use something with smooth sides so you can easily see inside the jar when the snow is swirling around.
- Distilled water – Using clean distilled water will help prevent any sediment or rusting of your snow globe.
- Glycerin – You can find glycerin at most pharmacies. It thickens the water just slightly to help the glitter fall more slowly to emulate snow.
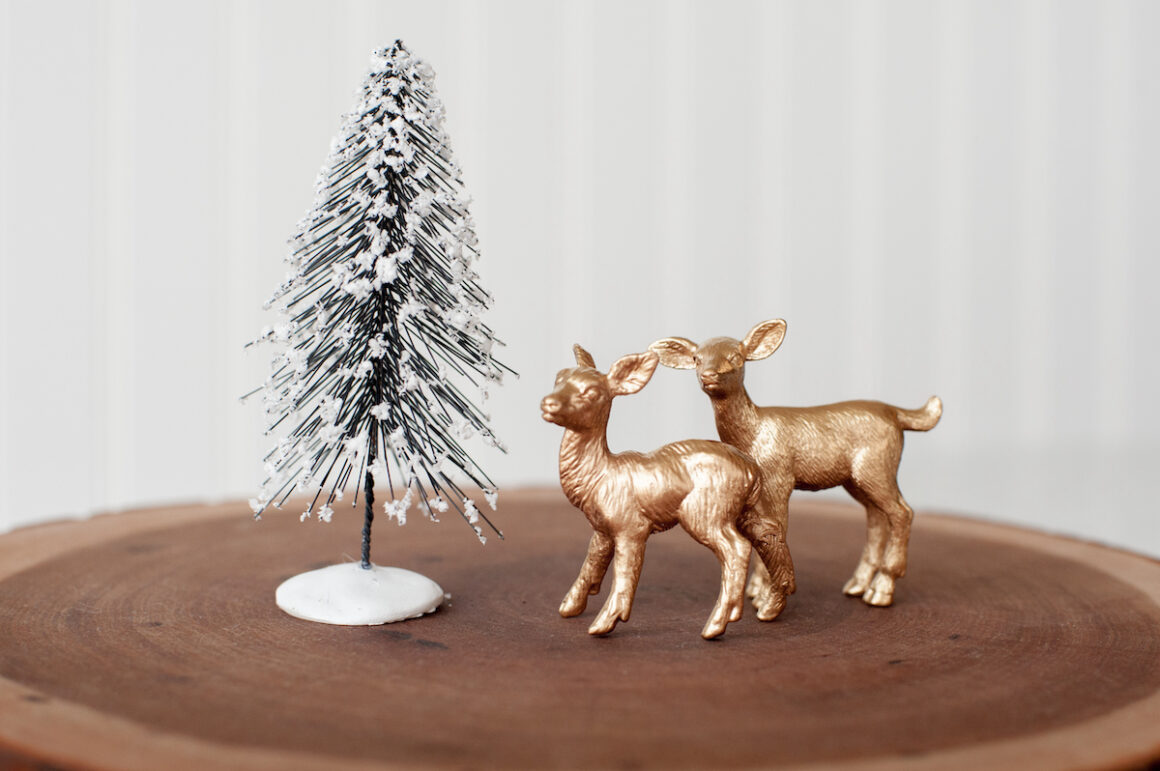
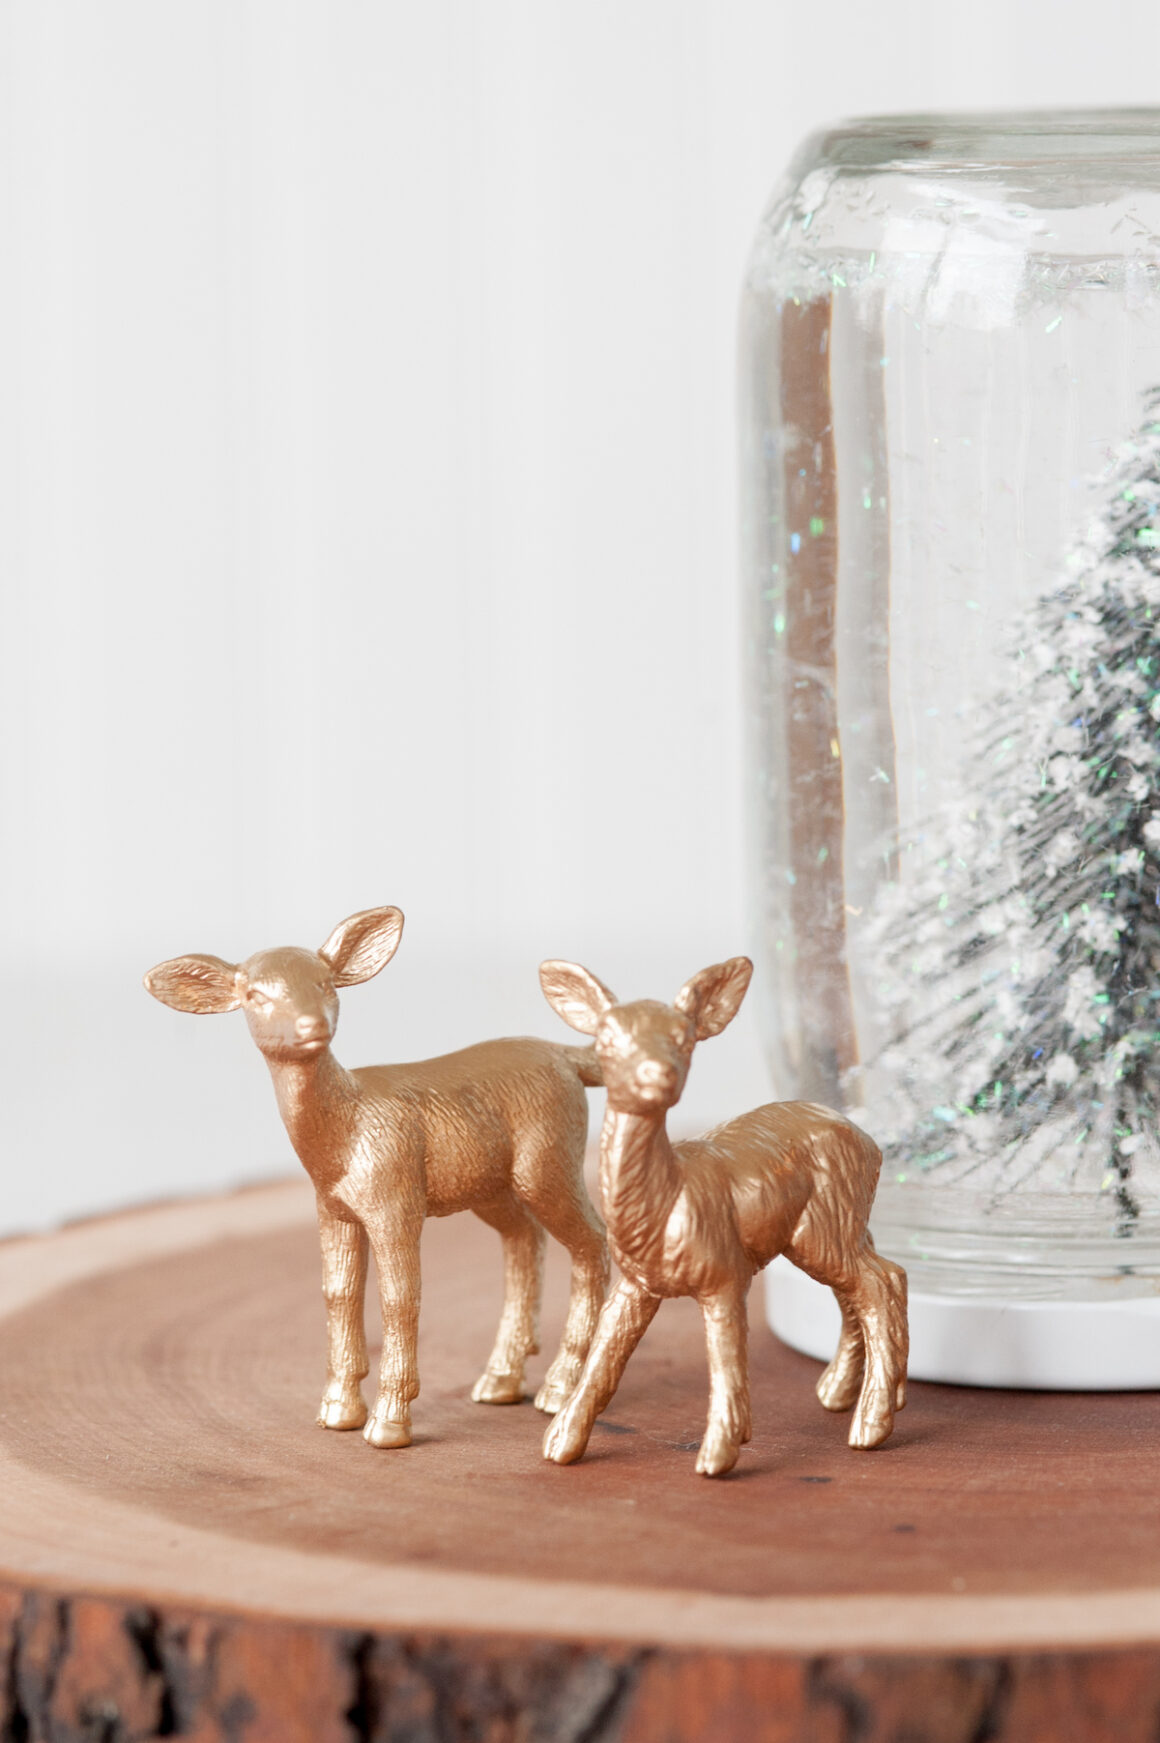
- Figurines/trees – Choose whatever you’d like to place in the jar such as plastic or ceramic animals, trees and/or figurines.
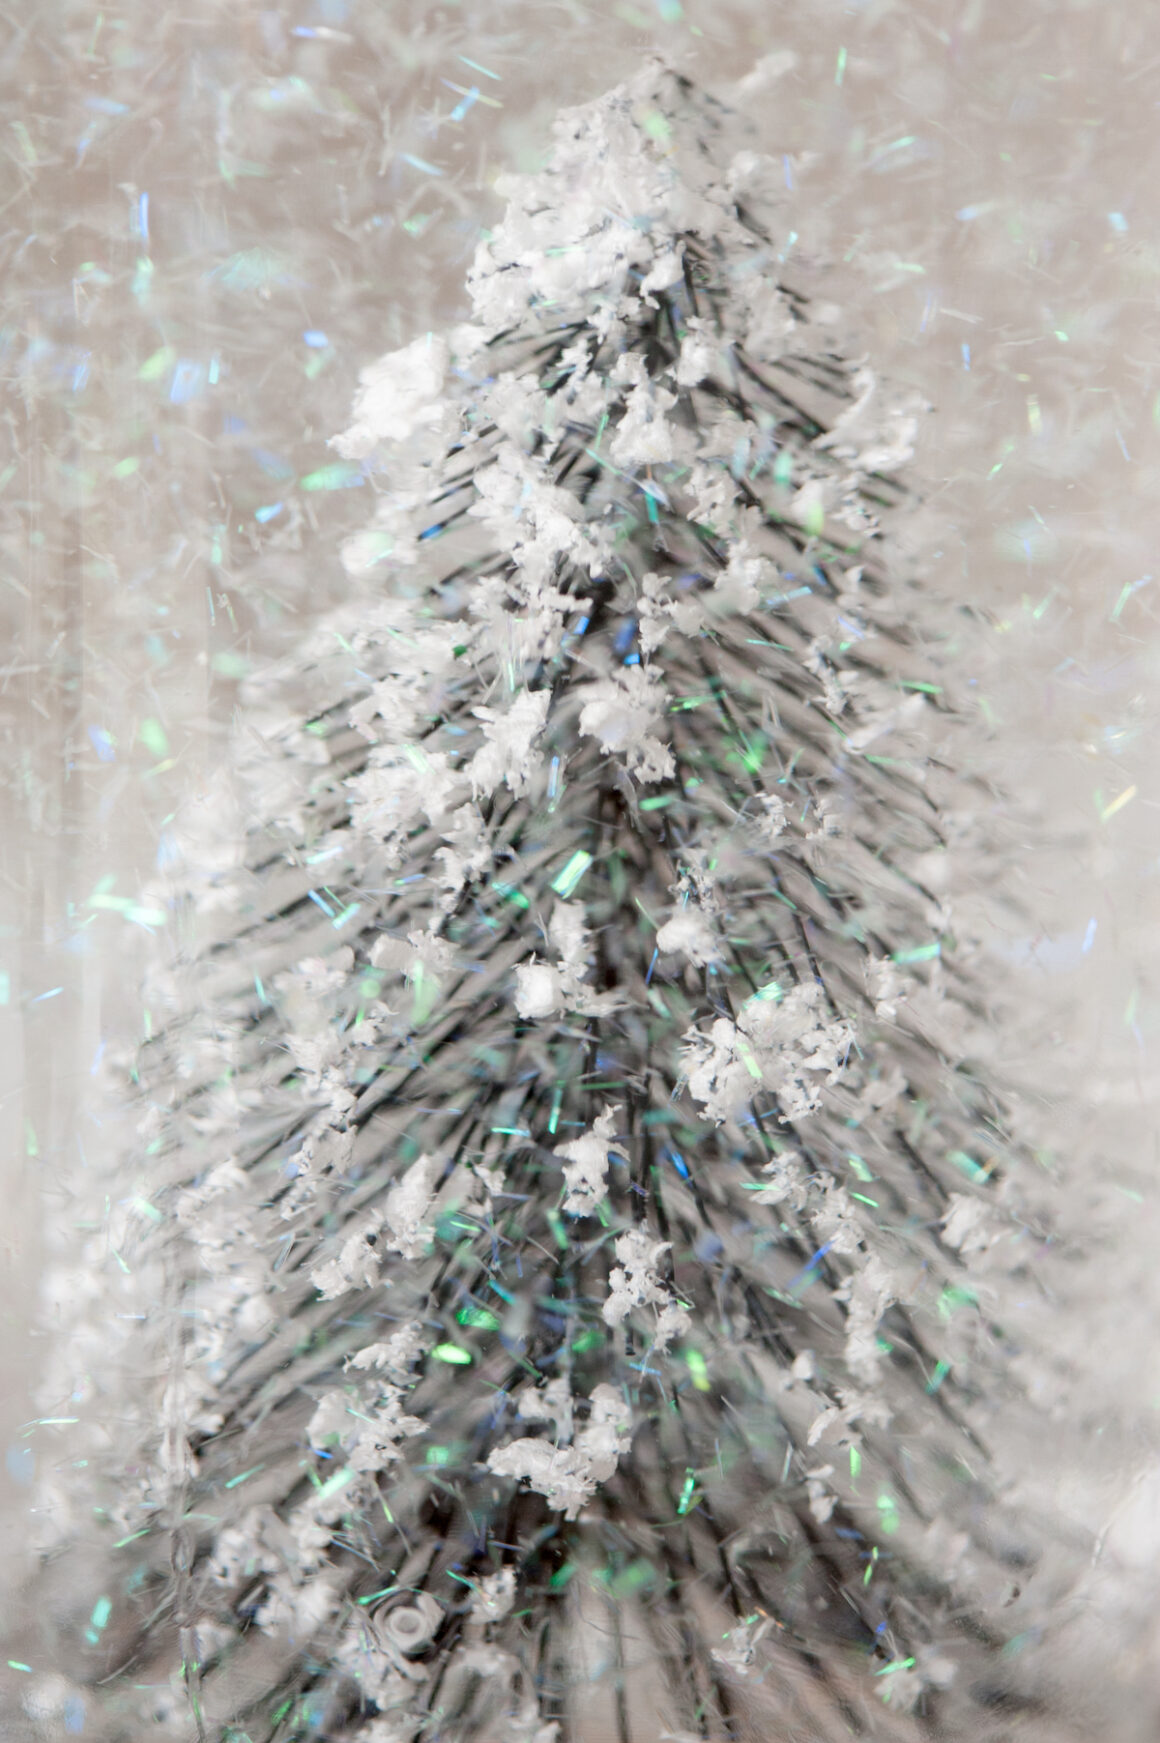
- Tinsel glitter – After much experimenting I found that tinsel glitter, which has larger particles, worked best for making DIY snow globes as it looks most like snow when falling through the water.
- Epoxy – You’ll need a water resistant epoxy such as E6000 to permanently attach your trees or other figures to the lid of the jar.
- Sand paper – A bit of sand paper helps to rough up the lid to help your figures attach securely.
What Kind of Liquid Is in a Snow Globe?
In this version of a Christmas snow globe, I use distilled water as the liquid in my snow globes. Bonus – it’s easy to find and inexpensive!
You can generally purchase distilled water anywhere that you buy bottled water, such as the grocery store or pharmacy. It is often sold by the gallon which will make several snow globes.
Using distilled water to make Christmas snow globes will help to keep the water from getting murky and help reduce the likelihood of any rusting.
How to Make DIY Snow Globes
Here I am sharing a complete explanation of how I make DIY snow globes. Learning how to make homemade snow globes is fun and easy!
You can also keep scrolling below for the printable DIY instructions card to make your crafting even easier.
Step 1. First up, make sure your jars are cleaned and dried thoroughly. Once dried, you may want to use a lint-free cloth and glass cleaner to remove any smudges or fingerprints from the inside of the jars.

Step 2. Using your sandpaper, scuff up the underside of the lid. This will help the epoxy to hold in the next step.
Step 3. Attach your chosen figurines to the underside of each lid using a dollop of epoxy. Allow the epoxy to sit and dry until your trees or figurines are firmly adhered.
Note: Epoxy is going to be your best defense against water over time, but it can be a bit thick and stinky so be sure to use it according to the manufacturer’s instructions in a well ventilated area.
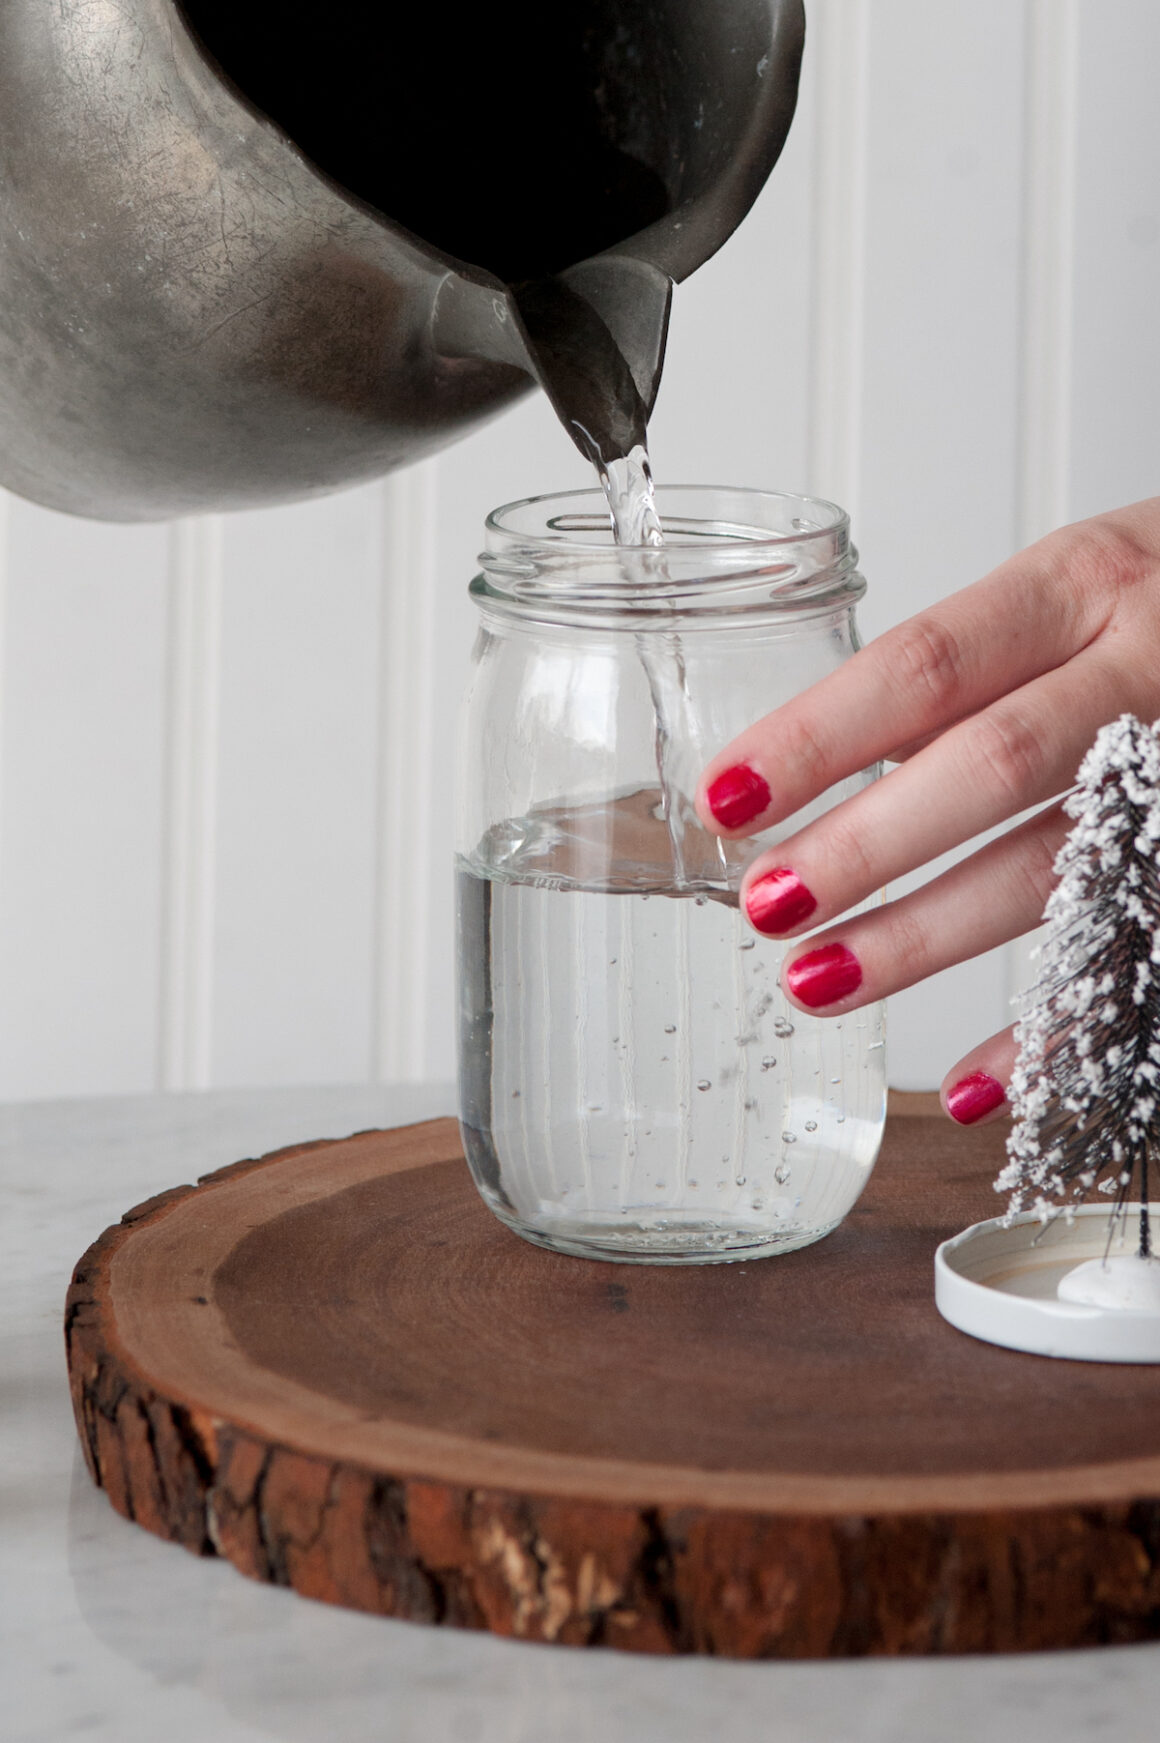
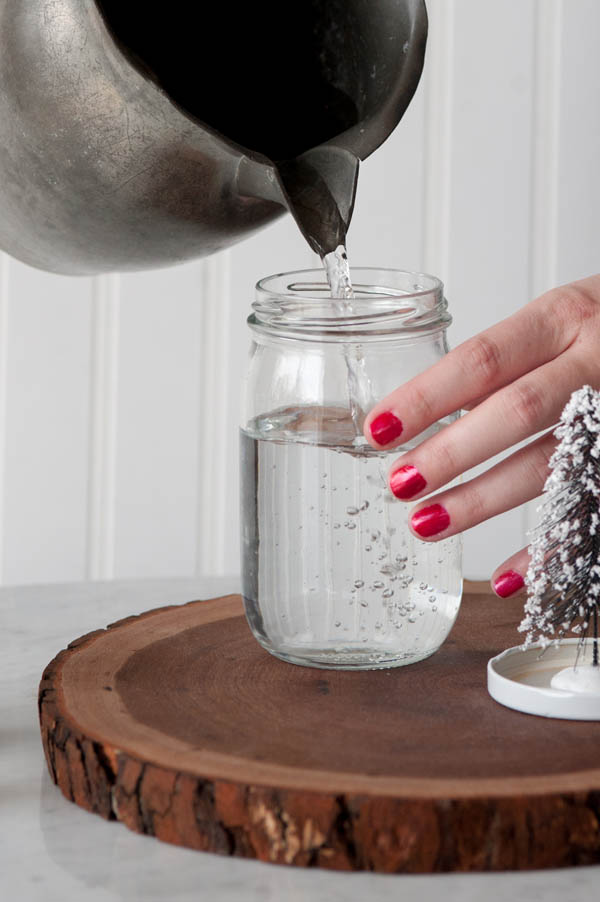
Step 4. Next up, fill your jar just short of full with distilled water. Don’t forget to leave room for your figurines

Step 5. Add the tiniest drop of glycerin to the water. For a larger jar you may want to add a tiny bit more.
If you add too much it’s going to make the water kind of thick and chunky so depending on the size of your jar, you’re likely not going to want more than one drop.
That said, I highly suggest that you don’t skip this step because the glycerin helps suspend the glitter in the water giving it that snowy effect.

Step 6. Add your glitter to the jar, using more or less depending on how snowy you’d like your snow globe to appear.
For best results, I found using tinsel glitter (which has larger glitter particles) worked best and gave the most snowy look.
When first experimenting with making homemade snow globes, I tried various sizes and types of glitter and the tinsel glitter worked best for me.
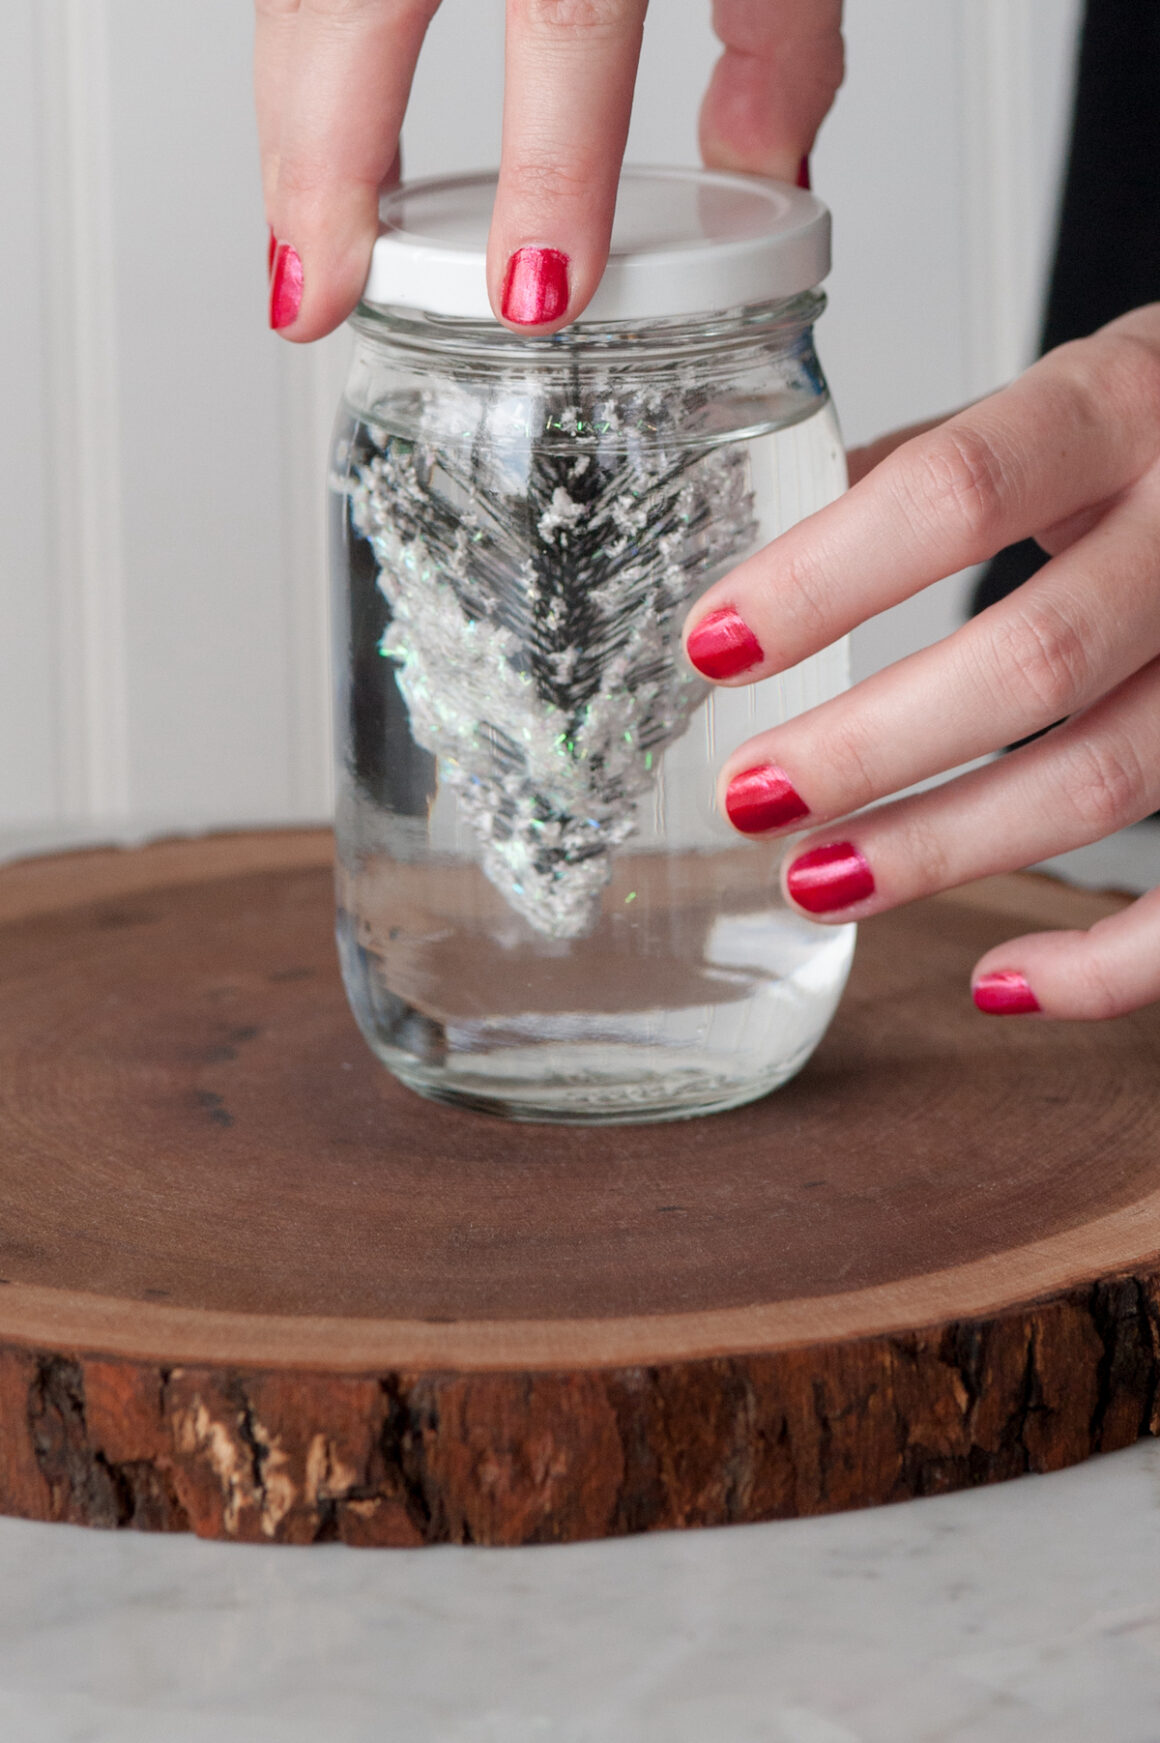
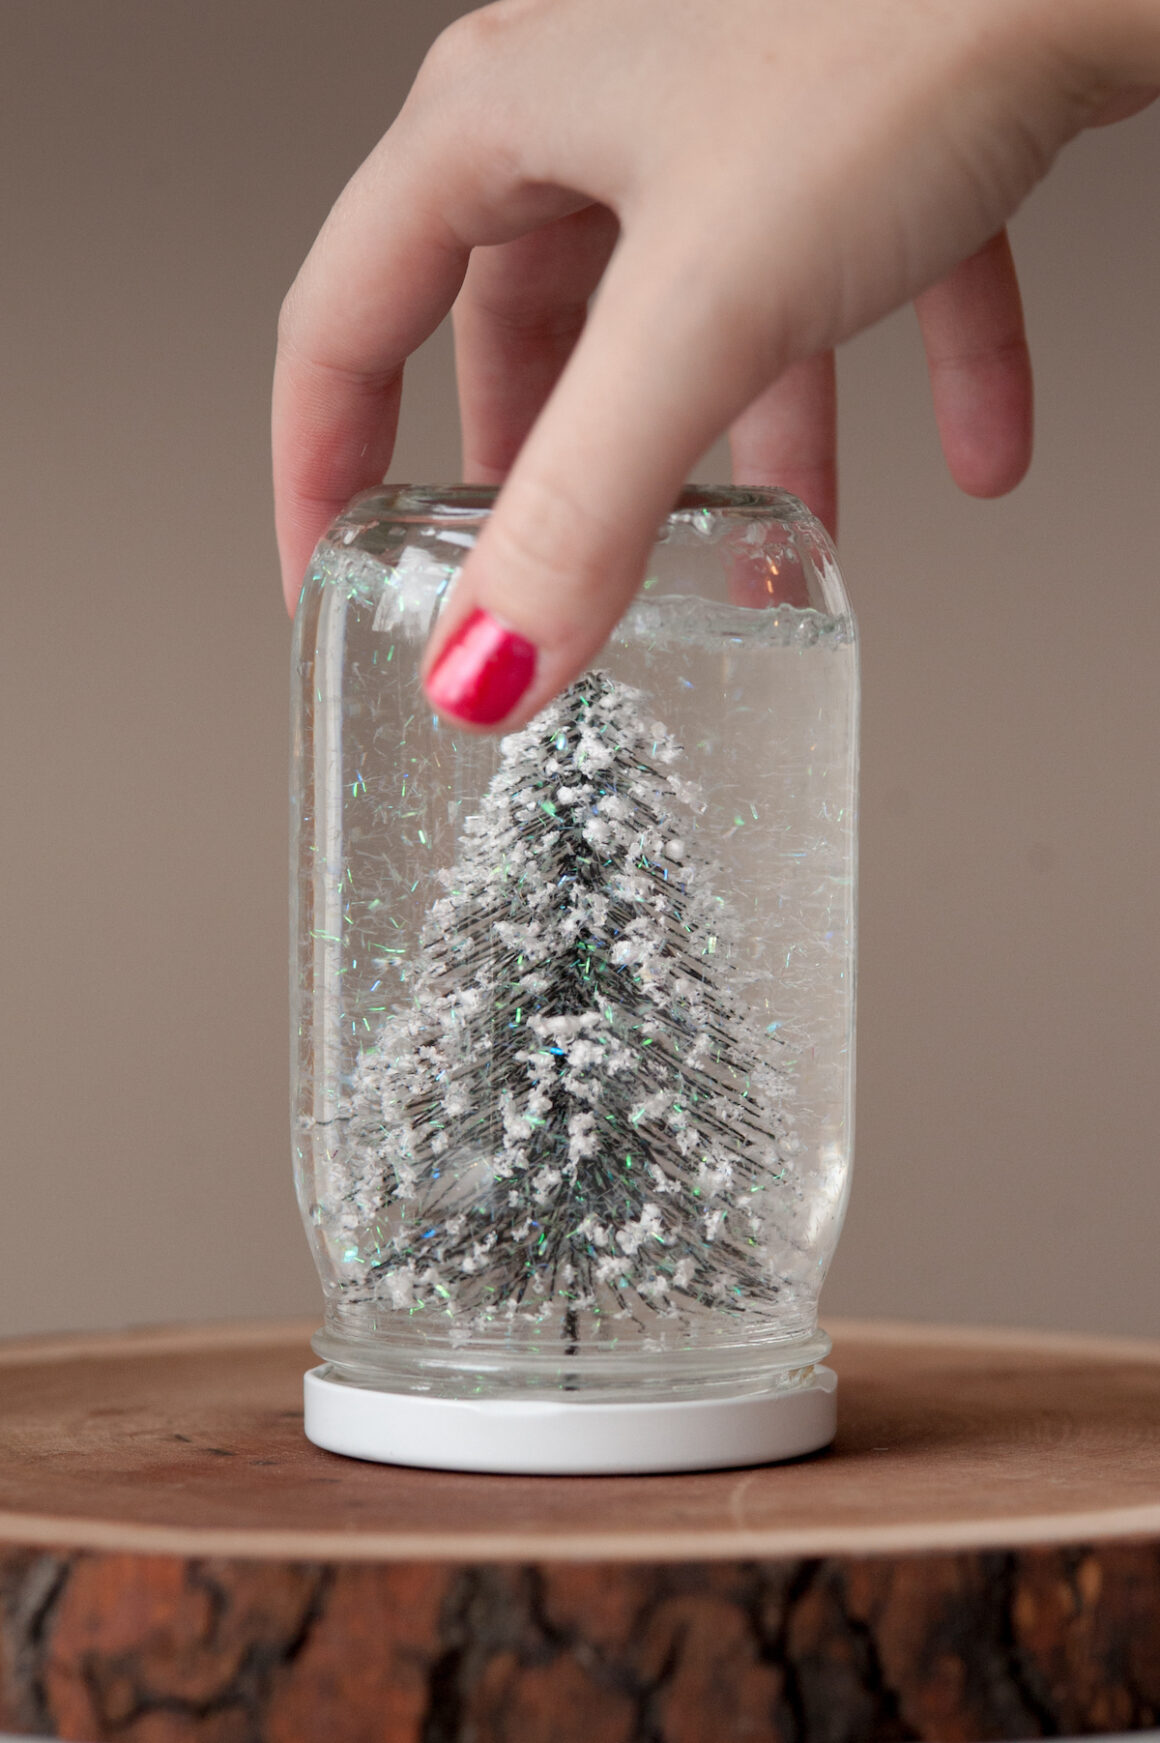
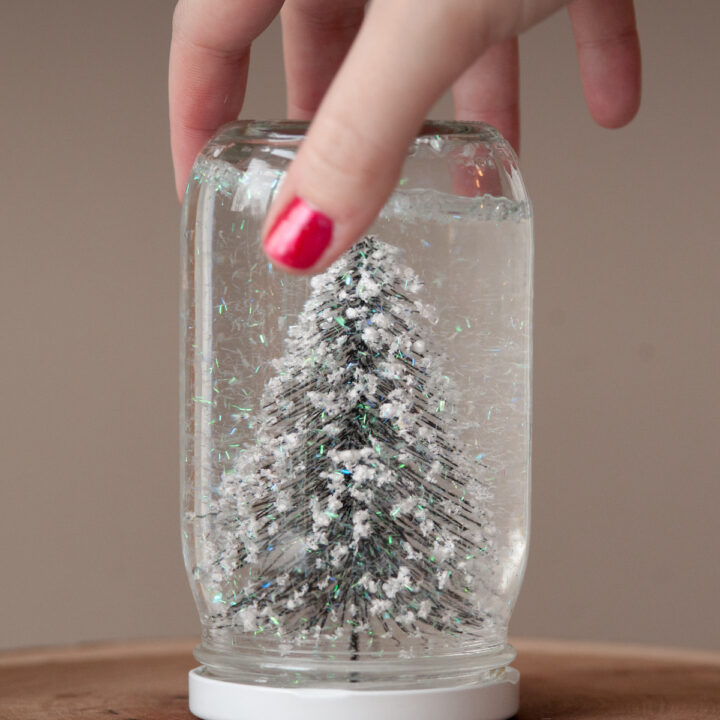
Step 7. Insert your figurine and screw the lid on firmly and give it a good shake – making DIY snow globes easy and I absolutely love how these turn out every time.
More Snow Globe Craft Ideas
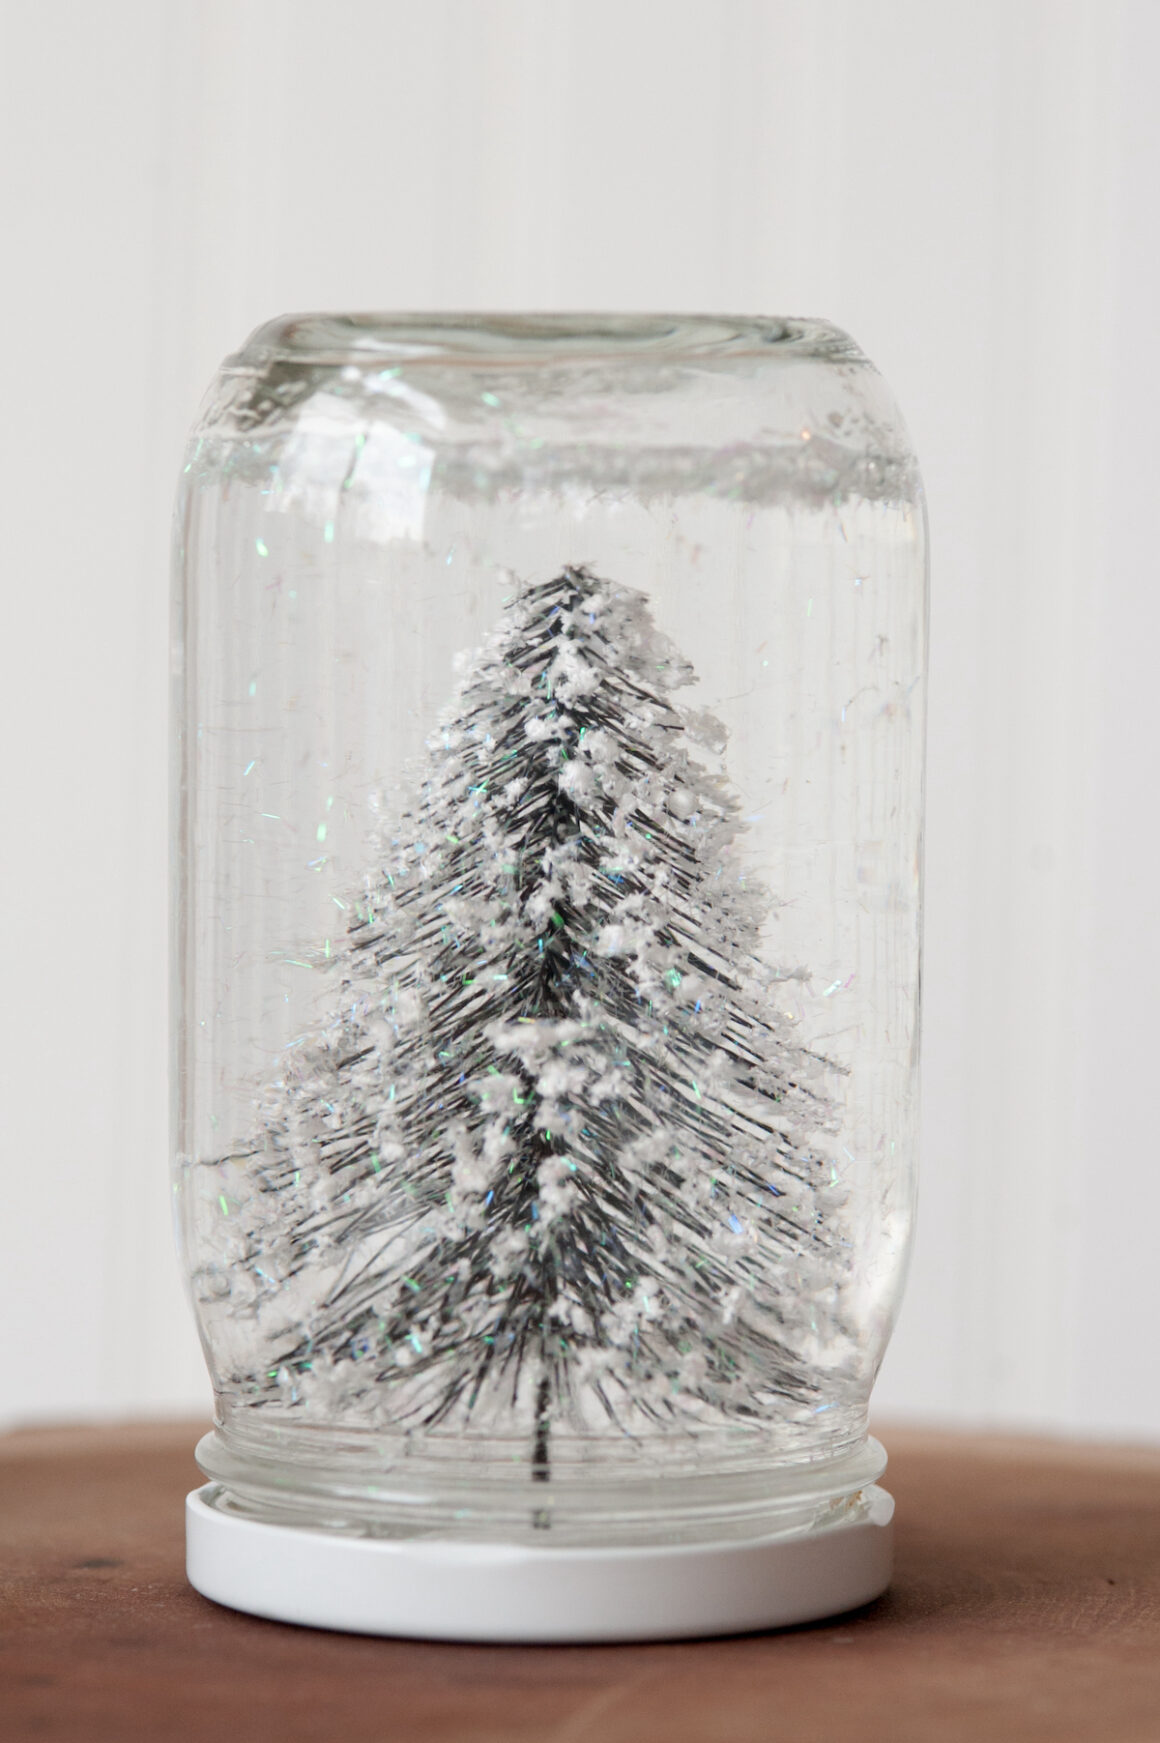
Aren’t these DIY snow globes so cute?! For a bit of extra fun, you could also easily paint or decorate the lid of the jar to create an even more custom look.
The lid of my jar was white and I kind of liked the simple look so I opted to leave it as is, but I love the idea of dressing it up.
You could spray paint the lids first (maybe white, green, red or gold) or cover it with a fun washi tape pattern.
These are perfect to give as gifts or to spend an afternoon crafting with the kiddos. Trust me, kids of all ages love snow globes!
To gift them, I’d tie them with a pretty gift tag and a piece of satin ribbon tied into a pretty oversized bow.
How to Make Snow Globes Without Glycerin
While it’s totally possible to make snow globes without glycerin, doing so is the easiest and simplest method for making snow globes.
That said, if you can’t find glycerin or want to make snow globes last minute and don’t have any on hand, try these alternates:
- Clear glue
- Light corn syrup
- Mineral oil
- Baby oil
- Clear cooking oil
Any of the above will achieve the same effect of slightly thickening the water to allow the glitter to suspend and float slower once your DIY snow globe is shaken.
Tips for How to Make a Homemade Snow Globe
- Make sure your jars are thoroughly cleaned and rinsed completely before getting started. It will help the water stay crystal clear.
- Consider using figurines that don’t contain metal components. They may start to rust after a while if there is metal. Alternately, a coat of clear spray paint on the metal pieces before you make your snow globe should help.
- Play around with arranging your trees, reindeer or other figurines before you use the epoxy to hold them in place. That way you can adjust the arrangement to make sure it looks cute before you’re committed.
Favorite Christmas Craft Ideas
Dreaming up new Christmas craft ideas is one of my very favorite things to do each and every year. If you’re looking for more pretty Christmas crafts, check out these favorites from the archives:
- DIY Gold Leaf Ornaments – Making DIY Christmas ornaments is perhaps my favorite thing of all. These ones are so beautiful and insanely popular year after year!
- DIY Melted Crayon Ornaments – These ornaments are made with melted crayons – they are simple to make yet absolutely stunning.
- DIY Glitter Confetti Ornaments – Studded with a dramatic spray of confetti, these ornaments are another favorite.
- DIY Wooden Candle Centerpiece – This wooden candle centerpiece is a dramatic statement piece. It’s perfect for the dining table, the mantel or for giving as a gift.
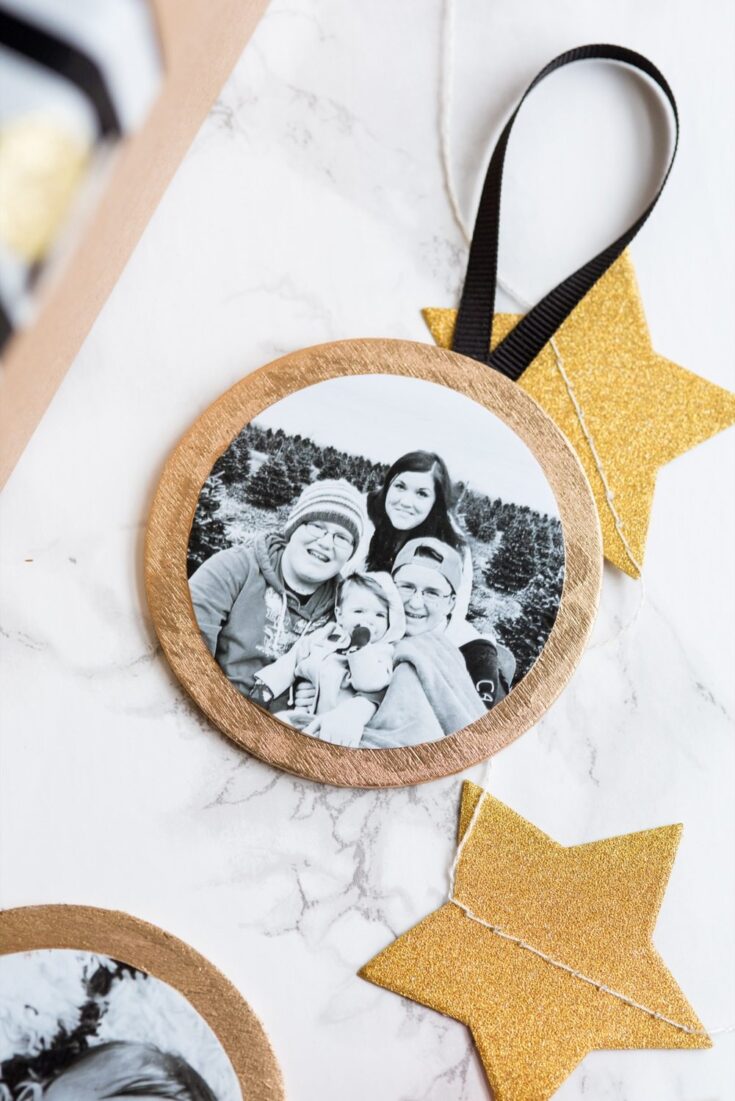
- DIY Photo Ornaments – I love the sweet, sentimental touch of photo ornaments and these ones are easy enough for the kids to help make, too.
- Family Photo Wall Hanging – I love this wall hanging boasting favorite family photos. It’s lovely as seasonal or year-round decor or for gift giving.
- DIY Terrarium Winter Scene – These sweet Christmas terrariums add a festive touch to your holiday decor. I use them year after year in our home.
- DIY Pine Cone Garland – One of my most popular Christmas crafts of all time, this pine cone garland is equally pretty hanging up all winter long.
[Photos by Alice G. Patterson.]
DIY Snow Globes
Follow this easy DIY tutorial to make charming homemade snow globes - beautiful DIY snow globes you'll treasure for years to come.
Materials
- Clean jars with lids
- Distilled water
- Glycerin (available at most pharmacies)
- Plastic or ceramic animals, trees and/or figurines
- Tinsel glitter (mine is from Michaels)
- Epoxy
- Sand paper
Instructions
1. Make sure your jars are cleaned and dried thoroughly.
2. Using your sandpaper, scuff up the underside of the lid and then attach your chosen figurines using a bit of epoxy.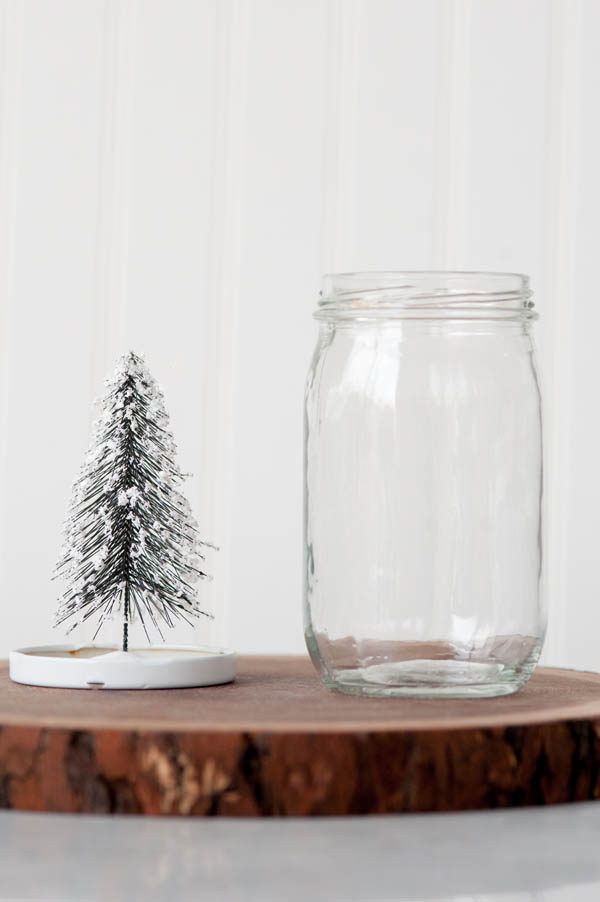
3. Let the epoxy set completely and then fill your jar just short of full with distilled water. (You can get distilled water anywhere that you buy bottled water.)
4. Add the tiniest drop of glycerin to the water. If you add too much it’s going to make the water kind of thick and chunky so depending on the size of your jar, you’re likely not going to want more than one drop.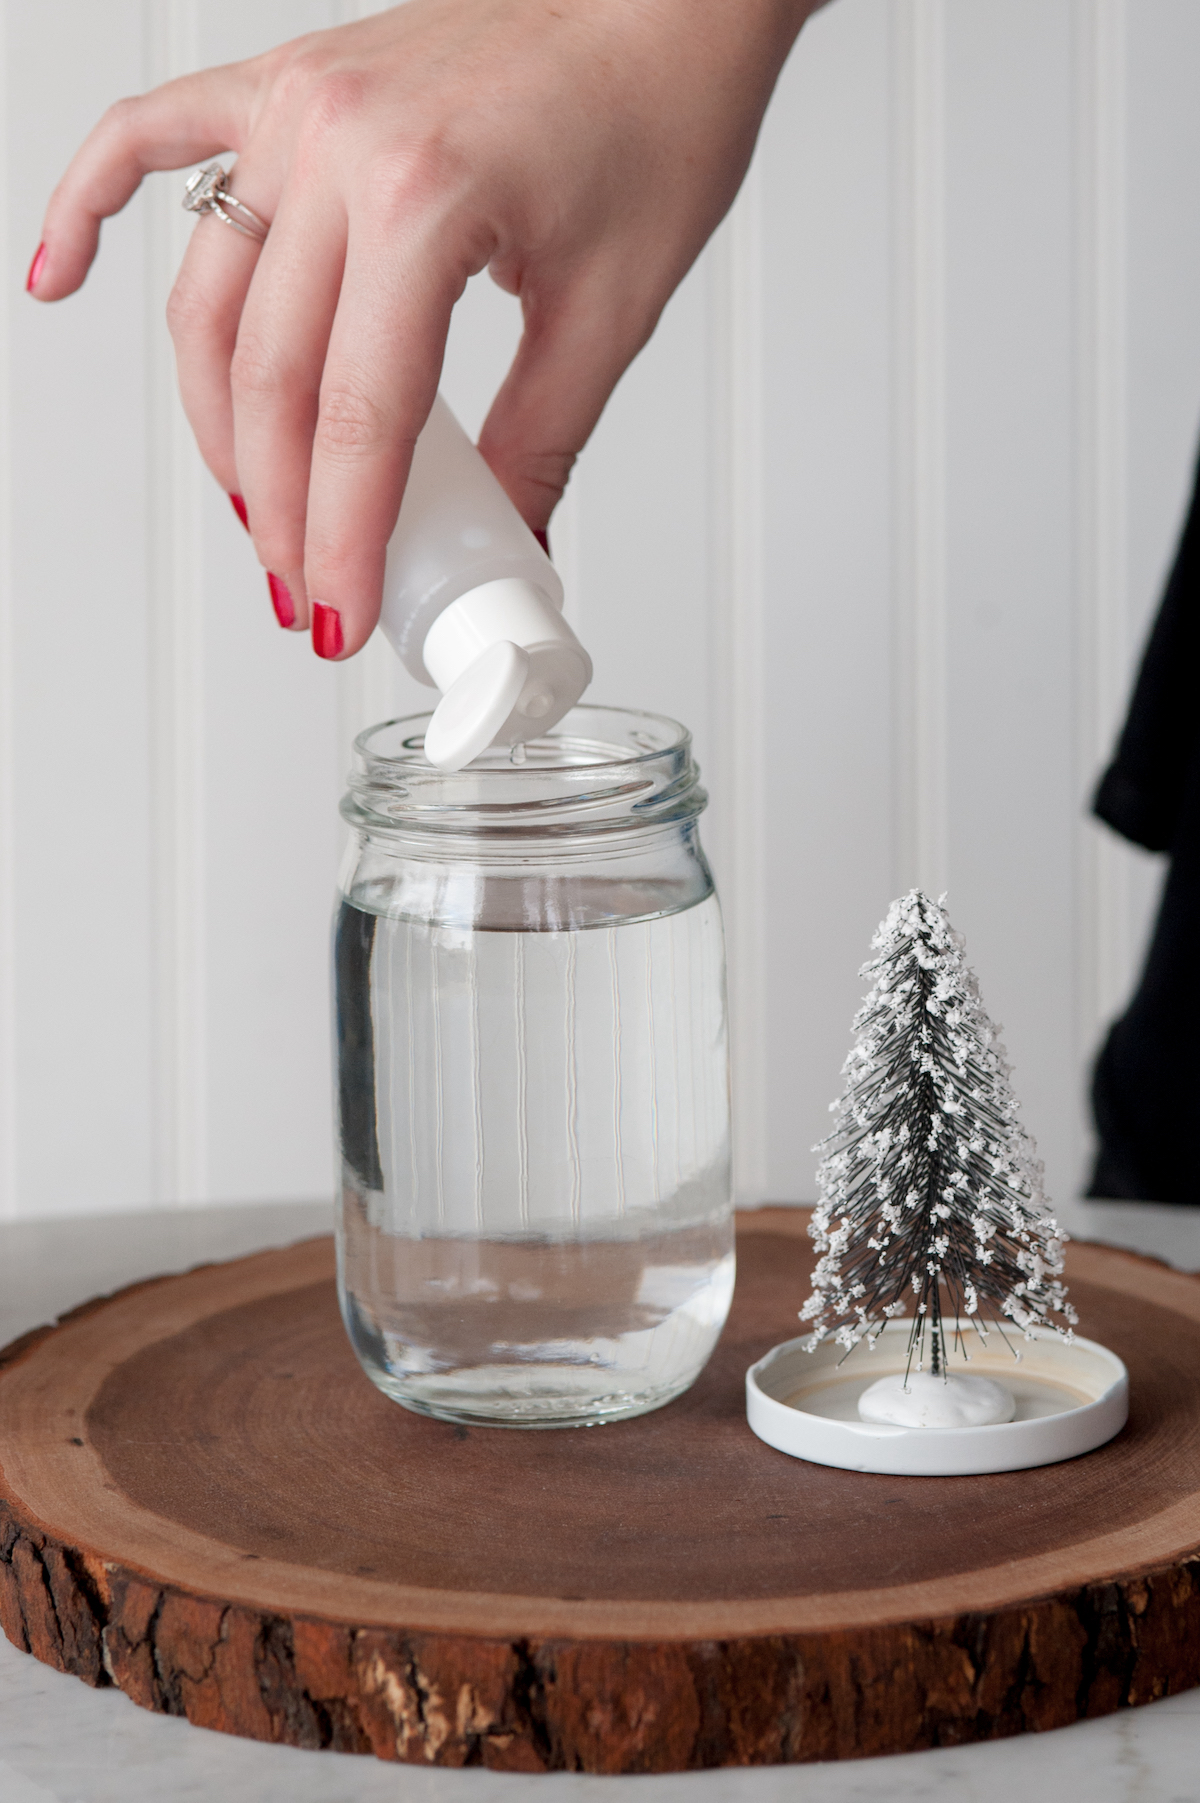
5. Add your glitter to the jar, using more or less depending on how snowy you’d like your snow globe to appear. For best results, I found using tinsel glitter (which has larger glitter particles) worked best and gave the best snow-like look.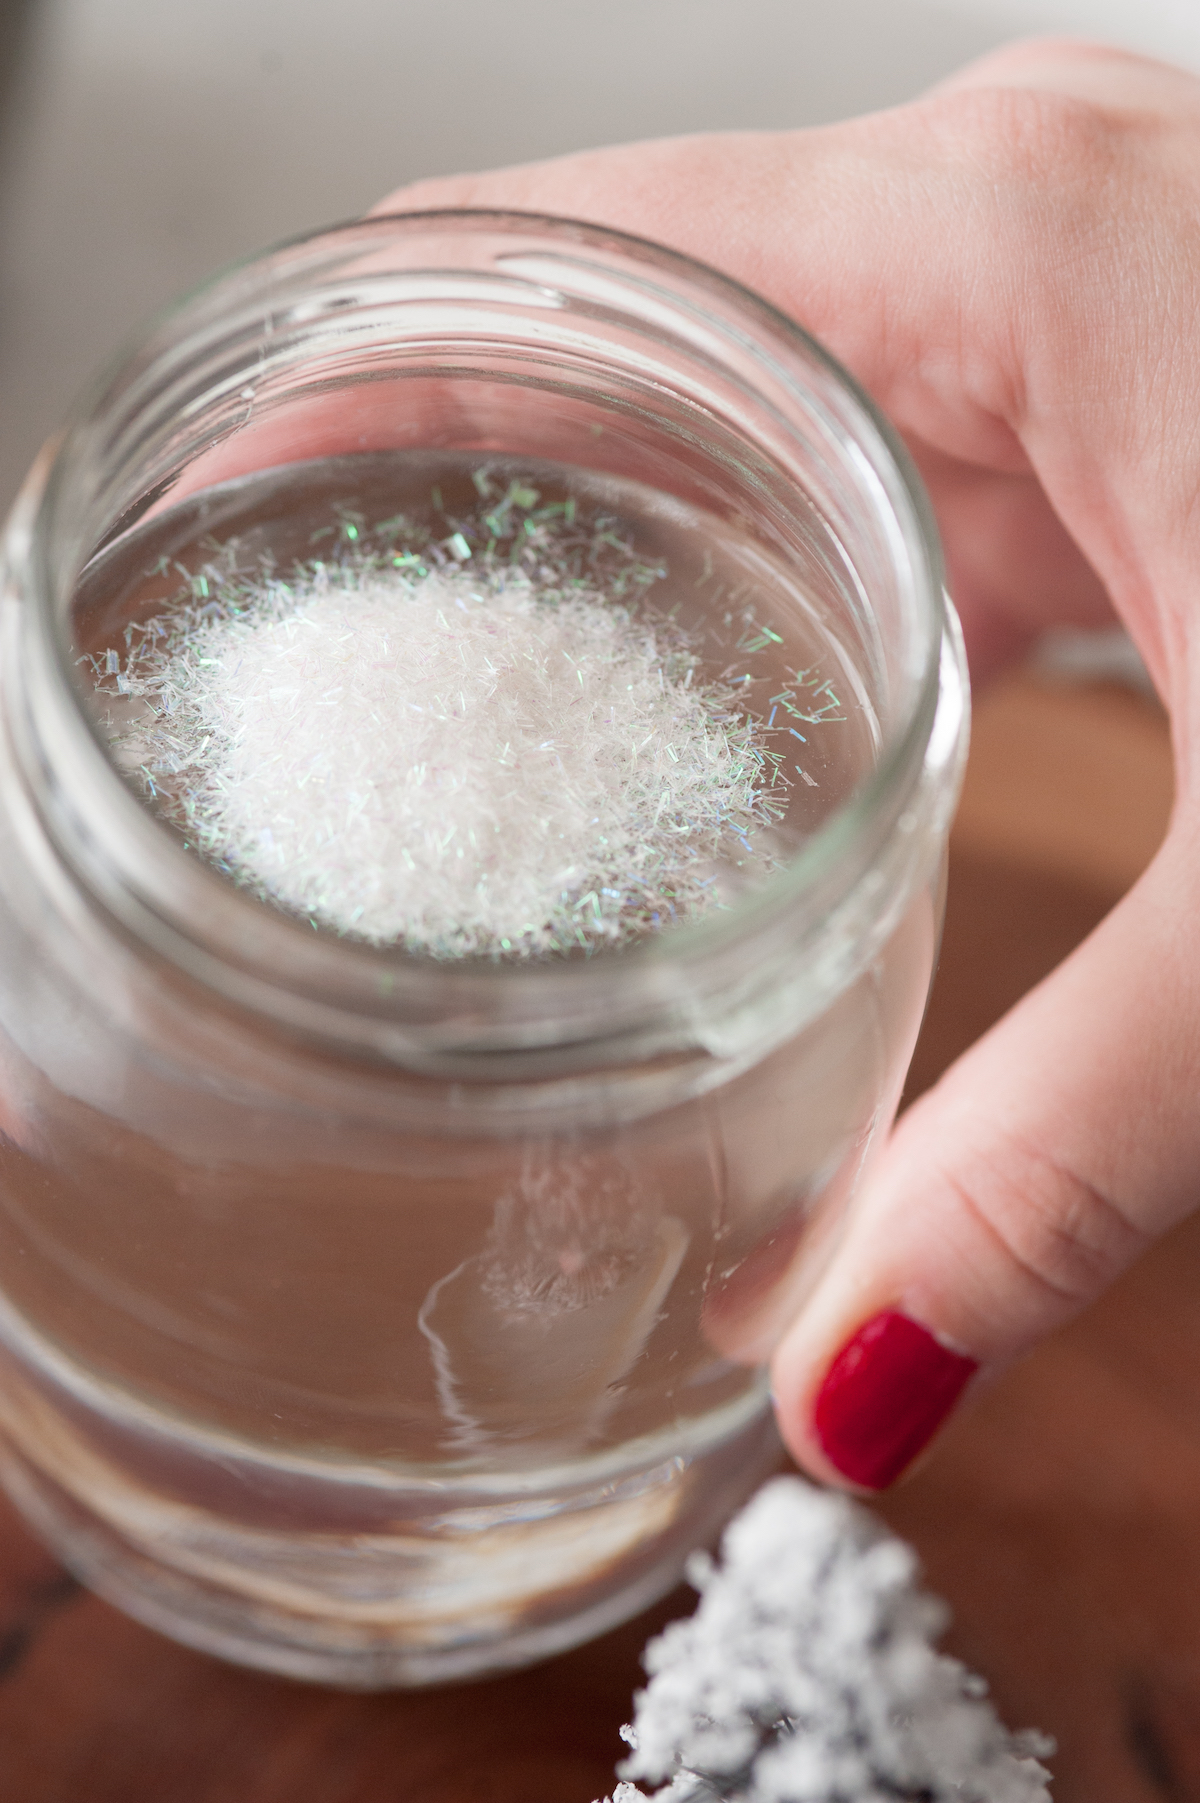
6. Insert your figurine and screw the lid on firmly and give it a good shake!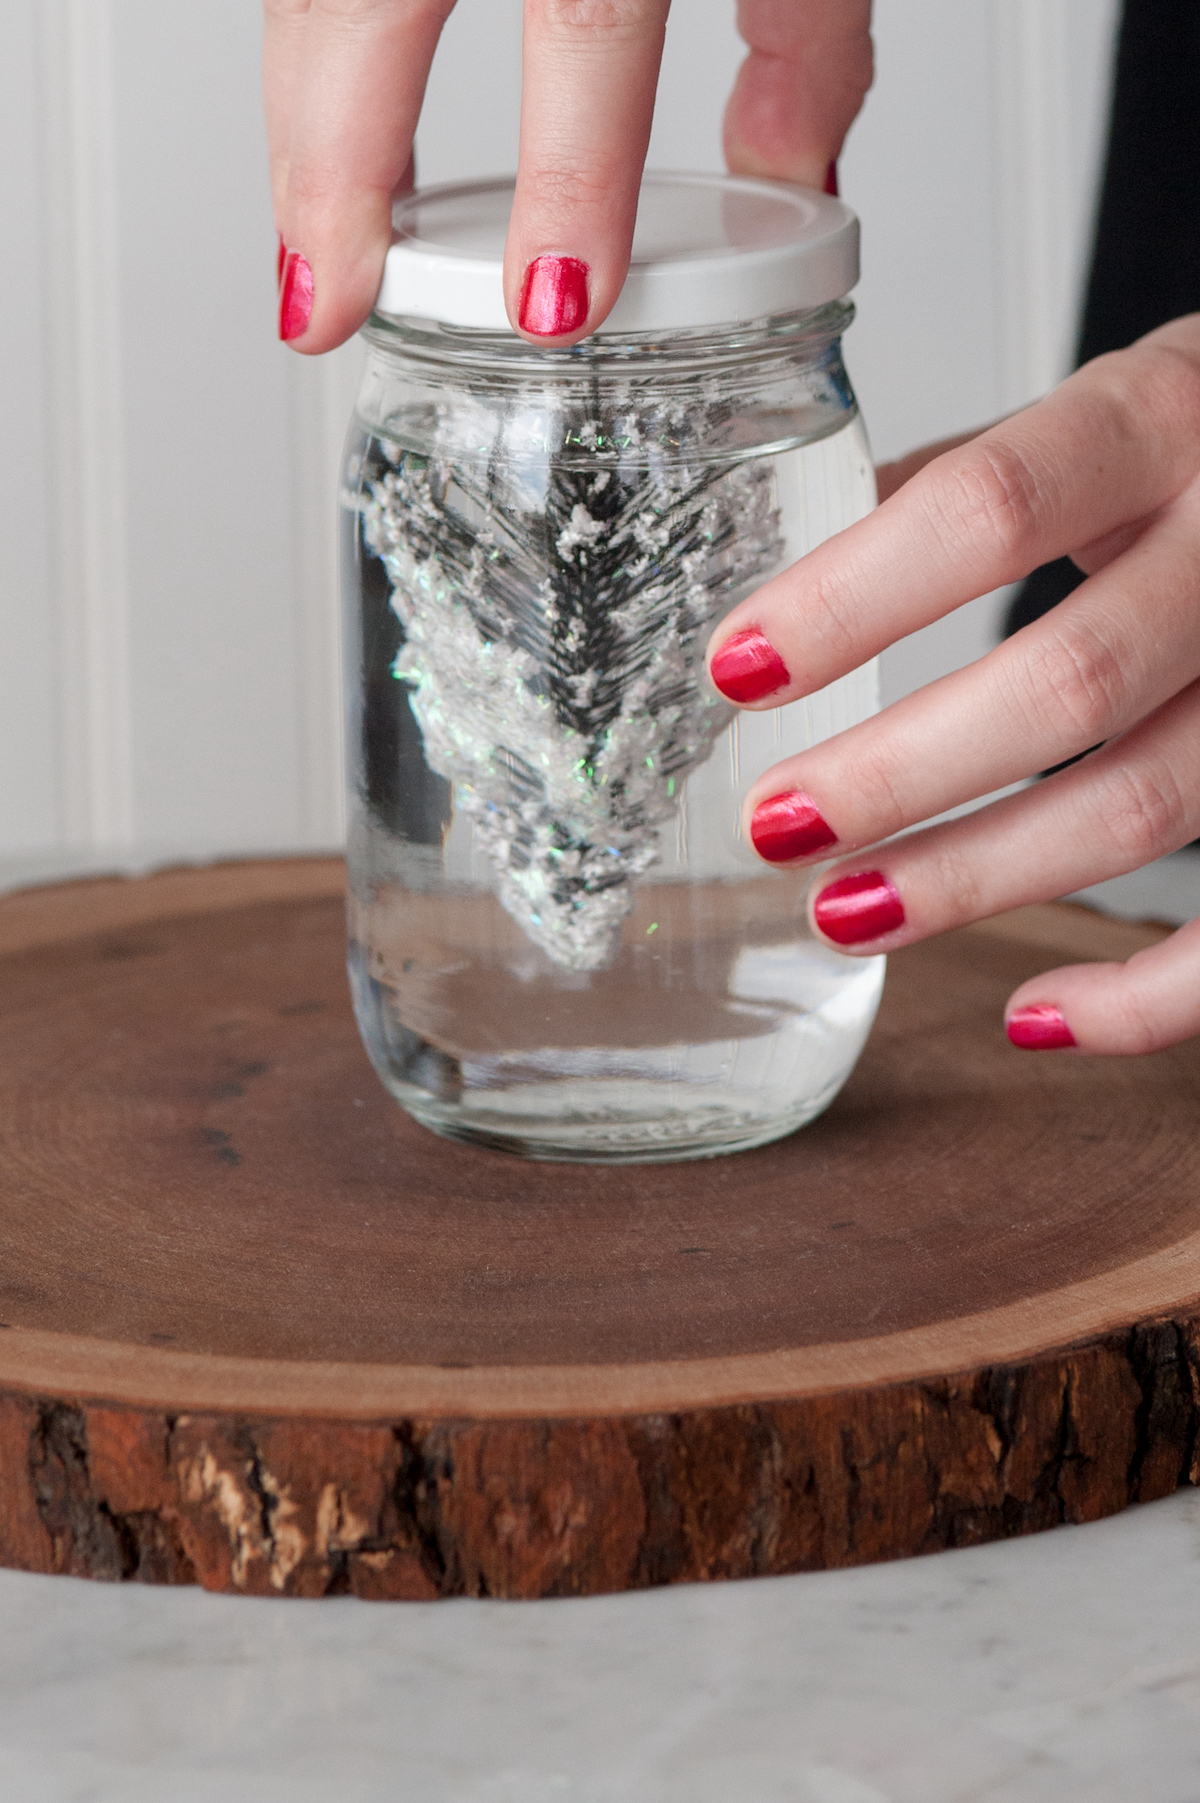
My Favorite Pretty and Easy Christmas Crafts
Beautiful DIY Christmas decorations from DIY Christmas ornaments to homemade snow globes and more treasures to adore for years to come.

DIY Painted Gold Leaf Ornaments
Beautiful DIY Christmas ornaments made with gold leaf and your choice of paint
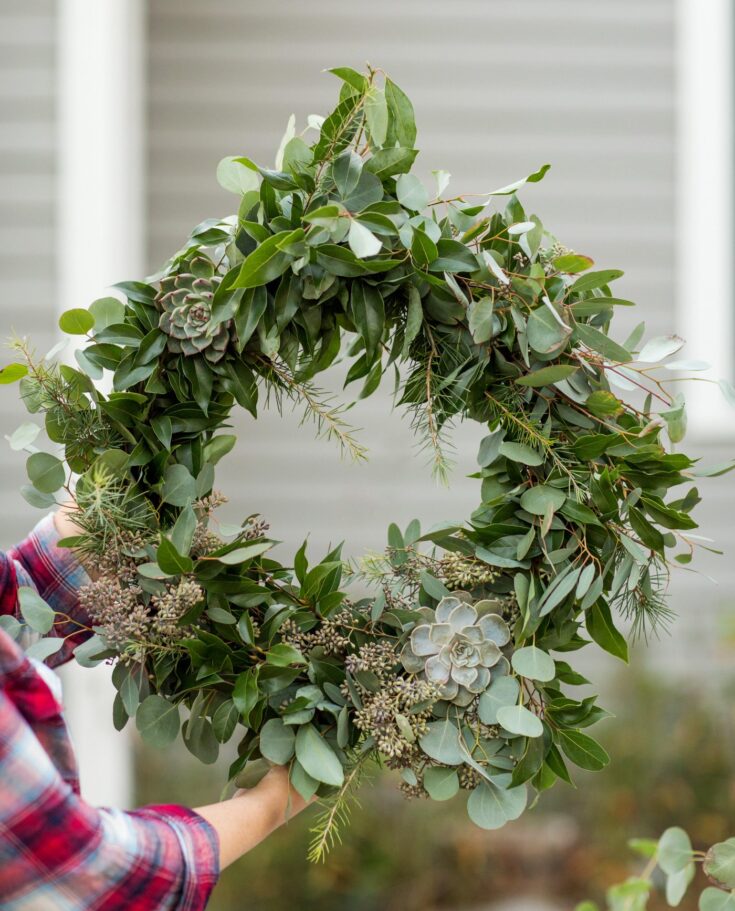
DIY Eucalyptus + Pine Christmas Wreath
A beautiful Christmas wreath and with easy how-to instructions
DIY Gilded Photo Ornaments
Create beautiful photo ornaments to trim your tree or give as sweet little gifts
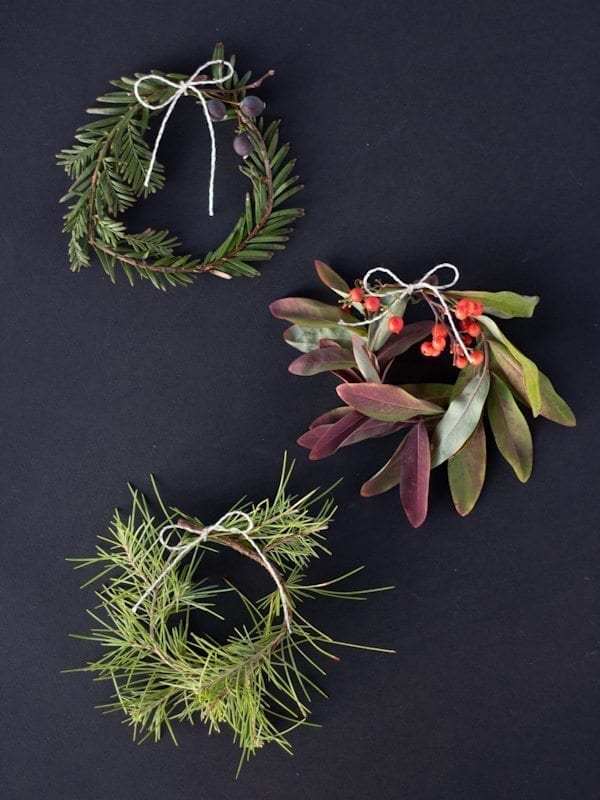
DIY Mini Holiday Wreaths
Pretty little wreaths make the loveliest DIY Christmas ornaments or gift toppers
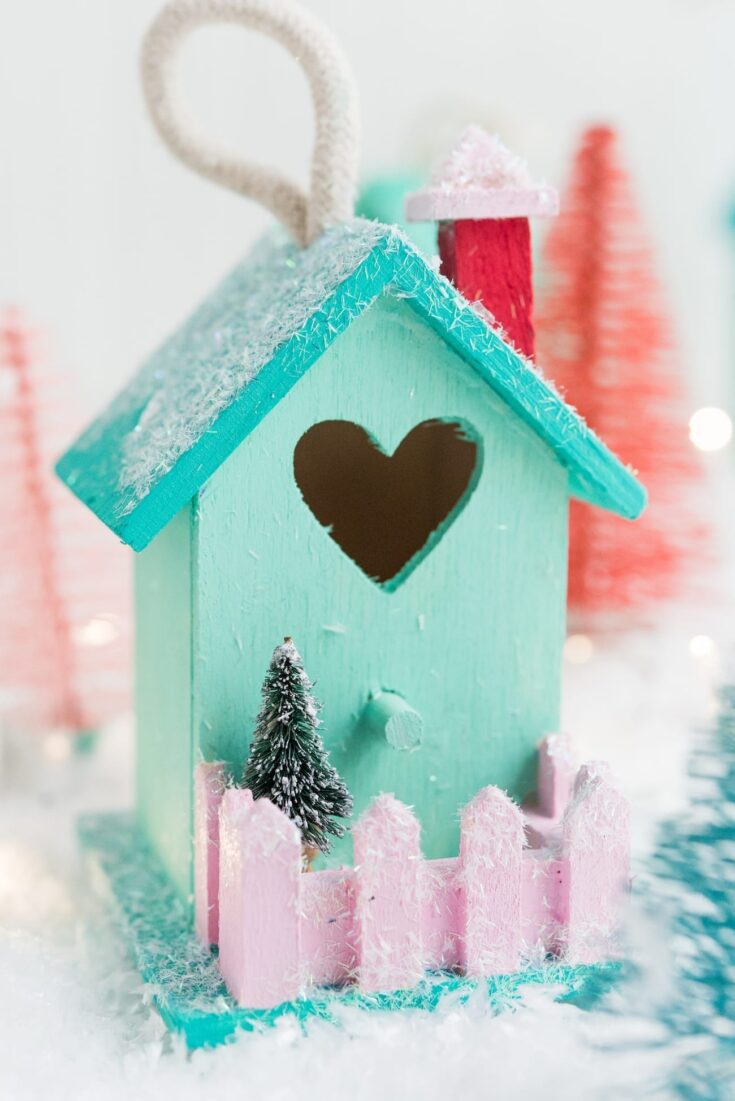
DIY Mini Birdhouse Christmas Village Ornaments
Make charming Christmas village inspired ornaments to add a special touch to your holiday home
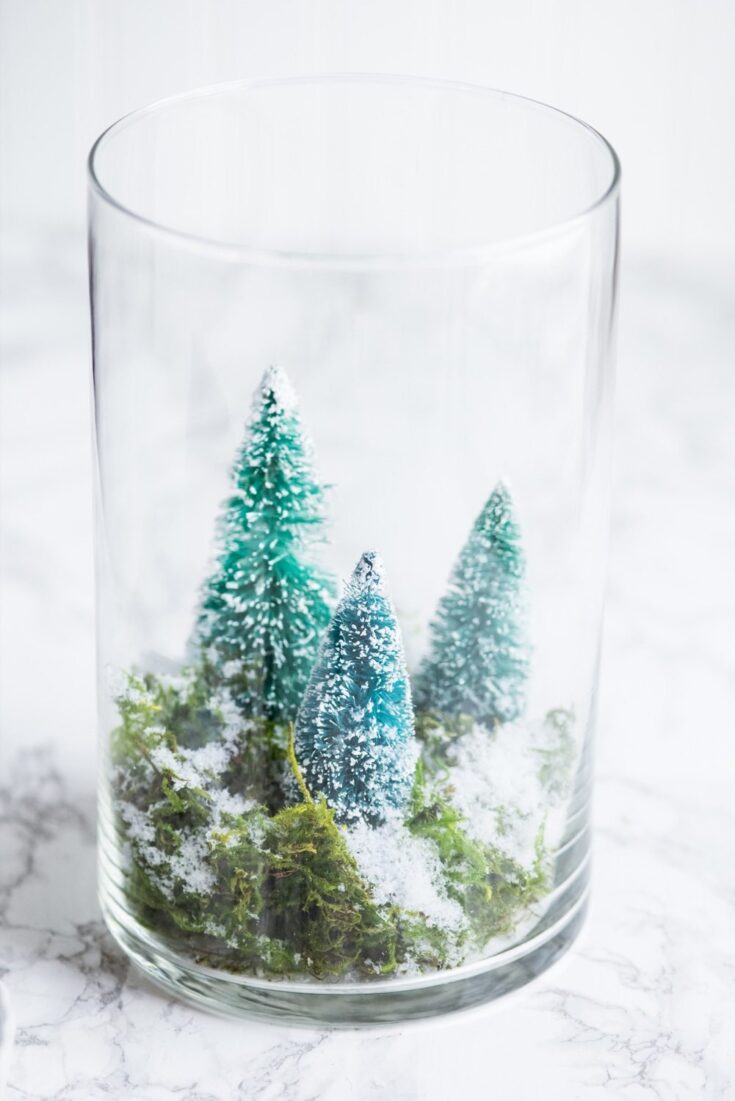
DIY Terrarium Winter Scene
Lovely DIY terrariums make for the most charming DIY Christmas decorations

DIY Gold Leaf Star Ornaments
Easy DIY ornaments made with paper ornaments and gold leaf add a bit of glamour to every tree
DIY Marquee Christmas Tree
A play on the marquee light, this DIY Christmas tree marquee is a total family heirloom
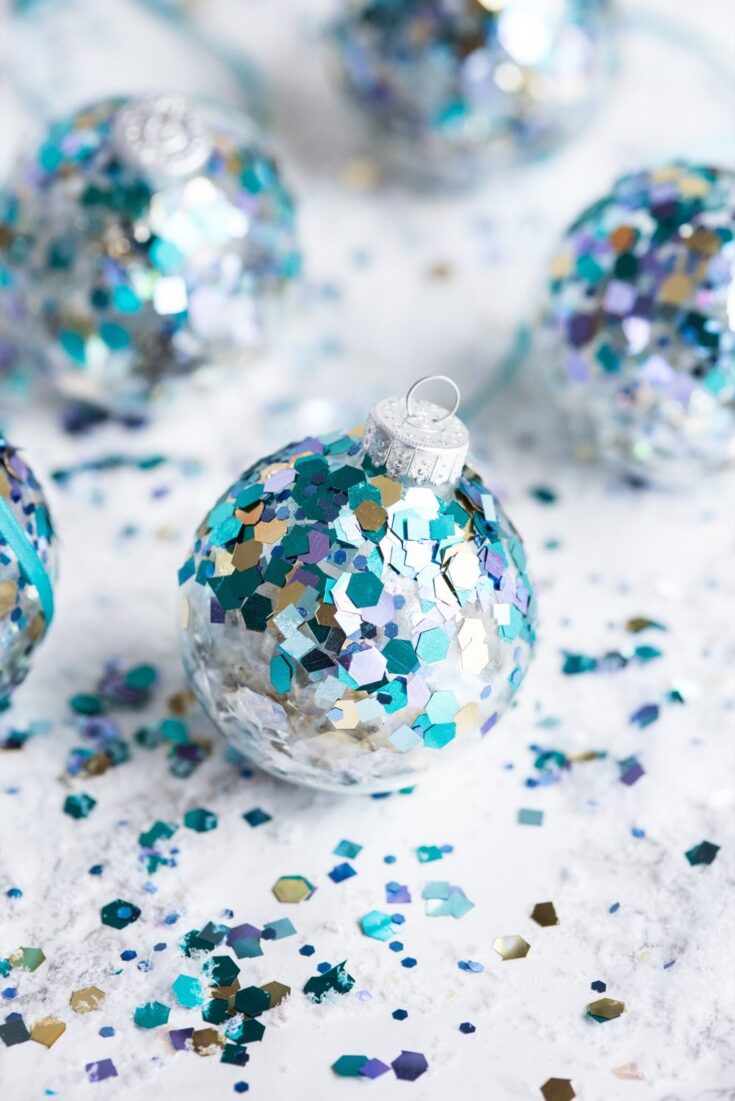
DIY Glitter Confetti Ornaments
If you love a pretty DIY Chrismtas ornament, these glitter confetti ornaments are the exact kind of sparkle to add to your tree

DIY Gold Leaf Pine Cone Garland
This pine cone garland is perfect for Christmas but keep it up all winter long
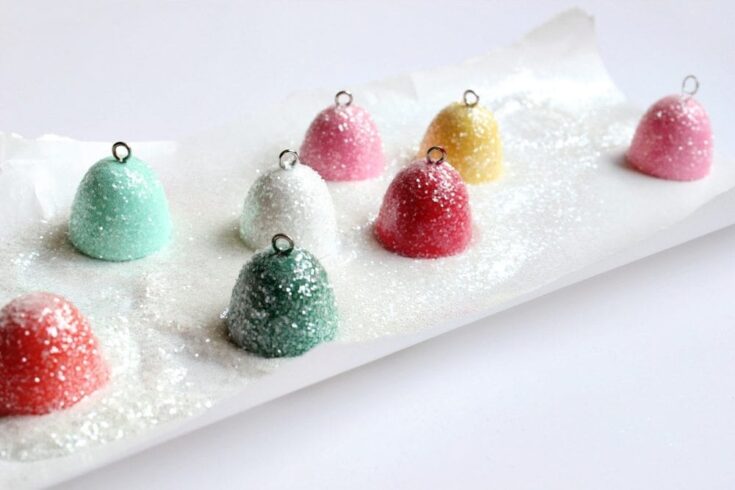
DIY Glittery Gumdrop Ornaments
Glittering gumdrop ornaments make the prettiest DIY Christmas ornaments
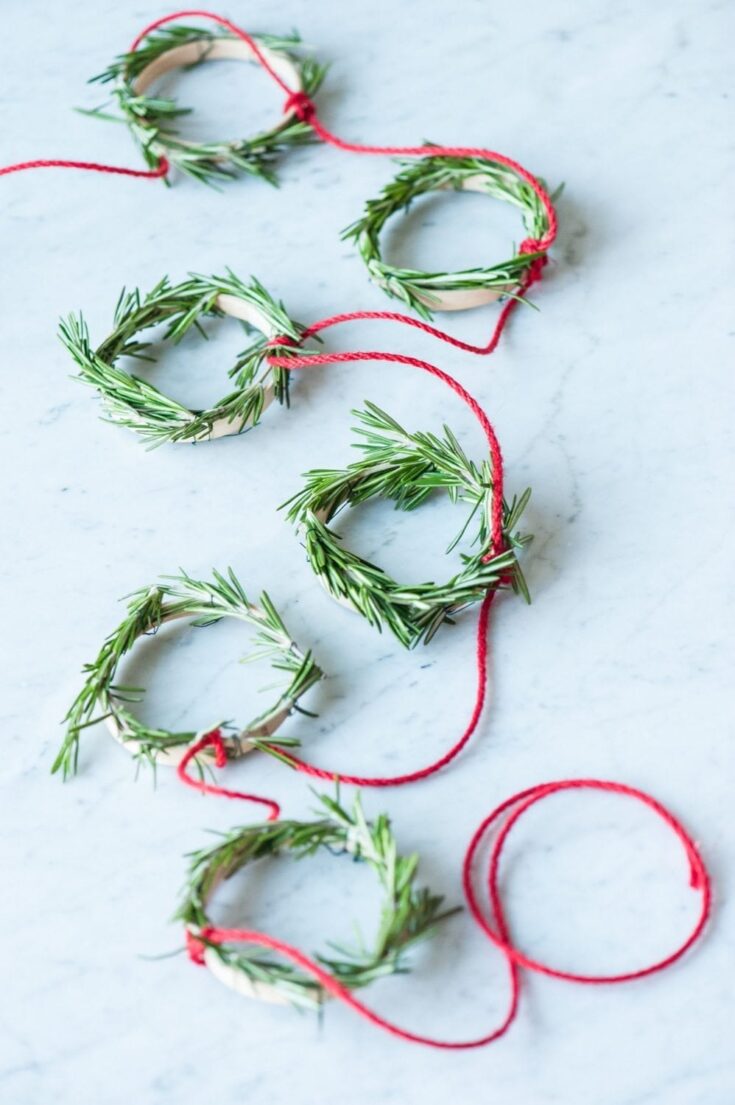
DIY Mini Rosemary Wreath Garland
Tiny embroidery hoops and rosemary make sweet and simple Christmas decor
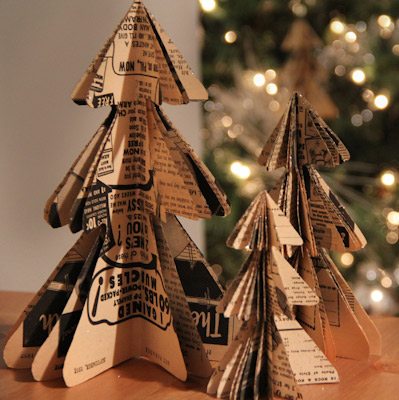
DIY Mini Christmas Tree Paper Ornaments
Pretty paper tree ornaments make the most charming DIY Christmas decorations


 Back to Top
My children love snow globes so as new family tradition each year we are going to make our own instead of buying from the store :-)
Can’t wait to try these, super cute!
Love this! Scooch and I are going to make some of these during his holiday break.
That’s such a great idea! Love it!
So cute! I pinned this and am so doing it for Christmas!
This is so adorable!!! =)
Ergo – Blog
So cute!! where did you get the tree stand- Michaels as well?
Such a cute idea…I love it!
OMMMMMGGGGGG!! You know im all over this mini treat!!! Clara and I will be making these!!
yay!