


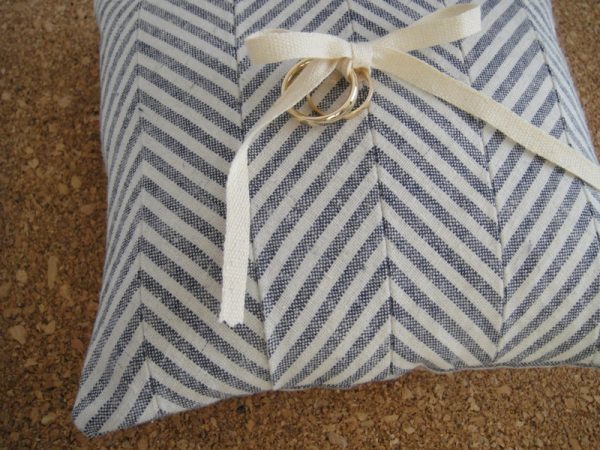
Hello, hello! Once again, this is Jenny from Hank + Hunt, wishing you a happy day! I am bringing a little tutorial for a ring pillow. The ring pillow is a small detail, but incredibly meaningful. The ring pillow from my wedding was made by my mother-in-law from a very special heirloom handkerchief. Make your ring pillow even more memorable by sewing your own or having someone you love sew it for you. It’s really quite simple.
Supplies:
one yard of fabric
twill tape or ribbon
thread
needle
sewing machine
fabric (You can make a chevron out of any striped fabric. Yep, ANY.)
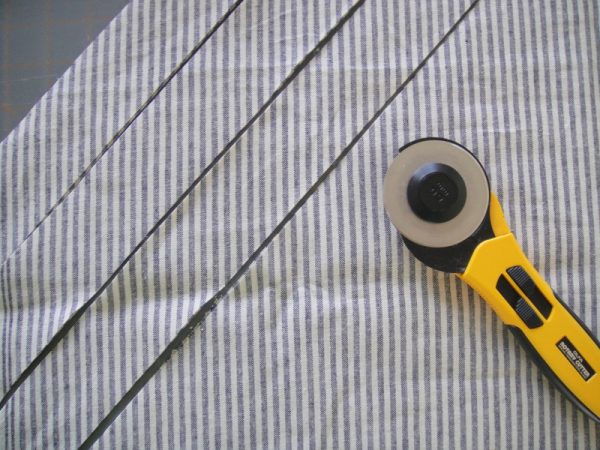
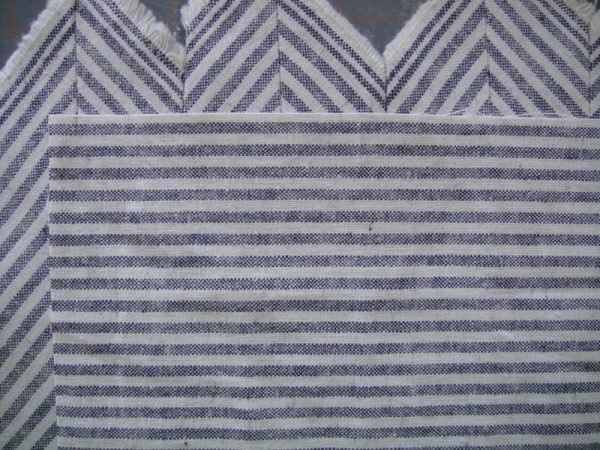
I recommend a using yard of striped fabric, folded in half and cut into 2” strips at a 45 degree diagonal.
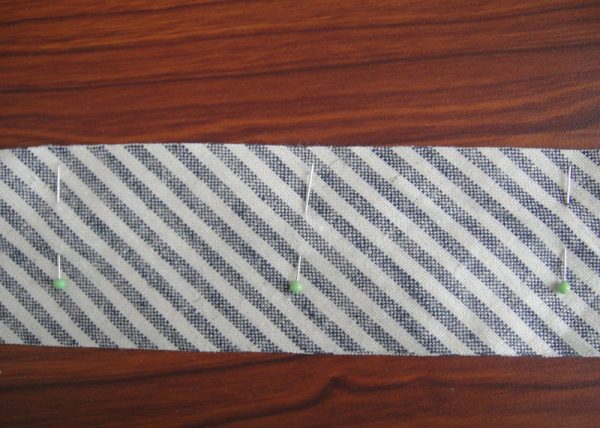
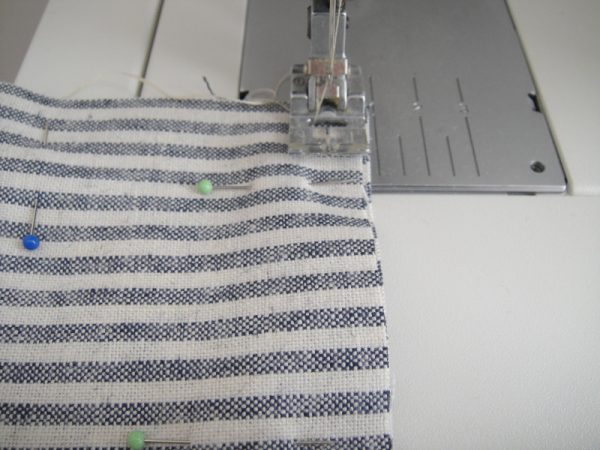
Lay two strips together side by side forming a “V” design. With the stripes lined up, lay one strip on top of the other, right sides facing, and pin.
Sew a straight stitch down one side.
![]()
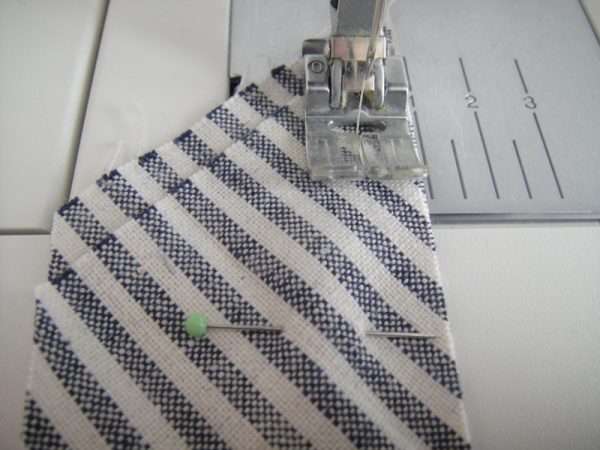
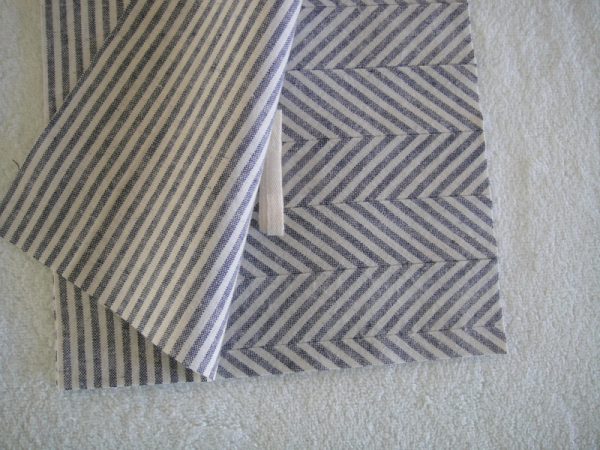
Repeat this with three more sets of two strips. Iron out the seams flat. Lay two sets next to each other, forming a “V” design like before, lay one on top of the other and pin and sew. Repeat until you have all the strips sewn together forming a chevron. Iron flat and trim and continue making your pillow below.
Here are the basic directions for a ring pillow:
Cut two pieces of fabric into 9.5” by 9.5” squares. When cutting, pay special attention to the pattern and design of the fabric. Stripes should be at a specific angle, florals should be placed strategically.
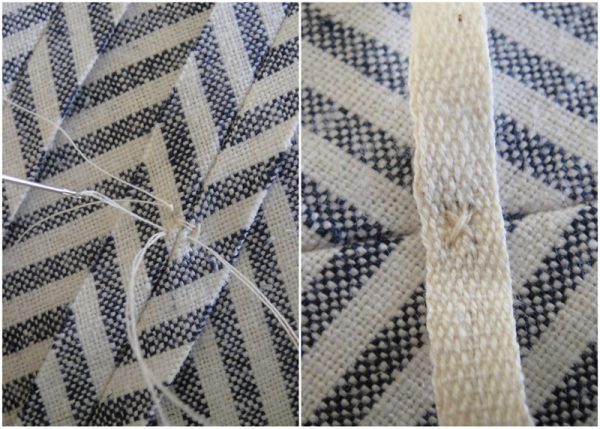
On the piece chosen for the top, lay flat and center the ribbon in the square, pin if needed. Thread the needle and knot at the end, so it doesn’t pull through. Push the needle through the center from the wrong side (bottom) of fabric. Stitch an “X” about 2-3 times to secure the ribbon down, finishing with the needle on the wrong side of the fabric. Tie ends in knot, trim.
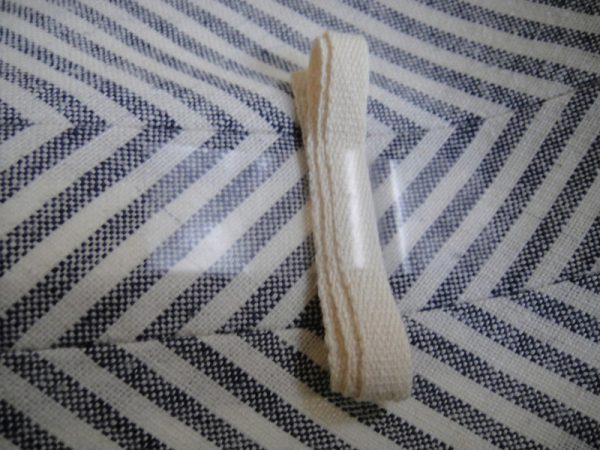
Gather the ribbon and tape down. This will keep it from getting stuck in the edges while sewing.
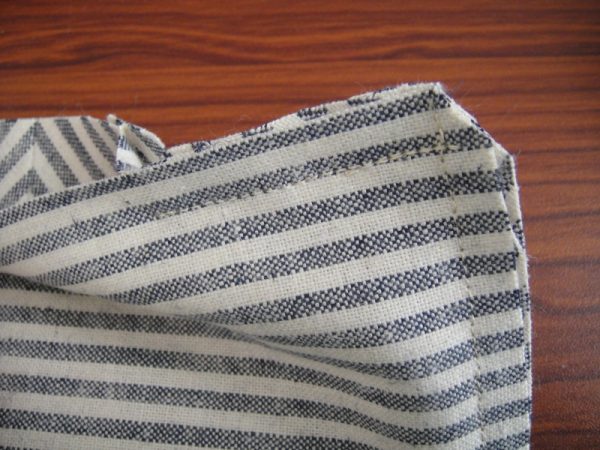
Lay both squares, right sides facing each other, and pin 3 sides together. On the fourth side, pin also, but leave a 3 inch opening in the center. This opening WILL NOT be sewn with the machine, and will allow you stuff the pillow later.
Using the sewing machine, set at the basic settings, start a straight stitch at one side of the opening. Line the edge of the fabric up with the side of the foot. Stitch reverse for four stitches and then continue on to the corner, ending with the needle down and in the fabric. Lift the foot, turn the fabric 90 degrees, and set the foot back down. Continue sewing around all four sides until you end up at the other side of the opening. Stitch in reverse for four stitches and stop.
Trim the ends of the thread. Trim the corners at a diagonal. You now have a pillow, inside out. Pull the pillow through the opening. Using a stick or end of a bone folder, push out the corners until they look like pretty corners.
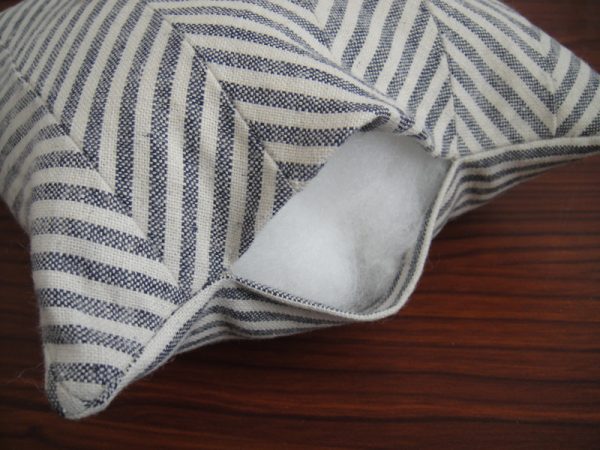
Stuff your pillow using fill of some sort. I had fiberfill, you can find it at your local fabric store, but you could use bamboo fill, or buckwheat/rice for a heavier, denser pillow.
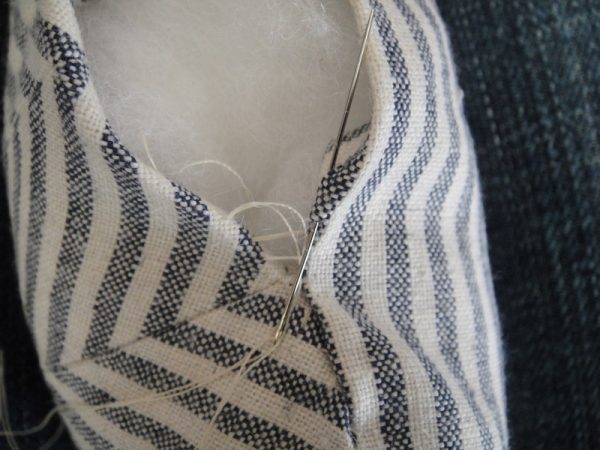
Once filled, stitch the opening closed using a blind stitch. A blind stitch is a hidden stitch where you catch the inside of the fabric in small zigzagging stitches and pull closed. Make sure the fabric ends are folded in towards the inside of the pillow.
If you are planning on adding any embellishments to the top of the pillow, it is easiest to do this before sewing the pillow sides together.

An easy little ring pillow for a pretty little wedding. Enjoy!
{Photos by Hank + Hunt.}


 Back to Top
LOVE this! Absolutely beautiful! :) Since I already got married, I will be making this for my home. Great tutorial!
Emma
This is so cute. I agree with Chelsea; I think I’m going to try and make big floor cushions for my living room from this idea. Thanks for sharing!
Jenny, so cute! I’m thinking I need a big one for my home, too!
Love me so chevron… super cute!
LOVE this! And you make it look so easy.
my latest obsession is chevron .. i might need to create a larger scale one for my couch