I’ve mentioned a few times over the past few weeks that I have a lot of new projects in the works these days. One of those was the new site design which debuted this week, of course, but another includes finishing up my home studio. I moved on from my day job about a month ago so I’m now full time blogging, styling and event designing from home (um, little girl dreams come true = yes). All of which means an inspired work place is a must! I’ll be sharing full details as the space comes together, but by popular demand on twitter where I posted a few iPhone pics, I wanted to share this fun little project with you.
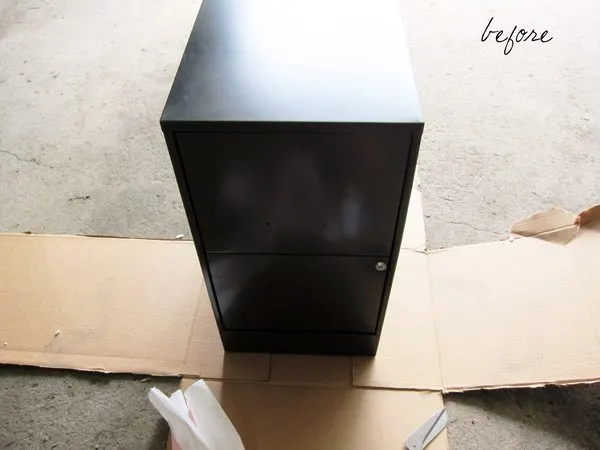
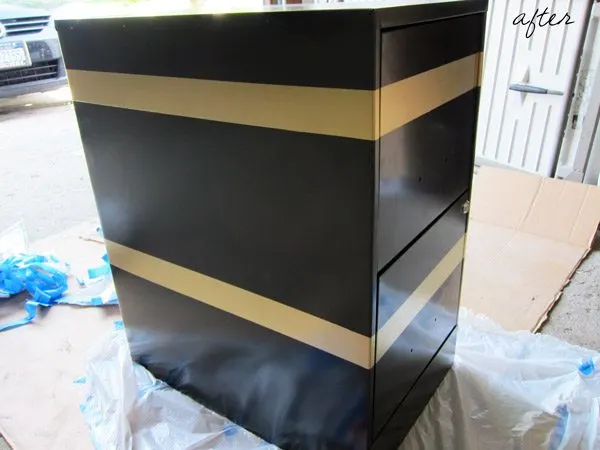
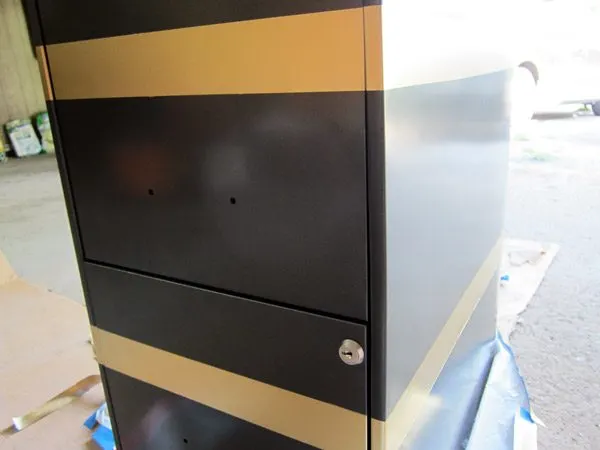
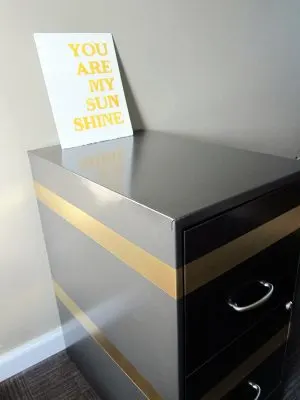
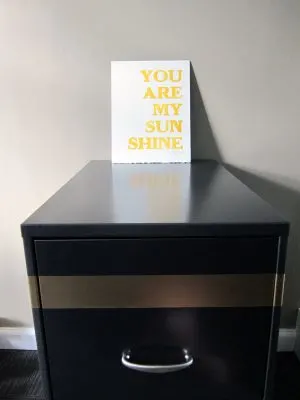
As I transitioned to full time self-employment, I have found that improved organization is a must for me. So I recently went shopping for a filing cabinet only to be annoyed by how expensive and boring they all seem to be. Then I stumbled upon this charcoal gray filing cabinet at OfficeMax and inspiration struck. Next thing you know, I’m in my garage painting two metallic gold stripes on my brand new filing cabinet. This is how it all went down…
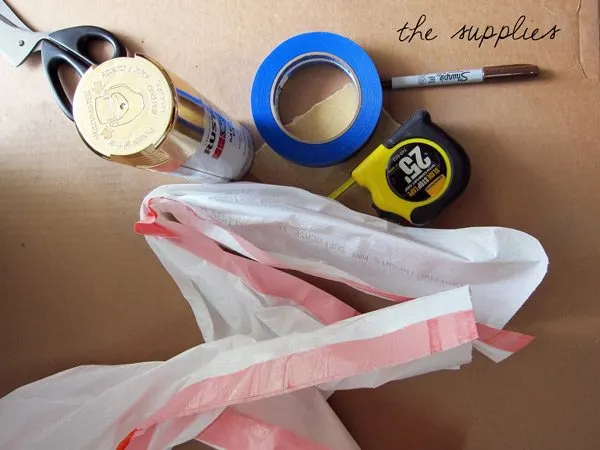
Supplies –
- garbage bags (any size will do – I used 4 kitchen size bags)
- painters tape
- fine sand paper
- spray paint (I used just a fraction of a can of Rustoleum Metallic Gold)
- tape measure
- marker in a color similar to your cabinet color
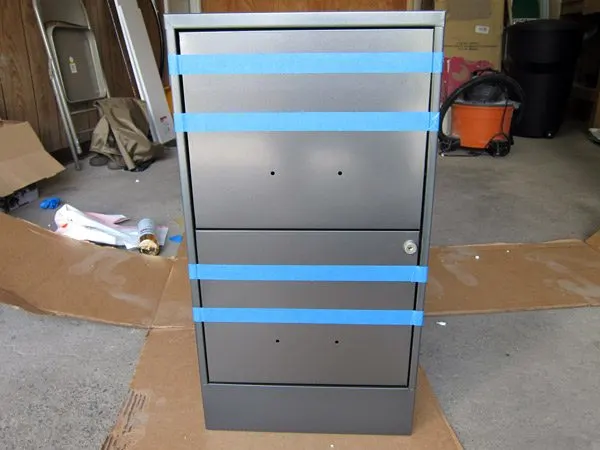
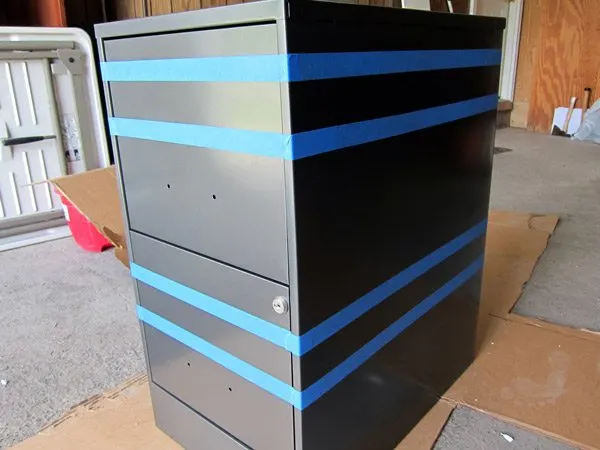
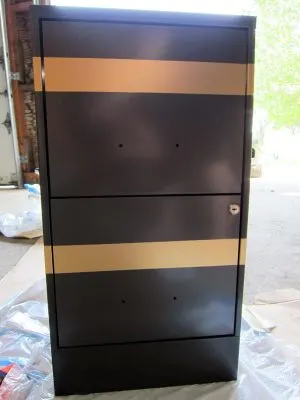
Step 1. Start off by determining the size and location of your stripes. I decided I wanted two 2″ stripes, somewhat randomly spaced from each other with one cutting across each drawer. I opted to avoid where the handles will screw in and where the locking mechanism will go figuring those areas will get more handling and the paint might start to show wear. Making marks on either side of the cabinet front, I placed my tape at 3″ and 6″ from the top of the cabinet for the first stripe and 15″ and 18″ down for the second stripe. Simply make a mark on either side with your marker and then carefully adhere your tape in a straight line. I placed the tape along the front of the cabinet first, then worked my way around each side. I decided not to continue the stripes onto the back of the cabinet so I skipped the back. I should note that I measured each stripe obsessively and then double checked each tape line in several spots with my tape measure to ensure it was as straight as it can be. A little extra care in this step ensures fabulous looking stripes in the end!
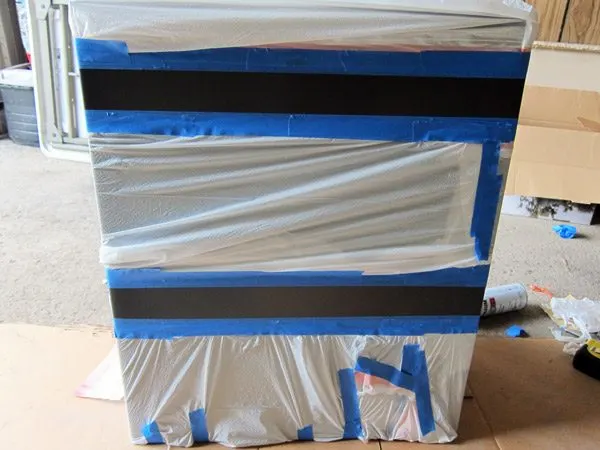
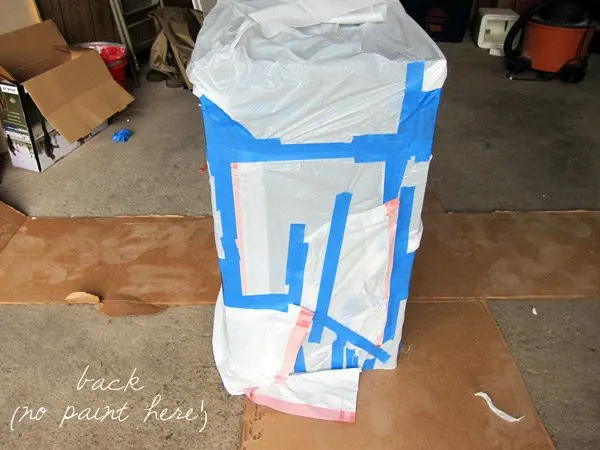
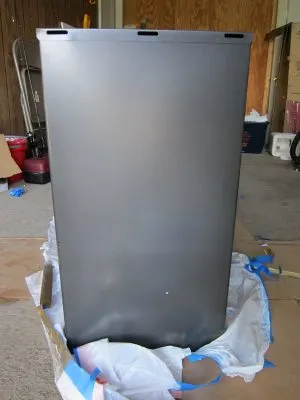
Step 2. This step might be the most tedious, but it’s crucial to ensuring a clean, professional look – taping plastic (the garbage bags) to cover the areas you don’t want painted. I just ripped the garbage bags into several pieces and taped the plastic to cover any area I didn’t want gold. I covered the entire back of the cabinet because although it won’t show and I didn’t care about having the stripes there, I didn’t want it to look messy in case I ever move it and want the back to show. Carefully ensure that the plastic is completely taped down with no loose spots.
Step 3. Next up, I took a fine sand paper and very lightly scuffed up the painted surface of the stripes. I followed up with a barely damp cloth to remove any loose particles. This process helps the paint stick to the surface of the cabinet. After sanding and wiping everything down, I made sure all of my tape edges were firmly adhered along the cabinet so no paint could leak underneath.
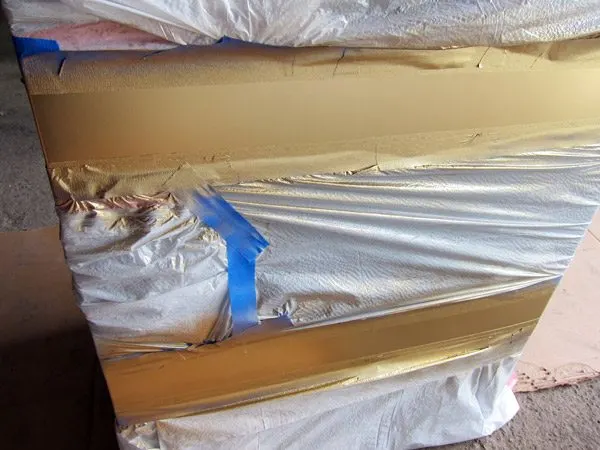
Step 4. And we’re off! The painting part of the process is hands down the easiest and quickest. I applied four light coats with about fifteen minutes of drying time between coats. With spray paint remember that light coats in strokes that start off the edge of the piece and end off the opposite end is the best way to ensure a smooth finish with no drips. (For a visual on this, check out this video.)
Step 5. I allowed my final coat of paint a few minutes to set a bit and then immediately removed the tape and plastic while the paint is still wet. This helps to ensure that the tape doesn’t get dried down, which could result in peeling off some of your pretty new paint when you go to remove the tape. I let it dry overnight in the garage then attached the hardware and put her to work. What do you think?
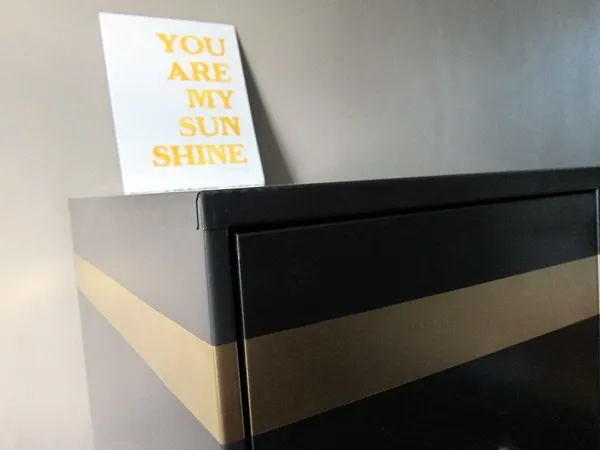
Here a couple of obligatory “in action” shots which include a little sneak peek at the wall color and flooring although you’ll see much more of my little at-home studio as it evolves. Stay tuned! (For curious minds – the letterpress print is from May Day Studio.)
{Photos by Cyd Converse for The Sweetest Occasion.}


Rehabbed File Cabinets |
Sunday 30th of October 2011
[...] via the sweetest occasion [...]
Things We Love To Do | jodimichelle
Monday 1st of August 2011
[...] filing cabinets suck the life out of a space so liven things up and add a little unexpected to your work [...]
Susan
Friday 1st of July 2011
This is such an easy and stylish upgrade! Love it! .-= Susan's most recent blog post: Four Fun Products for the Fourth of July =-.
Erin
Friday 1st of July 2011
OH, now this is just too cool!!! I have a plain ol pink filing cabinet that needs a little life...I'm thinking white and gold stripes?! Thanks for sharing such a clever little trick :) .-= Erin's most recent blog post: DIY God's Eyes... =-.
Erica
Thursday 30th of June 2011
loving this idea! Totally filing for future projects!