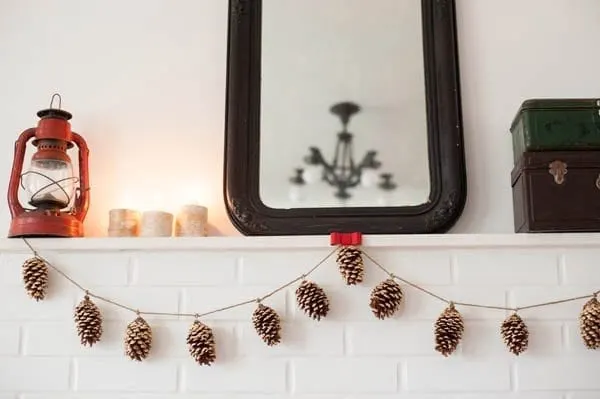
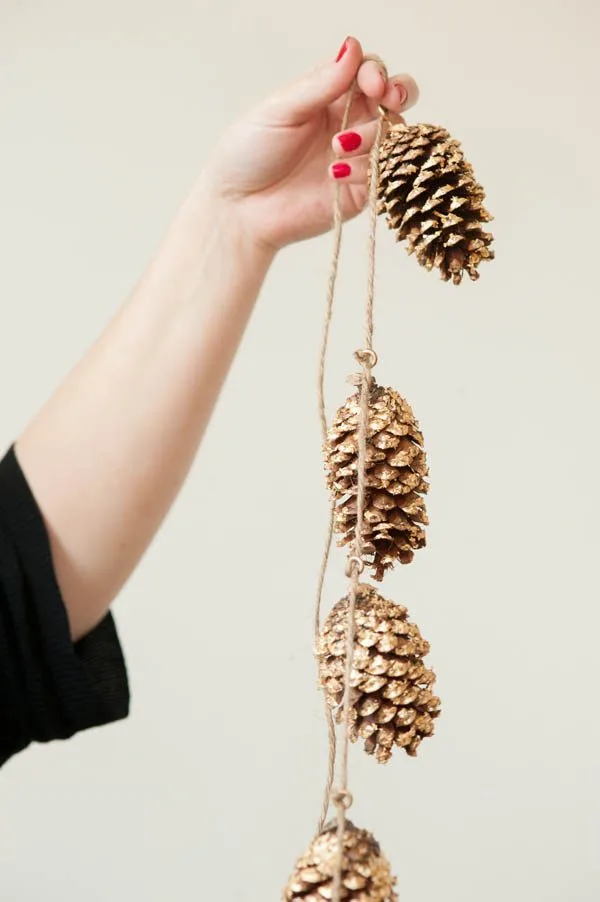
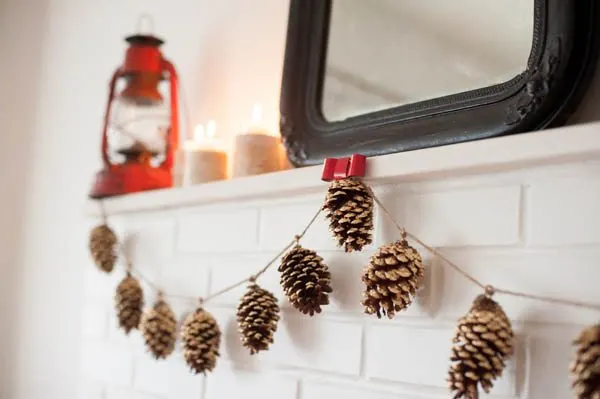
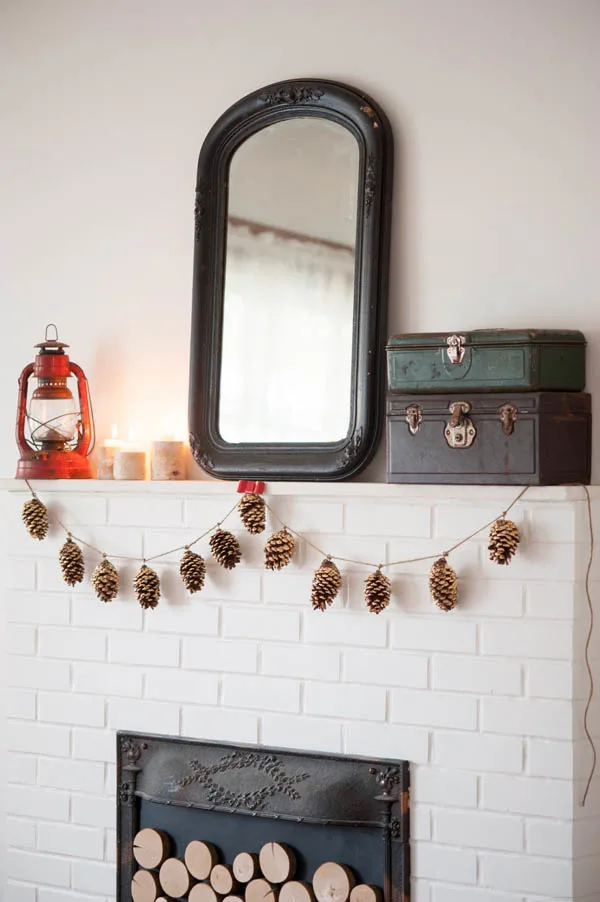
I had a vision for today’s DIY projects many weeks ago. I’ve had this obsession with gold leaf for the last several months and really wanted to try my hand at playing with it for the first time. This DIY gold leaf pine cone garland is how it all went down! While largely intended to jazz up your holiday decor, this garland would be lovely to use throughout the winter months. Mine took up residence along the mantle in the living room, but really it would be adorable just about anywhere in your home. So who’s ready to get your gold leaf on?
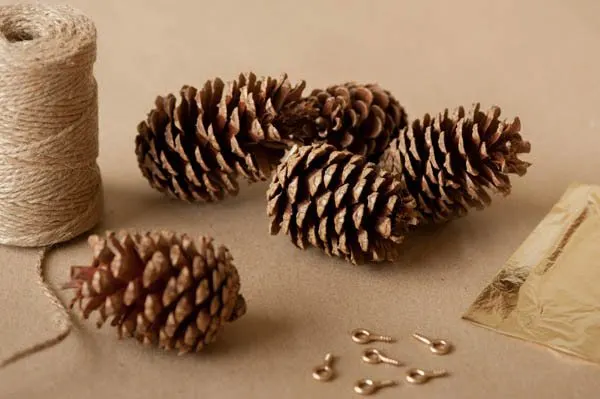
Supplies –
- Pine cones (forage for them outside or score them at a craft store)
- Jute twine
- Gold spray paint
- Gold leaf + adhesive (available at most craft stores)
- Foam brushes
- Spray sealant
- Screw eye hooks (I picked mine up at Lowe’s)
- Pliers
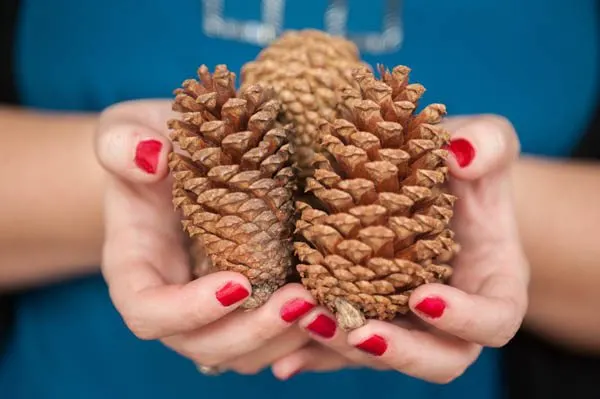
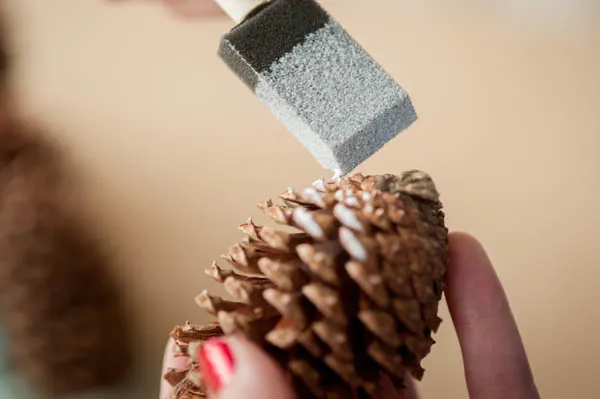
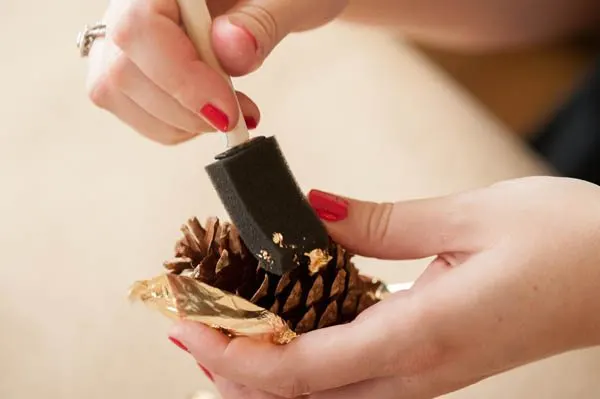
The first step is to apply the gold leaf adhesive to your pine cones using a foam brush. If you foraged for your pine cones outside you’ll first want to make sure they’re free of all dirt and leaves. The gold leaf adhesive is a really watery glue with a milky consistency, but as it dries it sets up and gets extremely tacky. The amount you apply will determine how much of your pine cone is covered with gold and is totally a personal preference.
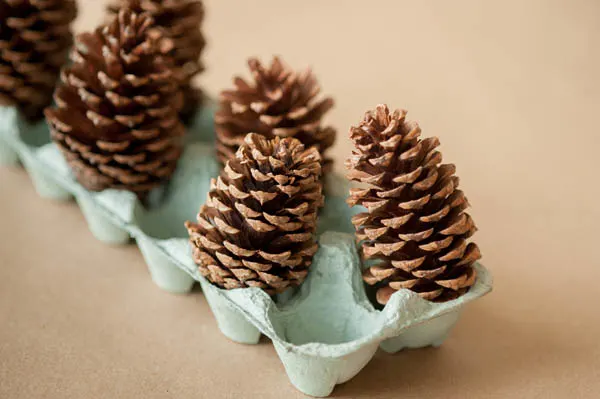
The next step is to let the pine cones dry completely. As the adhesive dries it will turn clear. Be sure to read the manufacturer’s instructions completely to make sure you allow for the proper drying time. With the brand I used, it took about an hour. I found the easiest way to let them dry was to stick them in an old egg carton and it worked great for the task at hand. While the adhesive is drying, give your screw eye hooks a couple of light coats of gold spray paint, being sure to cover all angles.
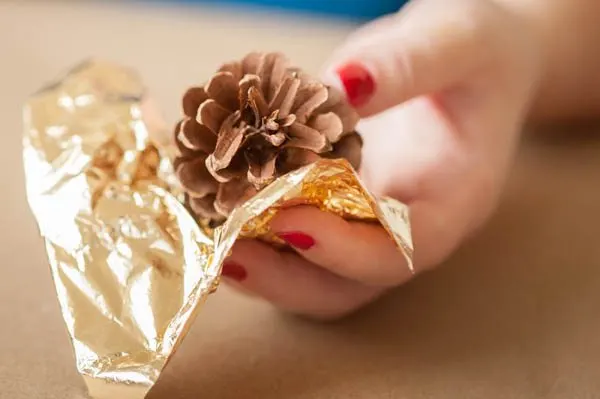
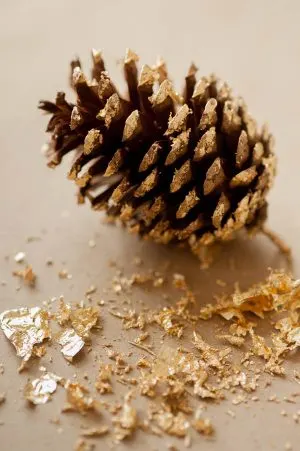
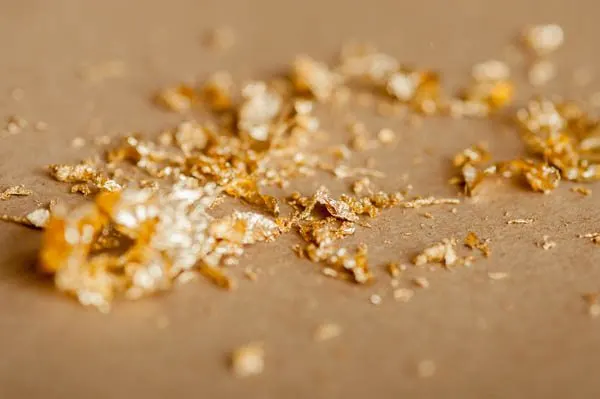
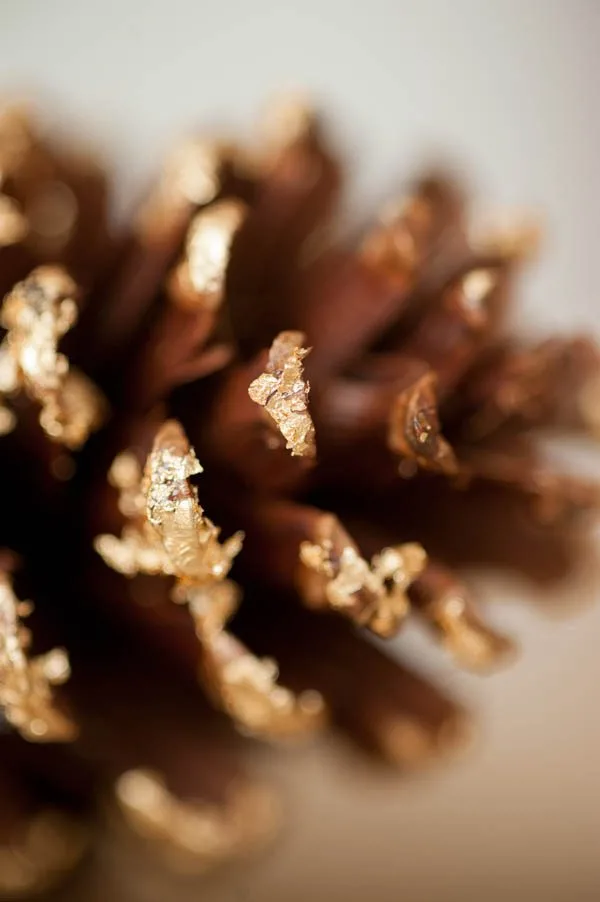
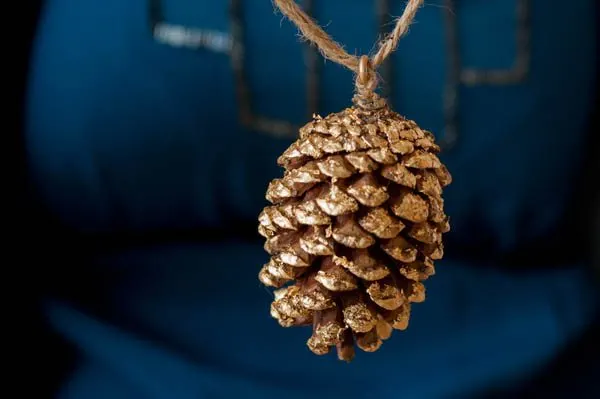
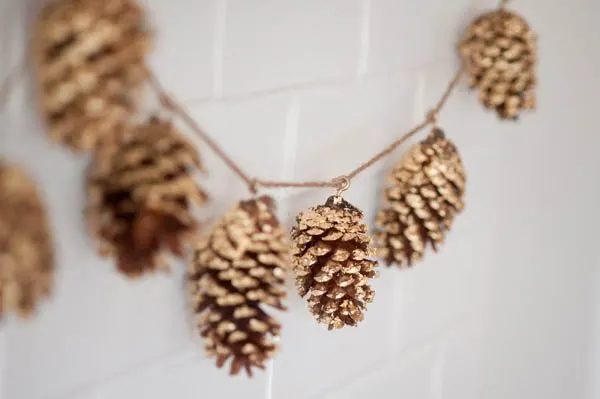
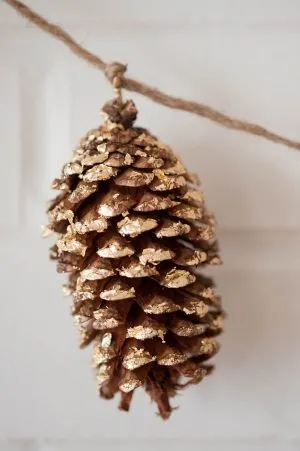
Next up, it’s time to play with the gold leaf! Gold leaf comes in whisper thin sheets that are about 5″ square. To apply it to the pine cones, I used a technique where I first wrapped it around the pine cone and then used a clean foam brush to burnish it into the adhesive. A lot of it will flake off onto your work surface and that’s ok! You can scoop it up and continue using the gold flakes to give everything that pretty gold shimmer we all love so much. Once you’ve finished gold leafing to your heart’s content, give all the pine cones a light spray of sealant and allow them to dry completely.
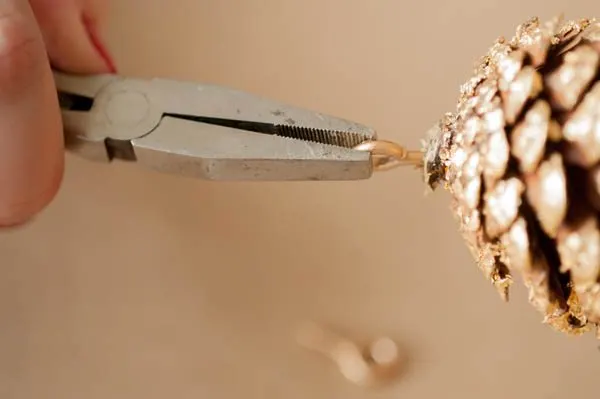
Next up, grab your pliers! The screw eye hooks that you just painted will now be screwed into the top of each pine cone so they can later be strung on the twine to create the garland. I definitely recommend using the pliers for this part to help save your thumbs, as it gives you a bit more leverage when screwing the eye hooks into the pine cone. You’ll want to position them so they’re roughly centered on each pine cone, but there’s no need for perfection here.
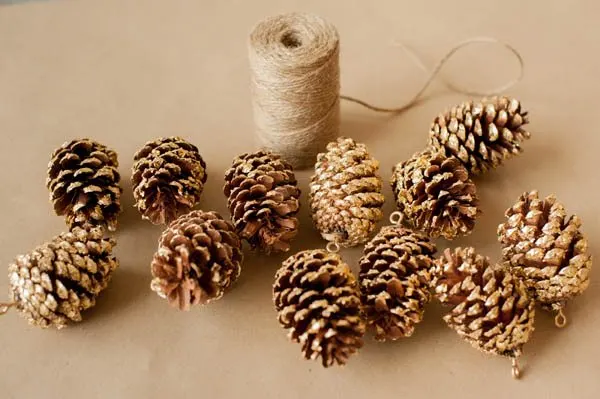
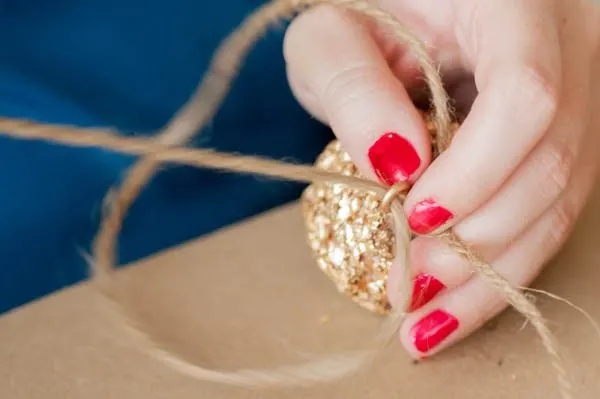
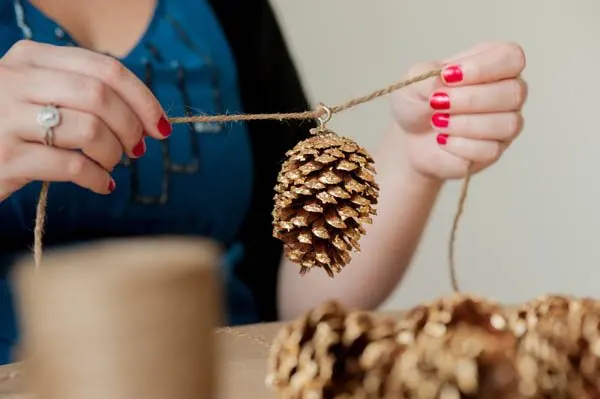
Once all of your pine cones have a screw eye hook attached, grab your twine and cut a length about 2′ longer than you’d like the finished garland to be, keeping in mind that you can add more or less pine cones to your garland to make it the length you’d like. For reference, my garland used 12 pine cones, roughly spaced at 4″ intervals with a finished length of about 4′ long. To string them on the twine, you’ll want to slide your first pine cone onto the twine so it rests in the middle of the length of twine. Then taking the other end of the twine, feed it back through the screw hook to create a single knot around the hook. At this point you’ll have one pine cone attached to the center of your twine. Working outward from the middle, add the appropriate number of pine cones to the left and right sides to complete your garland!
I have to confess that this was definitely one of my favorite DIY projects to date and I fully intend to keep my garland for years to come. I also intend to gold leaf just about everything I can get my hands on, but that’s a conversation for a different day. In the meantime, happy gold leafing!
{Design + styling by Cyd Converse for The Sweetest Occasion. | Photos by Alice G. Patterson.}
The fine print: Please link with love! As with all of our posts, DIY projects featured on The Sweetest Occasion may not be copied, distributed or reproduced without express written permission. Love and links are always appreciated! If you’d like to share this post, please link to this post directly for the DIY tutorial and do not include the instructions in your own post. Thanks so much! xoxo



Kayla
Sunday 28th of November 2021
How did you get the hooks in? Even with pliers the pinecones are too hard to screw them in.
Cyd Converse
Tuesday 30th of November 2021
Hi Kayla! It can be a little tricky getting them started, but then the pliers help make it pretty easy to screw in the hooks. Alternately, if you have a small handheld drill with a very thin bit, you could try carefully drilling a small pilot hole to help get them started. I hope this helps!
Janie
Sunday 12th of September 2021
I've heard there is a risk of fire with placing pine cones in oven. Any other way to "clean" them"?
Ro
Monday 22nd of November 2021
@Janie, I have placed mine in a oven. Turn the oven onto 200 degrees turn oven off and place pine cones on cookiesheet in oven until cool.
Cyd Converse
Tuesday 21st of September 2021
Hi Janie - I have never put pine cones in the oven and definitely wouldn't suggest it. I purchased these new from a craft store, or I'd just brush them off as best as possible if collecting them from outside.
Ressie
Thursday 17th of December 2020
Thank you for posting this! So useful! All of the Christmas DIY projects you post are so cool! However, if you find your pine cones outside, make sure to clean them or microwave them so the dirt washes off. My friend doesn't really like bright colors so made it without the spray paint. Im sure my friend will love this as a Christmas gift! Also, check out the DIY snow globes from this site too!
Kathy
Thursday 28th of November 2019
Absolutely beautiful. Thank You One ? I may have missed it, but are you doing son to keep the cones separated so the are not all sliding together?
Cyd Converse
Sunday 1st of December 2019
Hi Kathy! I actually formed a single knot through the ring so they stay in place! I hope this helps.
10 Beautiful Christmas Garland Ideas – Sunlit Spaces | DIY Home Decor, Holiday, and More
Monday 18th of November 2019
[…] would have thought that pinecones could be an awesome Christmas garland idea! Find some pinecones (ideally, they’d all be roughly […]