I’m sharing today’s DIY project (actually an oldie but a goodie from way back in 2013), because it’s officially fall, which means in our house I’m about to go into candle burning mode in high gear. A few years ago I started making my own candles after dragging my feet for so long, convinced it was some super complicated process. Guess what? Making your own candles is really pretty simple, and today I am excited to share the process step-by-step with you again. (I’m sure this will be new to many of you and perhaps a welcome reminder to those of you who have been reading for a while to give this a try!) I am personally partial to making beeswax candles because they burn much cleaner than many other varieties of wax. Unlike paraffin wax which can really muck up you air quality, beeswax can even help purify the air in your home, and personally I really like the natural color and fragrance. You can customize the fragrance with essential oils and with the holiday season coming up, these homemade candles make great DIY gifts, too! So. Have I convinced you yet? Let’s get to candle making!
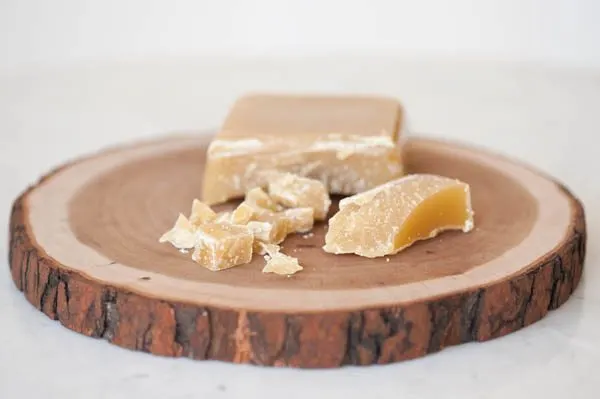
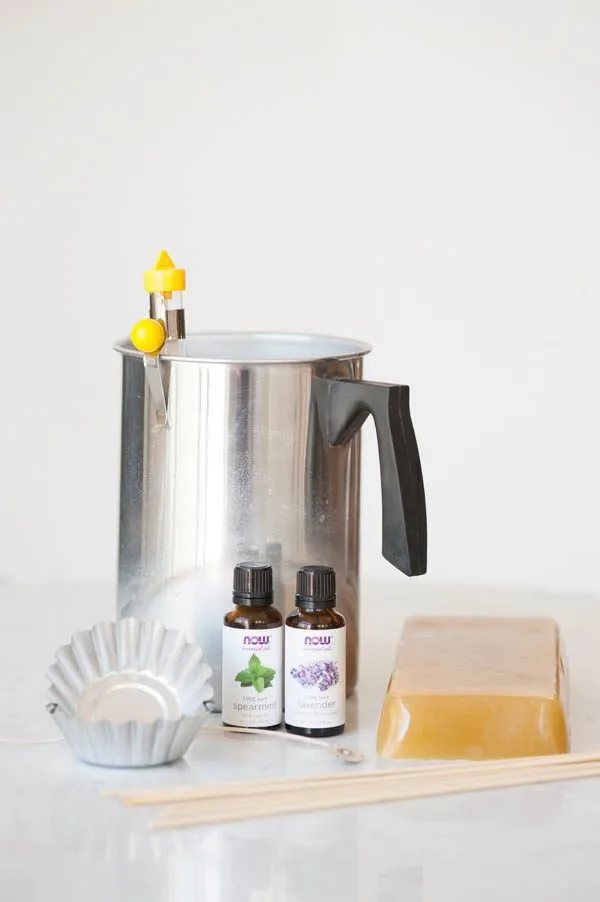
- Beeswax
- Wicks
- Double-stick adhesive
- Essential oils (optional)
- Wax pouring pot
- Thermometer
- Skewers
- Jars, metal tins or similar
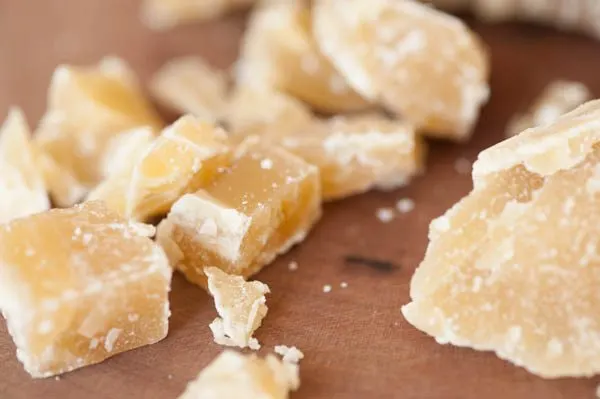
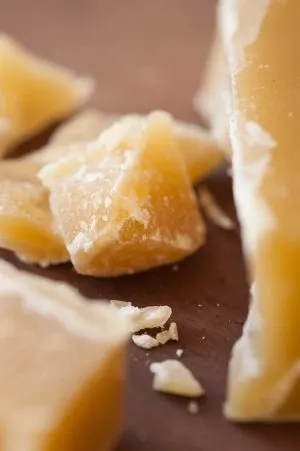
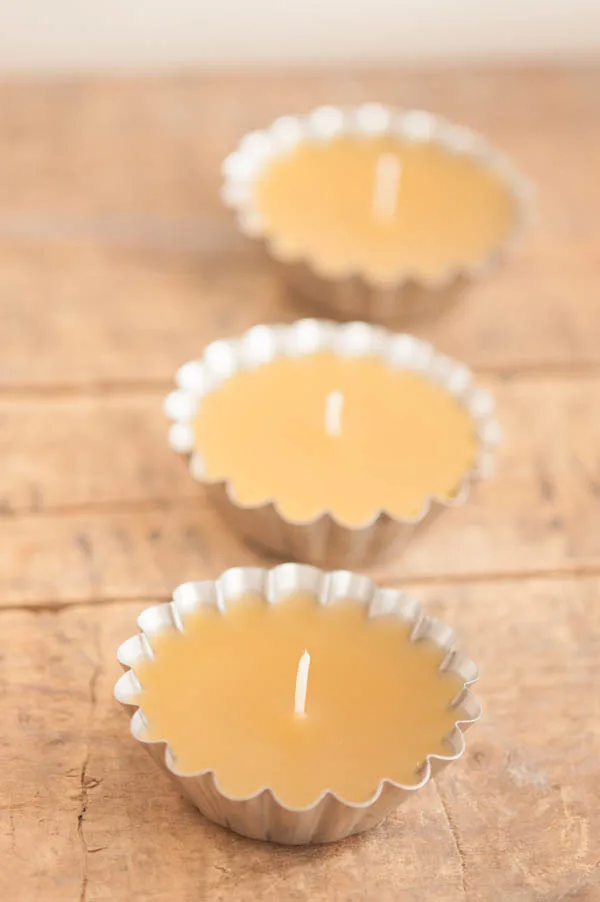
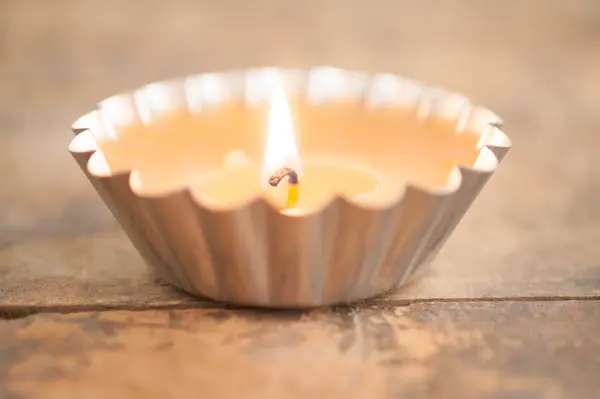
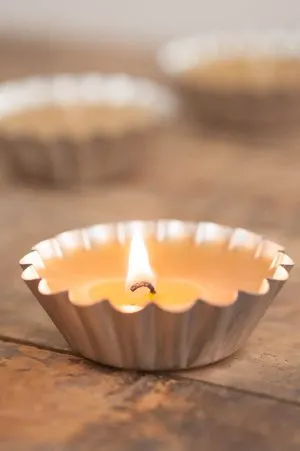
Typically speaking, beeswax is quite widely available in one ounce or one pound blocks – you can find it at local craft stores or you can source it online, generally much cheaper. (Amazon has it at a really great price here!) For point of reference, three pounds of wax will give you an approximate yield of five of the smaller tart tin candles (shown here) and three mason jar candles. No matter how large your block of wax is you’ll want to first cut it down into smaller chunks. This will allow it to melt much more efficiently. A sharp knife of any kind will do the job here, although I don’t necessarily recommend anything serrated or you’ll grate the wax as you’re chunking it up which has the potential to result in quite a bit more waste.
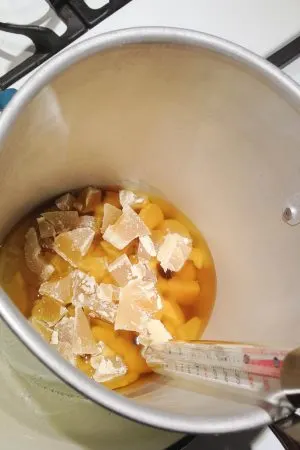
Once your wax is in chunks, it’s time to start melting over a basic double boiler. I have a simple metal wax pouring pot (available at craft stores) but you could instead opt to use any heat-safe container (such as a glass Pyrex bowl), place it over a pot of water and then bring the water to a boil. Keep in mind that the wax is going to be tough to clean out of whatever container you use (thus why I opted to buy the pouring pot) so you don’t want to use anything you aren’t ok with being permanently relegated to candle making. You want to use a thermometer in conjunction with your double boiler and melt the wax until it reaches about 145° – a little warmer is ok, but try not to exceed 175°. While it’s melting, you should be prepping your containers!
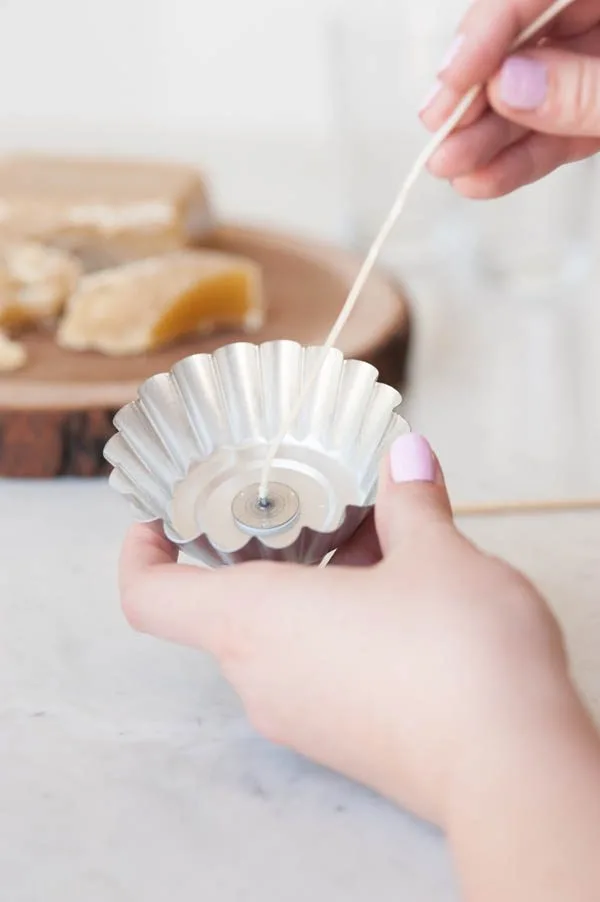
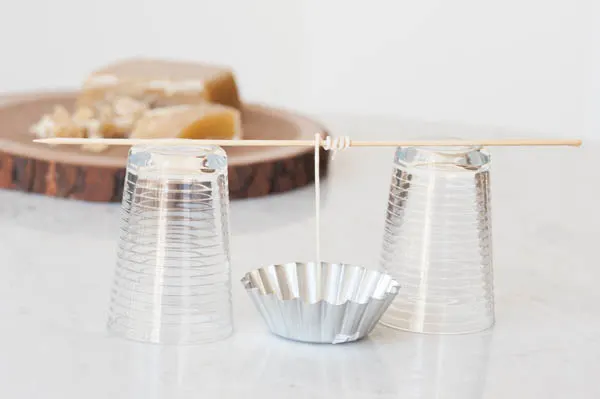
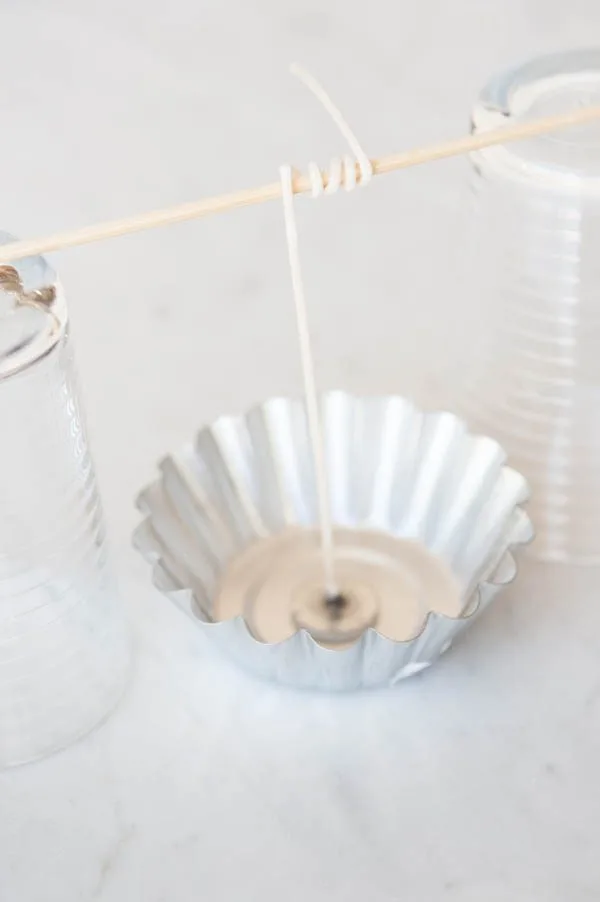
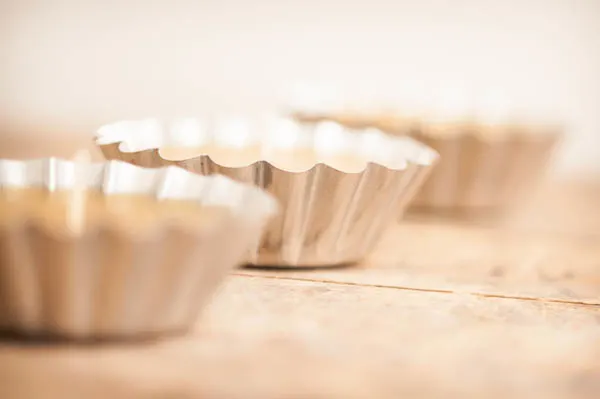
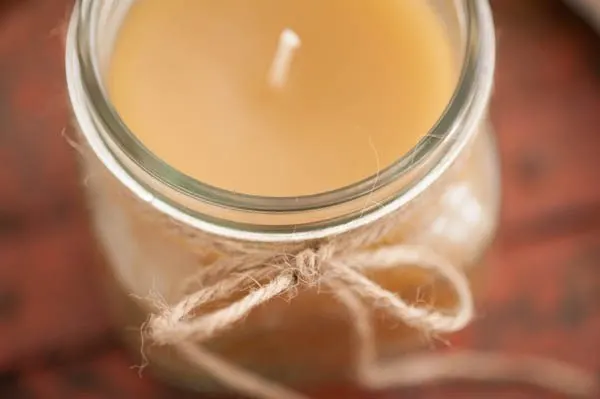
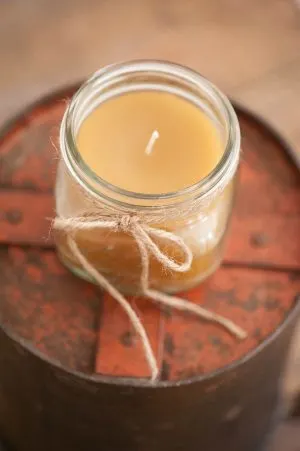
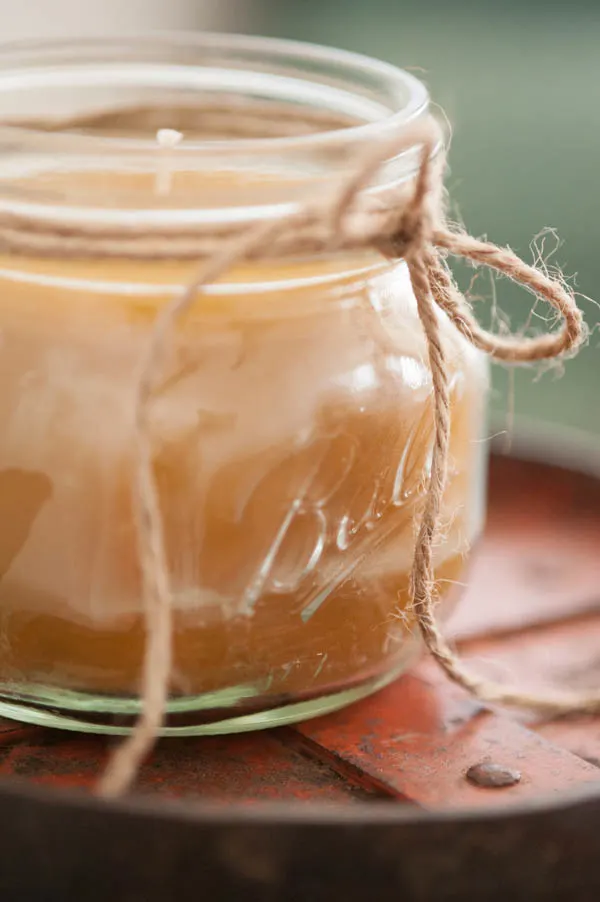
You can definitely have fun playing around with different containers, but I personally love these tiny tart tins which make pretty perfect little candles. I’ve also found that mason jars or jam jars work well, or you could also experiment with any pretty glassware or tins you might already own, as long as it’s a material that can withstand the heat of the melted wax. (Which is why I knew tart tins and mason jars would work because both are designed to hold up to heat!) I opted to use pre-made wicks but you can also make your own. The pre-made wicks help keep things nice and simple, which is never a bad thing. You’ll need one wick per candle, which you’ll adhere to the bottom of your container using double-stick adhesive. Keep the wick long and hold it upright over your candle by wrapping the extra length around a skewer (or a pen or pencil…you get the idea) and propping the skewer up between two glasses or whatever else you have handy. Once your containers are prepped, place them on top of a sheet of parchment paper on a heat-resistant surface – I used a cutting board. (This just helps to protect your counters from the heat and any wax spills that may occur.)
When your wax is thoroughly melted, carefully pour it into your tins or jars, being cautious not to splash it on the container or yourself. (It is melted wax after all and it will hurt!) Don’t fill your containers completely – it looks nicer with a bit of extra room at the top! I found with larger candles (such as the mason jars) the wax shrink a bit as it cools so you’ll want to reserve a bit of unmelted wax so you can go back later, repeat the melting process and top off your candle with more wax so it looks nice and full. Then let the candles cool completely (overnight is best) and then trim your wicks so they’re roughly 1/2″ tall. And that’s it! You just made candles. And they’re awesome. (Truth. All of your friends will think so.)
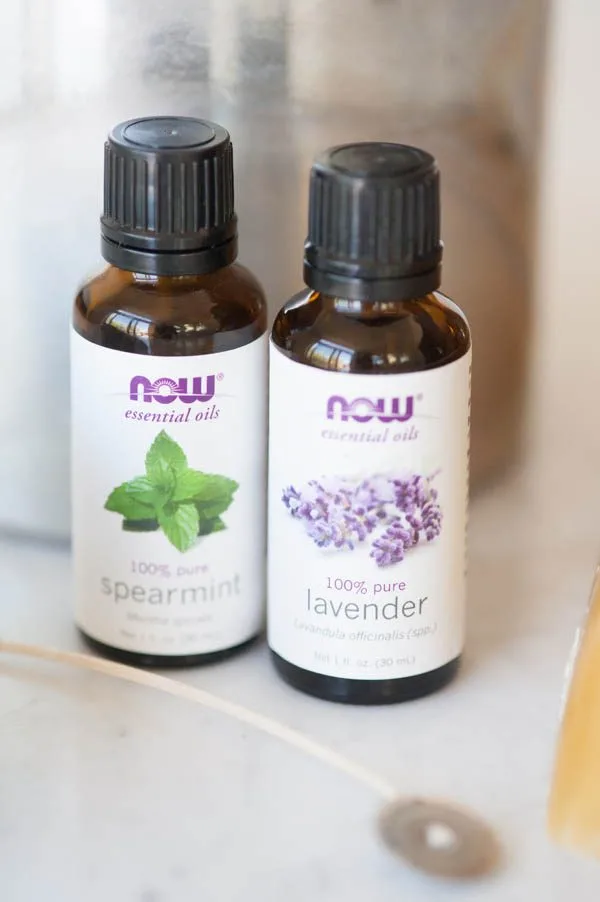
If you are interested in scenting your candles (which is certainly optional because the beeswax has a rather subtle yet lovely natural fragrance that is really quite nice), you’ll want to add fragrance by way of essential oils once the wax is melted but prior to removing it from the heat. Here I used NOW essential oils which I scored at a local organic market. Simply add about 1 gram of oil per 1 pound of wax and give it a quick stir with a skewer. Remember this should be done while the wax is still over the heat, just prior to pouring it into your containers. You can add more or less depending on the level of fragrance you’d like and combine oils to suit your fragrance fancy. Lavender, eucalyptus and lemon are my personal favorites, sometimes all combined together!
This is still one of my favorite crafts to date. It is just so much simpler than you’d think, and it’s such a lovely way to add something homemade to your everyday home decor or to give to a sweet friend as a gift. I sincerely hope you give this a try sometime – you’ll be surprised how easy it is and how cool it feels to be all like, “Yeah, I just made candles.” Or maybe that’s just me. But either way, have fun and let me know if you give it a go!
[Art direction + styling by Cyd Converse for The Sweetest Occasion. | Photos by Alice G. Patterson.]
Sources –
Candle making supplies from Michaels
Essential oils by NOW, purchased locally
Tart tins from Bed Bath & Beyond ($0.79 each)
Ball jars from Target


Kali
Saturday 1st of October 2016
Beeswax is always a good idea for candles and yours look really beautiful:-)
Prince
Monday 26th of September 2016
Hello Cyd,this is super cool and I will definitely try it out with my son during the hallowen, but it would have been better If you make a video of you doing it!!