


Remember the other day when we worked on our colorblock napkin rings? Well, you’re in luck because I’m back with the next installment of our DIY dinner party table setting. Today, we’re tackling place cards and party favors in one fell swoop.
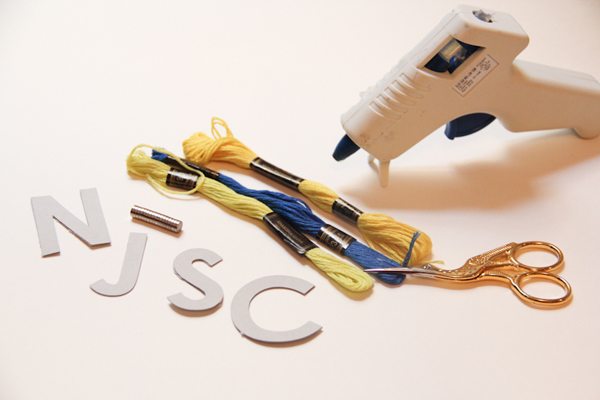
We’ll use the same wrapping technique that we employed last time, so grab your materials:
- cardboard
- scissors
- embroidery thread
- glue gun
- tiny magnets like these
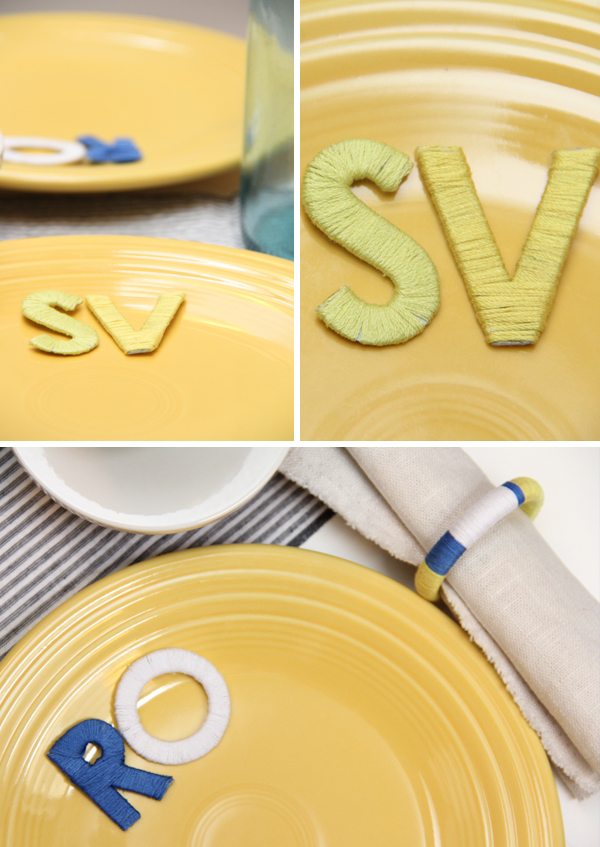
Start by cutting your guests’ initials out of cardboard. First initials will do unless you have guests with the same first initial; then you may want to do first and last.
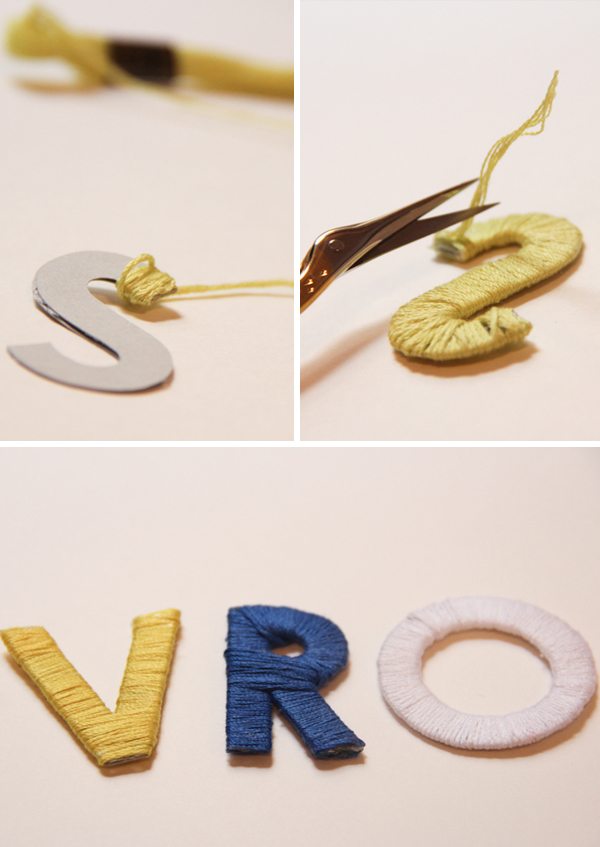
Wrap your letters with embroidery thread. Because of the different shape of each letter, you may need to wrap them in different ways. But I experimented with quite a few different shapes and they all worked out! Use a small dab of hot glue on the end of a letter to affix your thread. Wrap over the glue spot to hide it and continue wrapping until your letter is completely covered. Use small dabs of glue along the way (on the backside of each letter) if you’re having trouble keeping your thread in place. At the end, secure the thread with a little more glue and snip the thread.
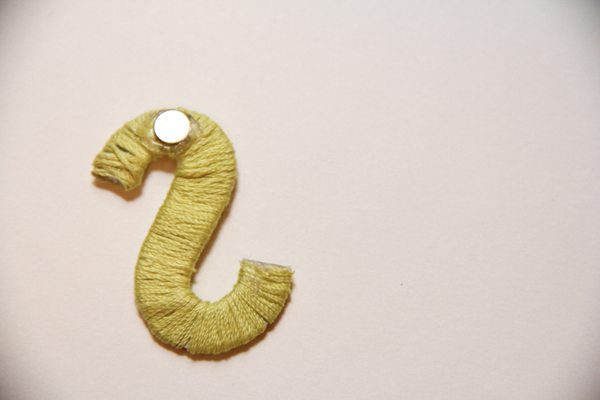
On the backside of each letter, sink a tiny magnet into a dollop of hot glue.
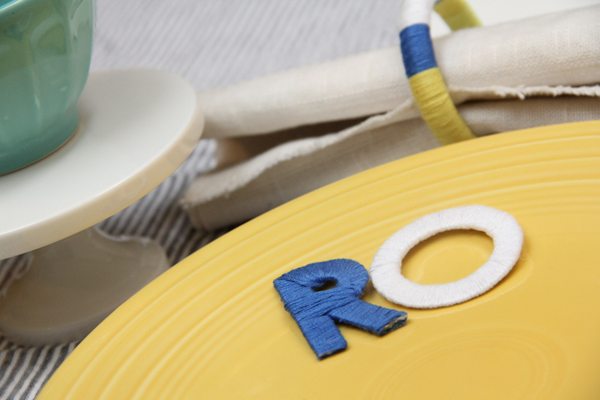
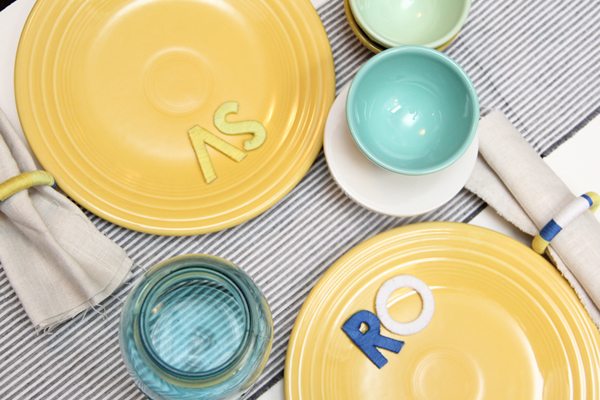
Set the place cards out on each guest’s plate. Encourage your guests to take the magnets home at the end of the evening and pop them on their fridge so they can remember your awesome dinner party for a long time to come! xoxo
{Photos by Lovely Indeed for The Sweetest Occasion.}


 Back to Top
Ooh, I love this idea! So adorable.
These are darling! Can’t wait to try them!
What a cute idea! Love this.