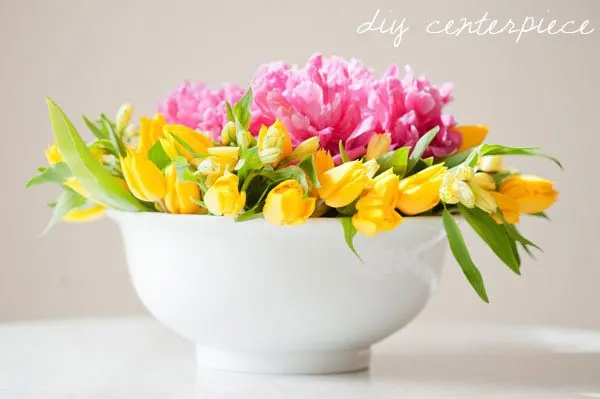
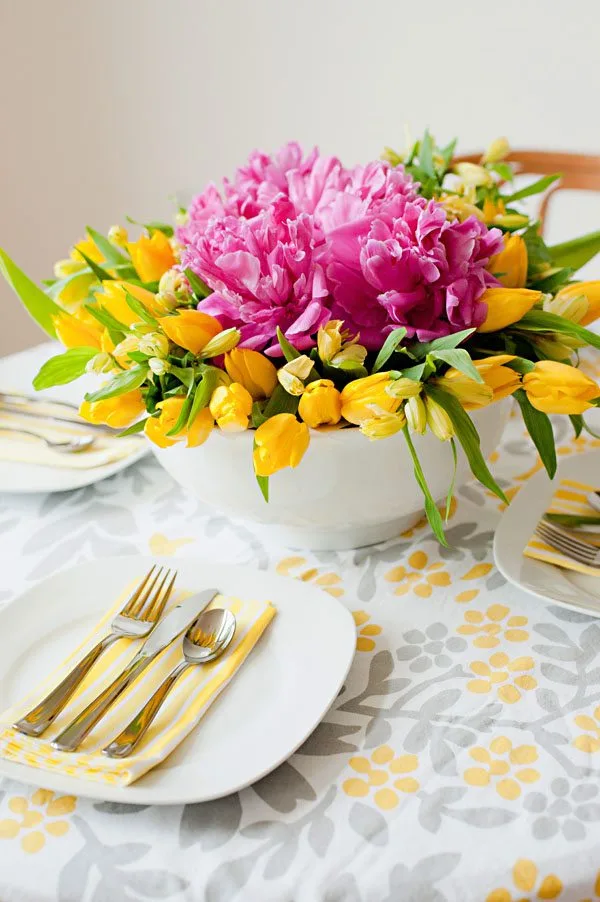
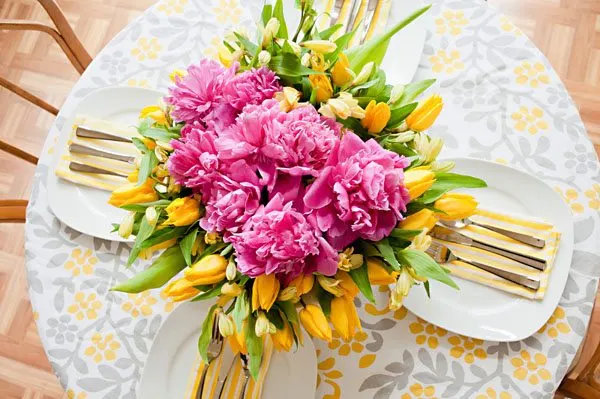
Hi, friends! I hope everyone had a great weekend. Mine was long, full of sunshine and lots of time spent with my family. Just what I needed! Today I am excited to kick off the week with a pretty little DIY project I put together, photographed by my lovely friend Alice G. Patterson. So today we’re talking all about this pretty and easy DIY centerpiece that’s perfect for a dinner party, wedding or just sprucing up your dining room table with a punch of happy color. This is a technique I use frequently for photo shoots or parties at home. I think flowers can be a little daunting and I certainly don’t fancy myself a florist, but trust me – you can do this!
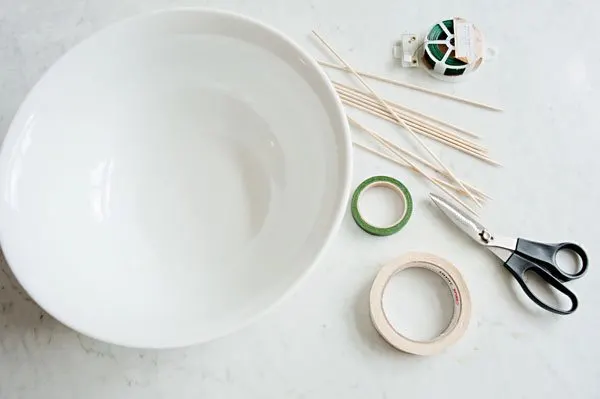
Supplies –
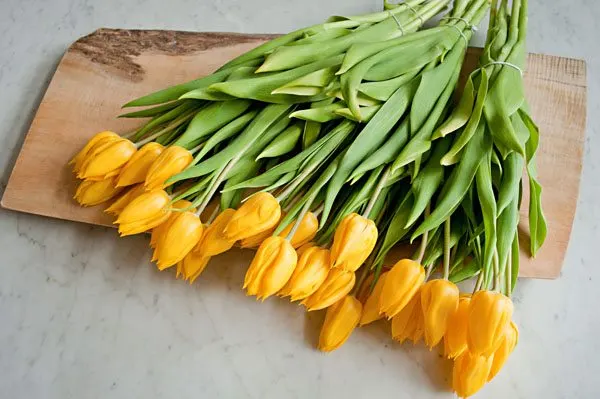
- assorted blooms of your choice (I used tulips, peonies and alstroemeria)
- floral wire
- floral tape
- bamboo skewers
- masking tape
- large bowl
- shears
- floral foam (optional)
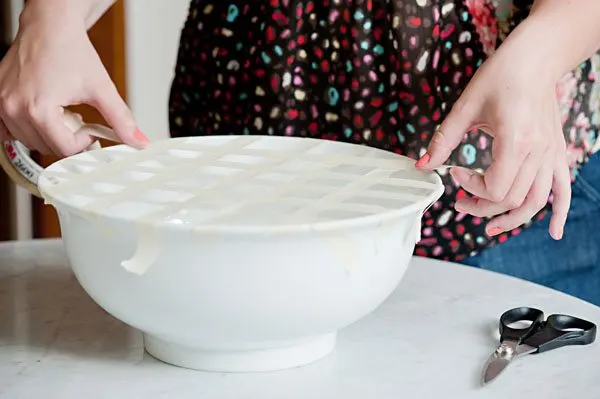
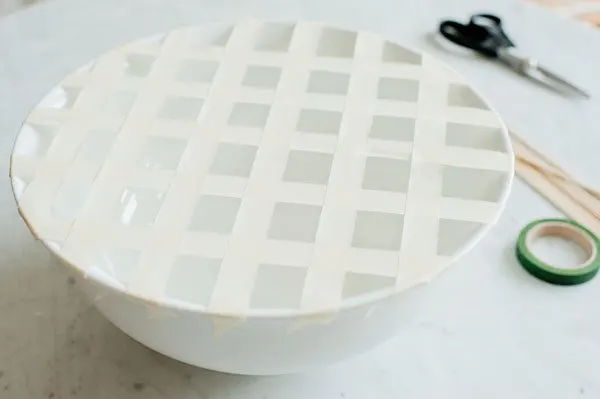
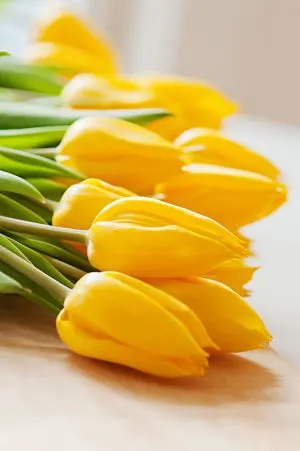
First up, gather up your supplies. For flowers, choose a variety of bloom types and sizes. I went with pretty yellow tulips and alstroemeria and some gorgeous pink peonies we picked fresh from Alice’s yard. I used a large white serving bowl I had at home to hold my arrangement. A cool old pail or pot would also work great. The masking tape is key to this ease of this arrangement! Cut long strips of masking tape and then use them to create a grid across the top of your bowl. The grid will help provide structure and shape for your arrangement. Optionally, cut a piece of floral foam and place it in the bottom of the bowl to insert your flowers into as you go. I used flowers with larger stems so I skipped this step, but for flowers with more delicate stems you might want to use the foam.
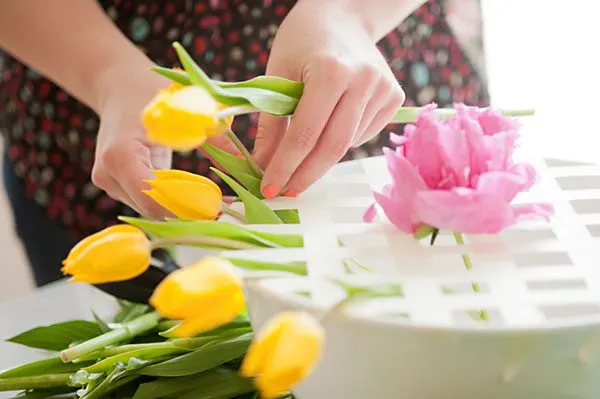
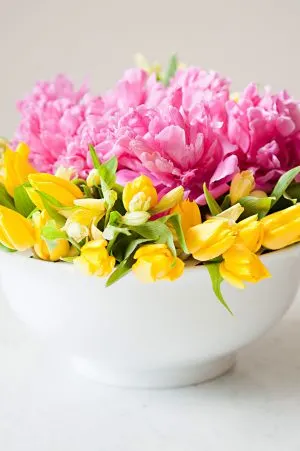
Next up, start clipping and arranging your flowers within the grid. You may need to play around a bit with your arrangement as you go, but that’s the fun of it! This style of arrangement is definitely free form. If you have stems that need a bit more support, you can clip a bamboo skewer and attach it to the stem with floral wire or floral tape. I chose to create a bed of tulips and alstroemeria around the base and then cluster the peonies in the center for a bright burst of pink. It definitely took a bit of trial and error, but I love the final look!
And there you have it! Super simple, easy and pretty. To keep your flowers alive longer, make sure to change the water every couple of days. With a bowl arrangement like this, I find it easiest to use a turkey baster to remove the old water and then I just use a pitcher to fill it back up. Make sure to keep all leaves and petals above the water line to keep your flowers pretty and happy for longer. Happy arranging!
{Design + styling by Cyd Converse | Photos by Alice G. Patterson for The Sweetest Occasion.}

Jermena
Wednesday 24th of June 2020
Gorgeous ❤️😍 Thank you for the tutorial🙏🏿
Joya
Wednesday 3rd of April 2013
Love it! Thanks for the tutorial. Q - where you ordered the tablecloth from? I am in love:)
cyd
Thursday 4th of April 2013
Hi Joya - the tablecloth is no longer available. It was part of the Dwell collection for Target a few years ago. :-)
maryrose
Monday 25th of March 2013
lovely
5 Floral DIY Projects For the Kitchen Table! | Homeware Studio
Friday 9th of November 2012
[...] a breakfast table or even in the dining room. Find out how to create this elegant piece by visiting The Sweetest Occasion and following all the [...]
{Very} Happy Weekend! Links / June 23 | The Fete Blog
Saturday 23rd of June 2012
[...] The perfect project for a sunny weekend– floral centerpieces by The Sweetest [...]