Throughout October I’m going to be taking some time off and have invited a handful of my favorite bloggers to join us. Today we’re welcoming Kelly of Studio DIY, a blog dedicated to crafty party ideas. Kelly dreams up some of the greatest DIY ideas going and today I am so honored to have her share her talents here with you!
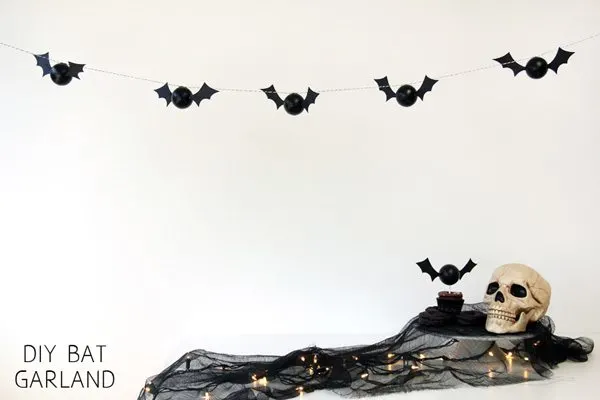
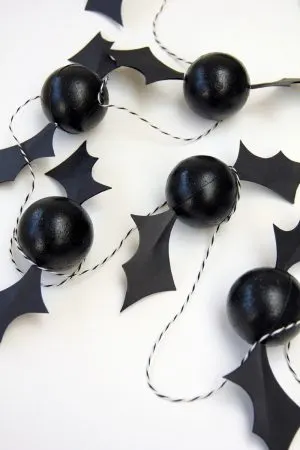
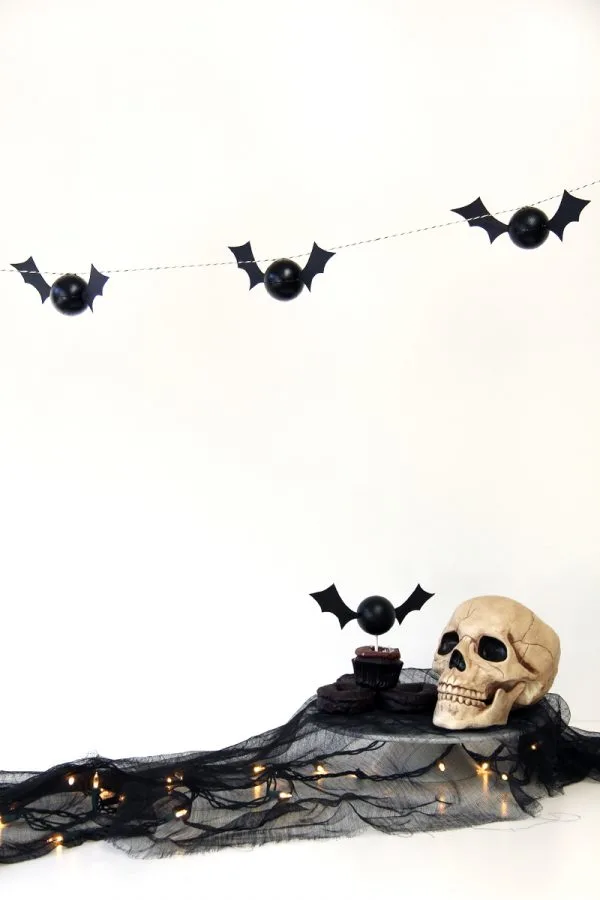
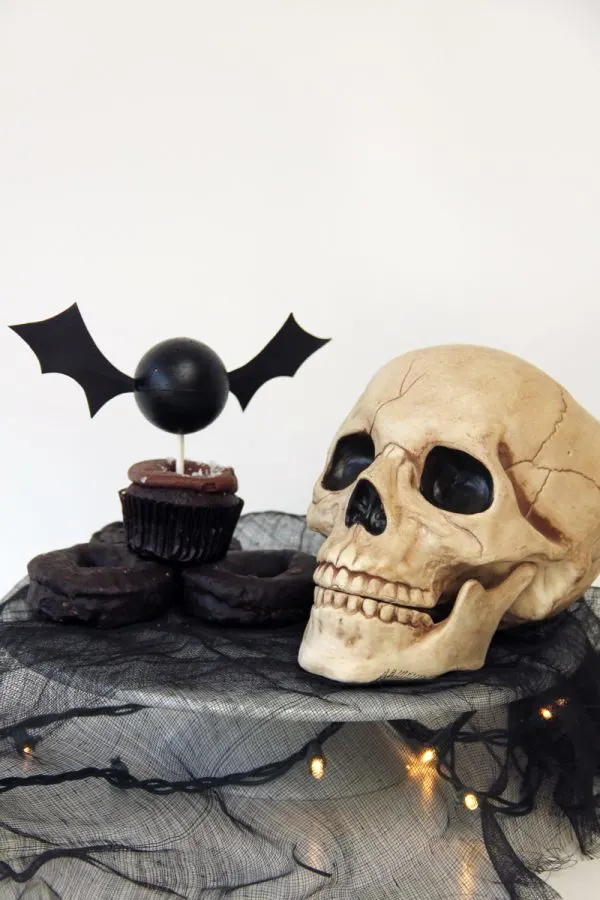
Hello, hello! Kelly here from Studio DIY, a DIY party blog, and I am so excited to be guest blogging on The Sweetest Occasion today! Especially because it’s just in time for one of my very favorite holidays, Halloween. Today I’m sharing a tutorial perfect for all your upcoming Halloween bashes and haunted houses, a DIY bat garland! And as a bonus, these super simple bats make pretty awesome cupcake toppers, too!
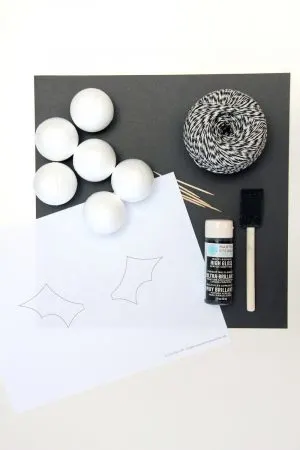
Supplies –
- Smooth foam balls (I used the 2″ size, you can find them at your local craft store!)
- Black craft paint + brush
- Black cardstock
- Bat wing template (a free printable PDF!)
- Scissors
- Toothpicks
- Tape, Glue Dots + a hot glue gun
- Twine
- Lollipop sticks (If you’re making cupcake toppers!)
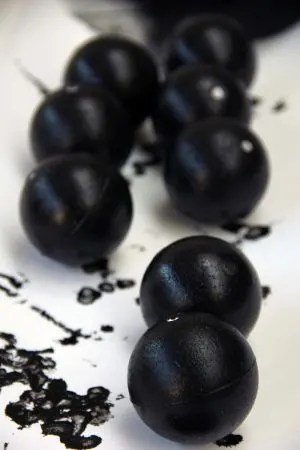
Paint your smooth foam balls with black craft paint (I found dabbing the paint on versus brushing it on worked best) and let dry completely. Touch up any spots where they have rolled and smudged.
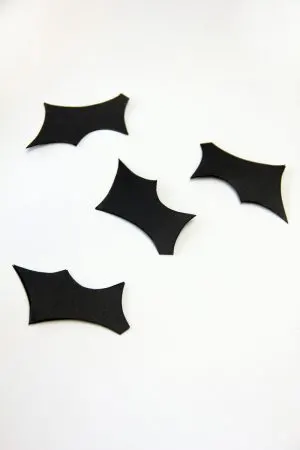
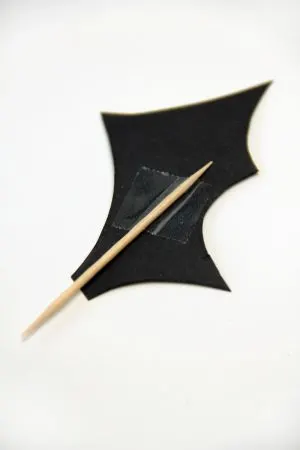
Cut out your batwings using the template. You’ll need four for each bat. Tape a toothpick to one of your wings.
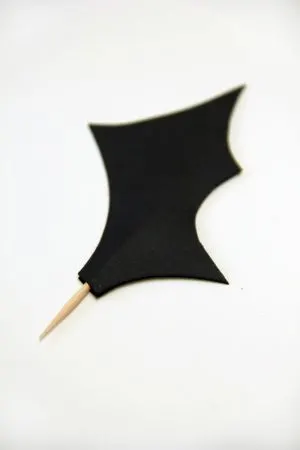
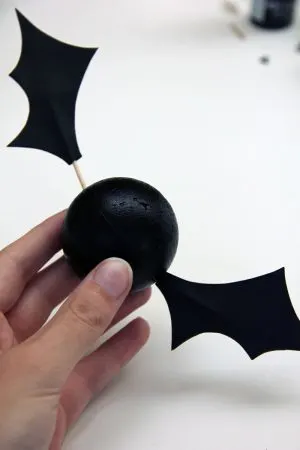
Sandwich your wing and toothpick with another wing. I used glue dots to hold these together. Carefully push the finished batwings into each side of your smooth foam ball with the hole in the ball facing upwards.
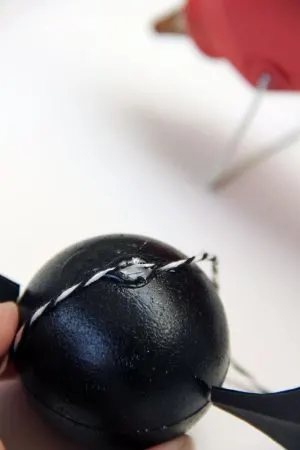
Place a dot of hot glue on top of the hole in each ball and attach a length of twine, I made mine slightly diagonal. Hang up your garland, turn on some Thriller and call it a successful Halloween!
Want to make these guys into a cupcake topper instead? When adding the batwings to your smooth foam ball, do so with the hole facing down. Cut a lollipop stick to the appropriate length, add a dot of hot glue to the top of it and insert it into the hole. Let dry and top your cupcakes!
{Photos by Studio DIY for The Sweetest Occasion.}
The fine print: Please link with love! As with all of our posts, DIY projects featured on The Sweetest Occasion may not be copied, distributed or reproduced without express written permission. Love and links are always appreciated! If you’d like to share this post, please link to this post directly for the DIY tutorial and do not include the instructions in your own post. Thanks so much! xoxo



Sarah Mills
Tuesday 24th of September 2013
Love these cuties! Made them tonight using craft foam for the wings. I painted the toothpicks black and hot glued them directly to the foam (saved a step and didn't have to cut as many wings! Thank you for the awesome idea and template!
cyd
Tuesday 24th of September 2013
Thanks, Sarah! So glad you gave this a try, I love this garland! :-)
aliyah hernandez
Friday 12th of October 2012
its sooo easy ill be able to make a thousand to make my moms house and my dads house super cute!!!!!!!!!!!!!!!!
Halloween DIY: For the House | Vylette
Wednesday 10th of October 2012
[...] Bat Garland [...]
Kris
Wednesday 3rd of October 2012
I had almost everything I needed to make these except the foam balls. Bought those today and I'm going to make this fun garland over the weekend! Love it!
Victoria
Tuesday 2nd of October 2012
These are clean and simple, my kind of decoration! I like it. This same technique would work wonderfully to make a golden snitch garland, too. (from Harry Potter) Very cool.