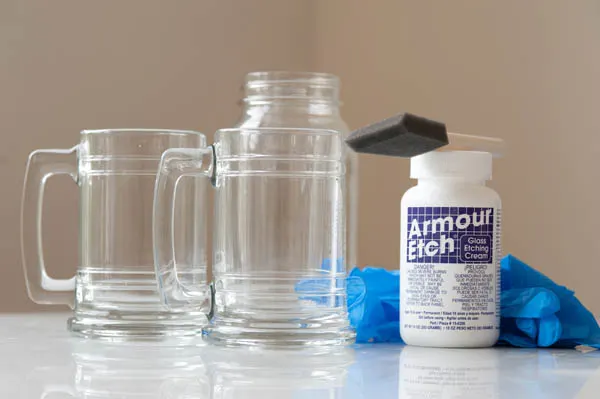
Recently I decided I wanted to play around a bit with glass etching. A few years ago glass etching was a big thing among DIYers and it felt like time to bust out a little Armour Etch and see what I could come up with again. I decided to play around with a couple of glass mugs and a couple of mason jars. The key to working with etching cream is to make sure you’re working in a well-ventilated area and wearing protective gloves of some kind. The etching cream is actually an acid that eats away at the surface of the glass, giving it a permanent cloudy appearance that’s really lovely. Make sure to read your manufacturer’s instructions completely before getting to work!
Supplies –
- Glassware you’d like to permanently alter
- Armour Etch or other etching cream (I got mine at Michaels)
- Protective gloves
- Brush
- Stickers, stencils or other adhesive template design
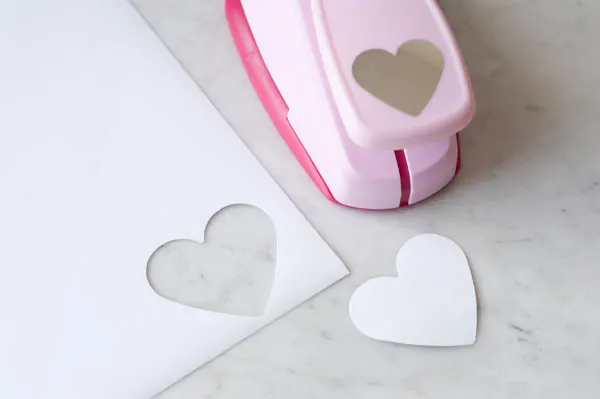
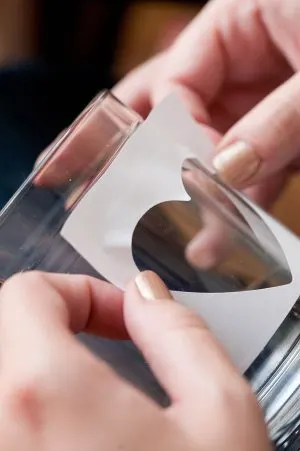
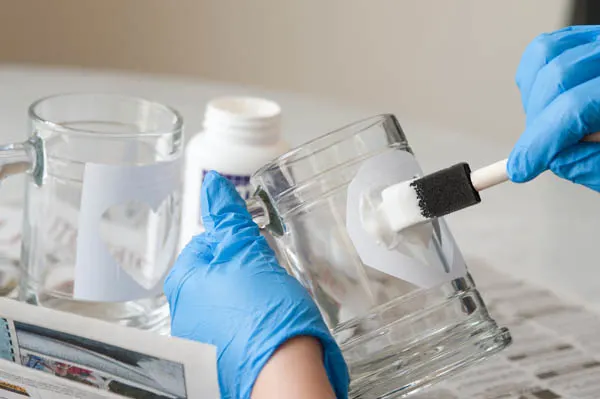
First up, I used a heart-shaped paper punch I already had and some label paper to create a heart stencil. You could also buy stencils or stickers to achieve this same effect. Position your stencil and smooth it onto your glass completely, making sure there are no loose edges or bubbles.
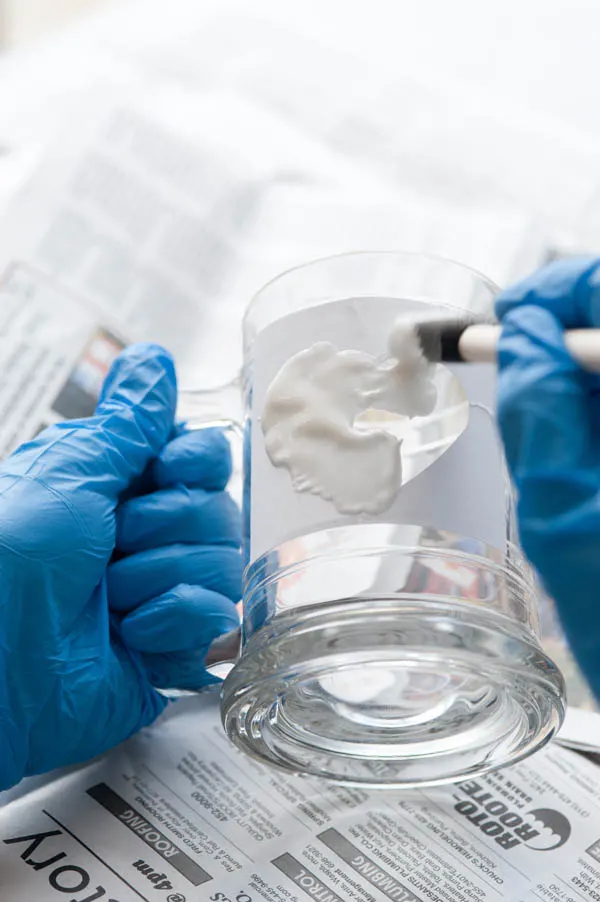
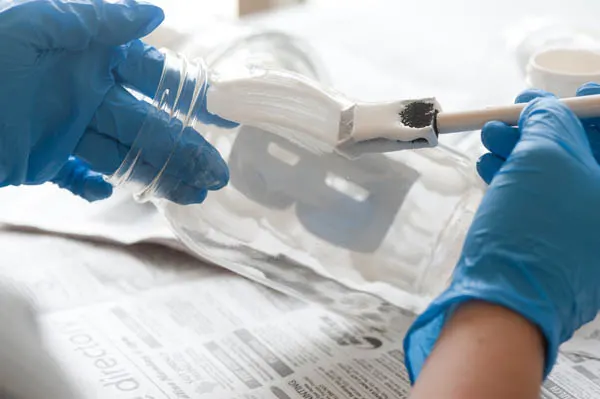
Next, wearing your gloves, use a brush to apply a generous amount of etching cream to the area you’d like to etch. Again, you’re going to want to refer to the instructions that come with your particular etching cream, but I let the etching cream sit for about ten minutes. You want to apply a good amount of product, but you don’t want so much that it drips or runs outside of the area to be etched. Anything the cream touches will be altered, so you’ll want to take care to contain it only to the area you want to take on that cloudy appearance.
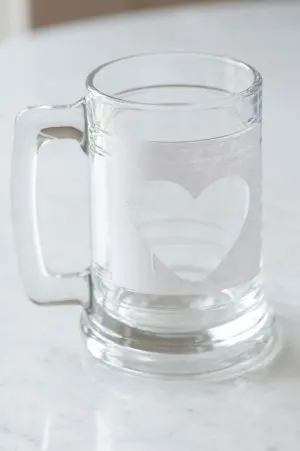
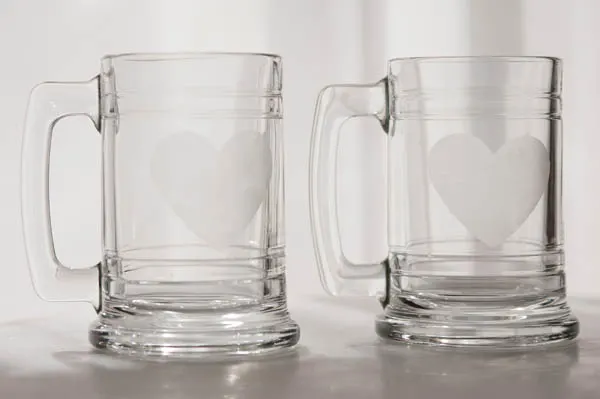
What you’re left with, in this case, is a pair of cool glass beer mugs with big ol’ hearts on them. Frosted straight from the freezer and filled with your favorite beverage, they’re absolutely adorable. These would make such a fun wedding gift! (Oh and they’re practically screaming to hold big tasty root beer floats, might I add.)
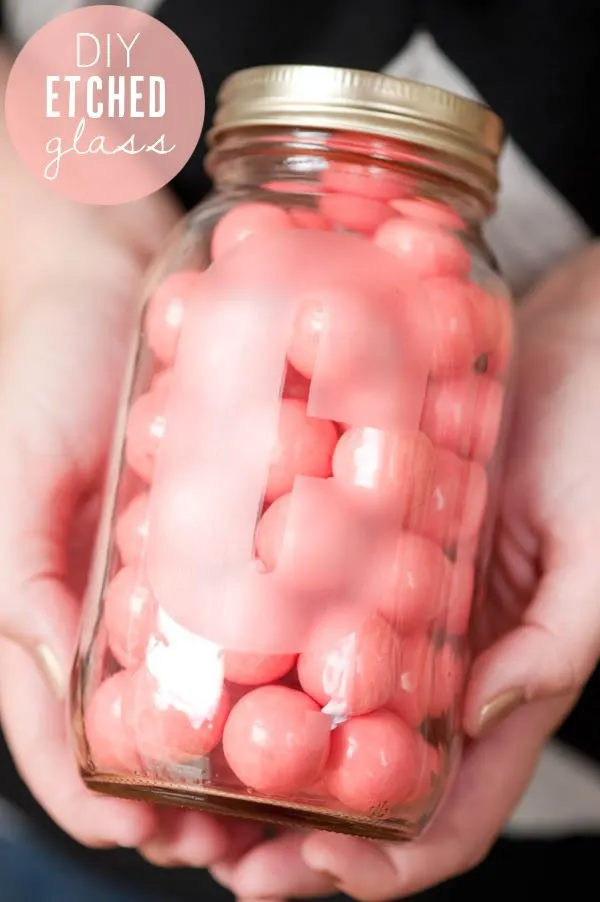
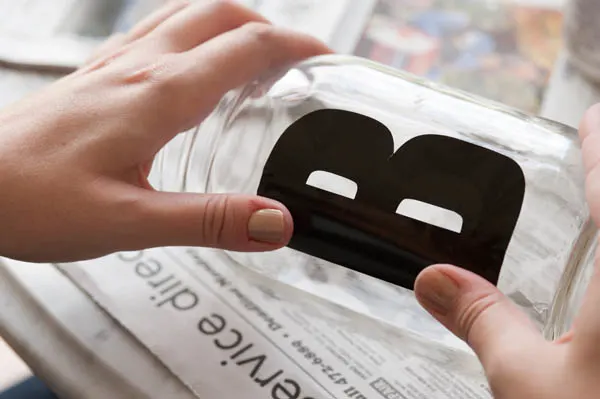
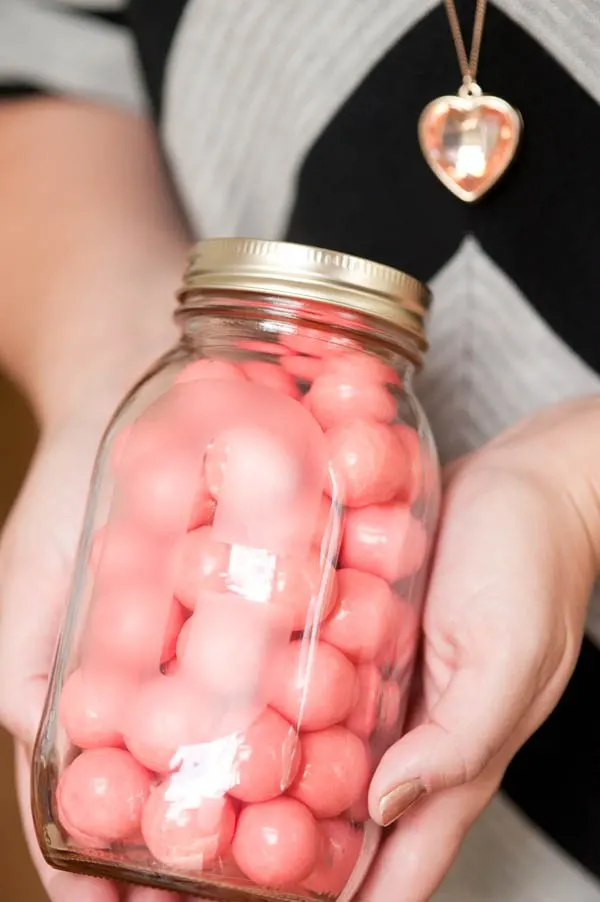
Next up I played with large quart size mason jars, adding a big etched single letter monogram to each. I used big letter stickers from a craft store and used the same process of applying the cream, letting it set and washing off with water.
These turned out so fun and there’s really no end of things you could do with them! Mine sits on my desk filled up with little bits and baubles, but they’d also work great in a pantry. You could also etch a design on wine glasses or bakeware or any other glass piece you already own and want to jazz up. My advice would be to use only relatively inexpensive pieces, because there may be some trial and error as you’re getting the hang of working with the etching cream. I definitely had a couple of pieces that ended up not looking so great, but because I picked up all of my glassware at the dollar store it was no big deal. One thing to note – the etching cream is relatively pricey compared to other crafting products, but the container will last a long time. How perfect is this for making pretty little holiday gifts, too? So fun!
{Design + styling by Cyd Converse for The Sweetest Occasion. | Photos by Alice G. Patterson.}
The fine print: Please link with love! As with all of our posts, DIY projects featured on The Sweetest Occasion may not be copied, distributed or reproduced without express written permission. Love and links are always appreciated! If you’d like to share this post, please link to this post directly for the DIY tutorial and do not include the instructions in your own post. Thanks so much! xoxo

15 DIY Glass Etching Projects that are Beginner Friendly
Thursday 24th of October 2019
[…] 9. Personalized Glass Etched Candy Jar […]
jenn
Wednesday 28th of August 2013
Hi-
Etch- All if you can get it tends to do a better job. And feel free to let the etching cream sit overnight, you will get a more even etch, the acid is pretty weak overall, you could leave it on for years, and it would never eat through the glass.
Marge, if you are looking for custom stencils, call sign shops and ask if they have an industrial vinyl cutter, I normally have bulk stencils cut for me and it comes out pretty reasonably cost wise.
Marge
Wednesday 24th of July 2013
Love this so simple!!! I would like to make this for my wedding as a give away stuff. But i would like to use our Initials together i look and asked every where were i can get a personalize stencil so i can go ahead do it myself... Any sudgestions? My initials would be M & C and i would like circle around it... Pls help thank u...
cyd
Thursday 25th of July 2013
Hi Marge! I think your best bet would be to have a monogram designed that you love (keeping the design really simple) and using a Silhouette (http://www.silhouetteamerica.com/) or something similar to custom cut the stencil. I hope this helps!
Birch + Bird Vintage Home Interiors » Blog Archive » For the Love: Valentine DIY Roundup
Friday 18th of January 2013
[...] Photo by Alice Patterson forThe Sweetest Occasion [...]
Christmas Preparations |
Saturday 29th of December 2012
[...] I just love mason jars and finding new ways to use them. A little while ago I stumbled across this blog post and made sure to pin it so I could use the idea for Christmas gifts. I bought myself some etching [...]