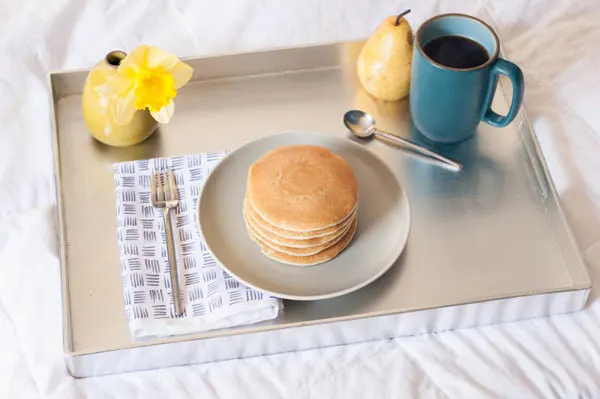
I have a certifiable obsession with pretty linens. You’ve probably heard me preach before about how my go-to way to dress a table is to use basic everyday white dinnerware and layer in linens, flowers and pretty glassware to change up the look to suit your occasion. So today I’m going to help you practice what I preach by showing you basically the easiest way ever to make your own custom patterned cloth napkins. As it were, this tutorial also certifies my newly found obsession with fabric markers. They’re amazing. I want to use them on everything. Beware ! Soon you’re going to want to wield fabric markers on every piece of fabric that crosses your path, too. But first, let’s make napkins, shall we?
Supplies –
- Plain cloth napkins (100% cotton is best)
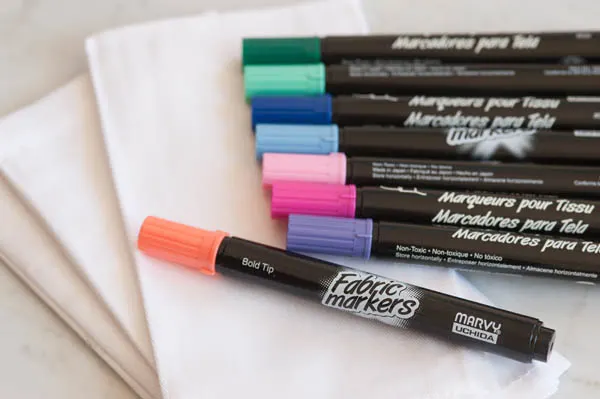
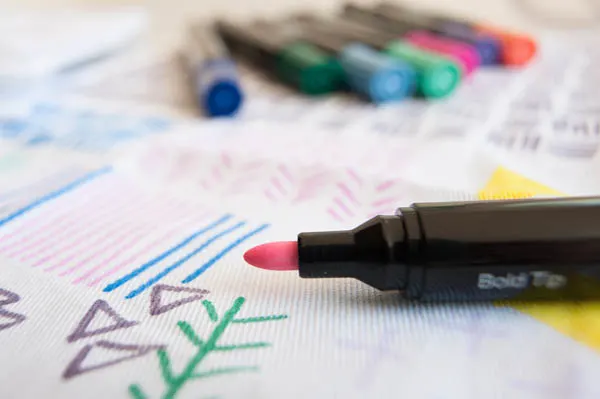
- Permanent fabric markers (I used Marvy markers)
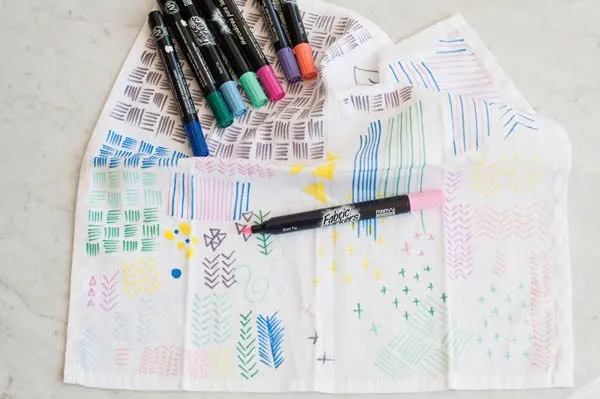
This is such a sweet and simple project, there’s really only a few basic steps! First up, you’re going to want to test your markers to make sure your fabric and your markers get along in a friendly fashion. I used basic white 100% cotton napkins. Make sure to read the manufacturer’s instructions for your particular markers to see how they should be used. While testing the markers to make sure they mark nicely on your napkins, play around and doodle to determine what colors and patterns you like best. I did quite a bit of testing and doodling and it helped me to determine how I wanted to lay out my napkins.
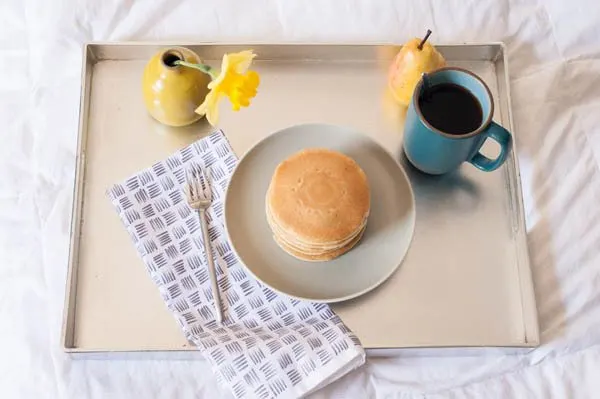
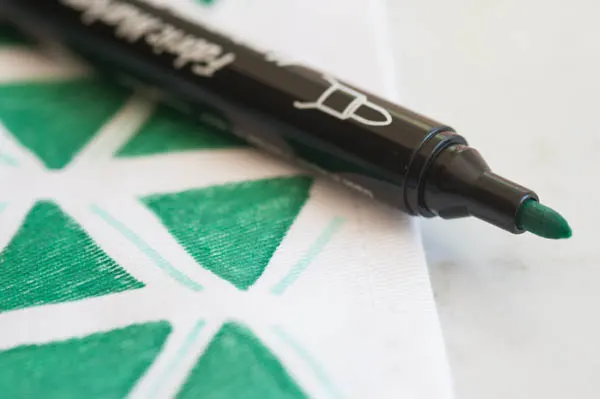
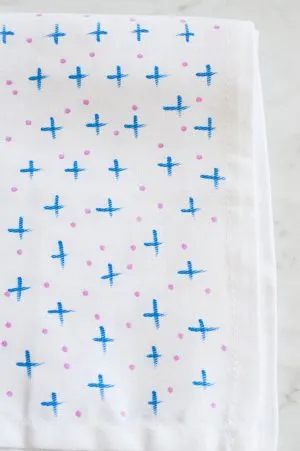
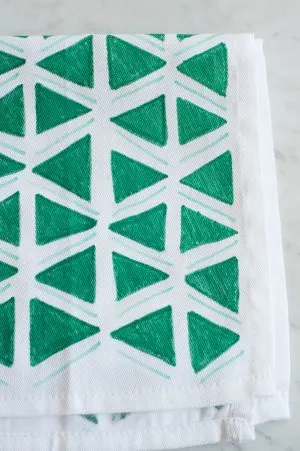
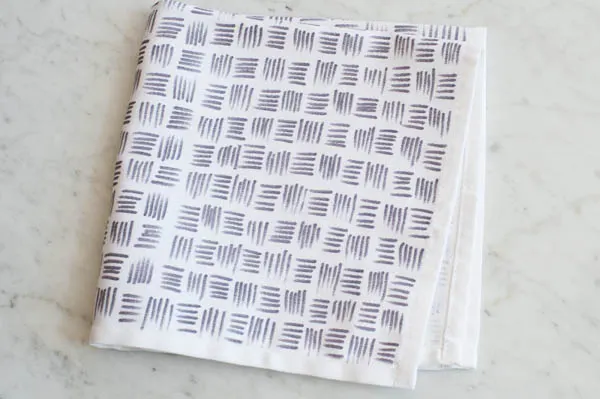
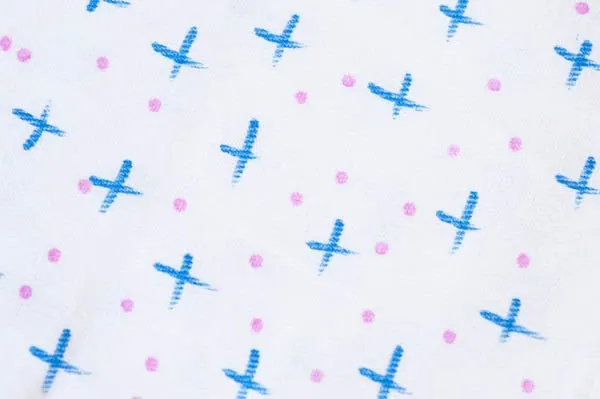
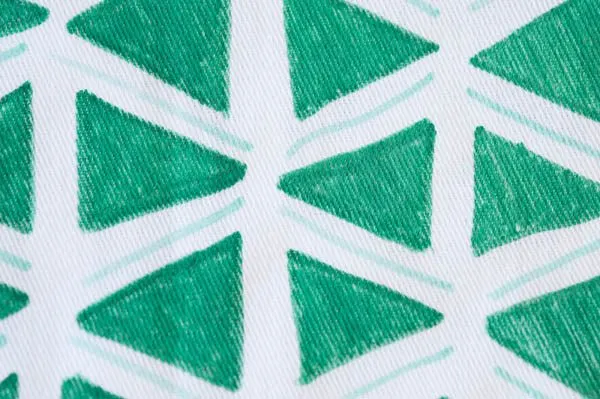
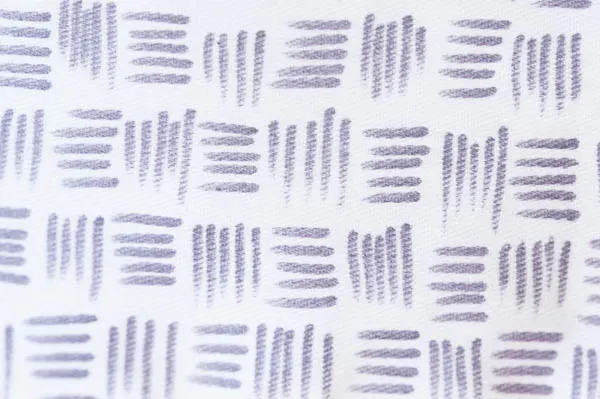
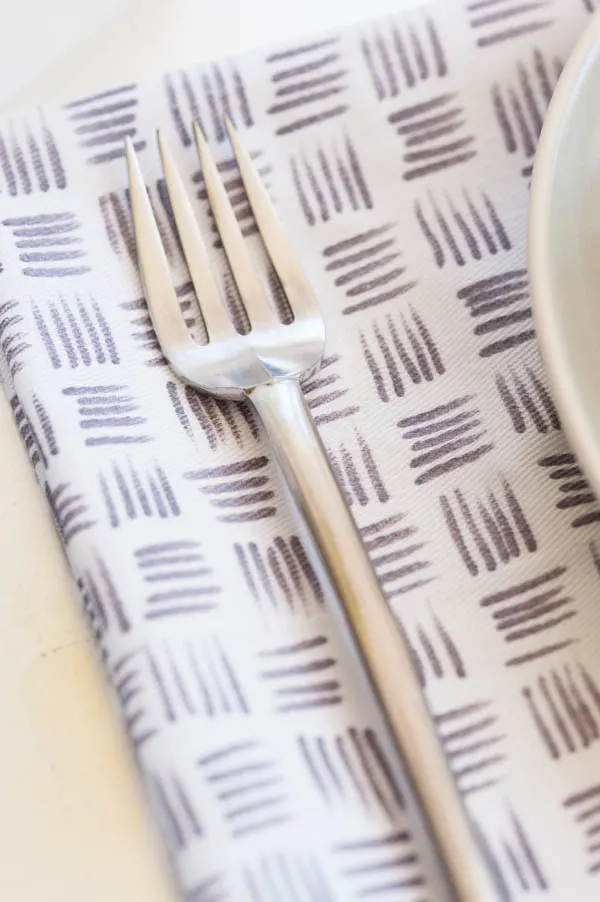
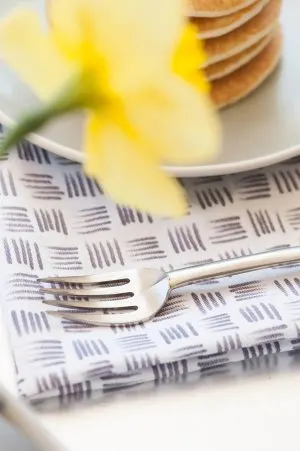
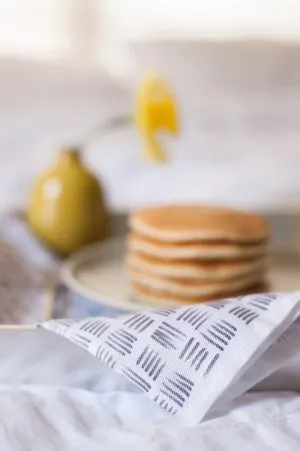
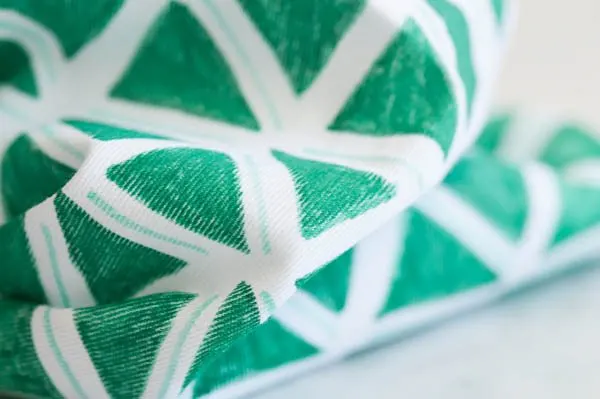
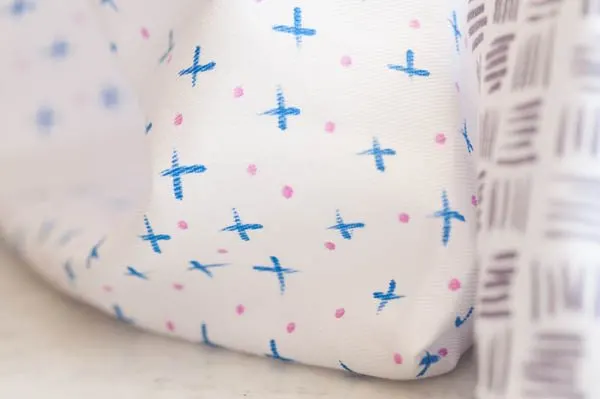
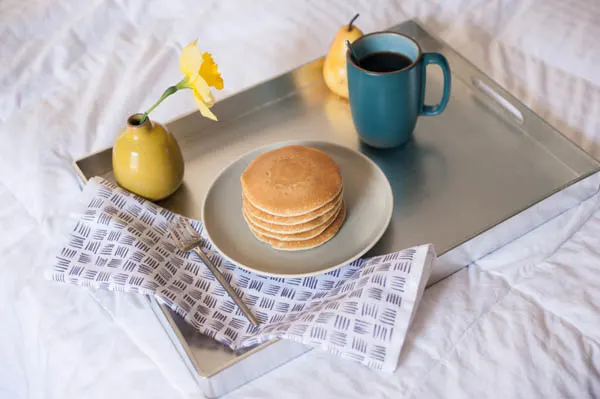
For my napkins I went with three easy, graphic patterns. The first was a bold triangle pattern. I just laid out the triangles in a grid, alternating the direction of the triangles as I went along the row. As with all of the patterns I just freehanded it as I went along. The second napkin was a pattern of little cross hatches and polka dots scattered across the expanse of the napkins. This was the quickest and easiest one to make! The third napkin actually is my favorite. I just made five short hash marks and then did five more at 90 degrees next to the first set of marks. Just keep on going with it until your napkin is covered. It’s that easy!
Some markers require washing or ironing to set them and make them permanent so, again, be sure to check the manufacturer’s instructions. Otherwise, you’re all done! I love these napkins. Seriously. I’m so hooked on making my own. I love the idea of creating a pattern you love and bundling together four or more of them and presenting them as a gift with a box of your favorite muffins and a little posy of flowers. You know, because Mother’s Day is coming up this weekend and moms love this kind of stuff. (At least I know mine does!)
Stay tuned because later this week I’ll be sharing another pretty and easy cloth napkin tutorial so you’ll be fully prepared to whip up the cloth napkins of your dreams for any party or celebration or, heck, even just for a weekday dinner. Cloth napkins for the win!
![]()
[Design + styling by Cyd Converse for The Sweetest Occasion. | Photos by Alice G. Patterson.]
Sources –
Cloth napkins from Bed, Bath + Beyond
Fabric markers by Marvy from Michaels
Dinnerware, mug + vase by Heath Ceramics
Silver tray from West Elm
The fine print: Please link with love! As with all of our posts, DIY projects featured on The Sweetest Occasion may not be copied, distributed or reproduced without express written permission. Love and links are always appreciated! If you’d like to share this post, please link to this post directly for the DIY tutorial and do not include the instructions in your own post. Thanks so much! xoxo

Donna
Thursday 9th of May 2013
Love them. Since I'm not good at going straight and even, I would fold and press lines on the napkins before I start as a guide.
Samantha
Thursday 9th of May 2013
Yours look great. I once tried to do an ikat pattern with fabric markers but it was a major craft fail for me.
cyd
Thursday 9th of May 2013
Thanks, Samantha! I think you should give it another go - I kept trying a herringbone pattern when I was testing that I just couldn't make it work. But fiddling around landed me on other patterns I could pull off. Good luck! ;-)
La vida en Craft
Wednesday 8th of May 2013
So easy, and so cute! Great idea, thank`s!
Betty
Wednesday 8th of May 2013
Love these ideas! Do you wash the napkins after decorating them to set the colors?
cyd
Wednesday 8th of May 2013
Thanks, Betty! As mentioned in the tutorial, you'll need to consult the manufacturer's instructions for the particular markers you use to determine if you need to wash or in any other way set the ink. Have fun!
Valerie
Wednesday 8th of May 2013
Love these!!! Do you know how this would work for linen napkins? I've got a large stash of them in need of a cute update.
cyd
Wednesday 8th of May 2013
Hi Valerie! Most linen is 100% cotton so I would assume it would work just fine. Just try a little corner on the back of one to test it out, but my guess is that it would work well for you. Best of luck!