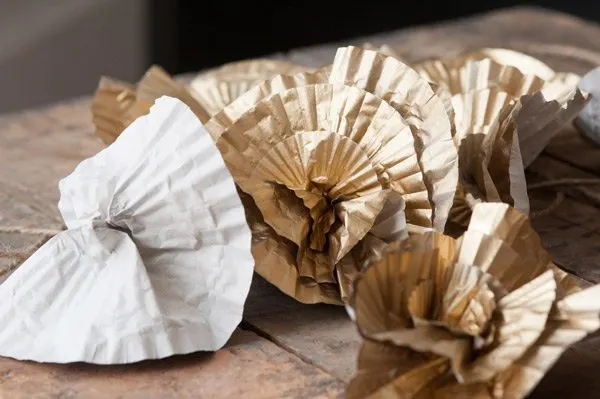
I am really excited about today’s DIY project, I’ve got to say. Reason being, this little technique is one I’ve have in my repertoire for years, but it dawned on me that I’ve never really shared a full how-to with you. So today is the day! (This is actually an idea I got from the amazing ladies at Carter & Cook Event Co. back in the day!) We’re talking about how to make paper flowers from cupcake liners and glue. It’s about as easy as it gets, but the end result looks so cool. You can customize them with any color you like and then fashion them into a garland, use them as a cake topper, showcase them at place settings or put them to work as napkin rings. I’m partial to metallic gold, because they end up looking so chic while being about one of the easiest and least expensive crafts you can make.
Supplies –
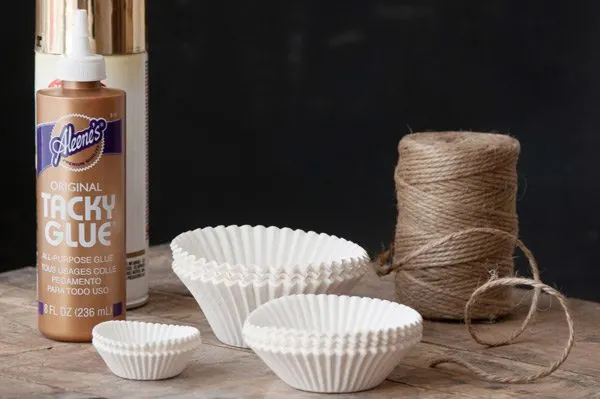
- Basic cupcake liners in three sizes (jumbo, standard and mini)
- Spray paint in your choice of color
- Tacky Glue or similar
- Twine or string (if you want to make them into a garland)
- Hole punch
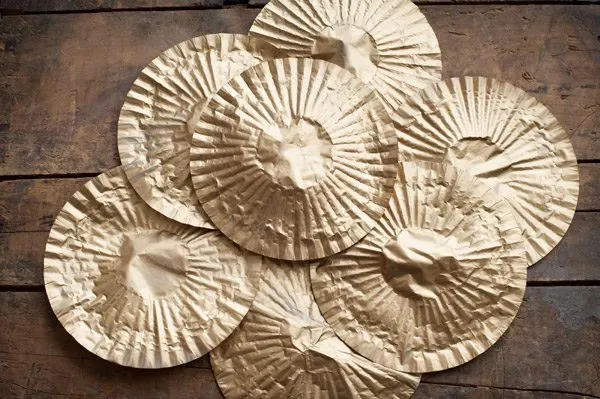
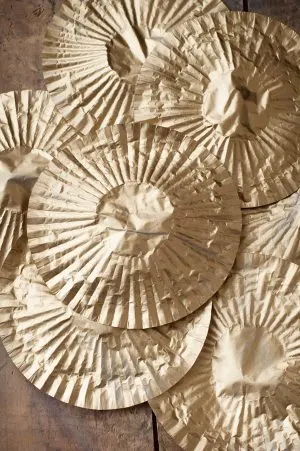
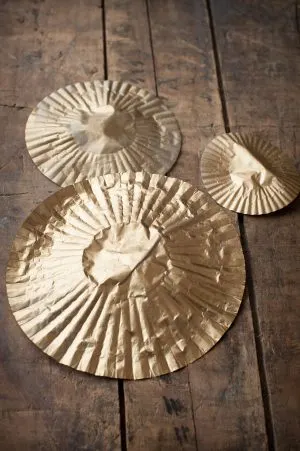
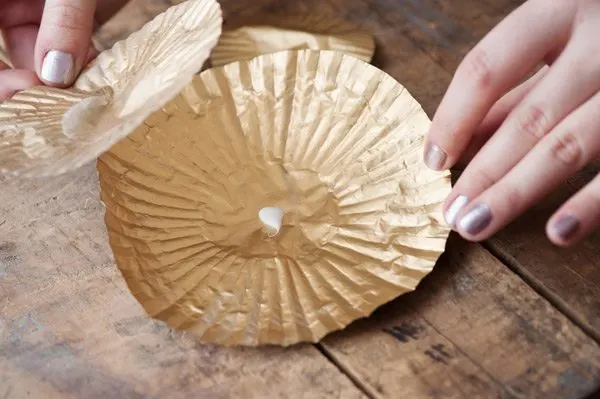
First up, lay your cupcake liners flat and give them a couple of light coats of spray paint. For each flower you’ll need one cupcake liner of each size, so plan accordingly when painting. Let them dry completely.
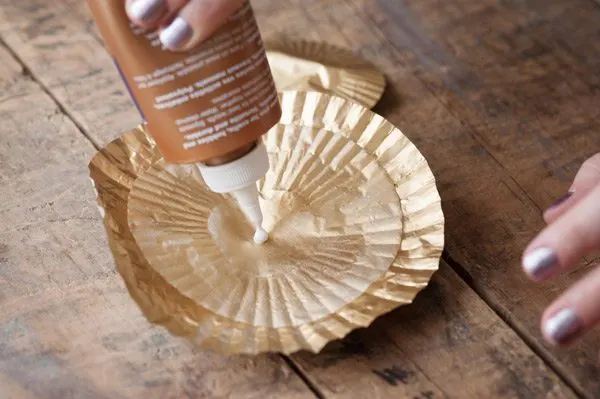
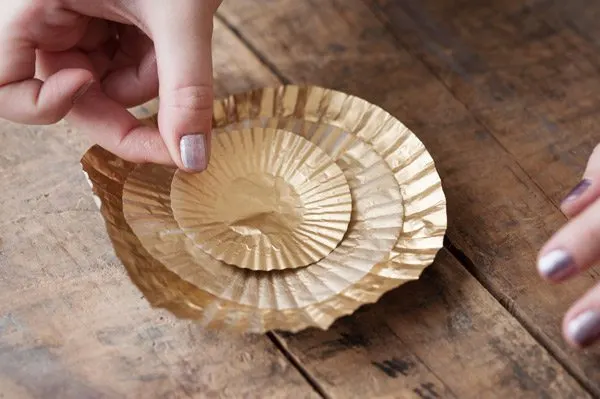
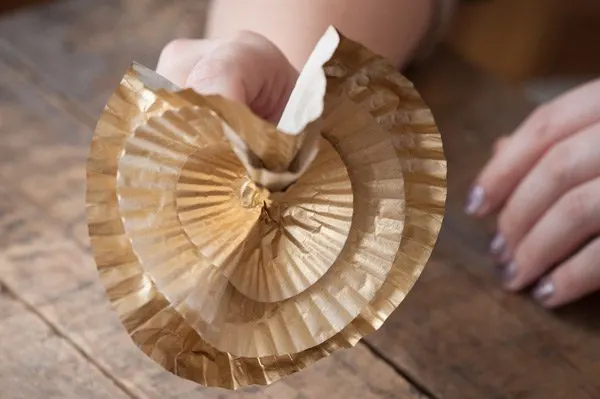
To assemble the flowers, put a dab of glue on the largest cupcake liner and layer the next largest size on top. Then add another dab of glue and repeat, layering the smaller cupcake liner on the top.
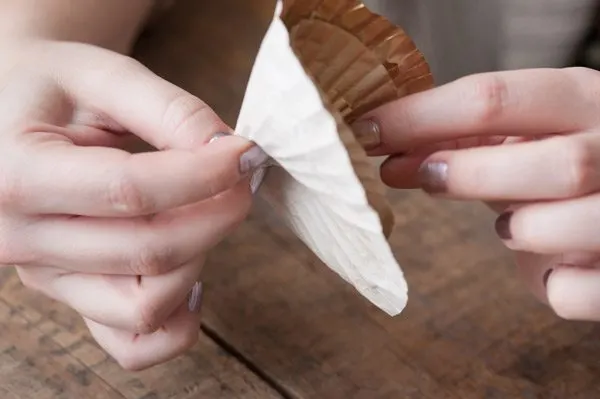
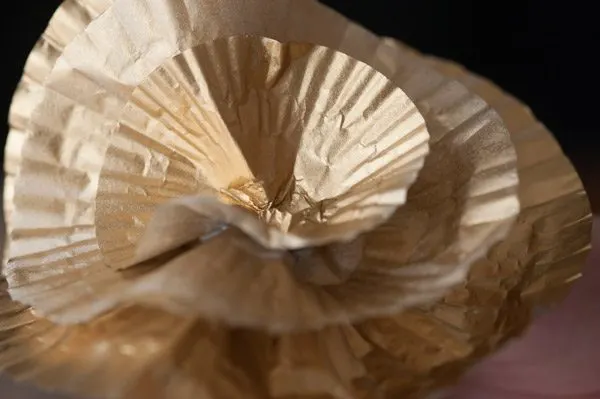
While the glue is still wet and setting up, grab your stack of liners and from the back, pinch together the centers of the liners and hold firmly for a few seconds. Then set them aside to allow the glue to dry.
Once your flowers are all dry, you can give them a good fluffing to adjust the shape how you’d like them to be. And then it’s time to start decking out everything in sight with pretty paper cupcake liner flowers!
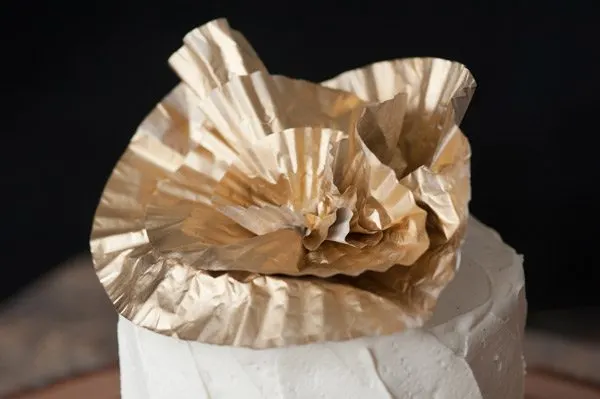
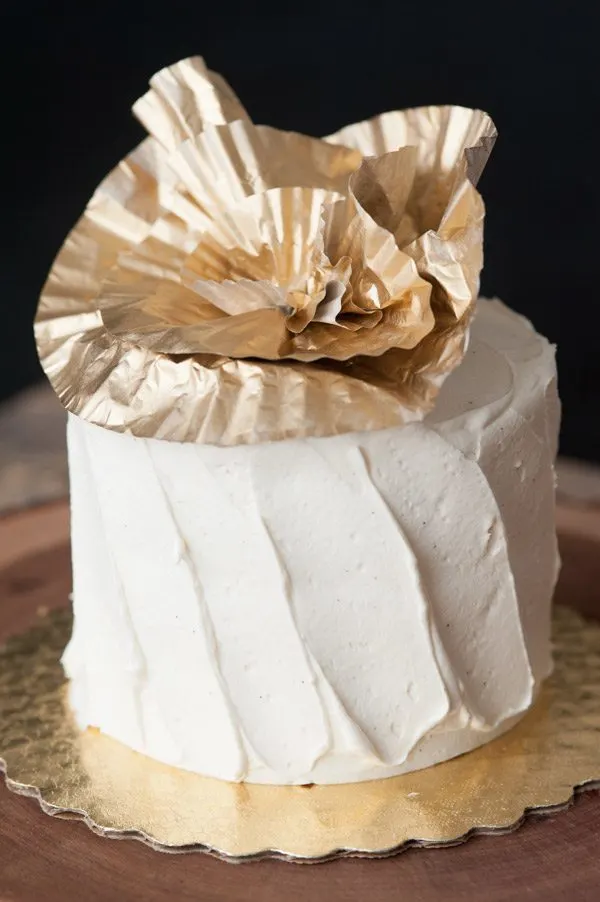
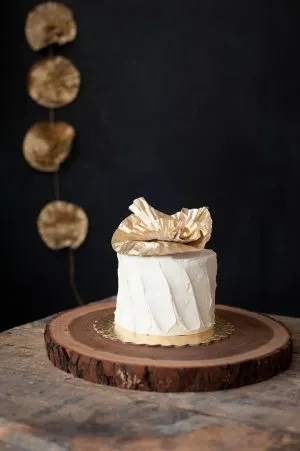
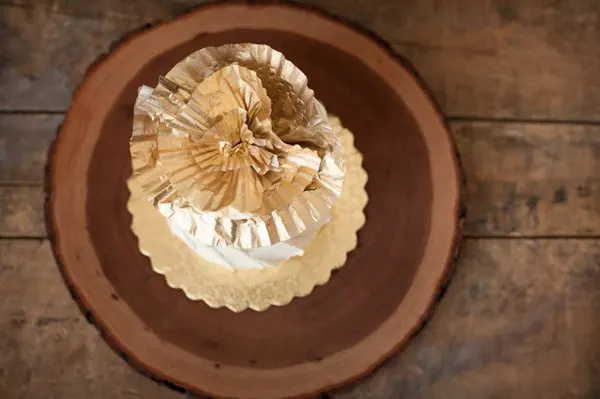
One of my favorite ways to use them? As a super easy but crazy pretty cake topper. Use a cluster of them on a larger cake or on a tiny cake, just one will do the trick while making a big statement. Because the backs of the cupcake liners aren’t painted, I just stick them directly into the top of the cake. It’s that easy!
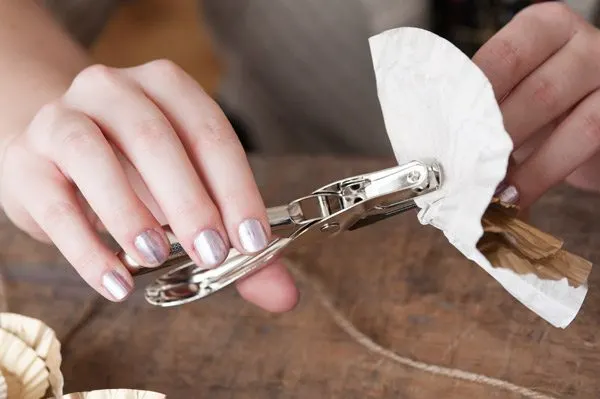
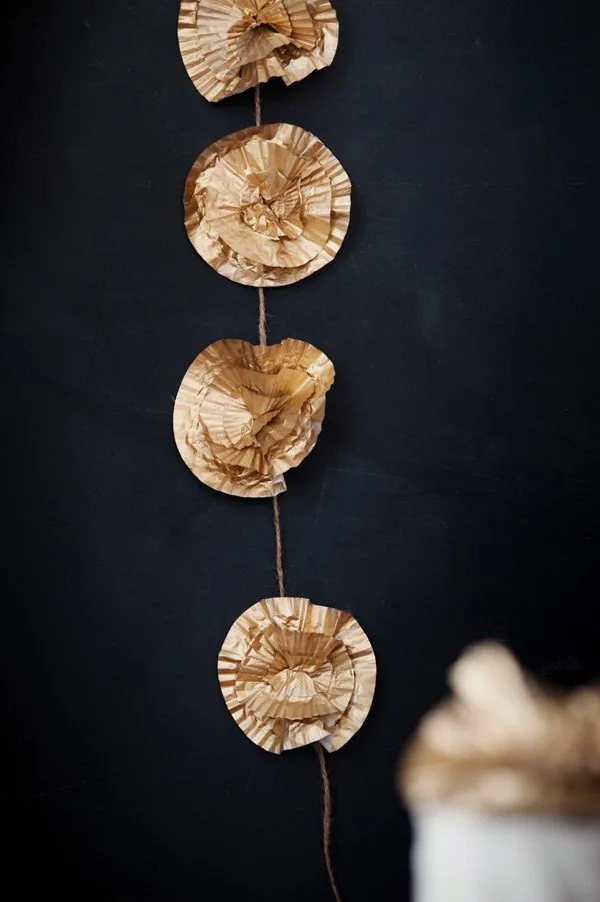
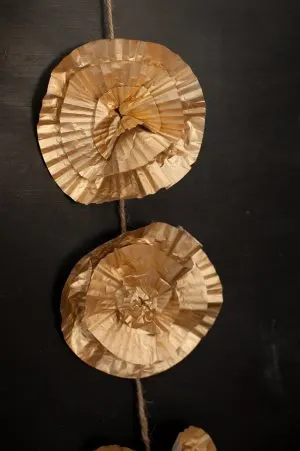
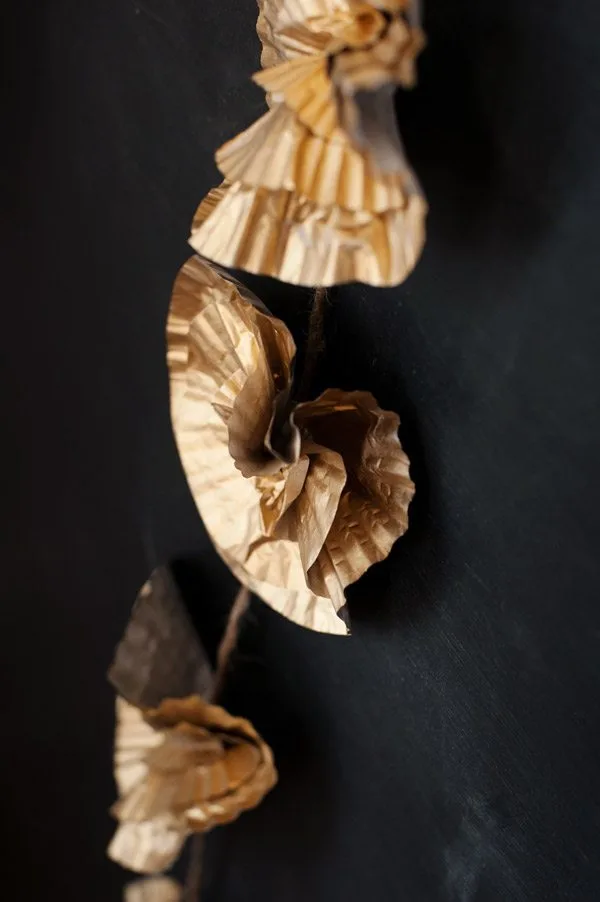
Of course, we know I love pretty garlands and these cupcake liner flowers look insanely lovely fashioned into a garland, too. All you need to make it happen is a hole punch and some twine or string.
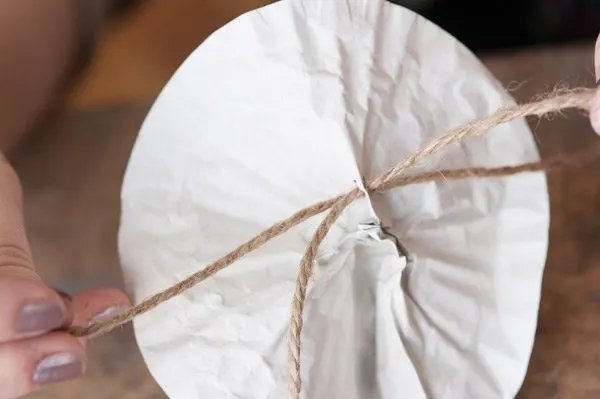
Using your hole punch, punch a hole into the back of the flower and thread through your twine or string. I spaced my flowers a few inches apart and kind of particularly love the mix of the metallic gold and the jute twine, but again, you can customize it to suit the look you want to achieve.
And it’s that easy! Don’t you just love these? I know I sure do. To see more cupcake liner flowers in action, you can revisit this styled shoot I did with my girl Megan Dailor a couple of years ago. Happy flower making!
![]()
[Design + styling by Cyd Converse for The Sweetest Occasion. | Photos by Alice G. Patterson.]
The fine print: Please link with love! As with all of our posts, DIY projects featured on The Sweetest Occasion may not be copied, distributed or reproduced without express written permission. Love and links are always appreciated! If you’d like to share this post, please link to this post directly for the DIY tutorial and do not include the instructions in your own post. Thanks so much! xoxo


Haeley @ Design Improvised
Friday 22nd of March 2013
These flowers were so pretty - and I love their simplicity! I wanted to let you know they were the inspiration for my monthly Design Improvised DIY Night party! You can see how we put on our own spin on them here! Thanks so much!
http://www.designimprovised.com/2013/03/march-diy-night-cupcake-liner-crafts.html
Alessandra
Friday 1st of March 2013
Your blog is so sweet and chic! I Love it!
cyd
Monday 25th of February 2013
Thanks, everyone! This is one of my favorite projects to date so I'm glad you enjoy it. It's so easy, too!
karen @ paperfancy.com
Monday 25th of February 2013
Love this cute idea! Recycling rocks...
Rosie @ Blueberry Kitchen
Tuesday 19th of February 2013
This is such a great idea, thank you for sharing!