


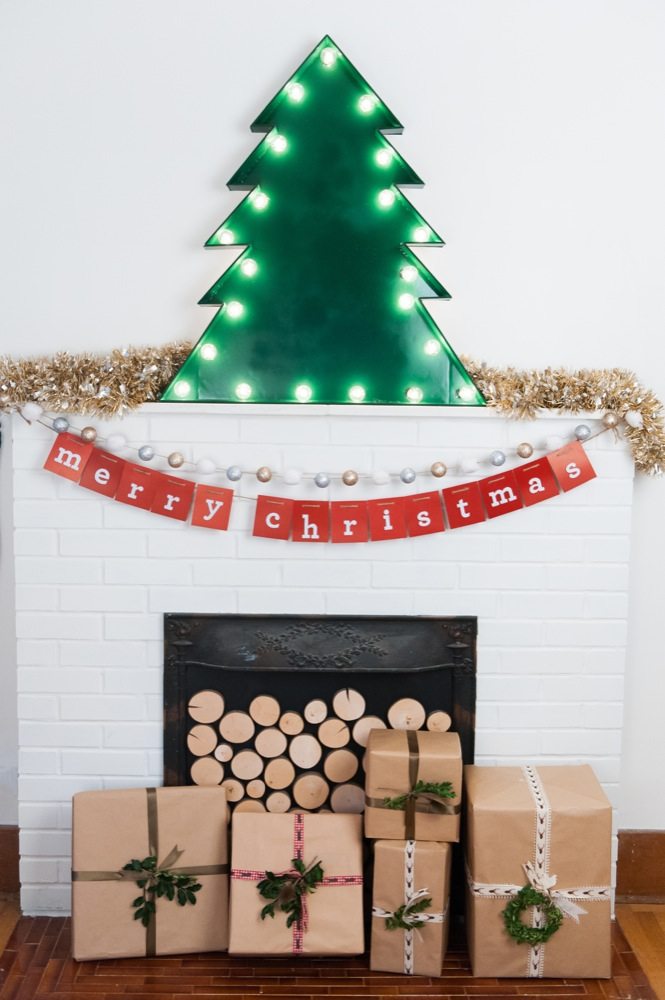
It’s about to get all sorts of merry and bright around here, friends! If I’m honest with you, I am so excited to share this project with you! This is one that has been floating around in my brain for the last couple of holiday seasons but somehow just made it to fruition this year. Enter the DIY marquee Christmas tree! AKA the cutest damn Christmas tree you ever did see. (Or something like that.) Believe it or not, this bad boy is made from super simple supplies (we’re talking foam core and hot glue) and isn’t overly complicated. So let’s do this, shall we? Giddy up!


![]()
- Large sheets of foam core
- Clear globe string lights
- X-Acto or utility knife
- Hot glue gun + glue sticks
- Spray paint
- Metal straight edge


To begin you’ll need a large sheet of foam core. You can decide on the specific size of foam core depending on the finished size tree you’d like to have. (A smaller one would be super cute, too!) I used one of the large presentation boards (the kind with the fold-in sides) and ended up with a tree roughly 32″ tall. You’ll start by penciling a tree onto the foam core and then carefully cutting out the tree using an X-Acto knife and a metal straight edge. I simply took my time and used a pencil and the grid pattern that appears on the backside of the presentation board to create a tree shape that I thought worked and then cut it out. Alternately, you could use a stencil of some kind or even just cut out a large triangle and make a simpler, modern tree shape. It’s your call!


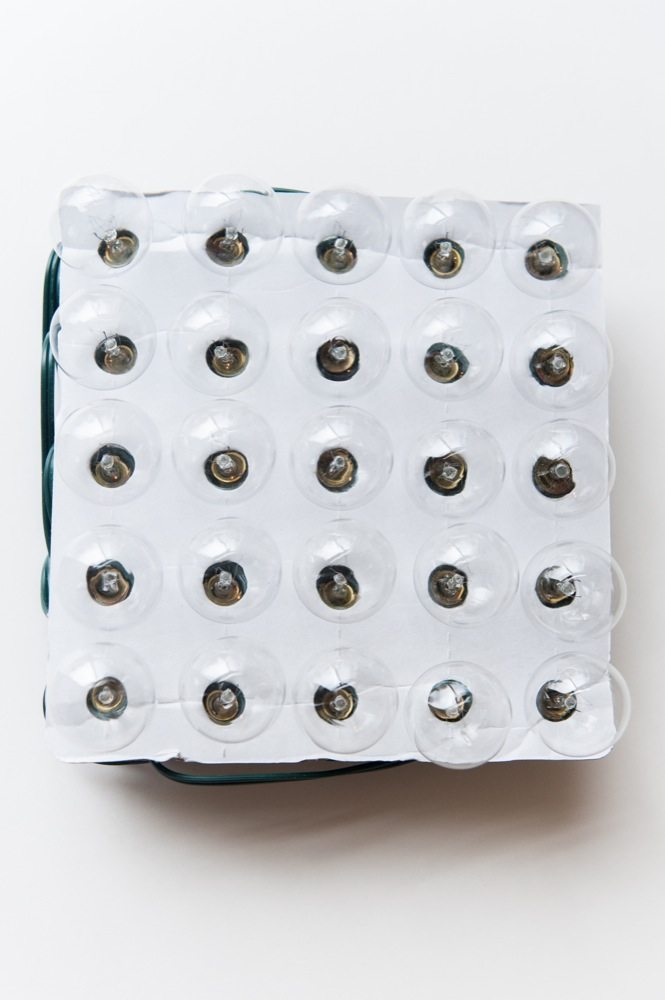
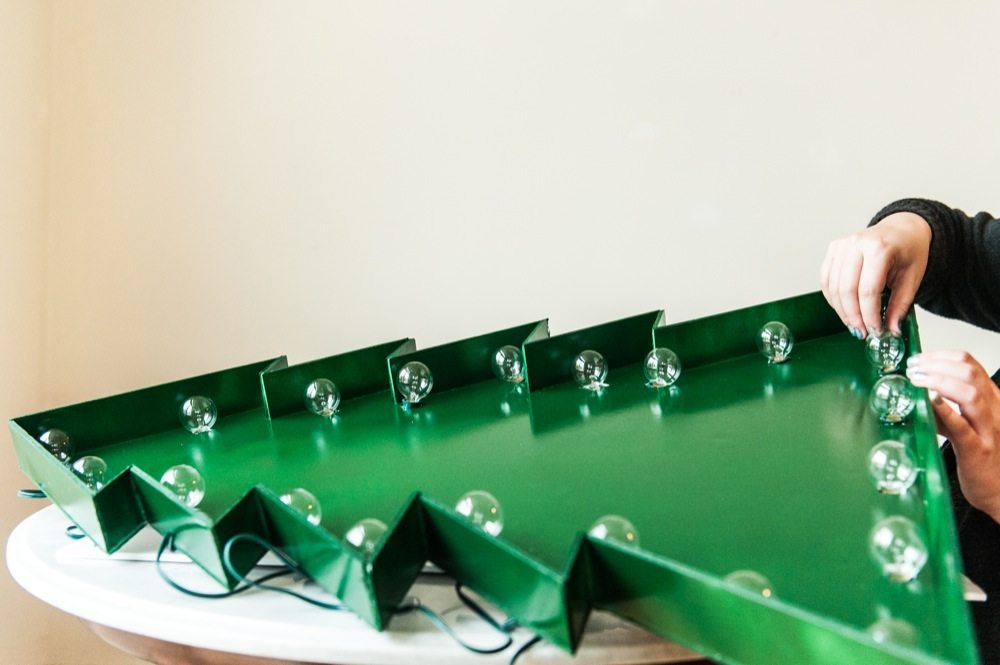
Next up it’s time to create the side walls. First you’ll want to measure the size of the lights you’re using to make sure the walls extend out past the lightbulbs. I used large clear globe lights, but if you’re making a smaller size tree you might want to use a smaller light. Then it’s a simple process of measuring the length of each side of your tree shape, cutting it to length and using hot glue to fix it into place. This process can take a bit of time, but it’s really quite simple. Also, you don’t need things to be totally perfect. By the time you glue it down and paint everything, a lot of mistakes will be forgiven so no stressing about perfection!
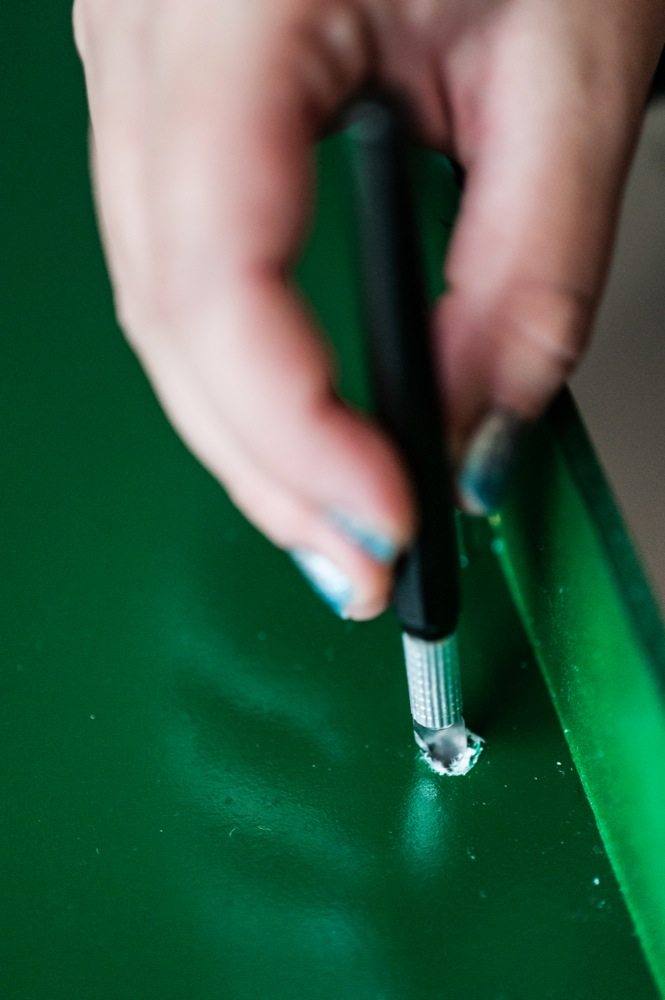
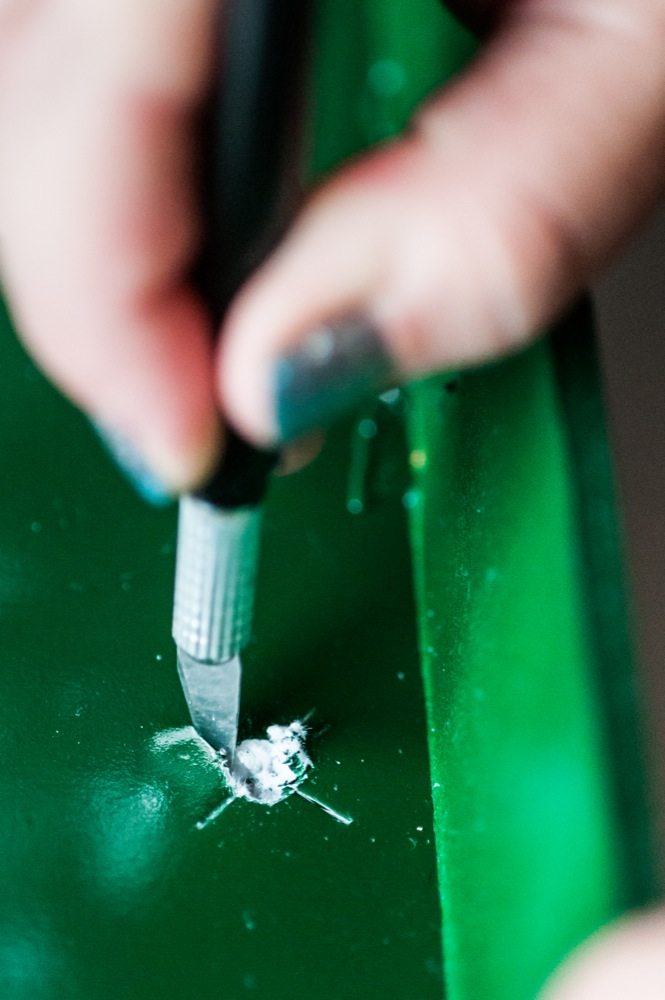
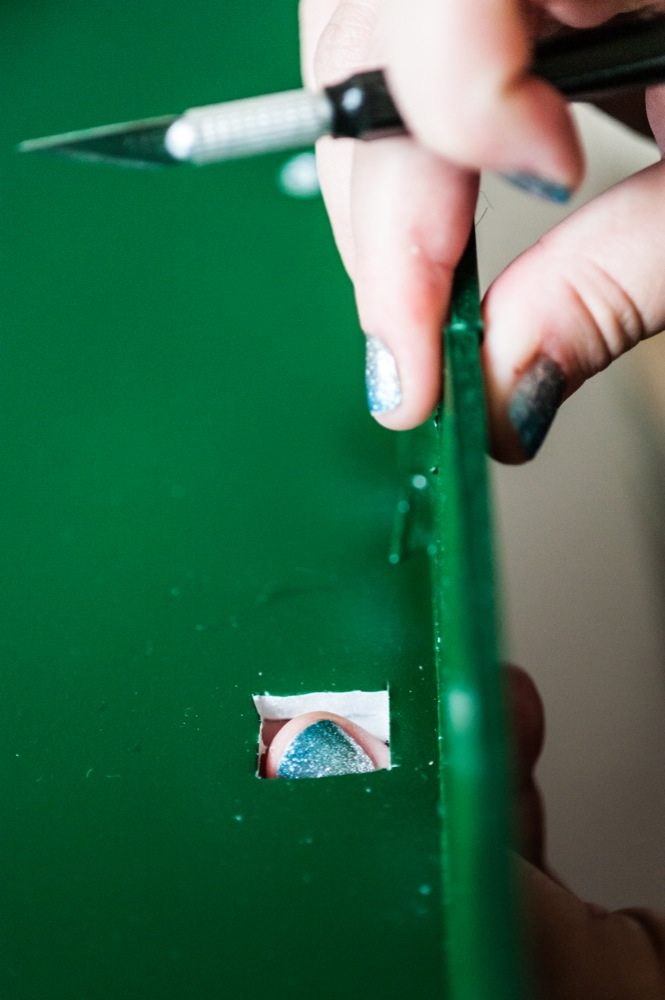
After your shape is built, it’s time for paint! Spray paint works great on foam core as long as you use thin, light coats. I used a Christmas green in a glossy finish and did about five or six light coats with ample drying time in between. Then the final step is to place your lights! Use your X-Acto knife to cut out holes for the socket of each light bulb. I found it easiest and most effective to use the tip of my knife to drill a little hole, then to cut outward to create a larger hole for the socket to fit thought.
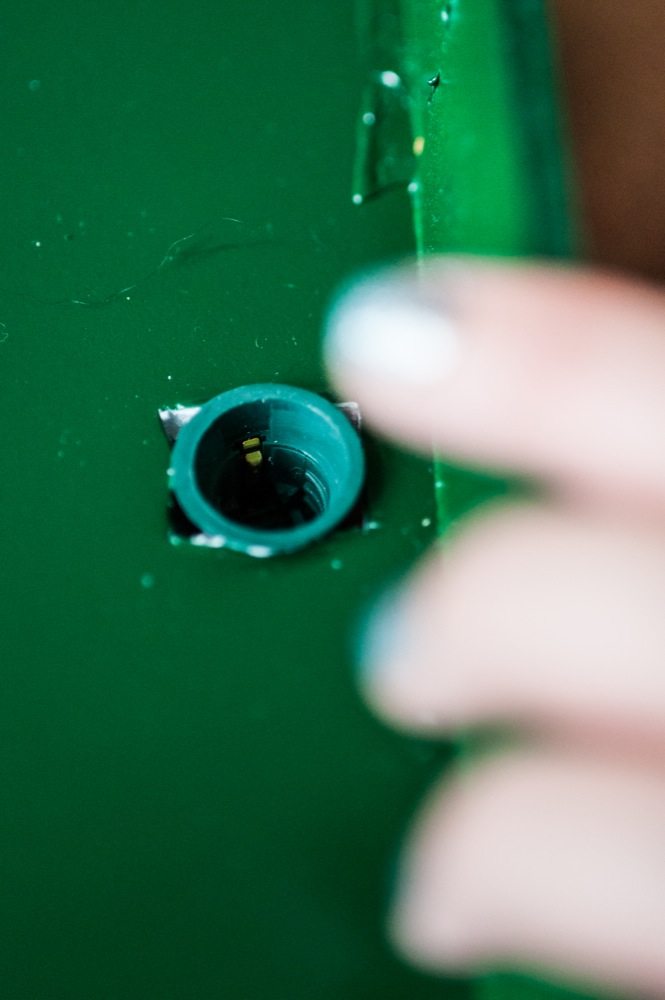

Remove the light bulbs from each socket and then push the socket up through from the back of your tree. You can get really precise with the measuring or just eyeball the placement of each light bulb, which is what I did. Then the final step is to screw in all of the lightbulbs. If you have excess cord, use painter’s tape or masking tape (or whatever tape you have handy) to tape everything down nice and flat on the back of your tree. Then you’re all set! Plug in your tree and your house is ready to go for the festivities.


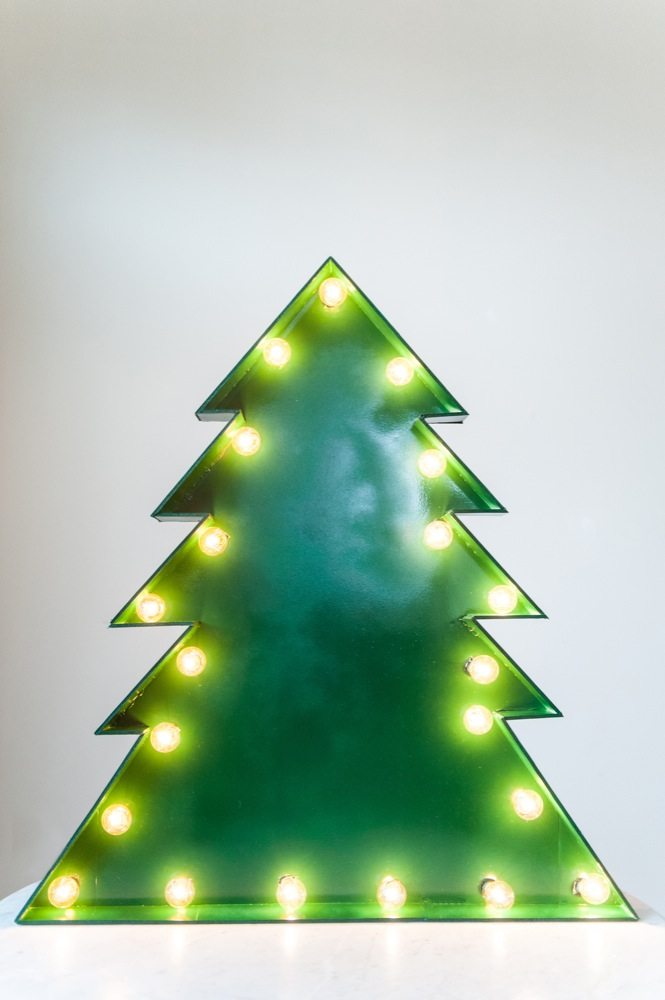
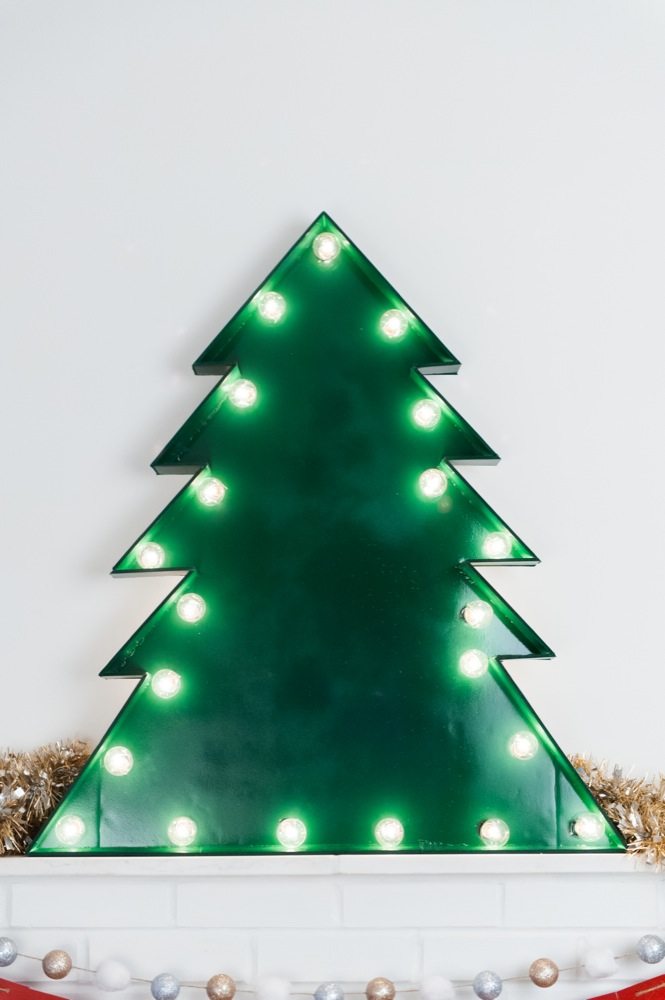
Call me crazy but I am so in love with this little tree. I think it makes a great addition to your existing holiday decor or would make an amazing alternative to a Christmas tree if you live in a small space or will be traveling over the actual holidays but still want your house to feel all kinds of merry and bright. Don’t forget to share what you’re crafting, making and baking with me this holiday season over on Instagram using the hashtag #thesweetestholidays. I can’t wait to see what you’re working on!

![]()
[Art direction + styling by Cyd Converse | Photos by Alice G. Patterson for The Sweetest Occasion.]
The fine print: Please link with love! As with all of our posts, DIY projects featured on The Sweetest Occasion may not be copied, distributed or reproduced without express written permission. Love and links are always appreciated! If you’d like to share a maximum of 1 – 2 images from this post, please link to this post directly for the DIY tutorial and do not include the instructions in your own post. Thanks so much! xoxo


 Back to Top
Yay, it turned out great! Love it!
This is gorgeous, Cyd, and it totally looks like it’s made of metal, too!
So cute! I love it!
Love how this turned out! A great addition to any style of holiday decor, too!
Gorgeous! Love that you can bring this out year after year too.